FOUR amazing courses to help you master the ESP32.
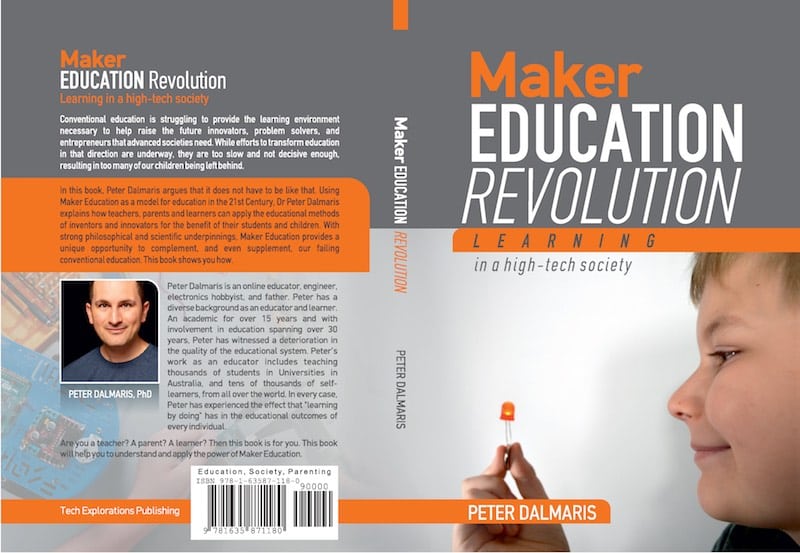
SPECIAL BONUS: Maker Education Revolution (eBook)
ESP32 For Busy People
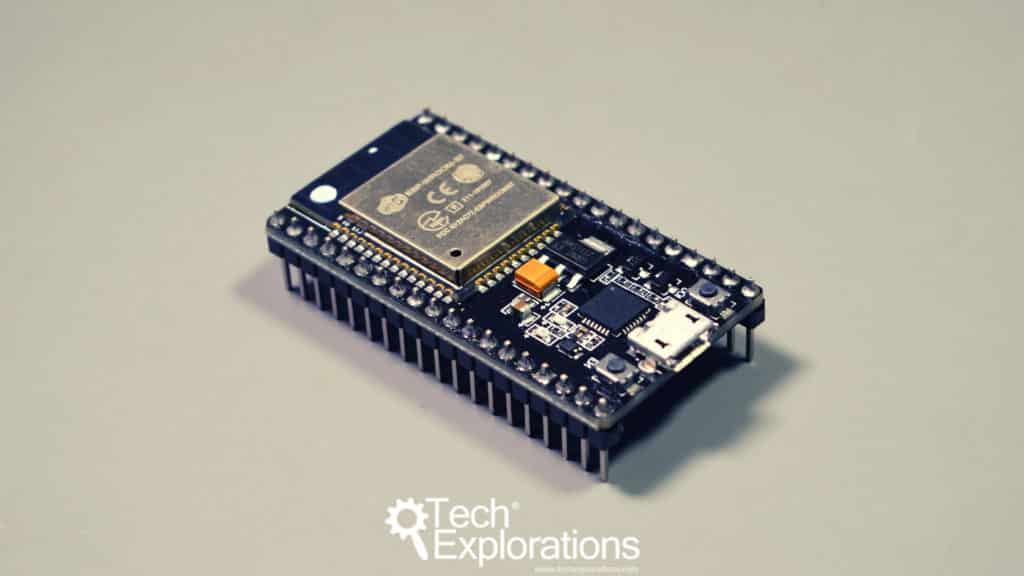
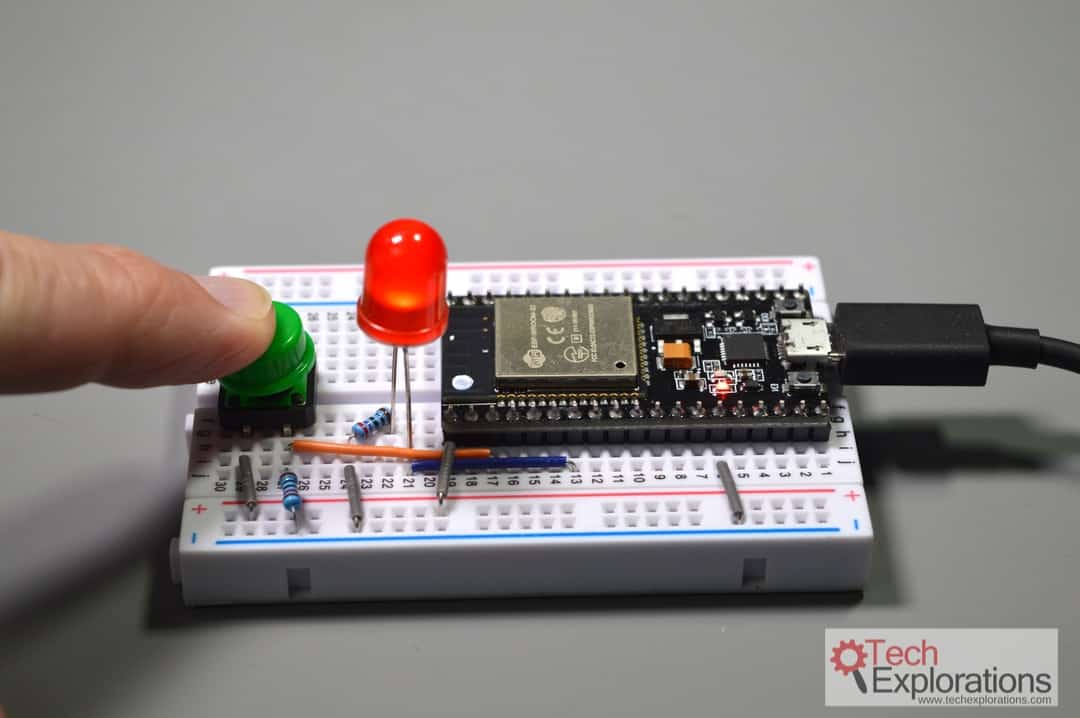
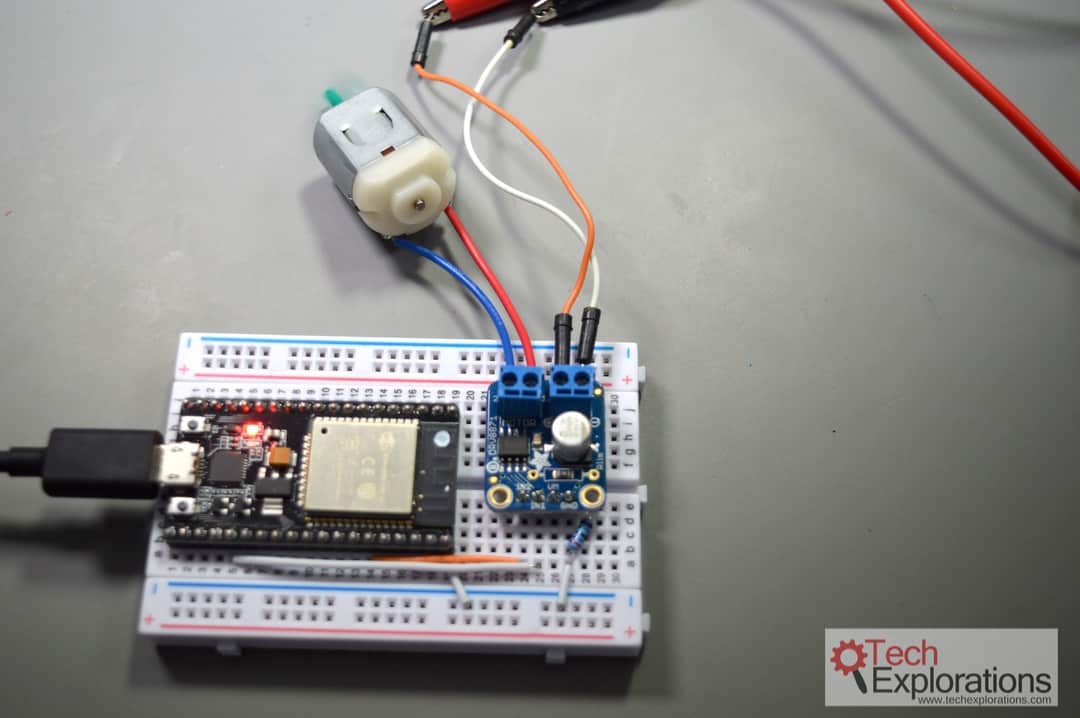
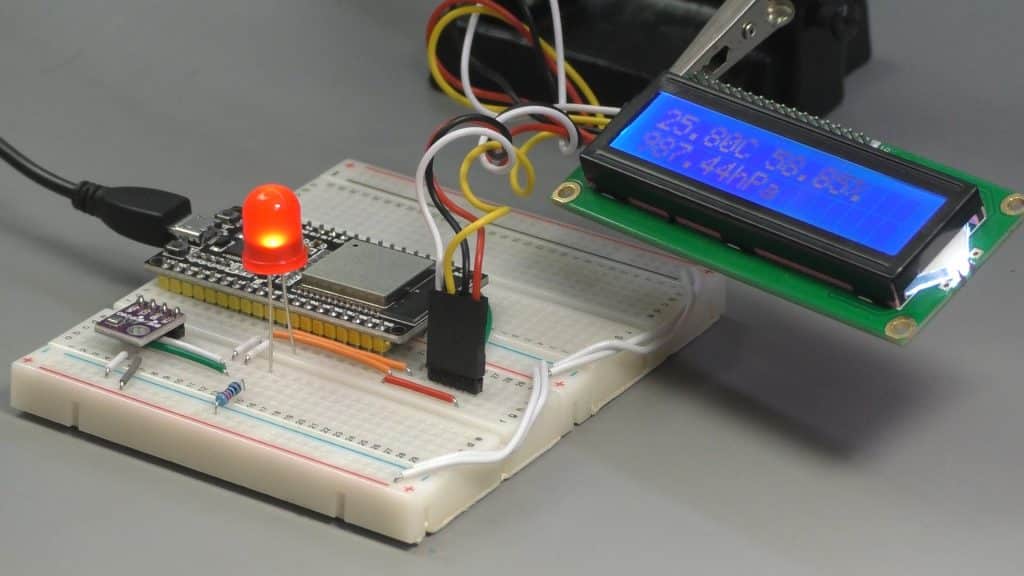
Learn how to use the ESP32 in place of the Arduino to do things such as controlling LEDs, reading button and potentiometer states, drive displays and motors, read data from digital and analog sensors (including internal sensors), communicate with the Internet, and communicate with Bluetooth devices.
Node-RED & ESP32
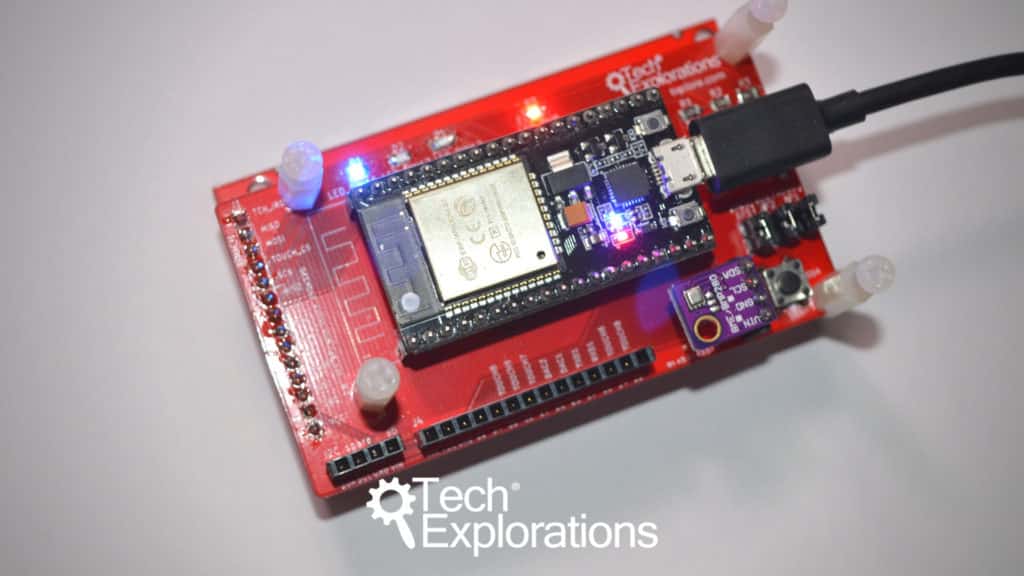
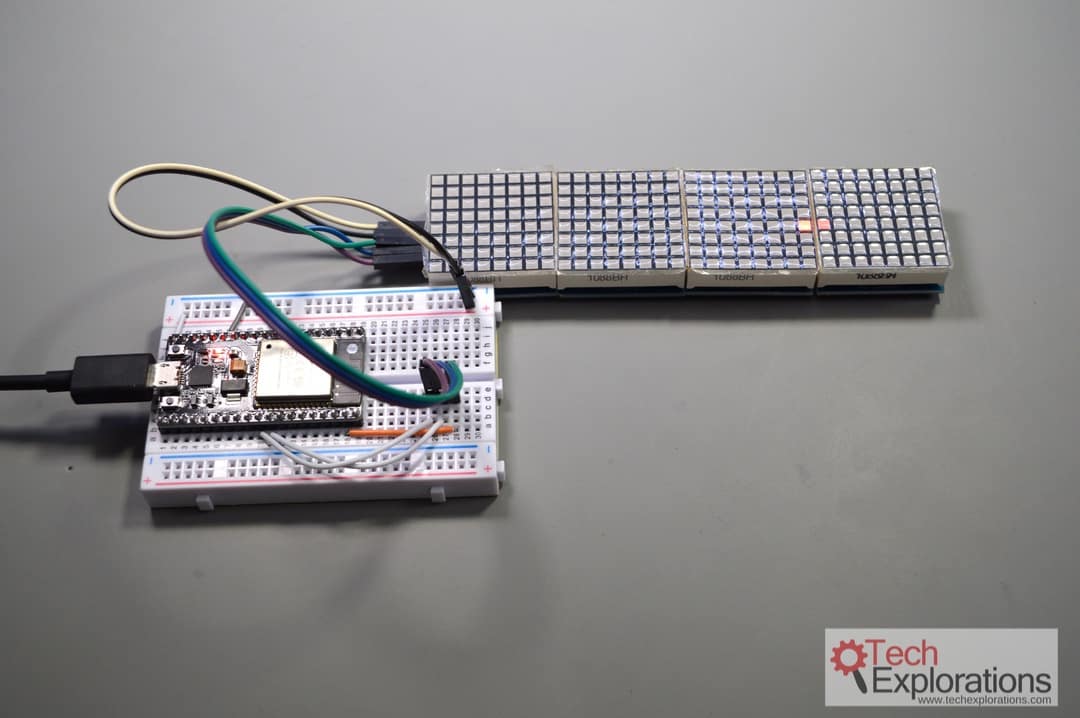
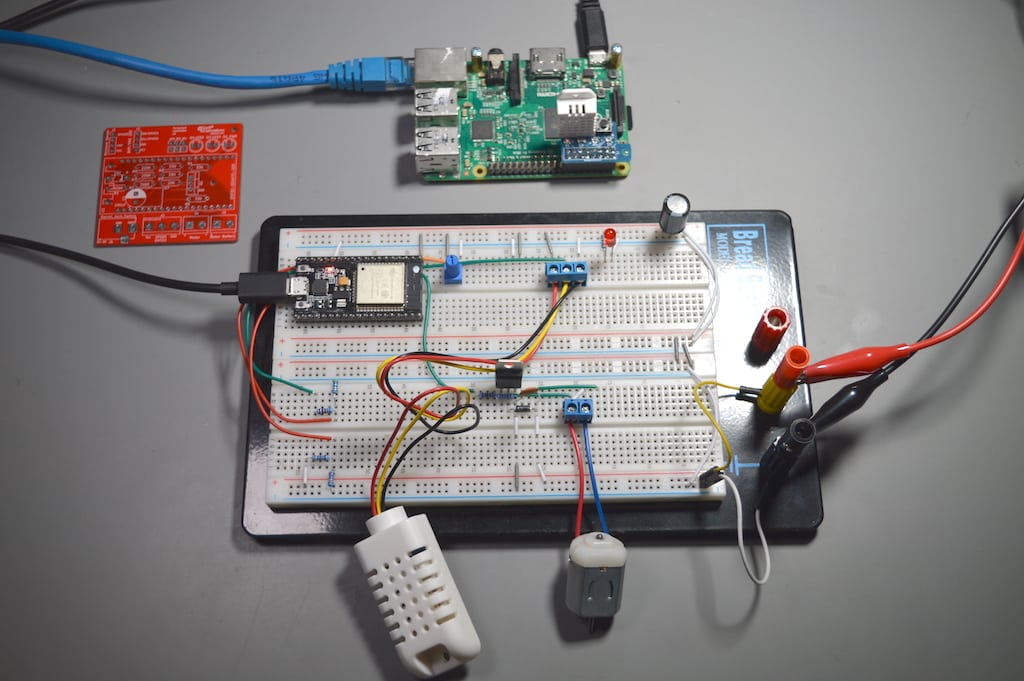
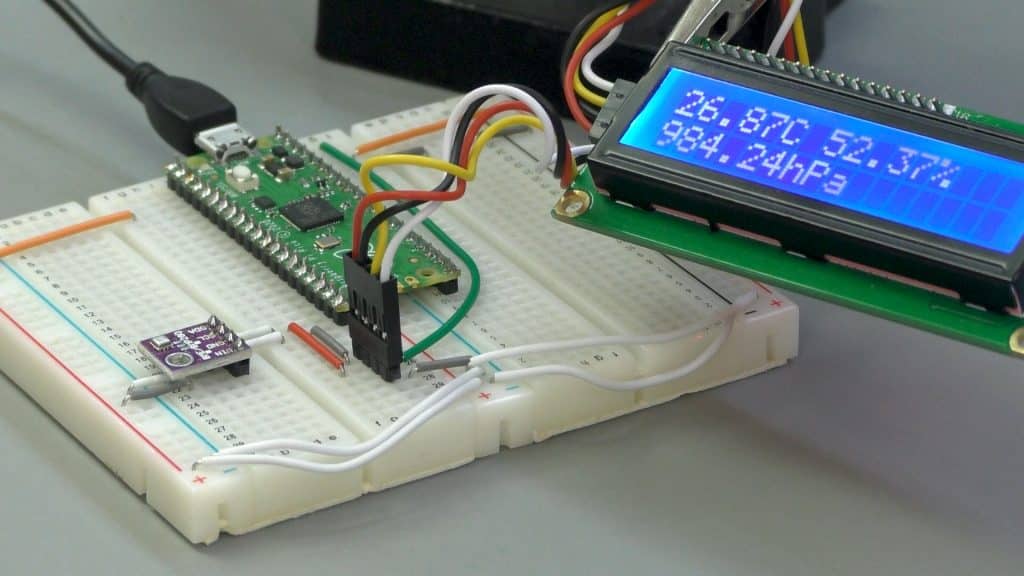
With this course, you will learn how to design and build an automated control system using Node-RED and the ESP32. This course will guide you through the construction of an automated control system.
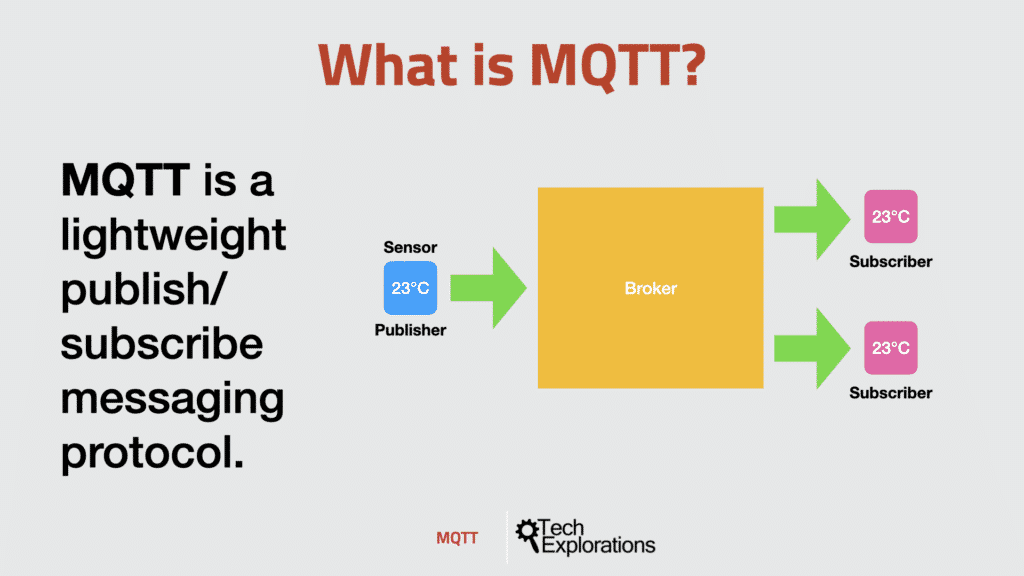
Along the way, you will learn a great deal about useful technologies such as the Node Red programming environment and MQTT.
MicroPython with the ESP32
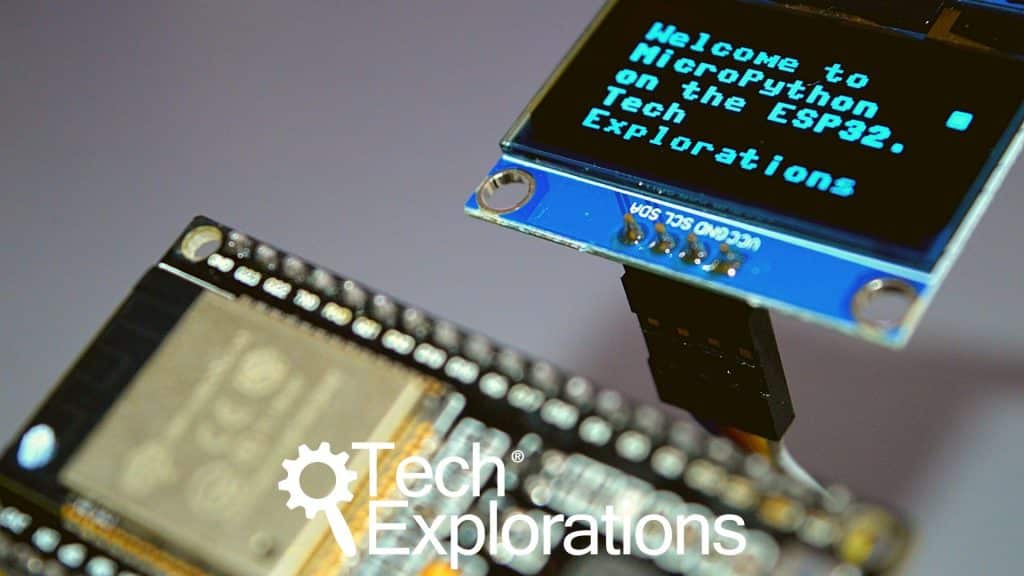
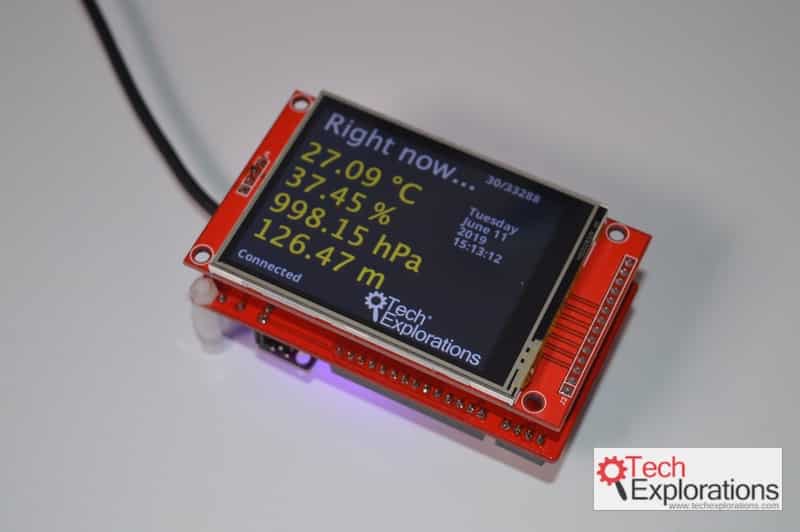
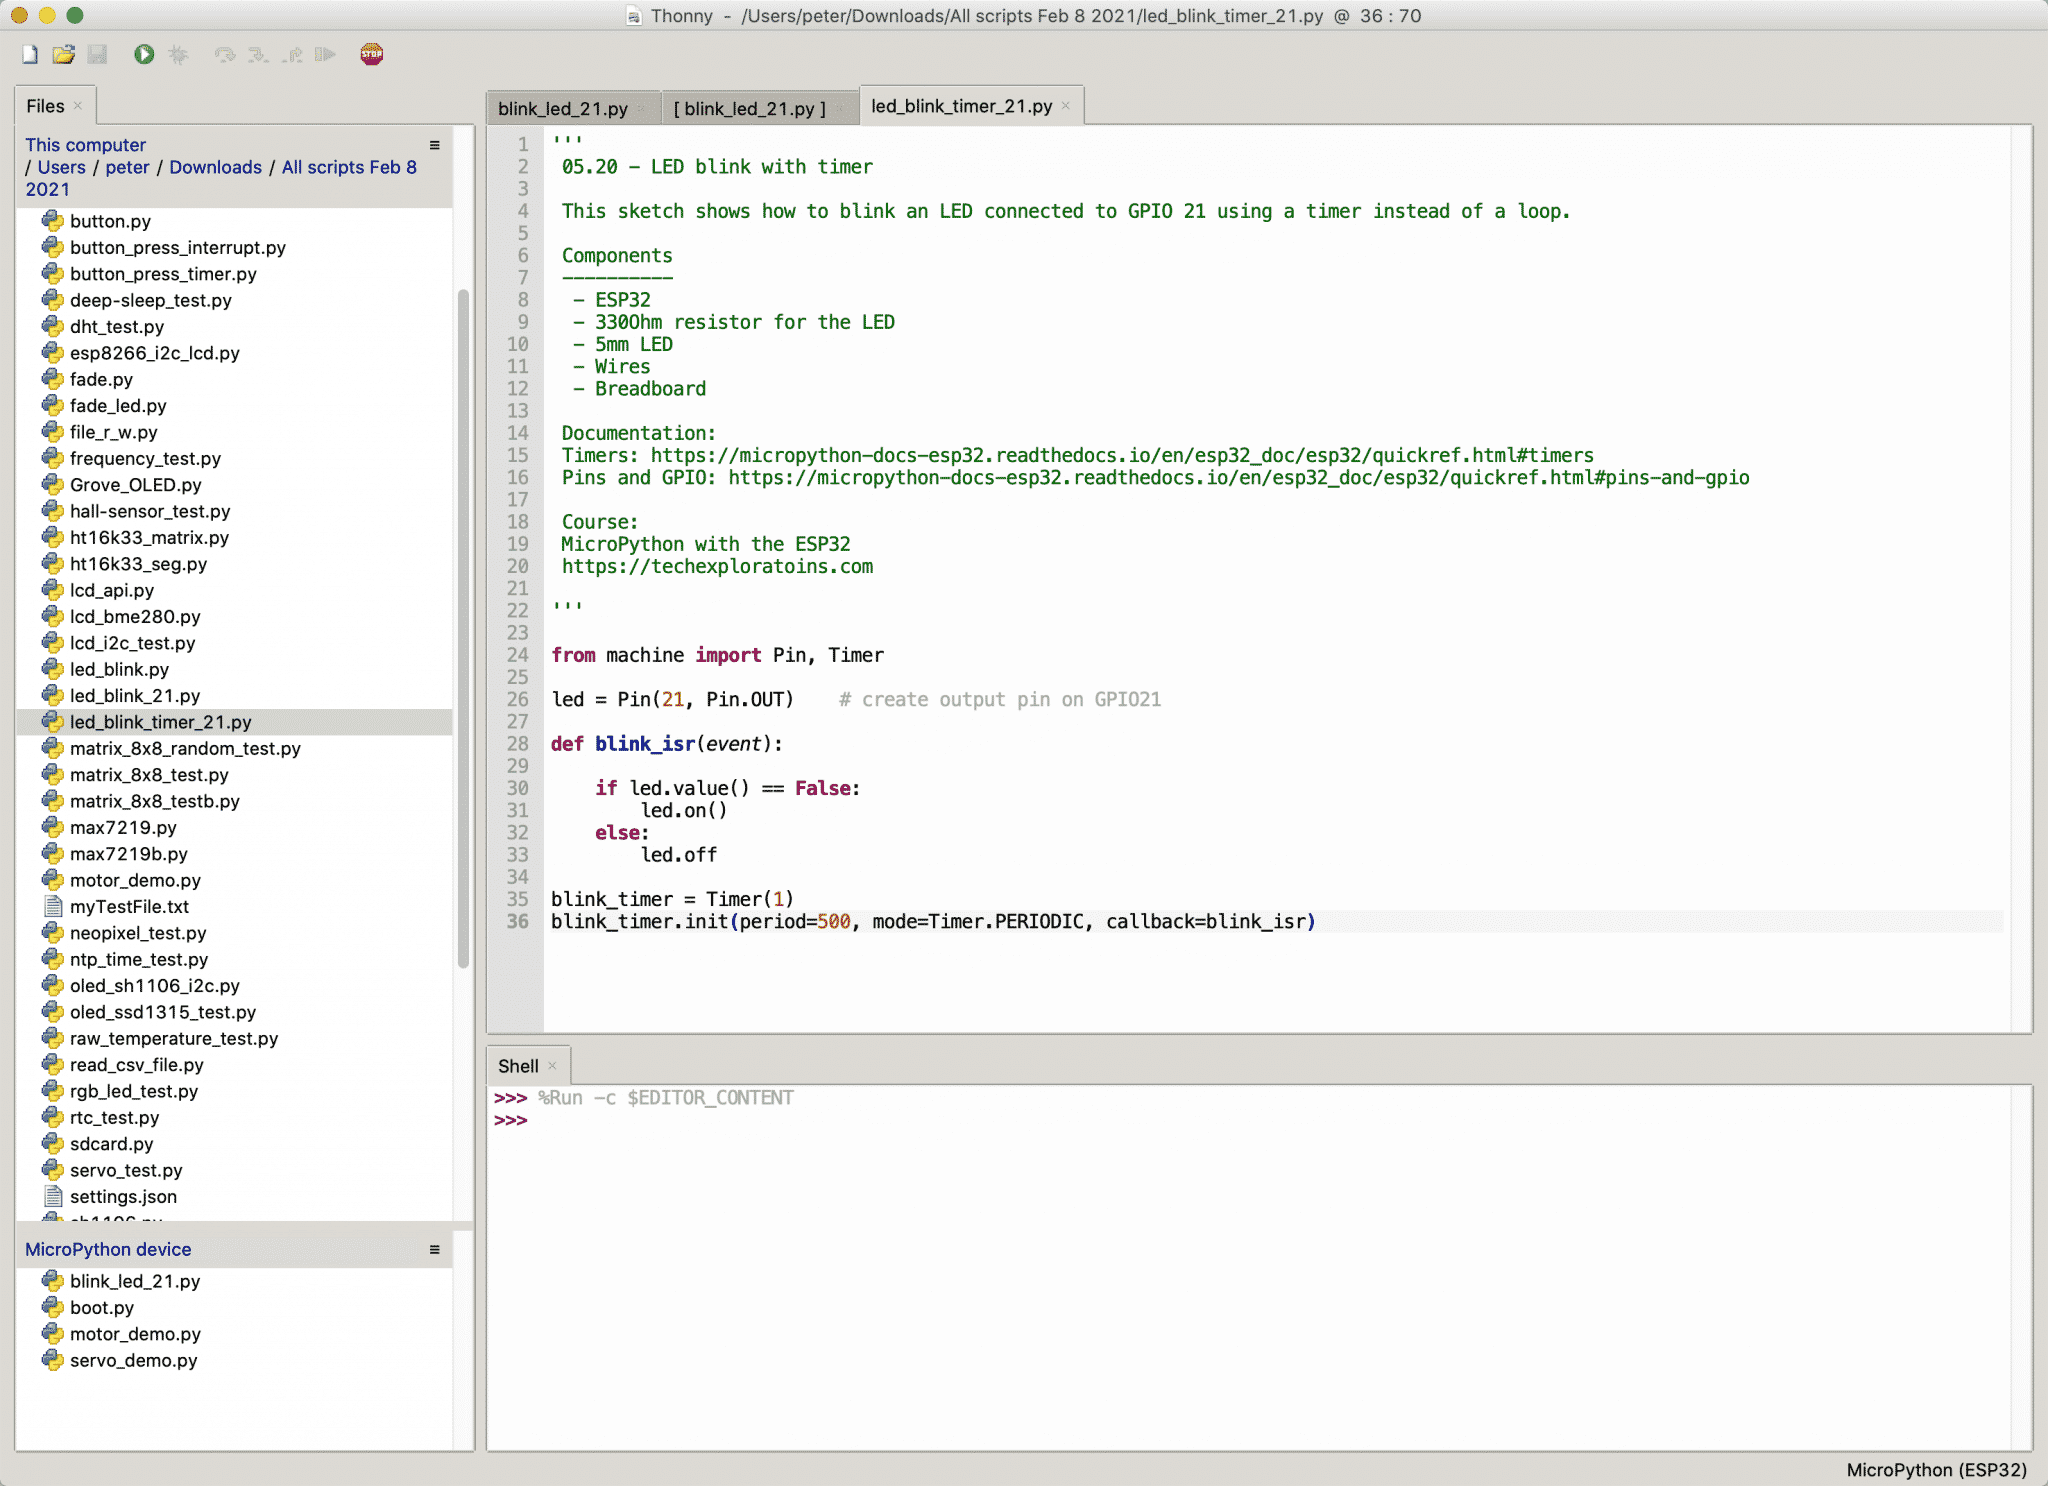
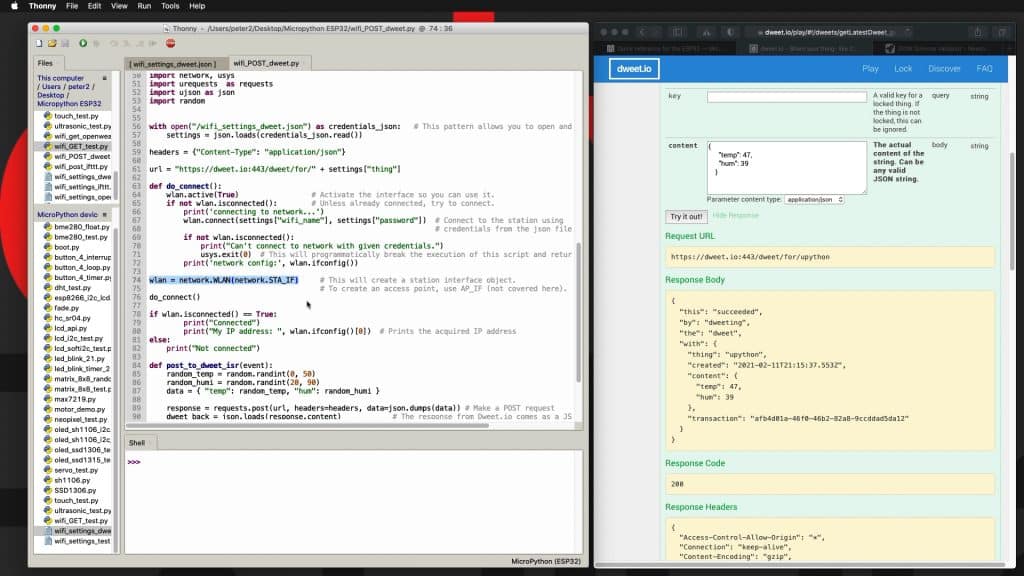
With this video course, you will learn how to use the MicroPython programming language with the ESP32 microcontroller. MicroPython is a high-level programming language specifically designed for microcontrollers and resource-limited embedded devices. Think of MicroPython as "Python for Microcontrollers".
Plus special bonus:
Conventional education is struggling to provide the learning environment necessary to help raise the future innovators, problem solvers, and entrepreneurs that advanced societies need. While efforts to transform education in that direction are underway, they are too slow and not decisive enough, resulting in too many of our children being left behind.
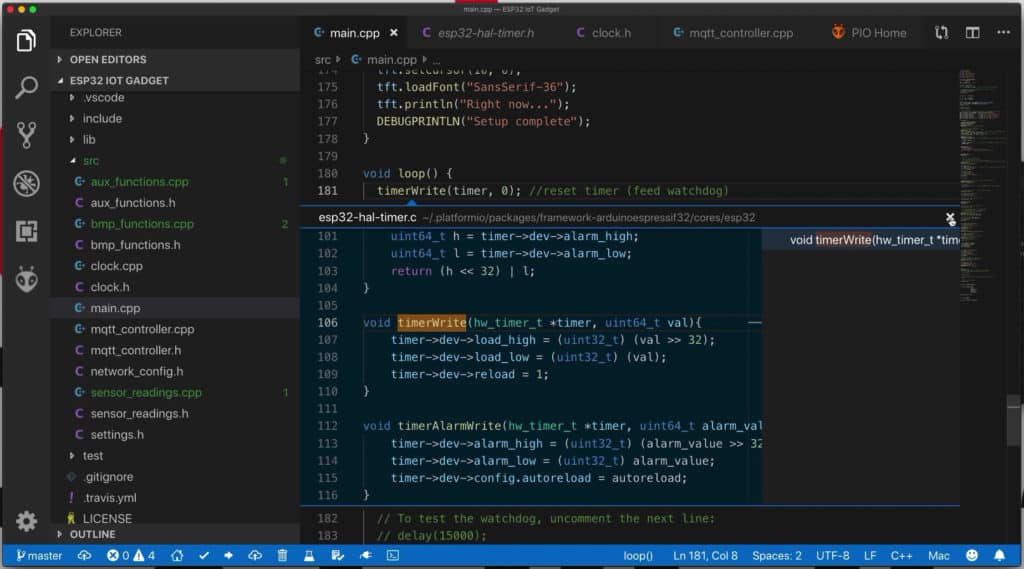
In this book, Dr Peter Dalmaris argues that it does not have to be like that. Using Maker Education as a model for education in the 21st century, Peter explains how teachers, parents, and learners can apply the educational methods of inventors and innovators for the benefit of their students and children.
Course details for ESP32 For Busy People
What can you make with a dual-core microcontroller, that has integrated Bluetooth and WiFi, lots of pins, storage and communications, using your familiar Arduino tools?
With the ESP32, you can prototype your idea quickly.
You can use the familiar Arduino tools, programming language, and libraries.
The ESP integrates WiFi and Bluetooth, many GPIOs, analog input and output capabilities, many device interconnection protocols, a fast dual-core processor. And it has lots of storage and RAM, so your sketches can grow as your projects grow.
If you are already using the Arduino, then the ESP32 is an excellent choice. You can replace the Arduino Uno or other Atmega based boards with an ESP32 dev kit, and add new capabilities to your projects.
Who is this course for?
This course is perfect for people who have at least basic working knowledge of the Arduino.
If you don’t, we recommend starting with Arduino Step by Step Getting Started.
Why take this course?
The ESP32 is a powerful, low-cost microcontroller that fits well in the Arduino ecosystem.
If you are already using the Arduino in your projects, then you'll love what the ESP32 can do.
The ESP32 packs a lot of power: lots of processing power, GPIO's communications options, including a full array of wireless capabilities, and integrated sensor.
This course will help you get up and running with the ESP32 quickly.
With the ESP32, you can get a lot more capacity to build more interesting projects, almost for free.
The ESP32 is not a plug-in replacement for the Arduino. While it shares much of the Arduino’s programming and GPIO interface, you still need to learn the basics before you can deploy it.
This is the purpose of this course: to provide with you a learning resource that can help you become productive with the ESP32 quickly.
In this course, I have included numerous mini-projects to demonstrate how to use capabilities such as GPIO read and write, classic Bluetooth, Bluetooth Low Energy, WiFi, digital to analog conversion, touch sensors, and more.
Larger projects will also show you how to create simple Internet of Things and Bluetooth applications, to name a few.
What's in "ESP32 For Busy People"?
Introduction
01.10 What is this course about?
01.20 Software you will need
01.30 Hardware you will need
01.40 How to get the most out of this course
Know your ESP32
02.10 The ESP32 module
02.20 The ESP32 Dev Kit
02.30 ESP32 vs Arduino
02.40 GPIOs
02.50 Communications
02.60 Power
Development environments
03.10 Setting up ESP32 in the Arduino IDE on Mac OS (to use in this course)
03.20 Setting up ESP32 in the Arduino IDE on Windows 10 (to use in this course)
03.30 Install the drivers CP21012 USB chip
GPIOs
04.10 Digital output LED
04.20 PWM and LED
04.30 RGB LED with PWM
04.40 Digital input with Button
04.50 Analog input with a potentiometer
04.52 Analog input with potentiometer and PWM output
04.60 Sigma-Delta modulated analog output with potentiometer and LED
04.62a An overview of Digital to Analog Conversion in the ESP32
04.62b DAC demo sketch
04.62c DAC analog waveform demo
04.62d Making noise with the DAC
04.70a GPIO interrupts introduction and readings
04.70b GPIO interrupts sketch and demo
Sensors
05.10 Integrated Hall effect (use a magnet)
05.20 Touch (capacitive) sensor with LED
05.30 Touch (capacitive) sensor with interrupts and LED
05.40 Photoresistor
05.50 BME280 environment sensor using I2C
05.52a Sensor reading with timer interrupts overview
05.52b Timer interrupt sensor reading sketch walkthrough
05.52c Timer interrupts further readings
05.60 DHT22
05.70 ADXL335 Accelerometer
Displays
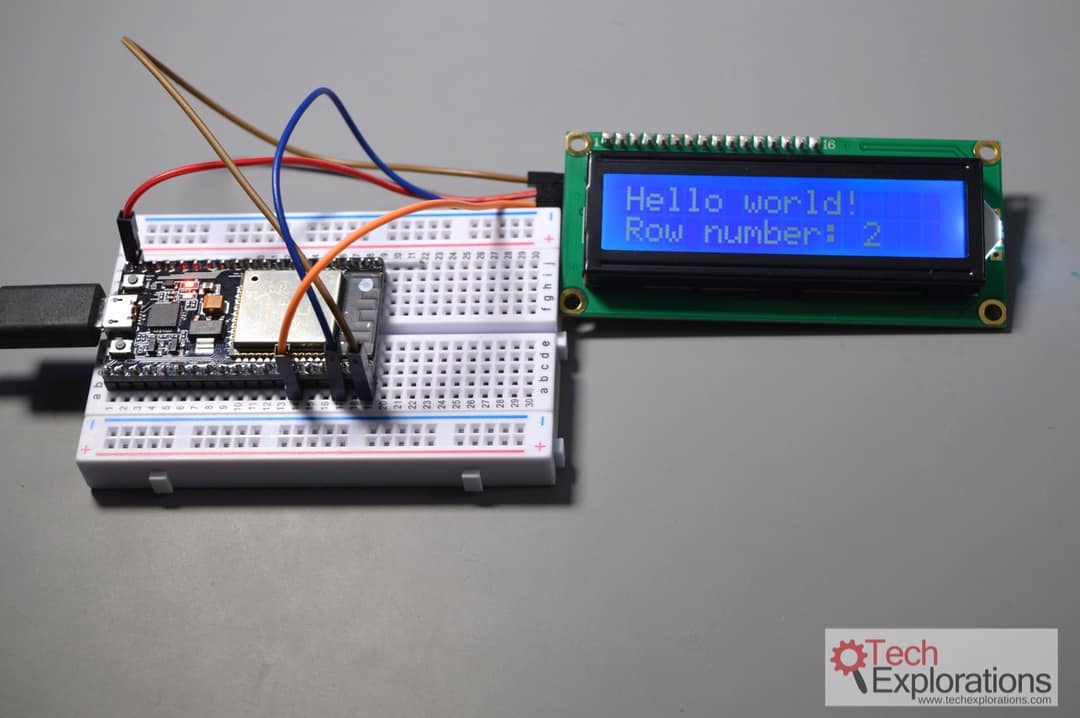
06.10 LCD I2C screen
06.20 Seven segment display
06.22 Seven segment display with library
06.30 Seven segment clock display with I2C
06.40 8×8 LED matrix display (single)
06.42 8×8 LED matrix display (multiple)
Motors
07.10 DC motors with the DRV8871 motor controller
07.20 Servo motor (single)
Storage
08.20 EEPROM
08.30 SPIFFS
08.40 How to erase the flash
Time and date
09.10 Time and date with the DS3231
09.20 A clock with an LCD and the DS3231
09.30 How to produce a square wave at 1Hz, 1KHz, 4KHz, 8KHz
09.40 Update LCD time and date with external interrupt and the DS3231
Wifi
10.10 Wifi connection
10.20 Wifi HTTP client
10.30 Wifi HTTPS client
10.40 Wifi HTTPS client LED control
10.50 Wifi HTTPS dweet.io client
10.60 Wifi web server to control an LED
11 Bluetooth
11.10 Intro to Classic Bluetooth
11.12a Bluetooth Classic project demonstration
11.12b Bluetooth Classic project, display management
11.12c Bluetooth Classic project, sensor updates
11.20a BLE server (part 1)
11.20b BLE server (part 2)
11.30 BLE server with LCD
11.40a BLE heart rate project demonstration and simulation
11.40b BLE heart rate project sketch walkthrough
11.42 BLE heart rate monitor client with LCD
Course details for ESP32 Unleashed
Are you ready to take your ESP32 skills past simple circuits and sketches?
A new learning adventure awaits you.
Now that you have learned the basics of the ESP32, it is time to experience the true power of this technology.
It is time to create an application that will stretch your existing knowledge and skills.
An application that will introduce you to new possibilities.
With ESP32 Unleashed, you have this opportunity.
ESP32 Unleashed give you a challenging project and the guidance you need to complete it.
A project that combines...
Who is this course for?
This course is perfect for people familiar with the ESP32, especially graduates of ESP32 For Busy People.
It is a guided project, designed to teach you how to use modern tools to create modern embedded applications based on the ESP32.
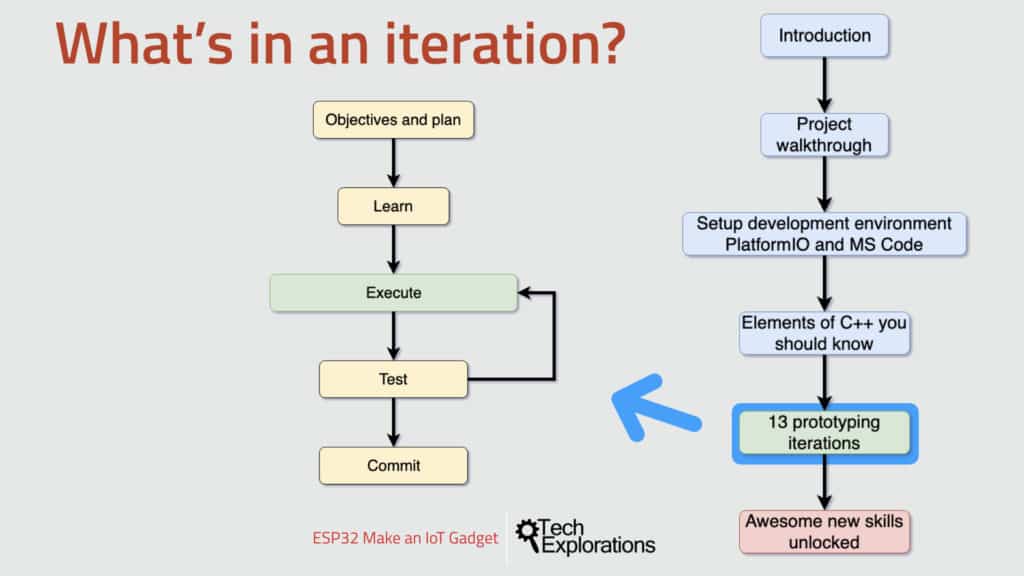
Why take this course?
With this course, you will learn how to make an IoT gadget.
You'll use the knowledge you acquired in ESP32 For Busy People.
You'll learn new knowledge so that you can integrate new components and tools.
This course is action-packed. Here are some highlights:
What's in "ESP32 Unleashed"?
01 - Introduction
01.10 What is this course about?
01.20 Software you will need
01.30 Hardware you will need
01.40 How to get the most out of this course
01.50 Why use PlatformIO?
02 - Walk-through the project
02.05 Assembly
02.07 The ESP32 board breakout
02.10 A demo of the gadget
02.20 Walk-through the multi-file Arduino project
02.30 Challenges
02.40 The conversion plan
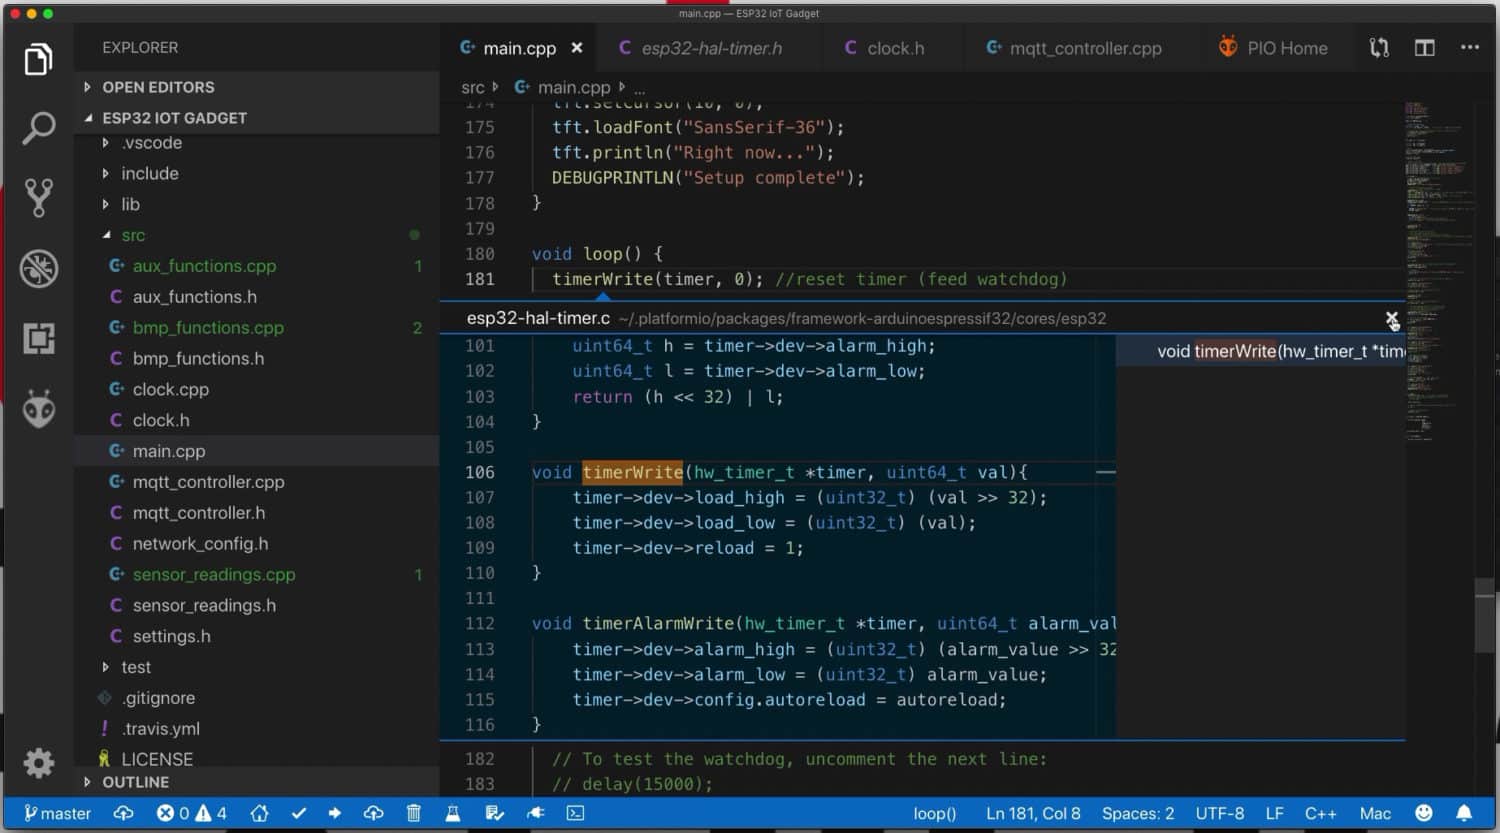
04 - Setup PlatformIO and MS Code
04.10 Install MS Code (Mac OS)
04.12 Install MS Code (Windows 10)
04.60 MS Code essentials
05 - A C++ primer for Arduino makers who want to use Platform IO
05.10 What is this section about
05.20 Pointers, an introduction
05.22 Pointers, demonstration
05.40 Splitting a program into small files, an introduction
05.42 Splitting a program into small files using the Arduino framework
05.44 Splitting a program into small files using normal C++
05.50 Namespaces, an introduction
05.52 Namespaces, demonstration
06 - Prototype 1: Getting started with the project
06.10 Objective: how to setup a new project
06.20 Setup project
06.30 Test
07 - Prototype 2: Switch to multiple files, add version control
07.10 Objective: why multiple files and Git
07.20 Create the Git repository
07.30 Split main.cpp into multiple files
07.40 Test
07.50 How to use Git version control
08 - Prototype 3: TFT display
08.10 Objective: activate the display
08.20 How to use the TFT display
08.30a Execute part a
08.30b Execute part b
08.40 Test
08.50 Merge tft_setup branch to master
09 - Prototype 4: SPIFFS and fonts
09.10 Objective: How to use various fonts
09.20 How to create a custom font
09.30 Upload the fonts to SPIFFS
09.40 Apply the custom fonts in the app
09.50 Test
09.60 Merge fonts branch to master
10 - Prototype 5: Images
10.10 Objective: displaying graphics in the TFT
10.20 Upload the image file to SPIFFS
10.30 Edit the application code
10.40 Test
10.50 Merge working and master branches
11 - Prototype 6: Task scheduler
11.10 Objective: why use a task scheduler?
11.20 How to use the task scheduler
11.30 Execute
11.40 Test
11.50 Merge working and master branches
12 - Prototype 7: Wifi and Clock
12.10 Objective: showing the time without additional hardware
12.15 Setup Wifi
12.20 The clock library and operation, Internet time
12.30 Wifi and Clock Test
12.40 Merge working and master branches
13 - Prototype 8: AdafruitIO via MQTT
13.10 Objective
13.20 What is MQTT?
13.30 What is AdafruitIO?
13.40 Implement
13.50 AdafruitIO and MQTT Test
13.60 Merge working and master branches
14 - Prototype 9: Wifi status display
14.10 Objective: why show the connection status on the display?
14.20 Execute
14.30 Test
14.40 Merge working and master branches
15 - Prototype 10: EEPROM
15.10 Objective: why use EEPROM?
15.20 EEPROM in the ESP32
15.30 Execute
15.40 Test
15.50 Merge working and master branches
16 - Prototype 11: Watchdog
16.10 Objective: what is a watchdog?
16.20 How to implement a watchdog
16.30 Execute
16.40 Test
16.50 Merge working and master branches
17 - Prototype 12: Touch interface
17.10 Objective: create a hotspot on the display
17.20 The TFT capacitive touch interface
17.30 Execute
17.40 Test
17.50 Merge working and master branches
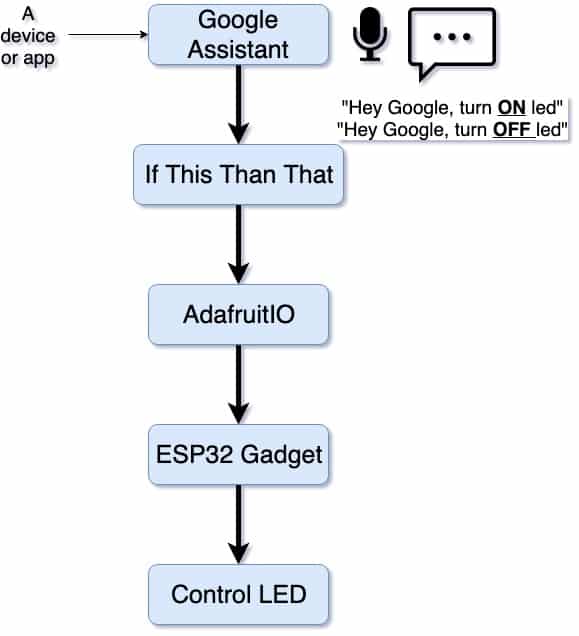
18 - Prototype 13: MQTT response and Google Assistant
18.10 Objective: control the gadget with voice commands
18.20 Setup IFTTT with Google Assistant and AdafruitIO
18.30 Test IFTTT
18.50 Execute
18.60 Test
18.70 Merge working and master branches
19 - Tidying up
19.10 The final version of this project
31 - Library automatic update
31.10 Automatic update of a library
31.20 Testing
Course details for Node-RED & ESP32
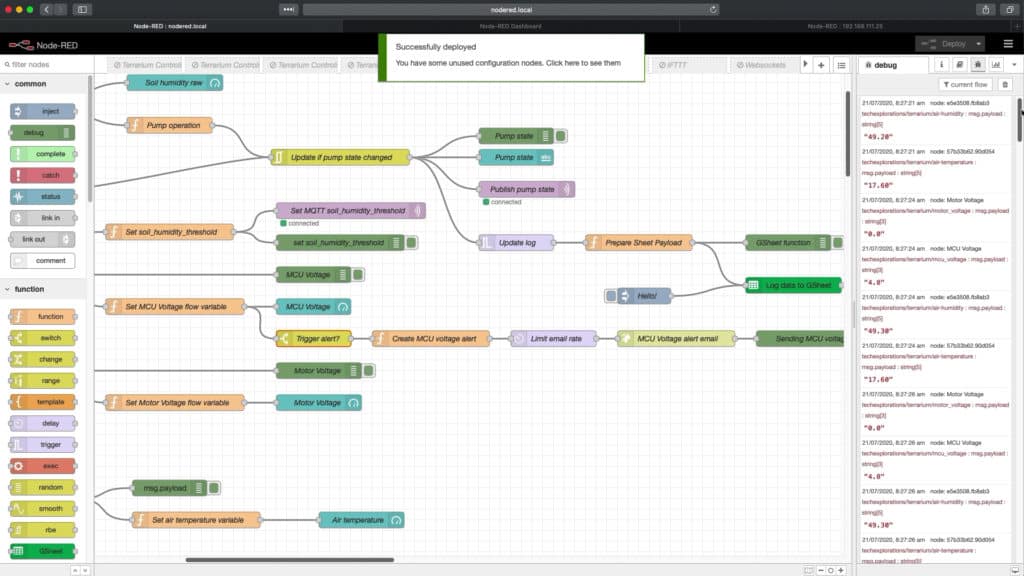
With this course, you will learn how to design and build an automated control system using Node-RED and the ESP32.
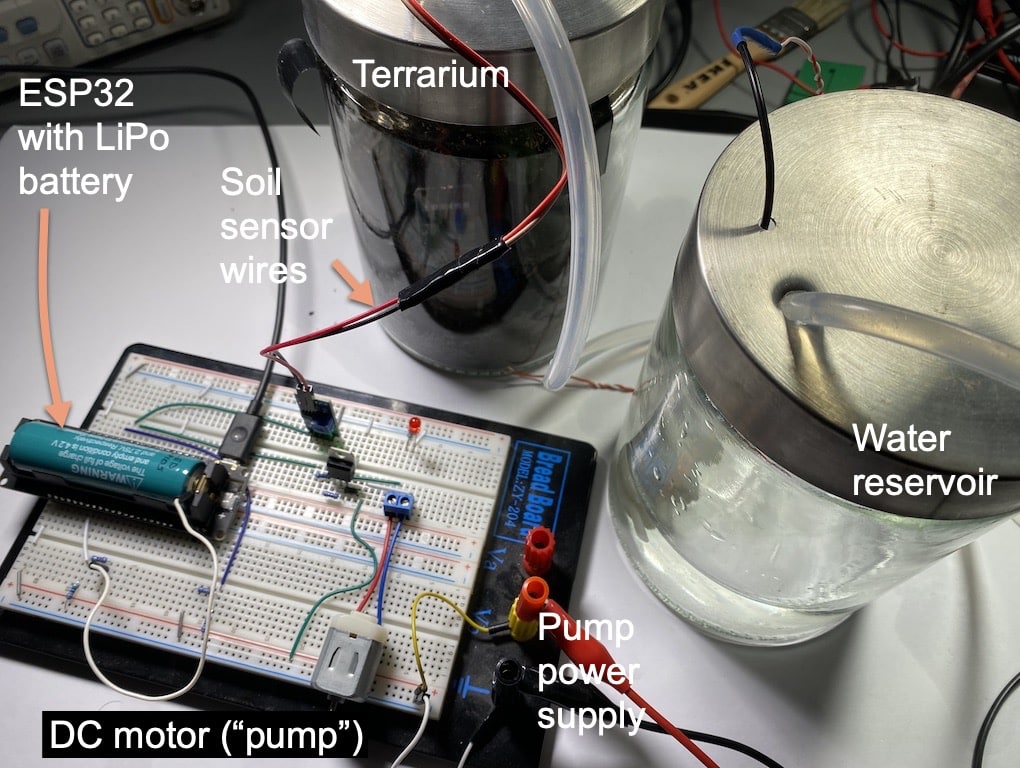
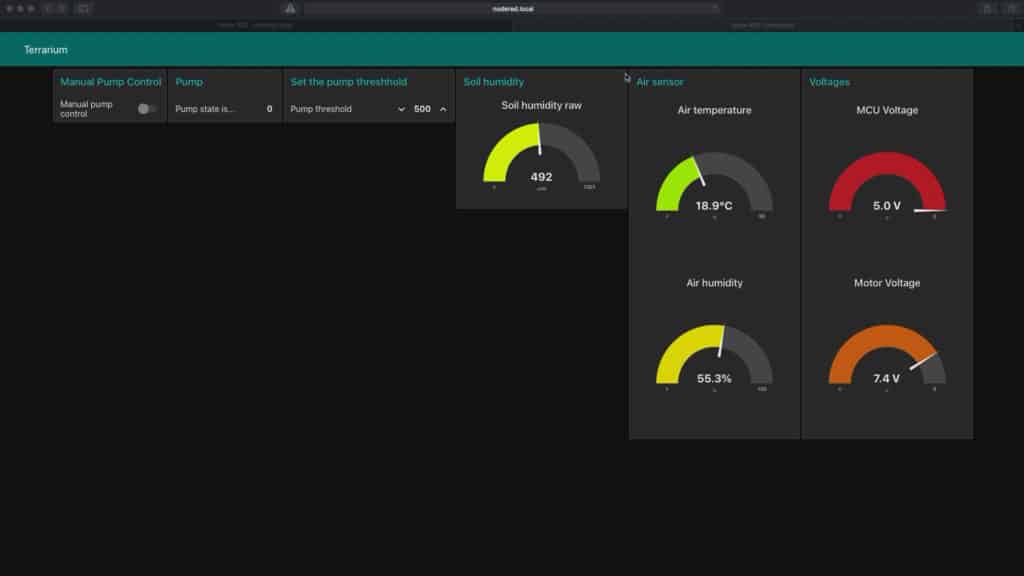
Node-RED is a lightweight graphical programming tool. You can use it to join a variety of hardware and software components and create applications such as the automated terrarium controller in this course.
Node-RED is used in a range of settings. Makers to create home automation applications and organisations use it to automate their factory floors, among many other possibilities.
The ESP32 is a powerful low-cost microcontroller with build-in Wifi that we can program with the familiar Arduino IDE. Its "call to fame" is that it makes it easy for anyone that is familiar with the Arduino to leverage their knowledge and create gadgets that need more memory and processing power than what the Arduino Uno can provide, in addition to Wifi and Bluetooth. All this at a lower price point.
Who is this course for?
To complete this project you do need to be comfortable with a few technologies and skills.
Here is a list:
If you have completed these two courses:
... or are confident that you have the skills listed above, then you are ready to start with this new project and challenge.
Why take this course?
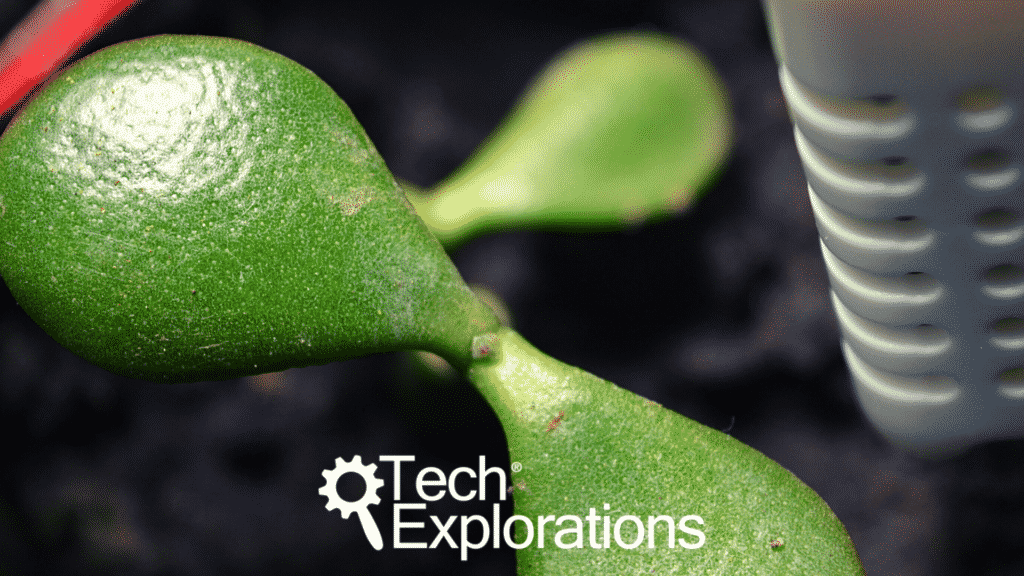
This course will guide you through the construction of an automated control system. The deliverable is a Terrarium controller.
Along the way, you will learn a great deal about useful technologies such as the Node Red programming environment and MQTT.
This course is perfect for Makers who are familiar with the ESP32 and are interested in learning how to use it alongside Node-RED.
A project like this gives us an opportunity to branch out and explore.
In this project, the primary learning objective is Node Red and MQTT. However, it presents an opportunity to learn more.
You will learn how to use Google’s Drive and Sheet APIs and IFTTT (If This Then That). These are excellent representative technologies of what is available to Makers right now.
Both technologies are mature, and very useful, no fluff.
With Node-RED, you will be able to easily integrate both in your flows.
What's in "Node-RED & ESP32"?
01 - Introduction
01.10 What is this course about?
01.20 Software you will need
01.30 Hardware you will need
01.40 How to get the most out of this course
02 - The completed controller circuit
02.10 The completed controller circuit
02.20 Setup the circuit on a breadboard
02.30 Use the PCB
02.40 Power supply
03 - The completed Node Red dashboard, flow and sketch
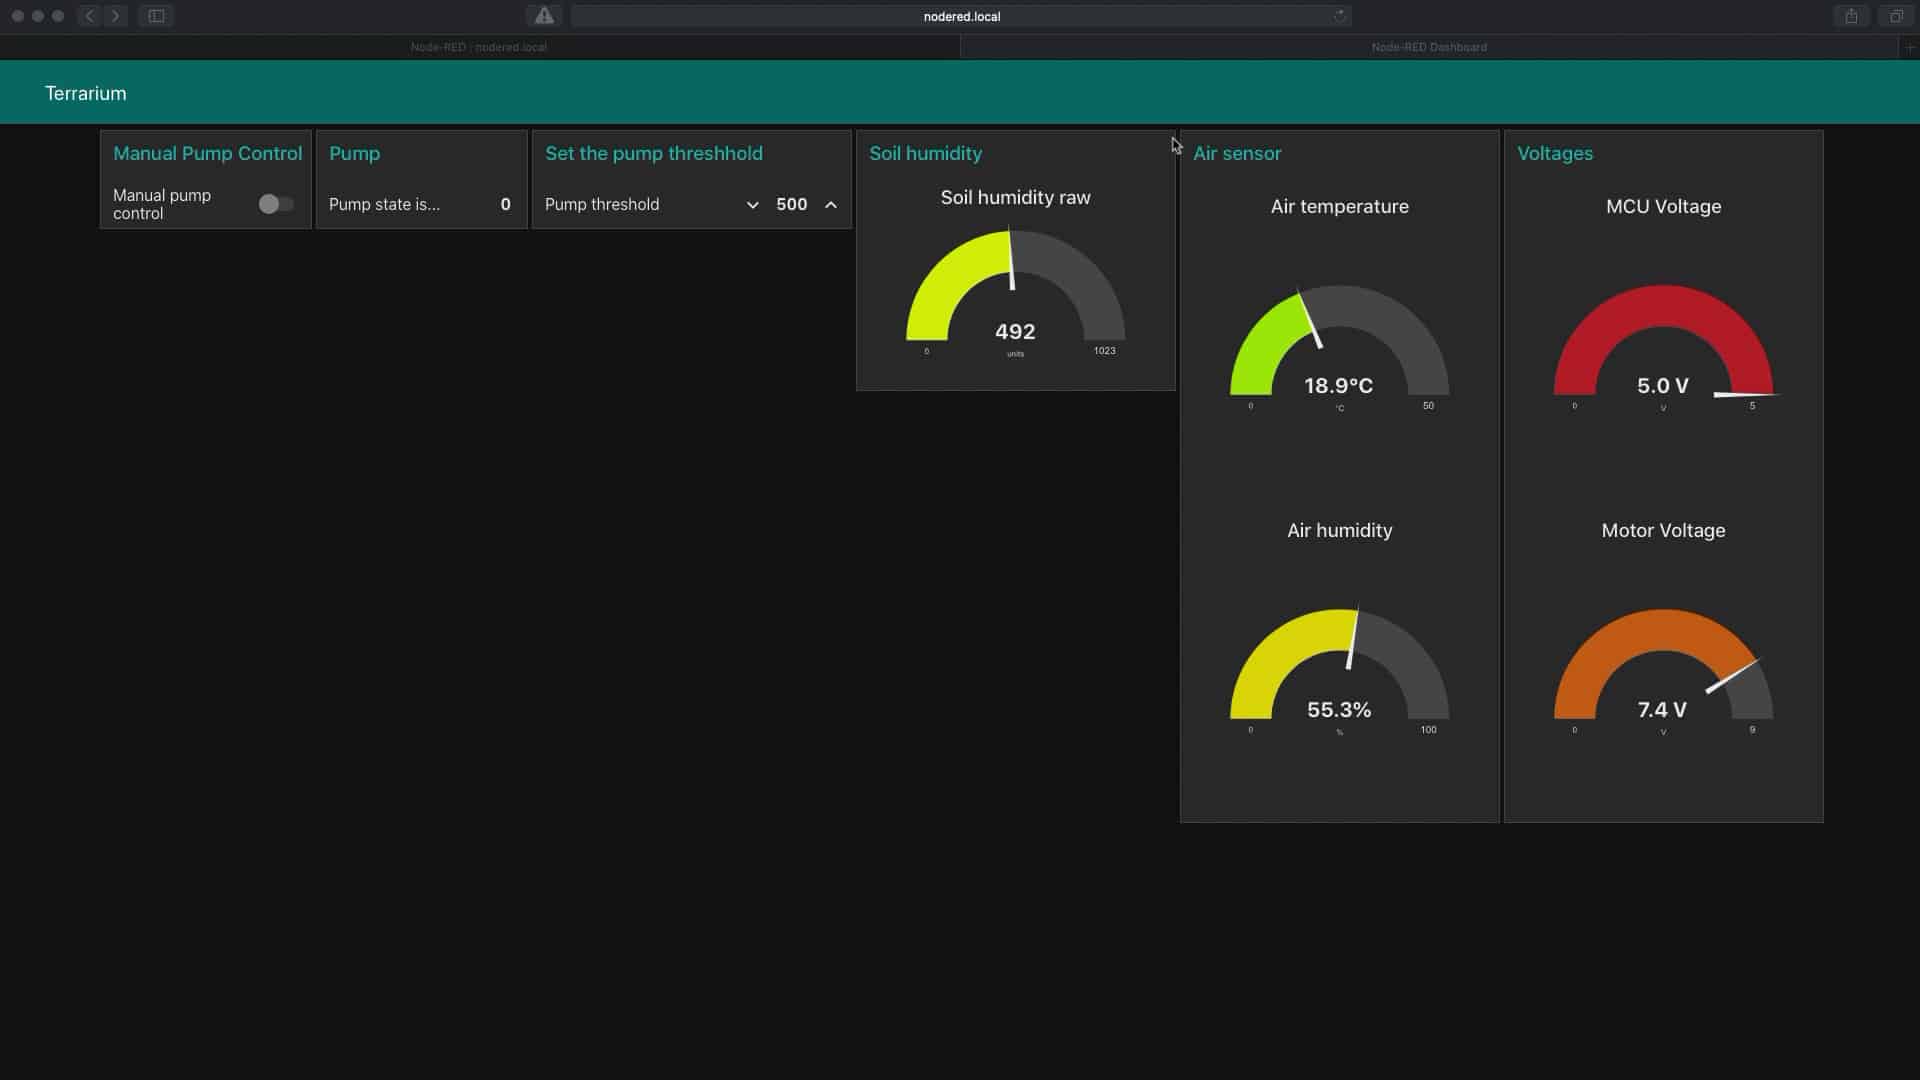
03.10 The Node Red dashboard
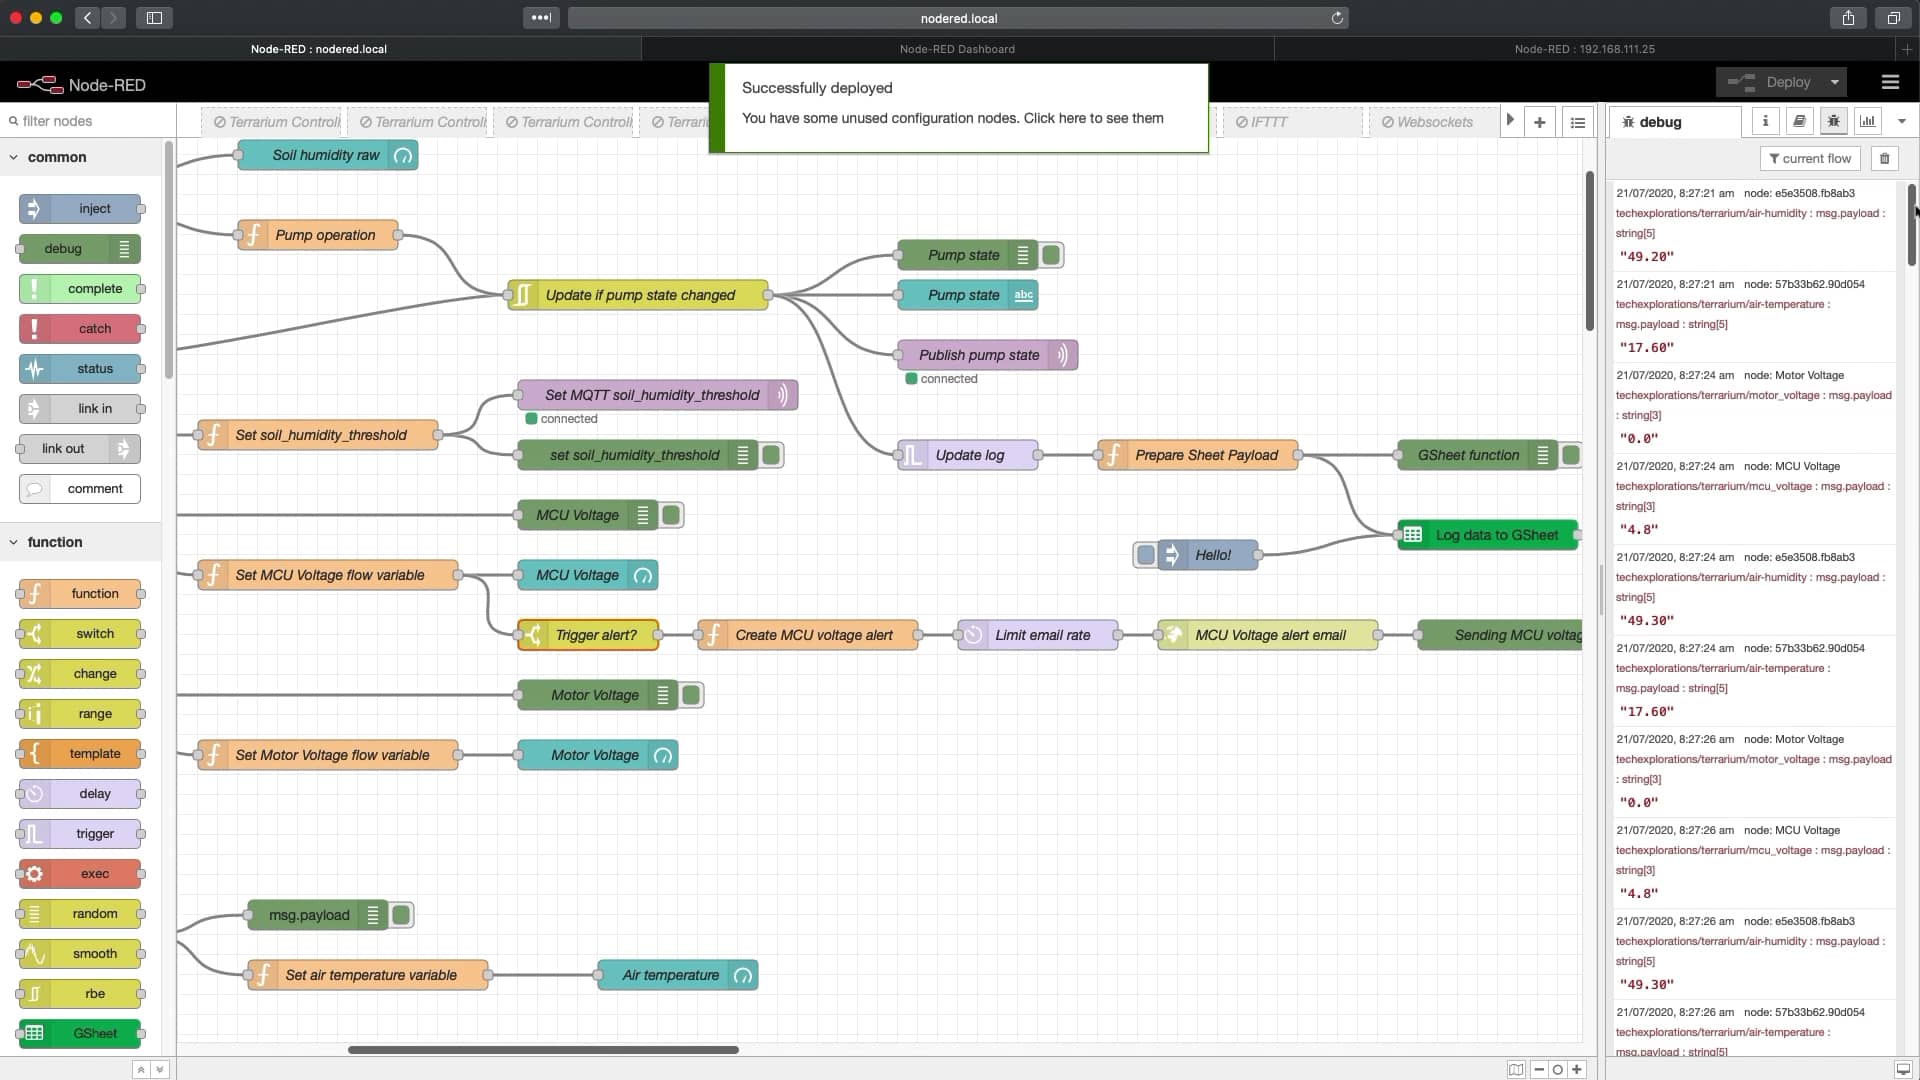
03.20 Walkthrough the Node Red controller flow
03.30 Walkthrough the ESP32 sketch
04 - Prepare your Raspberry Pi
04.10 Install Raspberry Pi OS
04.20 First boot and set hostname
05 - Getting started with Node-RED
05-10 Introduction to Node Red, examples and documentation
05-20 Install on the Raspberry Pi
05-30 Configuration
05-40 Nodes
05-50 Flows
05-60 Messages
05-65 Variables (Global, Flow, Node)
05-100 The "complete" node
05-110 The "catch" node
05-120 The "linkout" and "linkin" nodes
05-130 The "switch" node
05-140 The "range" node
05-150 The "delay" node
05-160 The "trigger" node
05-170 The "RBE" (Report by Exception) node
06 - Node Red dashboard
06-10 A review of the Dashboard
06-20 Text input and output
06-30 The button
06-40 The gauge and slider
06-60 The switch
06-70 The dropdown
06-80 The UI template
06-90 The form
07 - MQTT on the Raspberry Pi with Mosquitto
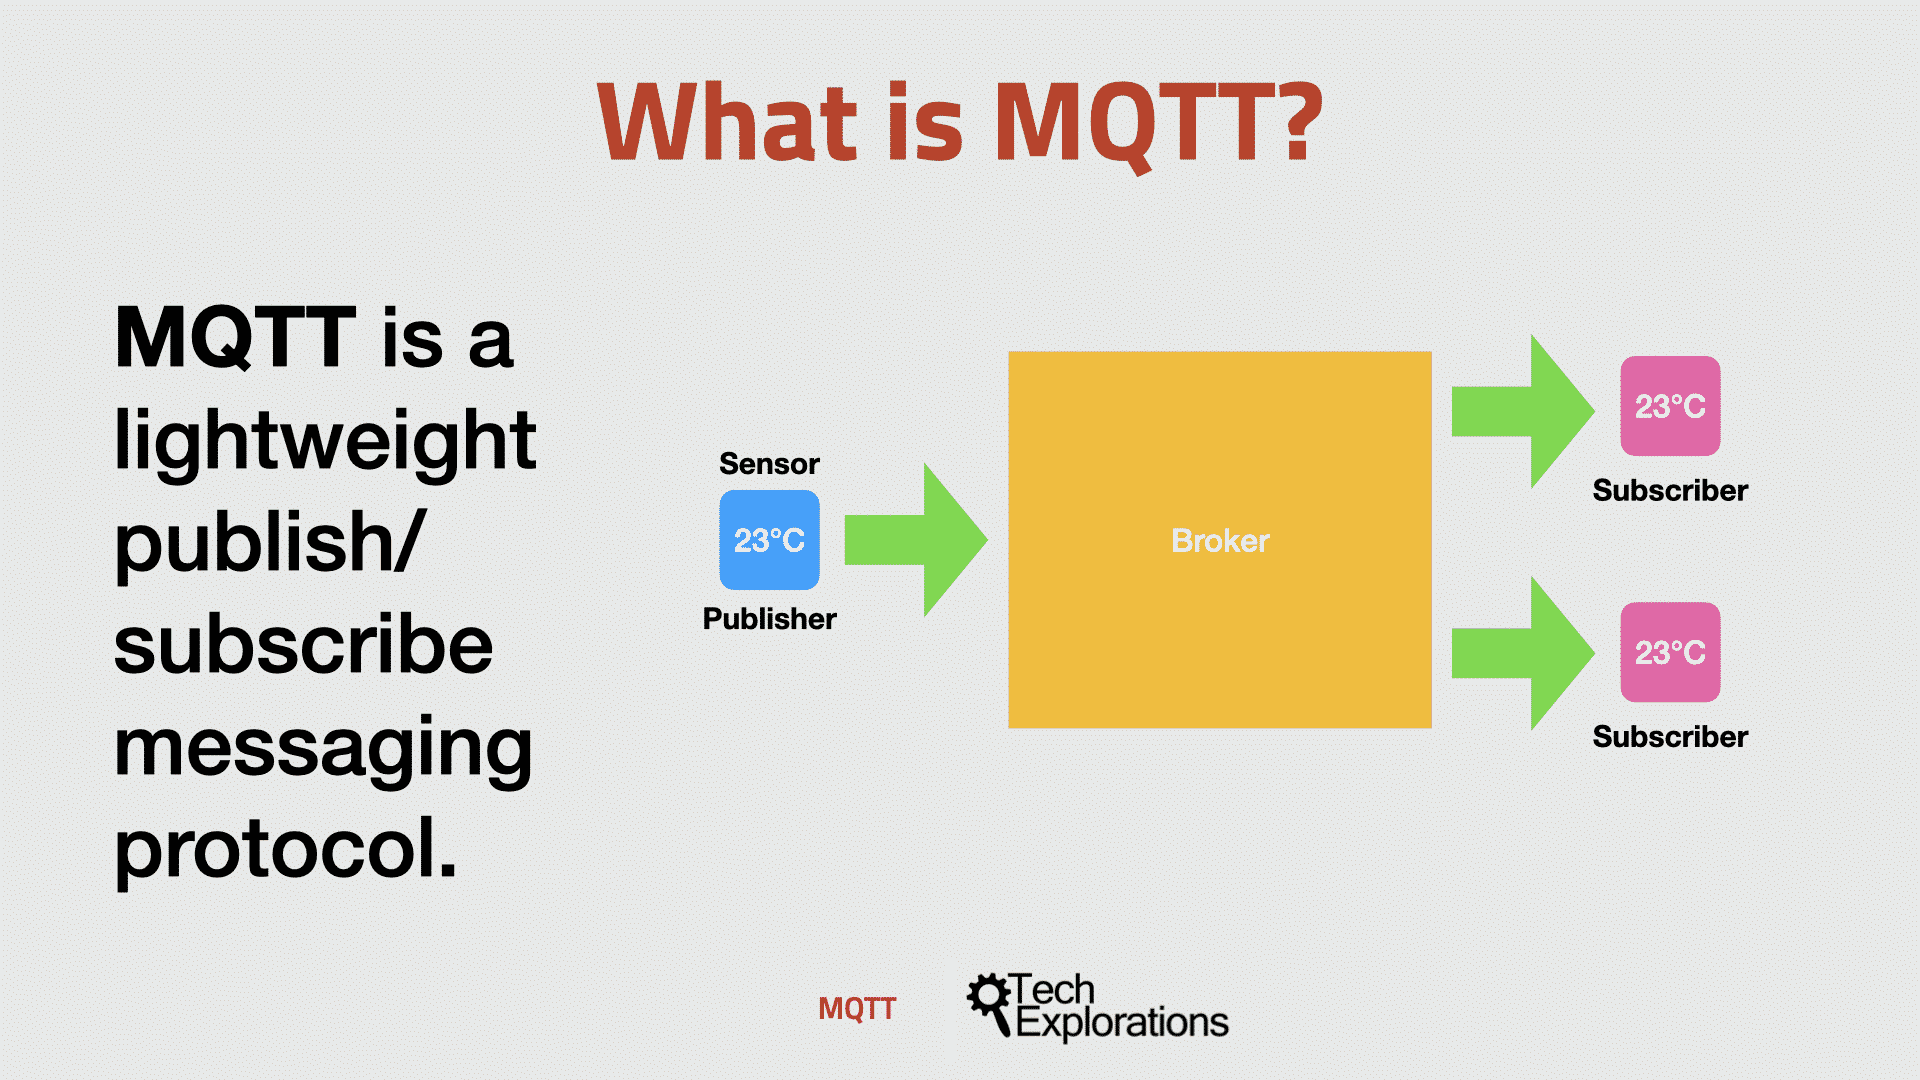
07-10 Quick introduction to MQTT
07-20 Install MQTT Mosquitto on the Raspberry Pi
07-30 Command line and MQTTBox examples
07-40 Mosquitto configuration and authentication
07-60 Subscribing and Publishing with authentication
08 - MQTT and Node-red experiments
08-10 The "MQTT in" node
08-20 The "MQTT out" node
08-30 MQTT Out DHT22 example flow
08-40 MQTT In DHT22 example flow
08-50 MQTT Dashboard slider example
09 - Terrarium project, prototype 1: soil moisture sensing
09-10 First prototype review
09-20 Circuit review
09-30 ESP32 sketch version 1
09-40 Node-red flow Part 1: pump control
09-50 Node-red flow Part 2: soil humidity
09-60 Test and recap
10 - Terrarium project, prototype 2: Voltage sensing
10-10 Voltage sensing for battery usage demonstration
10-20 Circuit review and simulation
10-30 Sketch review, version 2
10-40 Node Red flow review, version 2
10-50 Review and planning ahead
11 - Terrarium project, prototype 3: Google Sheet data logging
11-10 Record terrarium data in a Google sheet
11-20 The GSheet node and installation
11-30 Setup Google Sheet and access credentials
11-40 Flow review
11-50 Test, Review and planning ahead
12 - Terrarium project, prototype 4: Add humidity threshold control to Dashboard
12-10 Set the pump humidity threshold in the dashboard
12-20 Flow review, version 4
12-30 Sketch review, version 3
12-40 Review and planning ahead
13 - Add Task Scheduler
13-10 The objectives of this iteration
13-20 Add scheduler, Sketch review, version 4 (no change in flow)
13-30 Add auto-pump off, Sketch review, version 5 (no change in flow)
13-40 Test and planning ahead
14 - Setup the terrarium with the actual soil sensor 2 Lectures
14-10 The terrarium setup (2 jars, actual pump, actual soil sensor)
14-20 Test the terrarium
15 - Terrarium project, prototype 5: Add DHT22 sensor
15-10 The objective of this iteration
15-20 Circuit review
15-30 Sketch review version 6
15-40 Flow review version 5
15-50 Test and next steps
16 - Node-red network nodes
16-10 Objectives of this section
16-20 The "http request" node and dweet.io example
16-30 An example with IFTTT
16-40 The "websocket in" and "websocket out" node
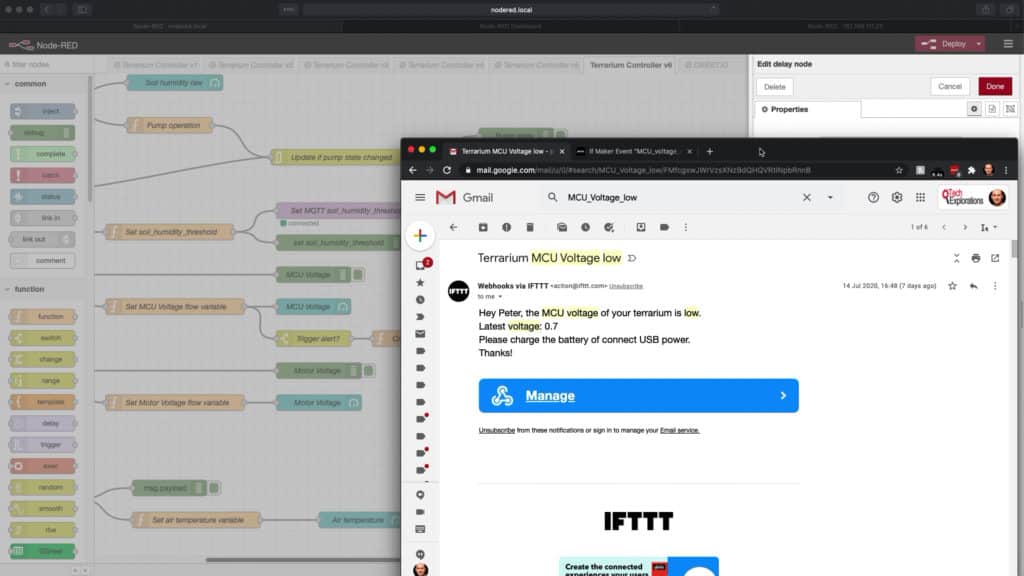
17 - HTTP request example: IFTTT Voltage low email notifications
17-10 The objective of this iteration
17-20 Flow review version 6
18 - Conclusion
Course details for MicroPython with the ESP32
MicroPython is a high-level programming language specifically designed for microcontrollers and resource-limited embedded devices. Think of MicroPython as "Python for Microcontrollers".
What MicroPython has "taken" from Python is the language architecture, the programming philosophy for code readability, and millions of programmers that already know how to use Python.
MicroPython is as easy as Python to learn, and follows Python’s tradition for excellent development tools and documentation.
Who is this course for?
This course is for anyone looking for the easiest (yet still powerful) way to program a micro-controller.
Familiarity with Python is not necessary - with this course you will learn everything you need.
If you already know Python, then this course will help you get started with MicroPython and use it to program the ESP32.
Ideally, you have a basic understanding of electronics, and are familiar with the Arduino platform*.
* If you are not familiar with the Arduino platform and have a basic understanding of electronics, I recommend you consider Basic Electronics for Arduino Makers and Arduino Step by Step Getting Started first.
Why take this course?
Because it will help you learn MicroPython on the ESP32 in a practical and enjoyable way.
Once you complete this course, you will be able to:
The course uses a hands-on approach with many mini-projects and two capstone projects that will help you consolidate your new knowledge.
Once you learn the basics of MicroPython, you can use your skills across multiple hardware targets.
At the time of publication of this course, MicroPython has support for the original Myboard v1 and D-series, as well as third-party boards such as the STM32 Nucleo and Discovery boards, the Espruino Pico, the Raspberry Pi Pico, the WiPy, the ESP8266 and ESP32, the TinyPico, and the BBC Micro:Bit.
And the list is growing.
What's in "MicroPython with the ESP32"?
Introduction
01.10 What is this course about?
01.20 What is uPython and why should you care?
01.30 Software you will need
01.40 Hardware you will need
01.50 How to get the most out of this course
01.60 Get the demo scripts for the course
The basics
Getting started with uPython
02.10 uPython vs Python
02.20 uPython resources
02.30 uPython microcontrollers
Working with Thonny IDE
03.10 Getting started with Thonny IDE for Python
03.20 How to install the MicroPython firmware to your ESP32
03.30 Setting an interpreter
03.40 How to write and execute a MicroPython program
03.50 Other views in Thonny IDE
03.60 Thonny IDE with Raspberry Pi Pico
03.70 Using Thonny IDE with BBC Micro:bit
03.80 Thonny IDE Advanced configuration
03.90 Find Python Packages at PyPi
MicroPython on the ESP32
04.10 The MicroPython shell
04.20 Uploading and downloading files with Thonny
04.40 MicroPython Programming with files
04.50 How to interrupt a running program
04.60 How to run a program at boot
04.70 How to debug MicroPython program
A Python (and MicroPython) quick start
05.10 Introduction to this section
05.20 Keywords
05.30 Comments
05.40 Variables and types
05.50 Operators
05.60 Strings and formatting
05.70 Lists, tuples, ranges
05.80 Dictionaries
05.90 Loops
05.100 Control with if ..elif.. else
05.110 Functions
05.120 Objects and classes
05.130 MicroPython coding considerations
Libraries
06.10 About MicroPython modules
06.20 Build-in modules
06.30 Community modules
06.40 How to install an external module
Hands-on experiments
Simple pin operations
07.10 Blink an LED with loop
07.20 Blink an LED with timer
07.30 Fade an LED with PWM
07.40 Read a button with loop
07.50 Read a button with hardware interrupt
07.60 Read a button with timer interrupt
07.70 Read a potentiometer
Sensors
08.10 DHT22 environment sensor
08.20 BME280 environment sensor
08.30 ESP32 internal touch sensor (capacitance sensor)
08.40 ADXL335 analog accelerometer
08.50 HC-SR04 ultrasonic distance sensor
Displays
09.10 2x16 LCD display with PCF8574 - Part 1: hardware I2C
09.12 2x16 LCD display with PCF8574 - Part 2: software I2C
09.20 0.96" OLED SSD1306 I2C
09.30 1.3" OLED SH1106 I2C
09.40 0.96" OLED SSD1315 I2C
09.50 Neopixels
09.60 MAX7219 8x8 Matrix display - Part 1: random pixels
09.62 MAX7219 8x8 Matrix display - Part 2: text
Motors
10.10 Mini servo motor
10.20 DC motor with DRV8871
Wi-Fi
11.10 How to use Wi-Fi: an introduction
11.20 Read text from a file with HTTP GET
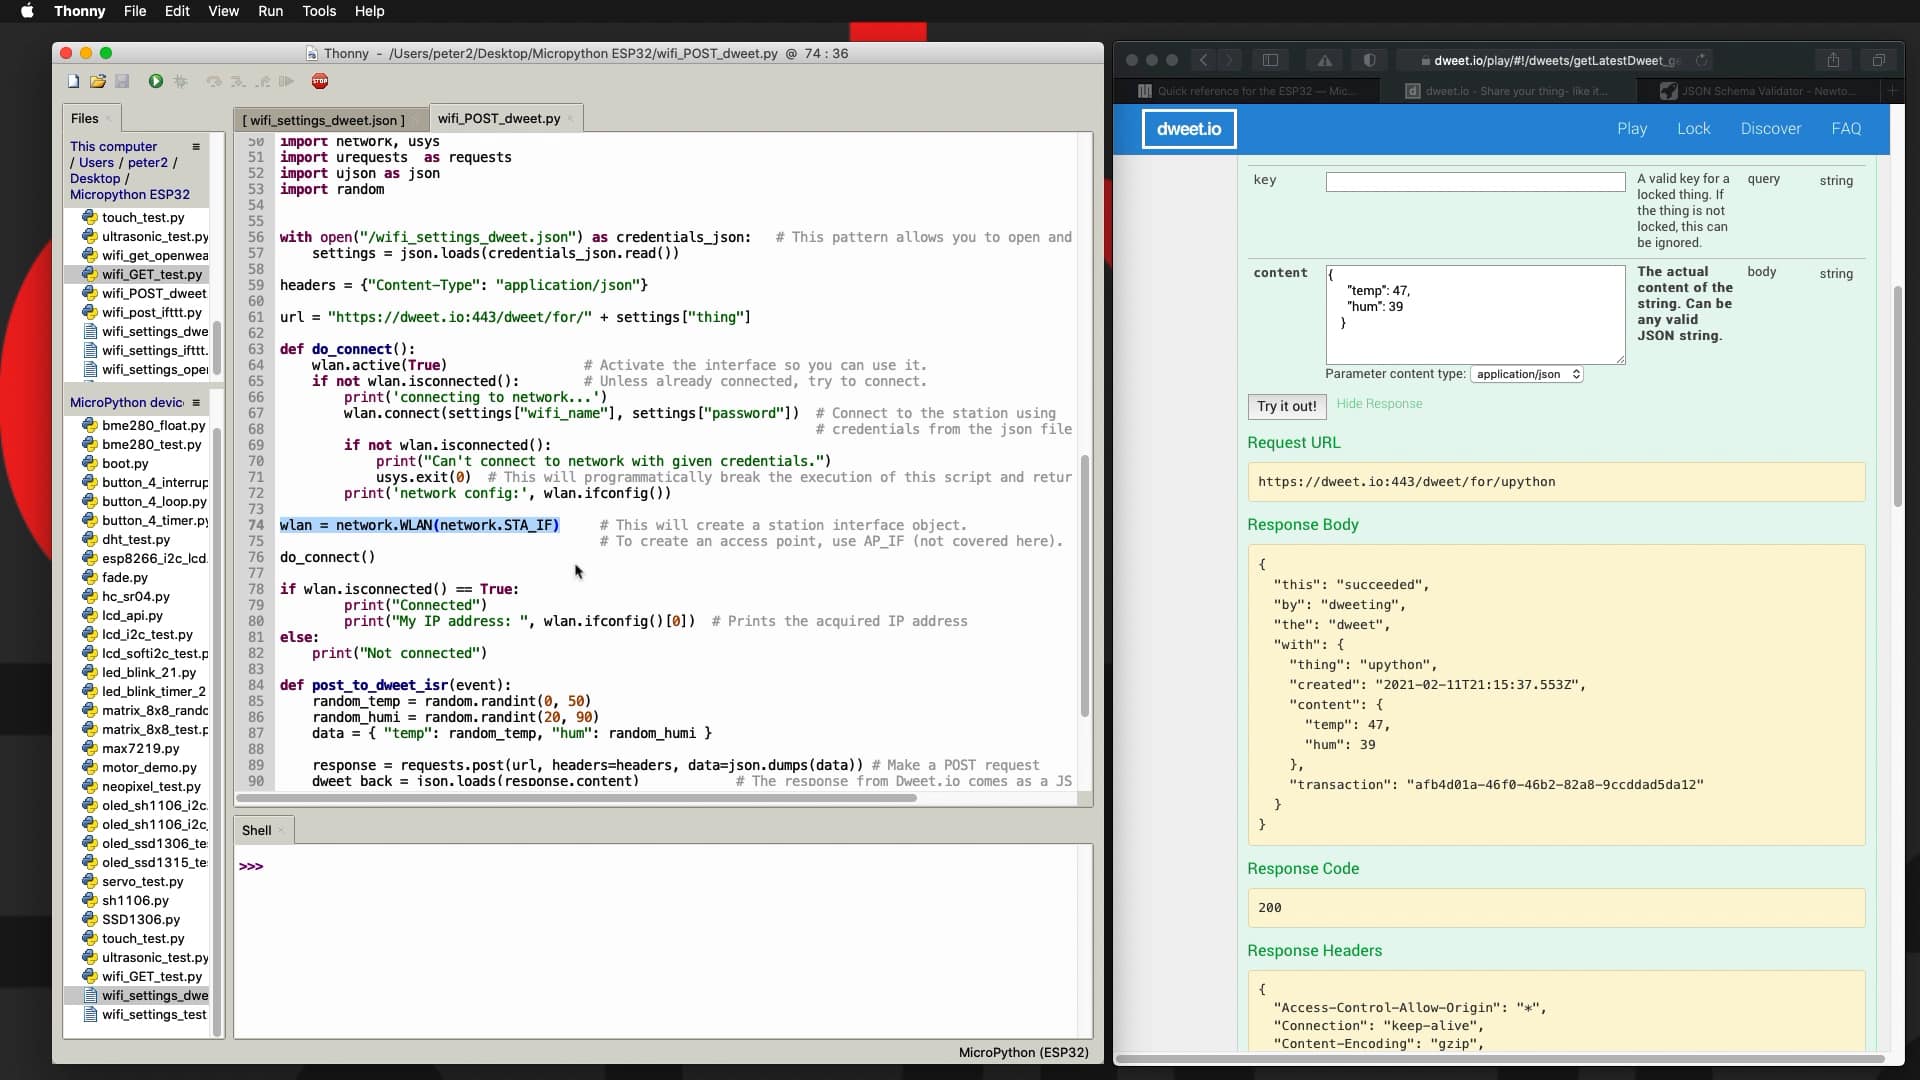
11.30 Make a POST request to Dweet
11.40 Make a POST request to IFTTT
11.50 Get current weather from OpenWeatherMap
Other capabilities
12.10 Hardware Timers
12.20 CPU clock frequency control
12.30 Hall effect sensor
12.40 Raw temperature sensor
12.50 Deep-Sleep and light-sleep - Part 1
12.52 Deep-Sleep and light-sleep - Part 2: experiments
12.60 Reset
12.70 RTC with manual setting
12.72 RTC with ntptime
12.80 Write-append sensor data to a CSV file
12.82 Read sensor data from a CSV file
Capstone projects
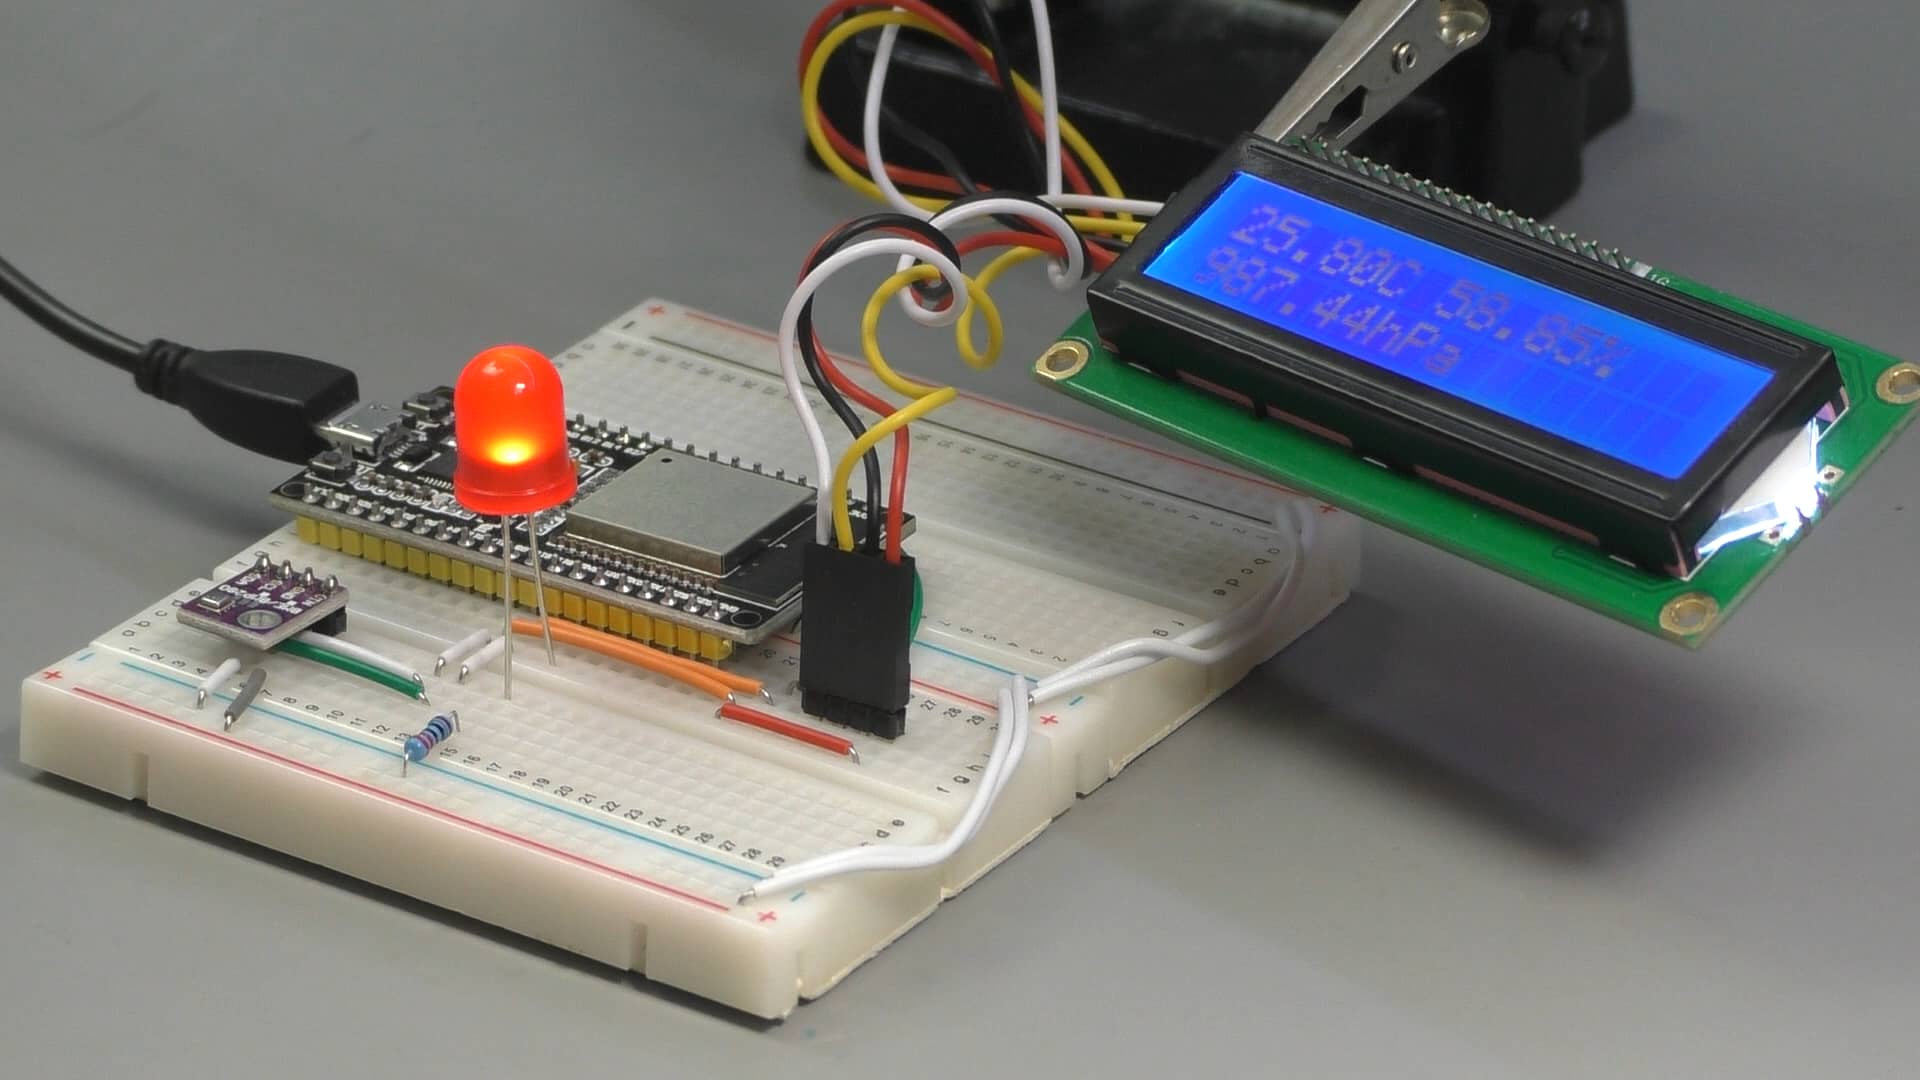
Sensor + LCD with the ESP32
13.10 What is this project about?
13.20 Wiring
13.30 Script
An example modular script
14.10 What is this mini-project about?
14.20 Wiring
14.30 Script v1: single file
14.40 Script v2: modular
Bonus content
Raspberry Pi Pico Sensor + LCD
15.10 What is this mini project about?
15.20 Quick introduction to the Raspberry Pi Pico
15.30 Install the MicroPython firmware
15.40 Wiring
15.50 Script
MicroPython on the Micro:Bit
16.10 What is this section about?
16.20 Quick introduction to the Micro:bit
16.30 Setup Microbit for Thonny and MicroPython
16.40 Blink internal LED
16.50 Blink external LED
16.60 LED matrix array
16.70 Neopixels
16.80 Buttons
16.90 Accelerometer and gestures
16.100 Magnetometer and compass
16.110 OLED SSD1306
Hardware and Software requirements
Hardware Requirements
To complete this course, you will need an ESP32 development board and various peripheral components (like motors and displays).
You will also need common electronics workbench items such as breadboard, jumper wires and power supplies.
This course bundle does not include any hardware!
Please source your own hardware from your preferred retailer.
You can find a detailed list of hardware in the individual course hardware pages:
Software requirements
Each course in this bundle uses a specific range of software tools, like the Arduino IDE, the MS Code + Platform IO editor, and the NodeRed server.
All of this software is free, and each course contains content that shows you how to install and use them.
You will not need to purchase any software for the purpose of completing any of the courses in this bundle.
Purchase this course bundle
Here's what you are getting:
The course instructor

The course instructor is Peter Dalmaris, PhD.
Peter has created over 20 other courses on technology education.
He is the author of Maker Education Revolution, a book on how making is changing the way we learn and teach.
He is also the host of Stemiverse, a podcast in which he discusses education and STEM with the shakers and movers of technology and science education from around the world.
Copyright 2024, Tech Explorations - Privacy

