
unleash your esp32
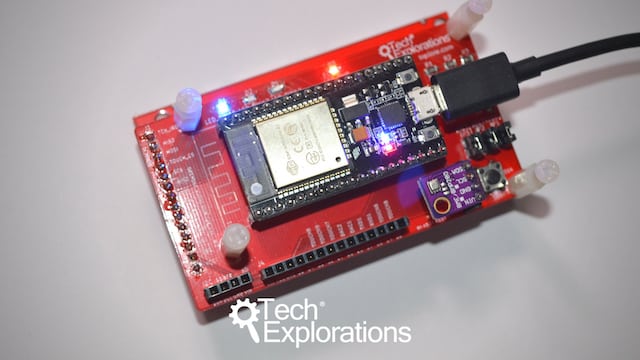
Are you ready to take your ESP32 skills past simple circuits and sketches?
A new learning adventure awaits you.
Now that you have learned the basics of the ESP32, it is time to experience the true power of this technology.
It is time to create an application that will stretch your existing knowledge and skills.
An application that will introduce you to new possibilities.
With ESP32 Unleashed, you have this opportunity.
ESP32 Unleashed give you a challenging project and the guidance you need to complete it.
A project that combines...
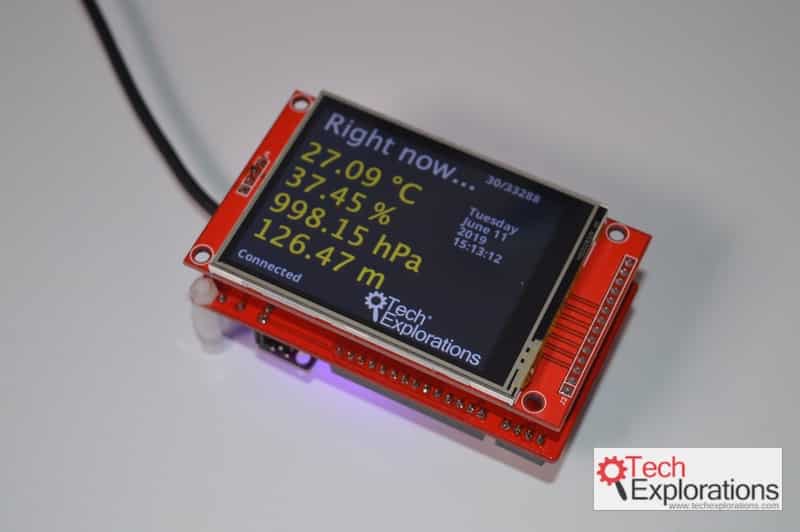
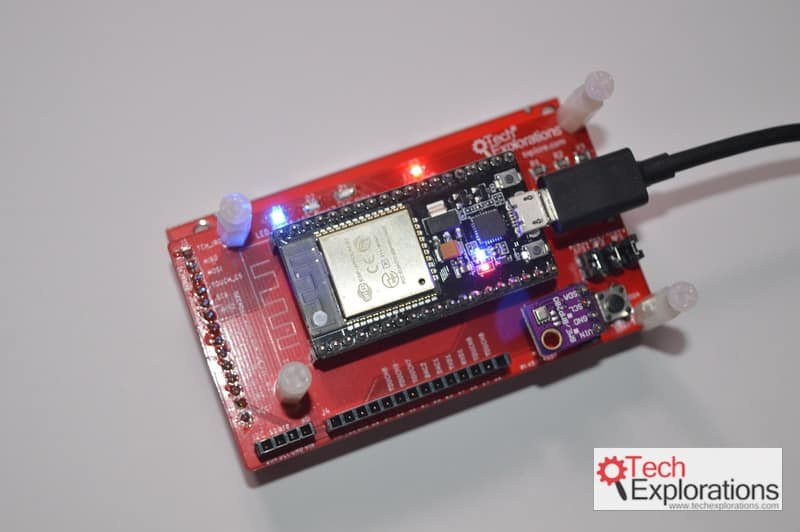
...to deliver a real, useful, working gadget.
A project like this can stretch your hungry mind and fill it with new delicious knowledge.
ESP32 Unleashed is a project course
This course is perfect for people familiar with the ESP32, especially graduates of ESP32 For Busy People.
It is a guided project, designed to teach you how to use modern tools to create modern embedded applications based on the ESP32.
Course hardware requirements
To complete this course, you will need a few hardware components.
You can find a list here (this page will open in a new browser window).
Are there any prerequisites?
Yes. To complete this course, you will need to be familiar with the ESP32 dev kit.
If you are not familiar with the ESP32 dev kit, consider completing ESP32 For Busy People before enrolling to ESP32 Unleashed.
You can take advantage of the ESP32 Unleashed launch discounting and purchase both at checkout.
In this course, you will learn how to make an IoT gadget.
You'll use the knowledge you acquired in ESP32 For Busy People.
You'll learn new knowledge so that you can integrate new components and tools.
This course is action-packed. Here are some highlights:
-
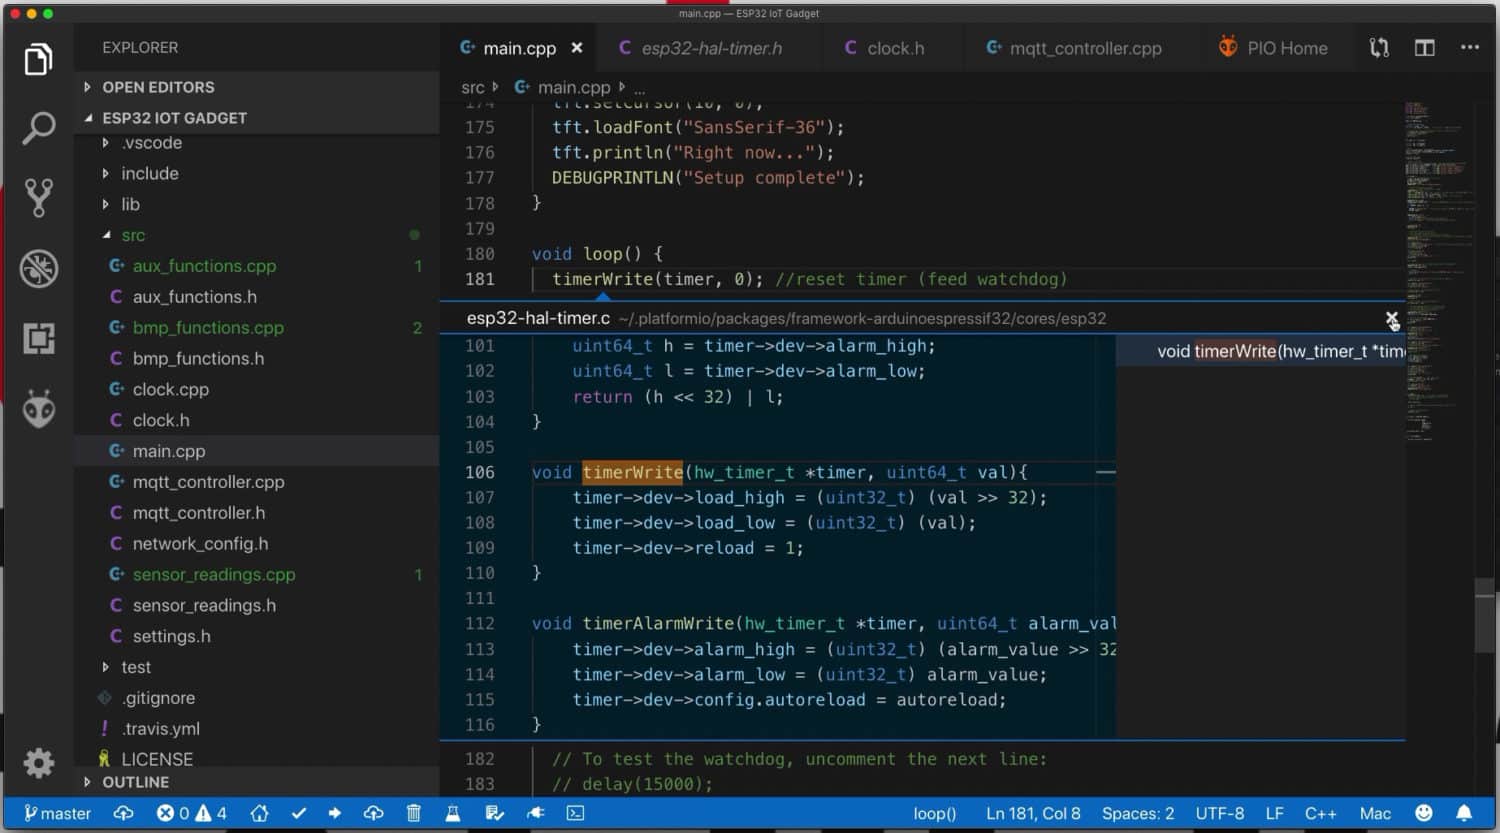
1You'll use PlatformIO, a fully-featured, modern development environment, running inside Microsoft Visual Studio Code, an excellent graphical programming editor, in the place of the Arduino IDE. Both PlatformIO and MS Code are free applications, and with them, you'll be able to create applications that can take advantage of the capabilities of the ESP32.
-
2The gadget that you'll create in this course will make use of three Cloud-based platforms: AdafruitIO, If This Then That, and Google Assistant, to implement modern IoT capabilities.
-
3You will learn how to create reliable and feature-rich applications using techniques like software watchdogs, ESP32 internal resources like the EEPROM, and peripherals like a TFT touch screen.
As always, the course follows the familiar Tech Explorations format, which includes all schematic wiring diagrams and demo sketches, a logical course structure, high-quality video and audio, and thoughtful and calm delivery.
In addition, in this course, you can also download the complete PlatformIO project file, which also includes every single Git commit I have made during the recording of the lectures.

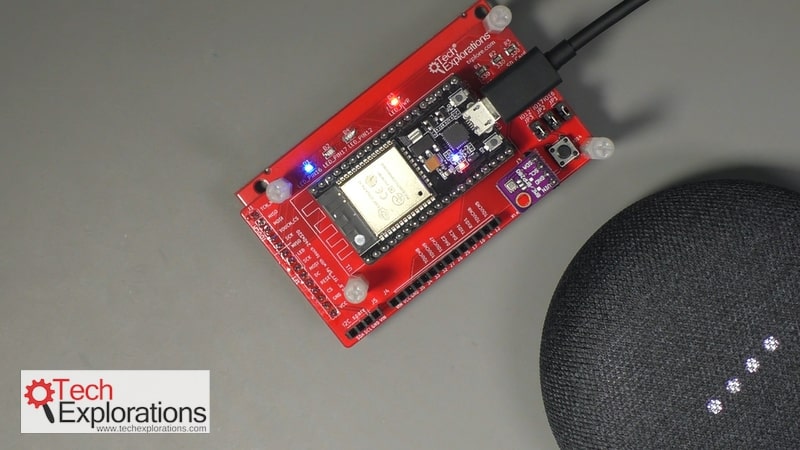
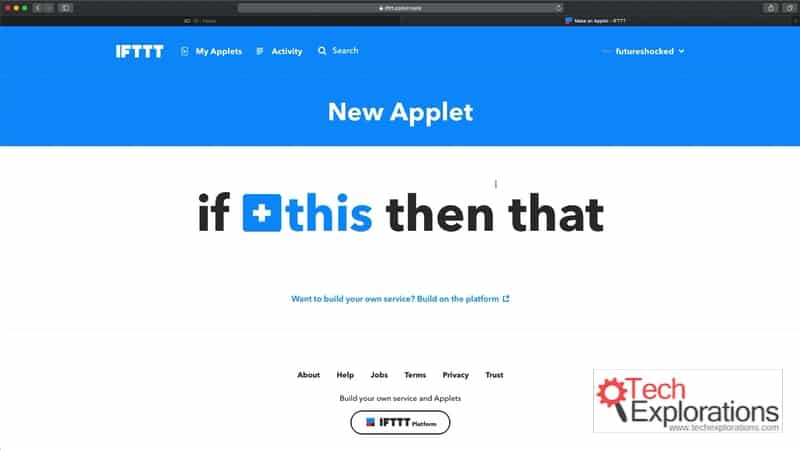


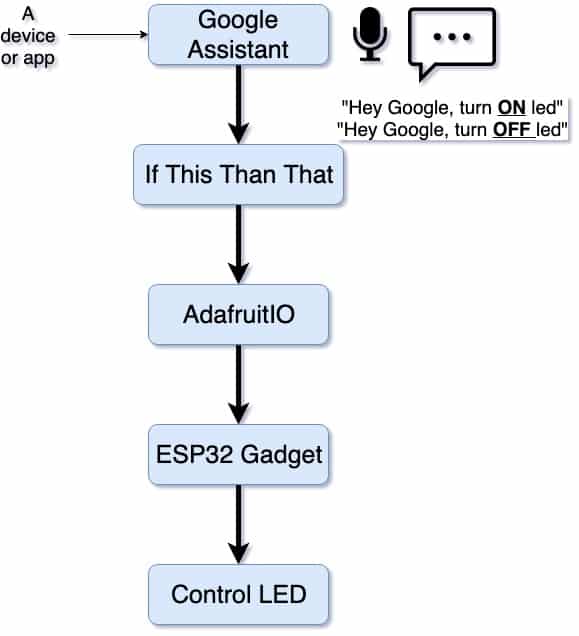
What is this course about and what to expect?
Here's what you're getting:
Which option is best for you?
Solo
Once-off payment, best for self-sufficient learners on a budget.
...
Once-off.
...
Once-off.
Community
Best for the social learner: be a member of the course community.
...
Once-off.
...
Once off.
Mentor
Get one-on-one live meetings with a mentor, learn to master.
US$299
US$299
This button will take you to Stripe, our payments processor.
Consider a subscription
Did you know, you can get a subscription for immediate access to this and 20+ of our courses. All for a low monthly payment, cancel anytime.
What's in this course?
01 - Introduction
01.10 What is this course about?
01.20 Software you will need
01.30 Hardware you will need
01.40 How to get the most out of this course
01.50 Why use PlatformIO?
02 - Walk-through the project
02.05 Assembly
02.07 The ESP32 board breakout
02.10 A demo of the gadget
02.20 Walk-through the multi-file Arduino project
02.30 Challenges
02.40 The conversion plan
04 - Setup PlatformIO and MS Code
04.10 Install MS Code (Mac OS)
04.12 Install MS Code (Windows 10)
04.60 MS Code essentials
05 - A C++ primer for Arduino makers who want to use Platform IO
05.10 What is this section about
05.20 Pointers, an introduction
05.22 Pointers, demonstration
05.40 Splitting a program into small files, an introduction
05.42 Splitting a program into small files using the Arduino framework
05.44 Splitting a program into small files using normal C++
05.50 Namespaces, an introduction
05.52 Namespaces, demonstration
06 - Prototype 1: Getting started with the project
06.10 Objective: how to setup a new project
06.20 Setup project
06.30 Test
07 - Prototype 2: Switch to multiple files, add version control
07.10 Objective: why multiple files and Git
07.20 Create the Git repository
07.30 Split main.cpp into multiple files
07.40 Test
07.50 How to use Git version control
08 - Prototype 3: TFT display
08.10 Objective: activate the display
08.20 How to use the TFT display
08.30a Execute part a
08.30b Execute part b
08.40 Test
08.50 Merge tft_setup branch to master
09 - Prototype 4: SPIFFS and fonts
09.10 Objective: How to use various fonts
09.20 How to create a custom font
09.30 Upload the fonts to SPIFFS
09.40 Apply the custom fonts in the app
09.50 Test
09.60 Merge fonts branch to master
10 - Prototype 5: Images
10.10 Objective: displaying graphics in the TFT
10.20 Upload the image file to SPIFFS
10.30 Edit the application code
10.40 Test
10.50 Merge working and master branches
11 - Prototype 6: Task scheduler
11.10 Objective: why use a task scheduler?
11.20 How to use the task scheduler
11.30 Execute
11.40 Test
11.50 Merge working and master branches
12 - Prototype 7: Wifi and Clock
12.10 Objective: showing the time without additional hardware
12.15 Setup Wifi
12.20 The clock library and operation, Internet time
12.30 Wifi and Clock Test
12.40 Merge working and master branches
13 - Prototype 8: AdafruitIO via MQTT
13.10 Objective
13.20 What is MQTT?
13.30 What is AdafruitIO?
13.40 Implement
13.50 AdafruitIO and MQTT Test
13.60 Merge working and master branches
14 - Prototype 9: Wifi status display
14.10 Objective: why show the connection status on the display?
14.20 Execute
14.30 Test
14.40 Merge working and master branches
15 - Prototype 10: EEPROM
15.10 Objective: why use EEPROM?
15.20 EEPROM in the ESP32
15.30 Execute
15.40 Test
15.50 Merge working and master branches
16 - Prototype 11: Watchdog
16.10 Objective: what is a watchdog?
16.20 How to implement a watchdog
16.30 Execute
16.40 Test
16.50 Merge working and master branches
17 - Prototype 12: Touch interface
17.10 Objective: create a hotspot on the display
17.20 The TFT capacitive touch interface
17.30 Execute
17.40 Test
17.50 Merge working and master branches
18 - Prototype 13: MQTT response and Google Assistant
18.10 Objective: control the gadget with voice commands
18.20 Setup IFTTT with Google Assistant and AdafruitIO
18.30 Test IFTTT
18.50 Execute
18.60 Test
18.70 Merge working and master branches
19 - Tidying up
19.10 The final version of this project
31 - Library automatic update
31.10 Automatic update of a library
31.20 Testing
The course instructor

The course instructor is Peter Dalmaris, PhD.
Peter has created over 20 other courses on technology education.
He is the author of Maker Education Revolution, a book on how making is changing the way we learn and teach.
He is also the host of Stemiverse, a podcast in which he discusses education and STEM with the shakers and movers of technology and science education from around the world.
Here's what you're getting:
Which option is best for you?
Solo
Once-off payment, best for self-sufficient learners on a budget.
A$24.85
Once-off.
A$24.85
Once-off.
Community
Best for the social learner: be a member of the course community.
A$82.83
Once-off.
A$82.83
Once off.
Mentor
Get one-on-one live meetings with a mentor, learn to master.
US$299
US$299
This button will take you to Stripe, our payments processor.
Copyright 2025, Tech Explorations - Privacy