Arduino for beginners with GROVE
This course will introduce you to the Arduino by teaching you how to use all of the hardware that comes with the innovative Grove Beginner Kit for Arduino.
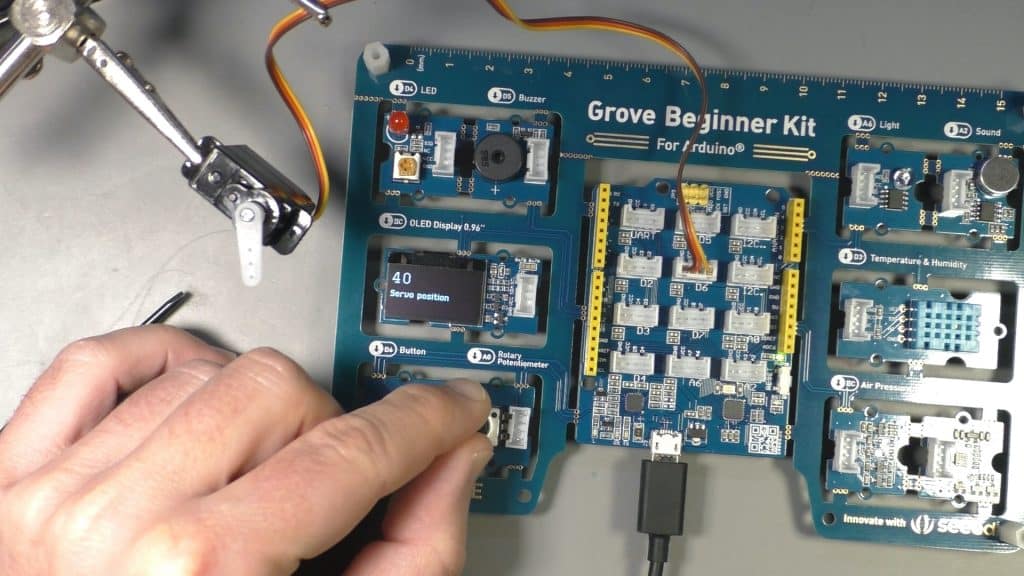
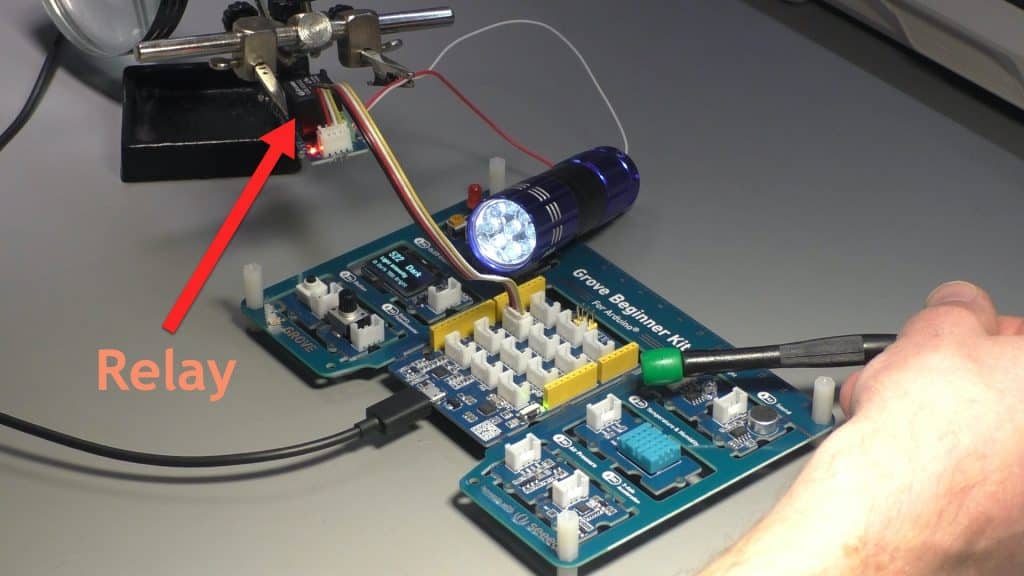
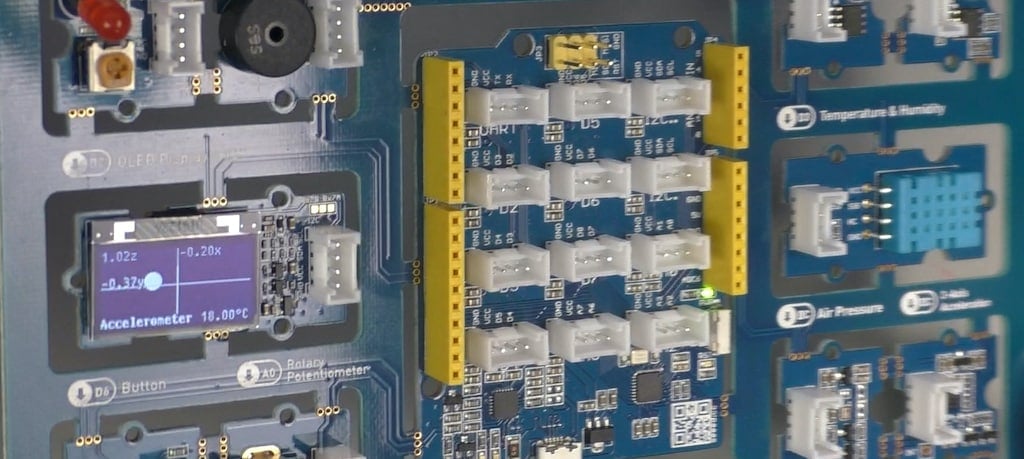
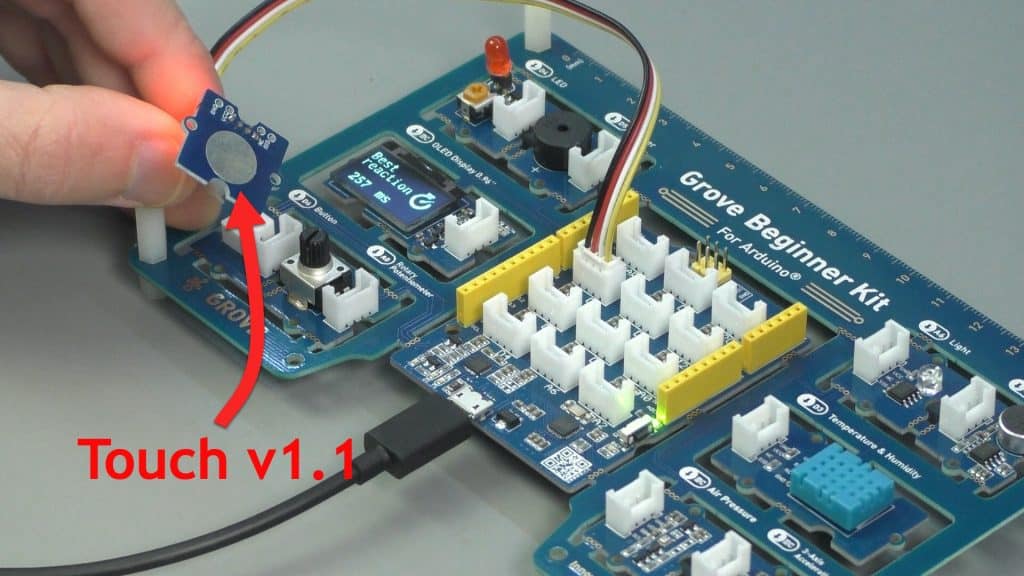
The Grove Beginner Kit consists of a single printed circuit board which contains an Arduino board and many common sensors and actuators.
This Kit is ideal for beginners who want to learn electronics and programming without worrying about wires and loose connections.
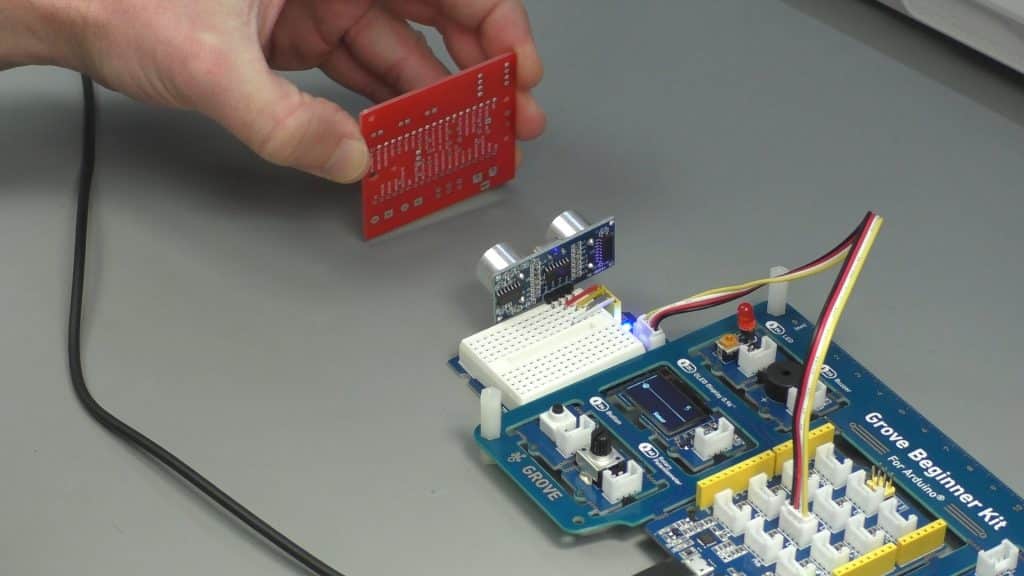
The main objective of this course is to teach you how to use all of the hardware that is included in the Grove Beginner Kit for Arduino in addition to a few extra components.
For each component, you will learn how to use it on its own, and then how to combine it with other components to create interesting gadgets and experiments.
The innovation of the Grove Beginner Kit is that while all of its hardware comes as distinct modules, they are already connected to the included Arduino via traces on the printed circuit board.
This means that you do not need to do any wiring at all.
The various sensors and actuators, even the bitmap display, are already connected and ready to use.
As a result, in this course, you will not need to do any wiring to use any of the components on the Grove Beginner Kit printed circuit board. This will save you a lot of time without affecting the quality of your learning.
Thanks to the Grove kit, you learning will be better because you will be able to concentrate on the software programming part, and on being creative.
This course is practical.
You will learn by completing a series of mini-projects.
Each mini-project is small enough so that you can complete it in a single session.
Most mini-projects guide you through a series of improvements so that you can gently learn new knowledge based on knowledge that you gained in previous steps.
This ensures that there will be no gaps in knowledge, and no frustration.
Here's what you're getting:
Which option is best for you?
You can enroll to our courses in one of three options: Solo, Community, and Mentor. For more information, please see this explainer page.
Solo
Once-off payment, best for self-sufficient learners on a budget.
...
Once-off.
...
Once-off.
Community
Best for the social learner: be a member of the course community.
...
Once-off.
...
Once off.
Mentor
Get one-on-one live meetings with a mentor, learn to master.
US$299
US$299
This button will take you to Stripe, our payments processor.
Consider a subscription
Did you know, you can get a subscription for immediate access to this and 20+ of our courses. All for a low monthly payment, cancel anytime.
Do you prefer to learn on Udemy?
On Udemy you will find all of the Tech Explorations courses at the lowest possible price.
Each course is individually priced by Udemy based on your location. We don't have control of the price on Udemy and so we can't display it on this page.
Click on the button below to open a new window where you can see the price of this course on the Udemy website.
What's in this course?
01 - Introduction
01.10 What is this course about?
01.20 Software you will need
01.30 Hardware you will need
01.40 A quick review of the Grove Beginner Kit
01.50 How to get the most out of this course
02 - Control an LED with the potentiometer and button
02.10 What is this mini project about?
02.20a Basics- How to use the LED - DigitalWrite
02.20b Basics- How to use the LED - AnalogWrite
02.30 Basics: How to use the button
02.40 Basics: How to use the potentiometer
02.70 Experiment 1: Control the LED blink rate
02.80 Experiment 2: Control the LED brightness
03 - Make noise with buzzer, potentiometer and button
03.10 What is this section about?
03.20 Basics: How to use the buzzer
03.30 Experiment 1: Make random noises
03.40 Experiment 2: Frequency sweep with potentiometer
03.50 Experiment 3: Music with button
04 - Draw text in the OLED
04.10 What is this mini project about?
04.20 How to use the OLED
04.30 Experiment 1: Draw text
04.40 Experiment 2: Draw text with potentiometer
04.50 Experiment 3: Draw a counter
05 - Draw graphics in the OLED
05.10 What is this mini project about?
05.20 How to draw graphics on the LCD
05.30 Experiment 1: Draw boxes
05.40 Experiment 2: Draw circles
05.50 Experiment 3: Draw lines
05.60 Experiment 4: Draw pixels
05.70 Experiment 5: Graphics demo
06 - Control a servo motor
06.10 What is this mini project about?
06.20 Experiment 1: How to use the servo motor, servo sweep
06.40 Experiment 2: Servo control with potentiometer
06.50 Experiment 3: Servo control with pre-programmed moves
06.60 Experiment 4: Servo control with OLED position indication
06.70 Experiment 5: Servo control with OLED position indication improved
07 - Light and Relay
07.10 What is this mini project about?
07.20 How to use the light sensor
07.30 Experiment 1: Show light sensor data in LCD
07.40 Experiment 2: Determine bright or dark
07.50 How to use a relay
07.60 Experiment 3: Turn on a flash light using the light sensor and a relay
08 - Sensors: Temperature, humidity and air pressure
08.10 What is this mini project about?
08.20 Experiment 1: How to use the temperature and humidity sensor DHT11
08.30 Experiment 2: Show temperature, humidity in OLED with DHT11
08.40 Experiment 3: How to use the BMP280
08.50 Experiment 4: Show air pressure and temperature in the OLED
08.60 Experiment 5: Show all environment variables in the OLED
09 - Sensors: Sound
09.10 What is this mini project about?
09.20 Experiment 1: How to use the sound sensor
09.30 Experiment 2: Show sound sensor data in the OLED
09.40 Experiment 3: Turn on an LED with a loud sound
10 - Accelerometer
10.10 What is this mini project about?
10.20 Experiment 1: How to use the accelerometer
10.30 Experiment 2: Show acceleration sensor data in OLED
10.40 Experiment 3: Show acceleration animation
10.50 Experiment 4: Detect a collision
10.60 Experiment 5: Detect resting side
11 - Ultrasonic distance sensor
11.10 What is this mini project about?
11.20 Experiment 1: How to use the ultrasonic sensor (not a Grove component)
11.30 Experiment 2: Display distance in the OLED
12 - Practice Mini Project: Weather forecast gadget
12.10 What to do
12.20 Sample Solution
13 - Practice Mini Project: Electronic Dice
13.10 What to do
13.20 Sample solution
14 - Practice Mini Project: Reaction game
14.10 What to do
14.20 Sample Solution
Bonus
15 - How to draw custom graphics
15.10 About custom graphics
15.20 How to draw custom graphics
What hardware will you need?
To complete this course, you will need the Grove Beginner Kit for Arduino and a few optional additional components.
This hardware is not included in the price of this course.
You can find more details in the course hardware page.
The course instructor

The course instructor is Peter Dalmaris, PhD.
Peter has created over 20 other courses on technology education.
He is the author of Maker Education Revolution, a book on how making is changing the way we learn and teach.
He is also the host of Stemiverse, a podcast in which he discusses education and STEM with the shakers and movers of technology and science education from around the world.
Copyright 2025, Tech Explorations - Privacy

