Arduino Step by Step Getting Serious
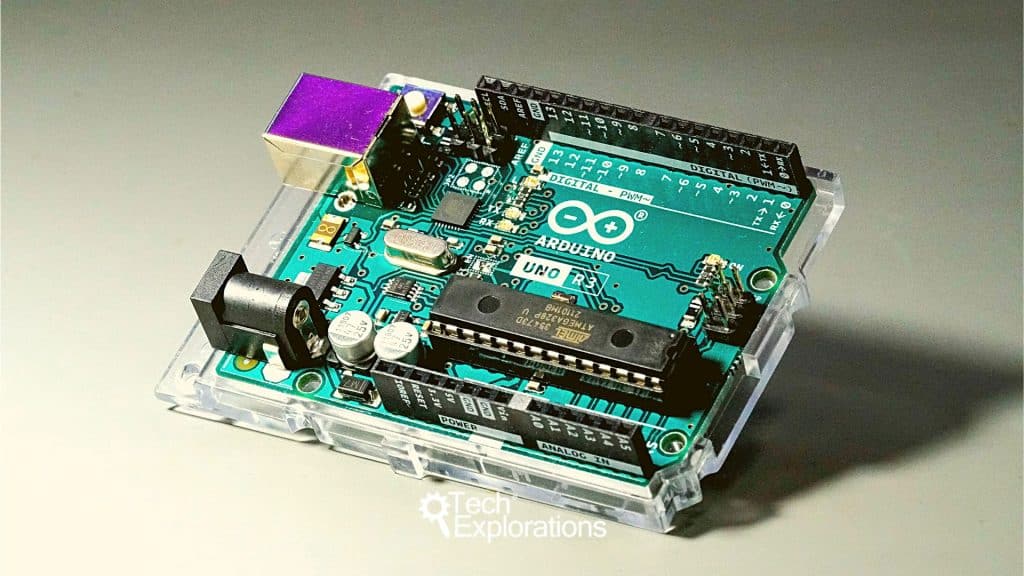
Arduino Step by Step Getting Serious is a comprehensive resource for the serious Arduino Maker.
Course last updated in December 2024
The course now features a dedicated section on the Wokwi simulator, introducing advanced topics and tools to help you develop, debug, and refine your Arduino projects entirely online. This new section is packed with practical examples and hands-on learning to take your skills to the next level.
Earlier in 2024, I updated this course with a new section covering the new Arduino Uno R4 WiFi. The Arduino Uno R4 WiFi combines enhanced processing power with built-in WiFi and Bluetooth connectivity, making it ideal for more complex IoT projects and real-time data communication.
If you understand the fundamentals of Arduino programming and circuits, then this course will help you extend your knowledge of Arduino components and techniques and build up new skills. If you feel like you need a refresher, please have a look at our beginners course, Arduino Step by Step Getting Started.
This course is massive.
It contains 47 sections and over 250 lectures spanning over 30 hours of video content.
In each section, you will learn a specific topic.
Each topic contains:
Arduino Step by Step Getting Serious is perfect for Arduino makers that wish to improve their skills and knowledge, Teachers who want extensive Arduino resources for their classroom, and Maker space coordinators who need an online resource for their members.
Learn about:
This course is not appropriate for people new to the Arduino. It will not teach you about the basics of the Arduino, like how to use the Arduino IDE, blink an LED or create a simple sketch and circuit. If you are a new Arduino maker, you should consider taking the Tech Explorations Arduino Step by Step Getting Started course first.
Apart from a basic understanding of the Arduino, a student of this course must be willing to work hard. You can’t learn serious skills without serious work. There are a lot of courses out there that promise you a fun and easy learning experience. This is not one of them. I promise you a lot of hard work ahead.
You can find a list of components here.
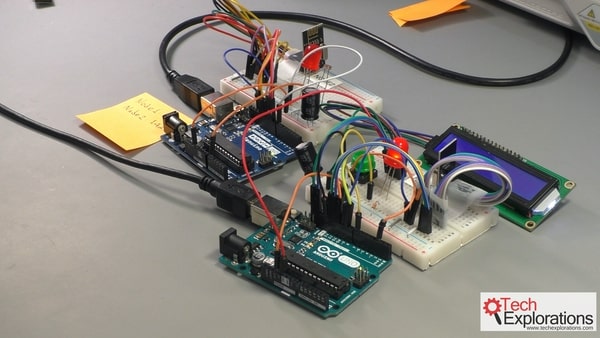
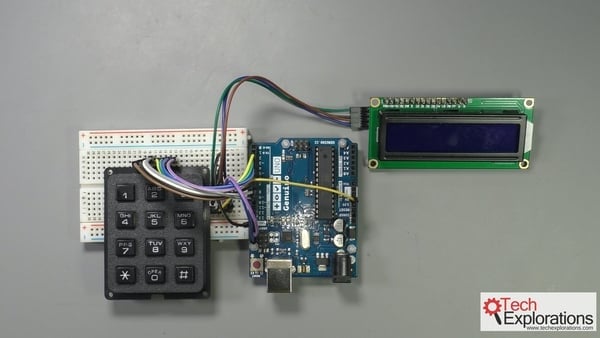
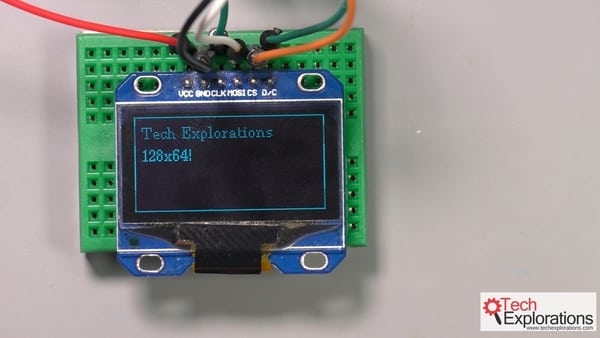
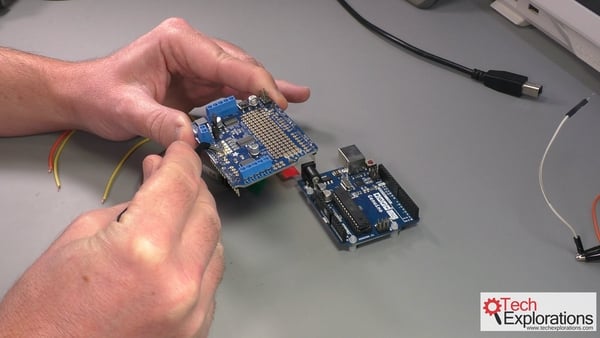
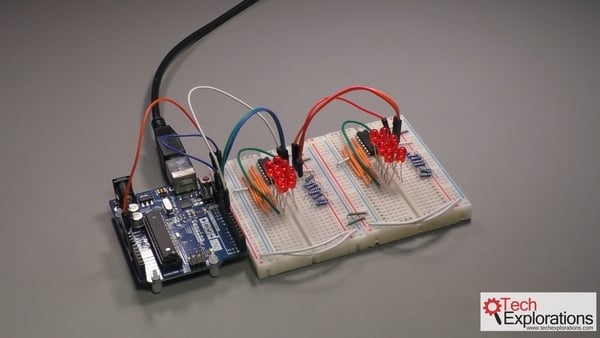
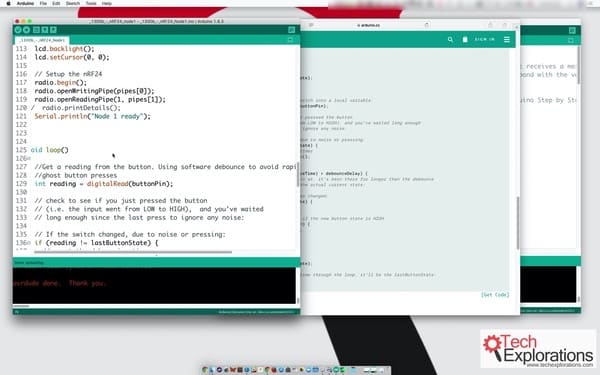
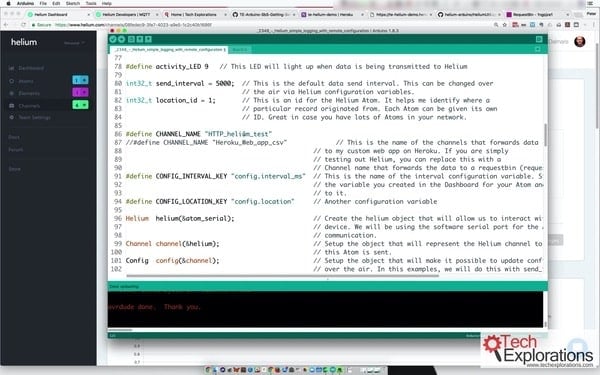
What is this course about and what to expect?
Is this course right for you?
Here are three sample lectures from this course
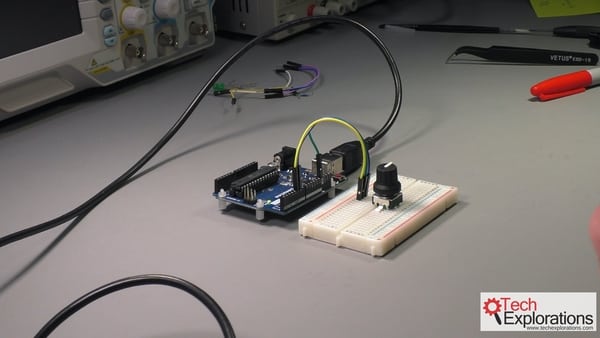
Introduction to IR remote control
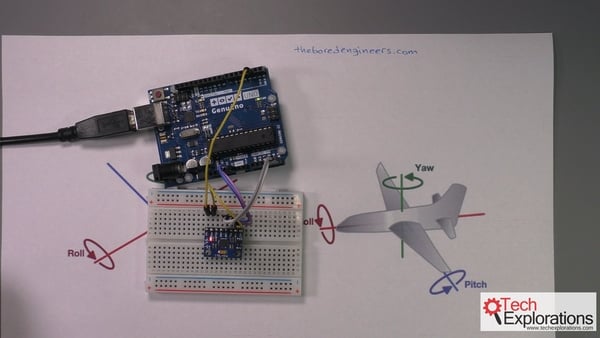
7-seg display with a shift register
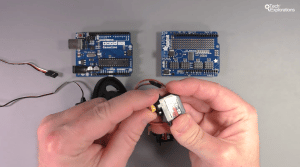
Introduction to servo motors
Here is what you're getting:
Which option is best for you?
Solo
Once-off payment, best for self-sufficient learners on a budget.
...
Once-off.
...
Once-off.
Community
Best for the social learner: be a member of the course community.
...
Once-off.
...
Once off.
Consider a subscription
Did you know, you can get a subscription for immediate access to this and 20+ of our courses. All for a low monthly payment, cancel anytime.
Do you prefer to learn on Udemy?
On Udemy you will find all of the Tech Explorations courses at the lowest possible price.
Each course is individually priced by Udemy based on your location. We don't have control of the price on Udemy and so we can't display it on this page.
Click on the button below to open a new window where you can see the price of this course on the Udemy website.
What's in this course?
Section 0: Introduction to this course
What is this course about
Is this course right for you?
Finding your way around the course
List of parts
Two common questions about parts and tools
How to ask a question
How to report an error
Section 1: The Arduino Uno R4 WiFi
An introduction to the Arduino R4 Wi-Fi
LED matrix
Graphics with frames
How to use the LED matrix editor
How to use the built-in frames
Custom animation
Text
Wi-Fi
List Wi-Fi networks
Connect to a local Wi-Fi network and fetch a URL
Control a local LED via a remote CSV file
Web server and matrix control
Real-time clock
EEPROM
Section 2: The BME280 environment sensor
[0490a] Introduction to the BME280
[0490b] BME280 SPI wiring
[0490c] BME280 I2C wiring
[0490d] BME280 Sketch walk-through and demo
Section 3: The MPU6050 motion sensor
[0540a] Introduction to the MPU6050 motion sensor
[0540b] A look at the MPU6050 datasheet
[0540c] MPU6050 wiring
[0540d] MPU6050 Arduino sketch
[0540e] MPU6050 Processing demonstration
[0540f] MPU6050 bonus lecture
Section 4: Compass and magnetometer
[0590a] Introduction to the HMC5883 compass magnetometer
[0590b] HMC5883 wiring
[0590c] HMC5883 sketch
[0590d] HMC5883 demonstration
Section 5: The flex sensor and membrane potentiometer
[0620a] Introduction to the flex sensor
[0620b] Flex sensor wiring
[0620c] Flex sensor sketch
[0630a] Introduction to the membrane potentiometer
[0630b] Membrane potentiometer demonstration
Section 6: The rotary encoder
[0640a] Introduction to the rotary encoder
[0640b] Rotary encoder wiring and quadrature encoding
[0640c] Rotary encoder sketch
Section 7: Keypads
[0670a] Introduction to the keypad
[0670b] Working out the keypad pins
[0670c] Keypad wiring
[0670d] The phone keypad
[0680a] Keypad 1-wire connection, Introduction
[0680b] Keypad 1-wire connection, wiring
[0680c] Keypad 1-wire connection, sketch
[0690a] Keypad with the 74922 decoder IC, Introduction
[690b] Keypad with the 74922 decoder IC, wiring
[690c] Keypad with the 74922 decoder IC, sketch and demo
[690d] Bitwise operators
Section 8: Graphics screen: Using a 1.8″ TFT screen shield with joystick and SD card
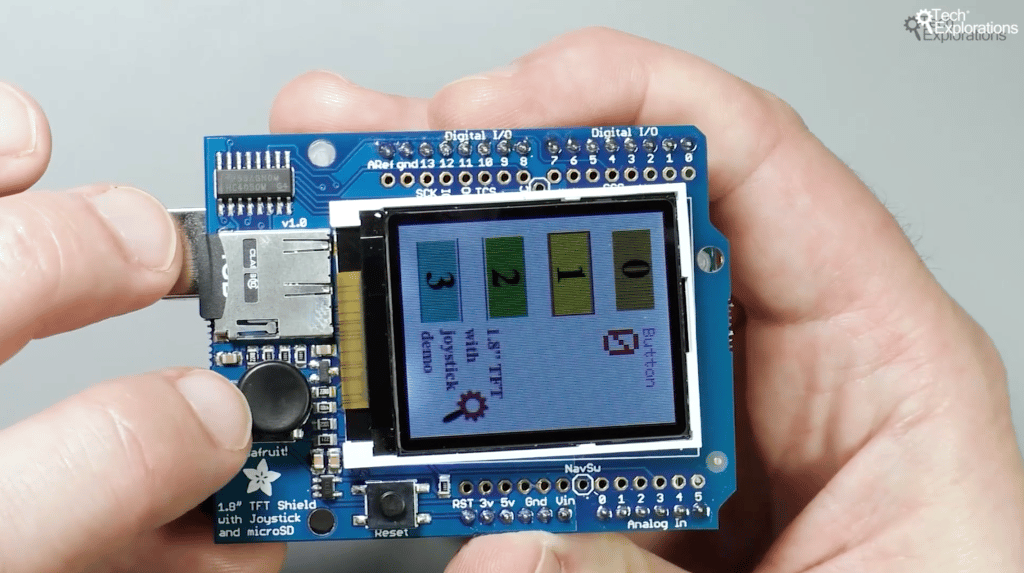
[0730a] Introduction
[0730b] Setup, graphics primitives and documentation
[0730c] Displaying images from the SD card
[0730d] Using the joystick and integrated button
[0730e] How to create your own user interface: make the background image
[0730f] How to create your own user interface: an example sketch
Section 9: Graphics screen: Using a 2.2″ TFT with SD Card
[0732a] Introduction
[0732b] Wiring
[0732c] Simple demonstrations
[0732d] Displaying data
[0732e] The library and resources
Section 10: 2.8 inch TFT display with touch interface and SD card module
[0735a] Introduction
[0735b] Setup the IDE
[0735c] Graphics functions and documentation
[0735d] Test the touch interface
[0735e] Test the SD card module
[0735f] Create a custom user interface image
[0735g] Create a custom user interface sketch
Section 11: Graphics screen: using the 128×64 OLED SPI SH1106 display
[0740a] Introduction
[0740b] Wiring
[0740c] Libraries and support
[0740d] Finding the right constructor for your screen
[0740e] Demo sketch
Section 12: 8×8 LED matrix display
[0760a] Introduction
[0760b] Single display wiring
[0760c] Single display sketch
[0760d] Single display drawing
[0760e] Custom graphics
[0760f] Animation
[0770a] Four 8×8 LED matrix display introduction
[0770b] Four 8×8 LED matrix display graphics primitives
Section 13: Seven Segment Displays
[0750a] Introduction
[0750b] Single display pin role discovery
[0750c] Single display wiring
[0750d] Single display sketch
[0750e] Single display, working out the digit byte array
[0752a] Single display with a single resistor
[0752b] The sevseg library
[0753a] Dual seven segment display, pin discovery
[0753b] Dual seven segment display, wiring
[0753c] Dual seven segment display, sketch
[0754a] Single seven segment display with shift register, Introduction
[0754b] Single seven segment display with shift register, wiring
[0754c] Single seven segment display with shift register, sketch
[0755a] Seven segment clock display – Introduction
[0755b] Seven segment clock display – pin discovery
[0755c] Seven segment clock display – wiring
[0755d] Seven segment clock display – sketch
[0755e] Seven segment clock display – Demo and wiring correction
[0757a] Seven segment clock display & I2C backpack – Introduction and wiring
[0757b] Seven segment clock display & I2C backpack – sketch
[0757c] Seven segment clock display & I2C backpack – demo and wiring correction
Section 14: LED strips
[0810a] White 12V LED strip with the TIP122 transistor, Introduction
[810b] White 12V LED strip with the TIP122 transistor, TIP122 datasheet
[810c] White 12V LED strip with the TIP122 transistor, circuit
[810d] White 12V LED strip with the TIP122 transistor, wiring test
[0810e] White 12V LED strip with the TIP122 transistor, blinking
[0810f] White 12V LED strip with the TIP122 transistor, fading
[820a] RGB LED strip with the TIP122, introduction
[0820b] RGB LED strip with the TIP122, testing
[0820c] RGB LED strip with the TIP122, circuit and wiring
[0820d] RGB LED strip with the TIP122, sketch
Section 15: Neopixel LED modules
[0830a] Adafruit Neopixel 5×8 shield, Introduction
[0830b] Adafruit Neopixel 5×8 shield, Quick setup and demo
[0830c] Adafruit Neopixel 5×8 shield, Sketch, control single pixels
[0830d] Adafruit Neopixel 5×8 shield, Sketch, draw graphic primitives
[0840a] Adafruit Neopixel strip 8 LED, Introduction
[0840b] Adafruit Neopixel strip 8 LED, Sketch introduction
[0840c] Adafruit Neopixel strip 8 LED, Circuit and assembly
[0840d] Adafruit Neopixel strip 8 LED, Sketch walkthrough
[0850a] Adafruit Neopixel RGBW 30 LED strip, introduction
[0850b] Adafruit Neopixel RGBW 30 LED strip, Wiring
[0850c] Adafruit Neopixel RGBW 30 LED strip, Programming and demo
[0850d] Adafruit Neopixel RGBW 30 LED strip, Sketch walkthrough
Section 16: DC Motors
[0899] Introduction to motors
[0900a] DC motors principles of operation
[0900b] Motor control with the L298N, wiring
[0900c] Motor control with the L298N, sketch and demo
[0903a] Motor control with the L8871, introduction
[0903b] Motor control with the L8871, Wiring
[0903c] Motor control with the L8871, sketch and demo
[0910a] Motor control with the Adafruit Motor Shield v2, introduction
[0910b] Motor control with the Adafruit Motor Shield v2, Wiring
[0910c] Motor control with the Adafruit Motor Shield v2, Sketch and demo
Section 17: Servo motors
[0930a] Introduction to servo motors
[0932a] Direct control of a servo motor, wiring
[0932b] Direct control of a servo motor, sketch and demo with one motor
[0932c] Direct control of a servo motor, sketch and demo with two motors
[0933] Define servo motor moves in an array
[0940] Continuous rotation servo motor
[0945a] The Adafruit Servo Shield, introduction
[0945b] The Adafruit Servo Shield, wiring
[0945c] The Adafruit Servo Shield, Sketch
[0945d] The Adafruit Servo Shield, Control an LED
Section 18: Stepper motors
[0950a] Introduction to stepper motors
[0950b] Dissecting a bipolar stepper motors
[0950c] How to determine the coil wires of a bipolar stepper motor
[0952a] NEMA17 with the L293 controller & Stepper library, introduction & wiring
[0952b] NEMA17 with the L293 controller & Stepper library, sketch & demo
[0970a] NEMA17 with the Easy Driver controller, introduction
[0970b] NEMA17 with the Easy Driver controller, wiring
[0970c] NEMA17 with the Easy Driver controller, sketch
[0972a] NEMA17 with the Easy Driver controller & AccelStepper, intro & sketch
[0972b] NEMA17 with the Easy Driver controller & AccelStepper, demo
[0975a] NEMA17 with the Adafruit Motor Shield v2 & AccelStepper, intro & sketch
[0975b] NEMA17 with the Adafruit Motor Shield v2 and AccelStepper, Demo
[0980a] Unipolar stepper motor with Adafruit Motor Shield, introduction
[0980b] Unipolar stepper motor with Adafruit Motor Shield, determining coil wires
[0980c] Unipolar stepper motor with Adafruit Motor Shield, demo
[0982a] Unipolar stepper motor with the ULN2003 driver, introduction
[0982b] Unipolar stepper motor with the ULN2003 driver, wiring
[0982c] Unipolar stepper motor with the ULN2003 driver, sketch & demo
Section 19: Networking with the Ethernet Shield
[1100a] Introduction to Ethernet networking
[1100b] The Ethernet shield
[1101a] Simple chat server, introduction and wiring
[1101b] Simple chat server, demonstration
[1101c] Simple chat server, sketch
[1102a] Simple chat server with LCD shield, wiring and demo
[1102b] Simple chat server with LCD shield, sketch
[1110a] Simple reporting web server, introduction and wiring
[1110b] Simple reporting web server, sketch walkthrough part 1
[1110c] Simple reporting web server, HTTP request formatting
[1110d] Simple reporting web server, sketch walkthrough part 2
[1111] Simple reporting web server outputting CSV formatted data
[1120a] Simple controlling web server with one LED, wiring and demo
[1120b] Simple controlling web server with one LED, sketch
[1121] Simple controlling web server with two LEDs
Section 20: Networking with the ATWIN1500 Wifi module
[1210a] Introduction to the ATWIN1500 Wifi module
[1210b] Wiring the Adafruit ATWIN1500 breakout
[1210c1] Adafruit ATWIN1500 Wifi breakout, simple demo
[1210c2] Adafruit ATWIN1500 Wifi breakout, sketch walkthrough
[1210c3] Adafruit ATWIN1500 Wifi breakout, firmware version check
[1210d1] ATWIN1500 Wifi breakout firmware upgrade
[1210d2] ATWIN1500 Wifi breakout SSL certificate update
[1210e1] ATWIN1500 Simple reporting server, wiring
[1210e2] ATWIN1500 Simple reporting server, sketch
[1210e3] ATWIN1500 Simple reporting server, demonstration
[1211a] ATWIN1500 controlling LEDs with a CSV file on Amazon S3, intro
[1211b] ATWIN1500 controlling LEDs with a CSV file on Amazon S3, Setup S2
[1211c] ATWIN1500 controlling LEDs with a CSV file on Amazon S3, Demonstration
[1211d] ATWIN1500 controlling LEDs with a CSV file on Amazon S3, sketch
[1212a] ATWIN1500 controlling LEDs with a simple web server, introduction & demo
[1212b] ATWIN1500 controlling LEDs with a simple web server, sketch
Section 21: Shift registers
[1820] Introduction to Shift Registers
[1821a] Driving 8 LEDs with one 595 Shift Register, intro and IC pin roles
[1821b] Driving 8 LEDs with one 595 Shift Register, Assembly
[1821c] Driving 8 LEDs with one 595 Shift Register, Sketch
[1823a] Driving 16 LEDs with two 595 Shift Registers, introduction
[1823b] Driving 16 LEDs with two 595 Shift Registers, wiring
[1823c] Driving 16 LEDs with two 595 Shift Registers, sketch
Section 22: Simple Bluetooth connectivity with the HC-06
[1218a1] Introduction to the HC-06
[1218a2] HC-06 Wiring
[1218a3] HC-06 Pairing
[1218b] HC-06 Reading sensor data
[1218c1] HC-06 with SoftwareSerial
Section 23: Bluetooth Low Energy (BLE) with the nRF8001
[1230a] Introduction to BLE
[1230b] A few things about the BLE standard
[1230c] nRF8001 setup
[1230d] nRF8001 callBack Echo demo
[1230e] nRF8001 simple duplex communications demo
Section 24: Adafruit Bluefruit LE UART Friend
[1240a] Introduction
[1240b] Pinouts
[1240c] Wiring and Demo
[1240d] Firmware update
[1240e] AT Commands
[1240f1] Serial data link demo
[1240f2] Controlling data link demo
[1240g1] HID Keyboard sketch
[1240g2] HID Keyboard demo
[1240h2] Controller demo
Section 25: Wireless connectivity with the nRF24
[1300a] Introduction to the nRF24
[1300b] Module pinout
[1300c] Simple test wiring
[1300d] Simple test sketch
[1300e] Simple test demo
[1300f] Comprehensive demo
[1300g] Comprehensive demo sketch
Section 26: Simple radio communications at 433Mhz
[1310a] Introduction
[1310b] Receiver and transmitter pins and wiring
[1310c] Receiver and transmitter sketches
[1310d] Demo
Section 27: The following sections contain lectures that are in the process of replacement
[0010] Please watch this before continuing!
Section 28: External Storage
[1410a] Reading and writing to an SD card, Part 1 of 3
[1410b] Reading and writing to an SD card, Part 2 of 3
[1410c] Reading and writing to an SD card, Part 3 of 3
[1420a] EEPROM (internal and external) Part 1: Basic use
[1420b] EEPROM (internal and external) Part 2: the EEPROMex library
[1430] EEPROM (internal and external) Part 3: Using an external EEPROM
Section 29: Interrupts
[2100a] Hardware interrupts Part 1: Introduction
[2100b] Hardware interrupts Part 2: Using volatile variables
[2100c] Hardware interrupts Part 3: Timers
[2100d] Hardware interrupts Part 4: High-definition Pulse Width Modulation
Section 30: Memory and power management
[2120] Memory management Part 1: Introduction and Flash
[2130] Memory Management Part 2: Static RAM
[2140] Power management with sleep mode and prescaling
Section 31: Internal pull-up resistors
[2110] Using the built-in pull-up resistors
Section 32: Hardware debouncing
[1810a] Hardware switch/button debouncing Part 1: Background
[1810b] Hardware switch/button debouncing Part 2: Demo
Section 33: Port expander
[1850a] Control more devices with a port expander, Part 1: Background and setup
[1850b] Control more devices with a port expander, Part 2: more examples
Section 34: Real time clock
[1520a] Real time clock, Part 1 of 2
[1520b] Real time clock, Part 2 of 2
Section 35: Controlling large loads with relays and friends
[1700] Using the TIP22 transistor to control an LED strip
[1720a] Relays Part 1: Introduction
[1720b] Relays Part 2: How NOT to control a relay
[1720c] Relays Part 3: Connect a 12V relay component calculations
[1720d] Relays Part 4: Connect a 12V relay connections
[1720e] Relays Part 5: Relay shields
Section 36: Location sensing
[1500a] Introduction to GPS
[1500b] Wiring the Adafruit module for direct communication with computer
[1500c] Getting and using raw text data from the module
[1500d] – Adafruit GPS
[1500e] Using the TinyGPS+ library
Section 37: Make a bare-bones Arduino
[1900] Intro and power circuit
[1910] Atmega, reset and clock
[1920] Power LED and testing
[1925a] Create your own printed circuit boards (PCB), Part 1
[1925b] Create your own printed circuit boards (PCB), Part 2
Section 38: How to use Processing (language) with the Arduino
[2600a] Using Processing (the language) with the Arduino, Part 1
[2600b] Using Processing (the language) with the Arduino, Part 2
Section 39: Make your own simple library
[2500a] Create your own Library, Part 1
[2500b] Create your own Library, Part 2
Section 40: Simple security with a fingerprint scanner
[1610a] Introduction to the fingerprint scanner
[1610b] Wiring, registering and recognizing fingerprints
[1610c] Sketch and demonstration with an electric lock
Section 41: Internet of Things with the Helium platform
[2340a] Introduction to Helium
[2340b] Helium hardware
[2340c] Helium network explainer setup
[2344a] Helium Dashboard setup
[2344b] Helium Hello World setup
[2344c] Helium Hello World Sketch
[2344d] Helium random data
[2345a] Helium real sensor data setup
[2345b] Helium real sensor data sketch
[2345c] Helium real sensor data demo
[2348] Helium configuration variables
[2352] Helium with a simple web service
Section 42: Small projects
[2400] Arduino-Raspberry Pi wireless communication with the RF24
[2410] A home notification board with a large display
[2420] Using a magnetometer to detect motion
Section 43: RFID (Radio-Frequency Identification)
[2700] Introduction to RFID with the RC522 module
[2705] Wiring with SPI
[2706] The MFR522 library
[2710] How to print the RFID tag data
[2725] How to read/write data to the RFID tag
[2715] How to read the RFID tag ID
Section 44: Joystick
[0635] Joystick with button, simple wiring and sketch
[0636] Joystick with button with a plotter
Section 45: Infra-red Remote Control
[2800] Introduction to IR remote control
[2810] IR receiver wiring
[2820] IR remote control library
[2830] IR remote control demo
Section 46: The Wokwi online Arduino Simulator
[4910] What is this section about?
[4915] Wokwi refresher (from Arduino Step by Step Getting Started)
[4920] Example shift register with 8 LEDs
[4930] Example: SD card datalogger
[4940] Interactive Debugger
[4950] Logic Analyzer, intro and demo
[4960] Logic Analyzer, SPI decoding
[4970] Wi-Fi (ESP32)
Here's what some of our students have to say about this course:
Another Excellent course from Dr. Peter Dalmaris. I started with his “Arduino Step by Step” course and I’m using this one for reference on specific topics. His explanations of the various topics are much more in depth and more clearly stated than other instructors of other Arduino courses I have tried.
Gloria Gardner
This is my second course by Peter and I took it right after finishing Arduino Step by Step Getting Started and loved every minute of it! Great follow up course and lots of information. Because I took these courses by Peter I am starting to get into other coding/visual arts platforms like Processing and Blender. Thank you so much Peter for kick starting my learning and creativity.
Jacob Jegodtka
This course is very suitable for people who read some books about the Arduino and are know interested in getting into the more practical aspects of the micro controller issue. Very good step by step explanations. I’m very very happy with this course…
Jan-Georg Krüger
The teacher has a very customized spot for teaching: cameras, good equipment to build each circuit. Everything is in order for you to keep focus and not worrying about the typical wiring mess of handling circuits.
Alan Fuentes

This course instructor is Peter Dalmaris, PhD.
Peter has created over 20 other courses on technology education.
He is the author of Maker Education Revolution, a book on how making is changing the way we learn and teach.
He is also the host of Stemiverse, a podcast in which he discusses education and STEM with the shakers and movers of technology and science education from around the world.
Copyright 2025, Tech Explorations - Privacy
