Data acquisition and automation with LabJack
With this video course, you will learn how to use the
LabJack device to perform data acquisition and control (DaQ) operations.
This course is ideal if you want to reliably record a lot of data from sensors so that you can analyze it later or control the environment in real-time.
The LabJack is a robust data acquisition device that is used in factories, warehouses, buildings, labs, and homes.
Think of LabJack as a PLC (industrial Programmable Logic Device), but at a lower price point and easier to learn and use.
For example, you may want to record the volume of water that flows through a pipe, the temperature of a fridge, or the movement of a high-rise building due to winds. And, you may want to do this for ten years without any human intervention.
This course is also ideal if you want to control the environment based on the data collected from sensors.
For example, you may want to adjust the pressure in a water pipe using a variable valve if the pressure sensor shows it is above a certain threshold. Or, you may want to raise an alarm if the temperature of a fridge rises above 0°C.
Who is this course for?
LabJack is a tool for data acquisition and control.
LabJack was designed to be robust and reliable, to work autonomously in harsh environments for a long period of time, and to have a lot of input/output ports able to connect to a huge range of sensors and actuators.
What are the objectives of the course?
LabJack can be used via an intuitive graphical user interface, and is programmable using any one of the many mainstream programming languages.
You can start taking measurements without writing a single line of code.
You can also write simple or complex scripts that run both on the device or on a host computer to automate data acquisition and control through a network.
What are the knowledge prerequisites?


Hardware & Software
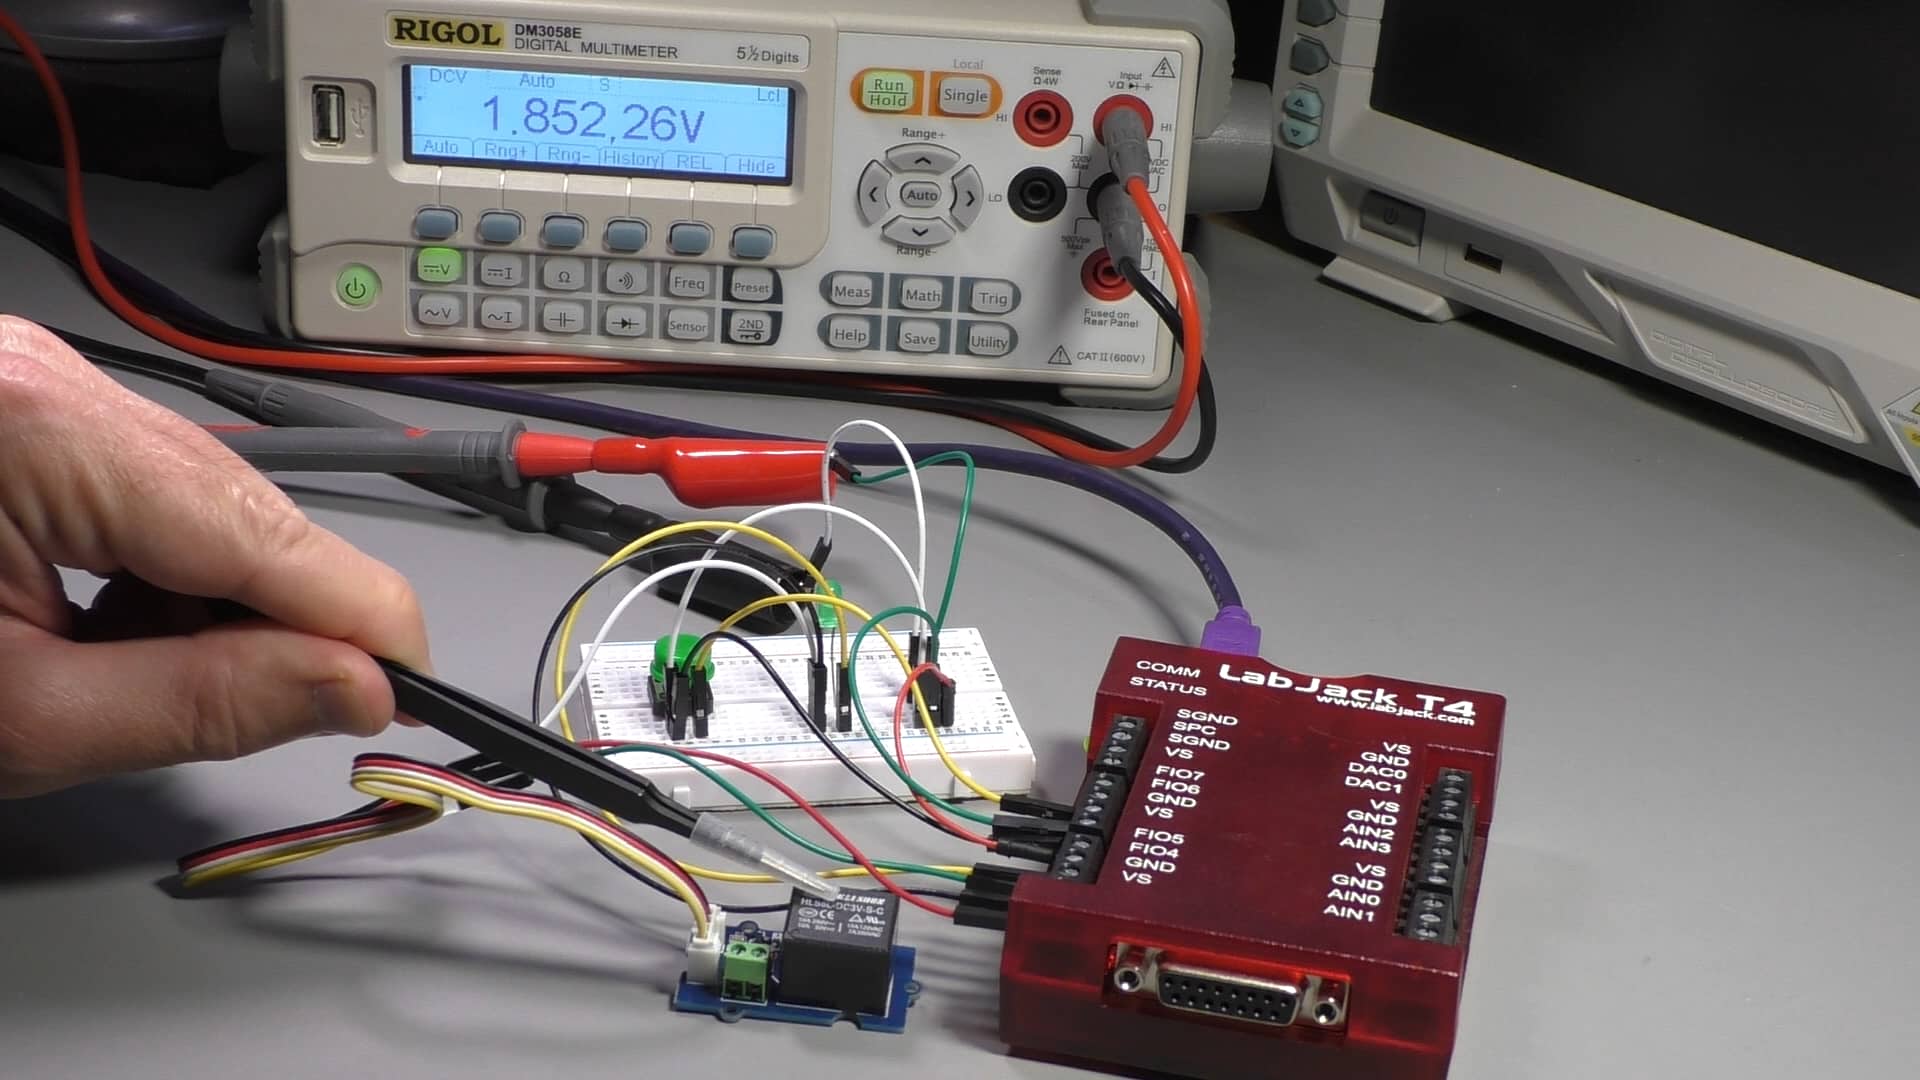
To complete this course, you will need a LabJack T4 device, and a few common components. See the red box below for details.
You will also need the free Kipling and LJLogM tools, which are available from the LabJack website.
This course does not include any hardware! Please source your own hardware from LabJack and your preferred retailer. You can find a detailed list of hardware in the course hardware page.
What is this course about?
Please watch this video to learn about the learning outcomes of this course, and how it is structured, so that you know what to expect.
More information about this course
What is LabJack?
Required software
Required hardware
Sample lectures
03.20 LabJack T4 specifications and documentation
05.50 Using an analog input with the light sensor
06.10 Introduction to the LabJack Flexible I/O (FIO)
Here's what you're getting:
Which option is best for you?
You can enroll to our courses in one of three options: Solo, Community, and Mentor. For more information, please see this explainer page.
Solo
Once-off payment, best for self-sufficient learners on a budget.
...
Once-off.
...
Once-off.
Community
Best for the social learner: be a member of the course community.
...
Once-off.
...
Once-off.
Mentor
Get one-on-one live meetings with a mentor, learn to mastery.
US$399
US$399
This button will take you to Stripe, our payments processor.
Consider a subscription
Did you know, you can get a subscription for immediate access to this and 20+ of our courses. All for a low monthly payment, cancel anytime.
Do you prefer to learn on Udemy?
On Udemy you will find all of the Tech Explorations courses at the lowest possible price.
Each course is individually priced by Udemy based on your location. We don't have control of the price on Udemy and so we can't display it on this page.
Click on the button below to open a new window where you can see the price of this course on the Udemy website.
What's in this course?
01 - Introduction
01.10 What is this course about?
01.20 Software you will need
01.30 Hardware you will need
01.40 How to get the most out of this course
02 - Introduction to Data Acquisition and control
02.10 What is data acquisition and control?
02.20 What is LabJack?
02.30 A quick demonstration of LabJack
03 - Getting started with LabJack
03.10 The LabJack device family
03.20 LabJack T4 specifications and documentation
03.30 Kipling and other LabJack software
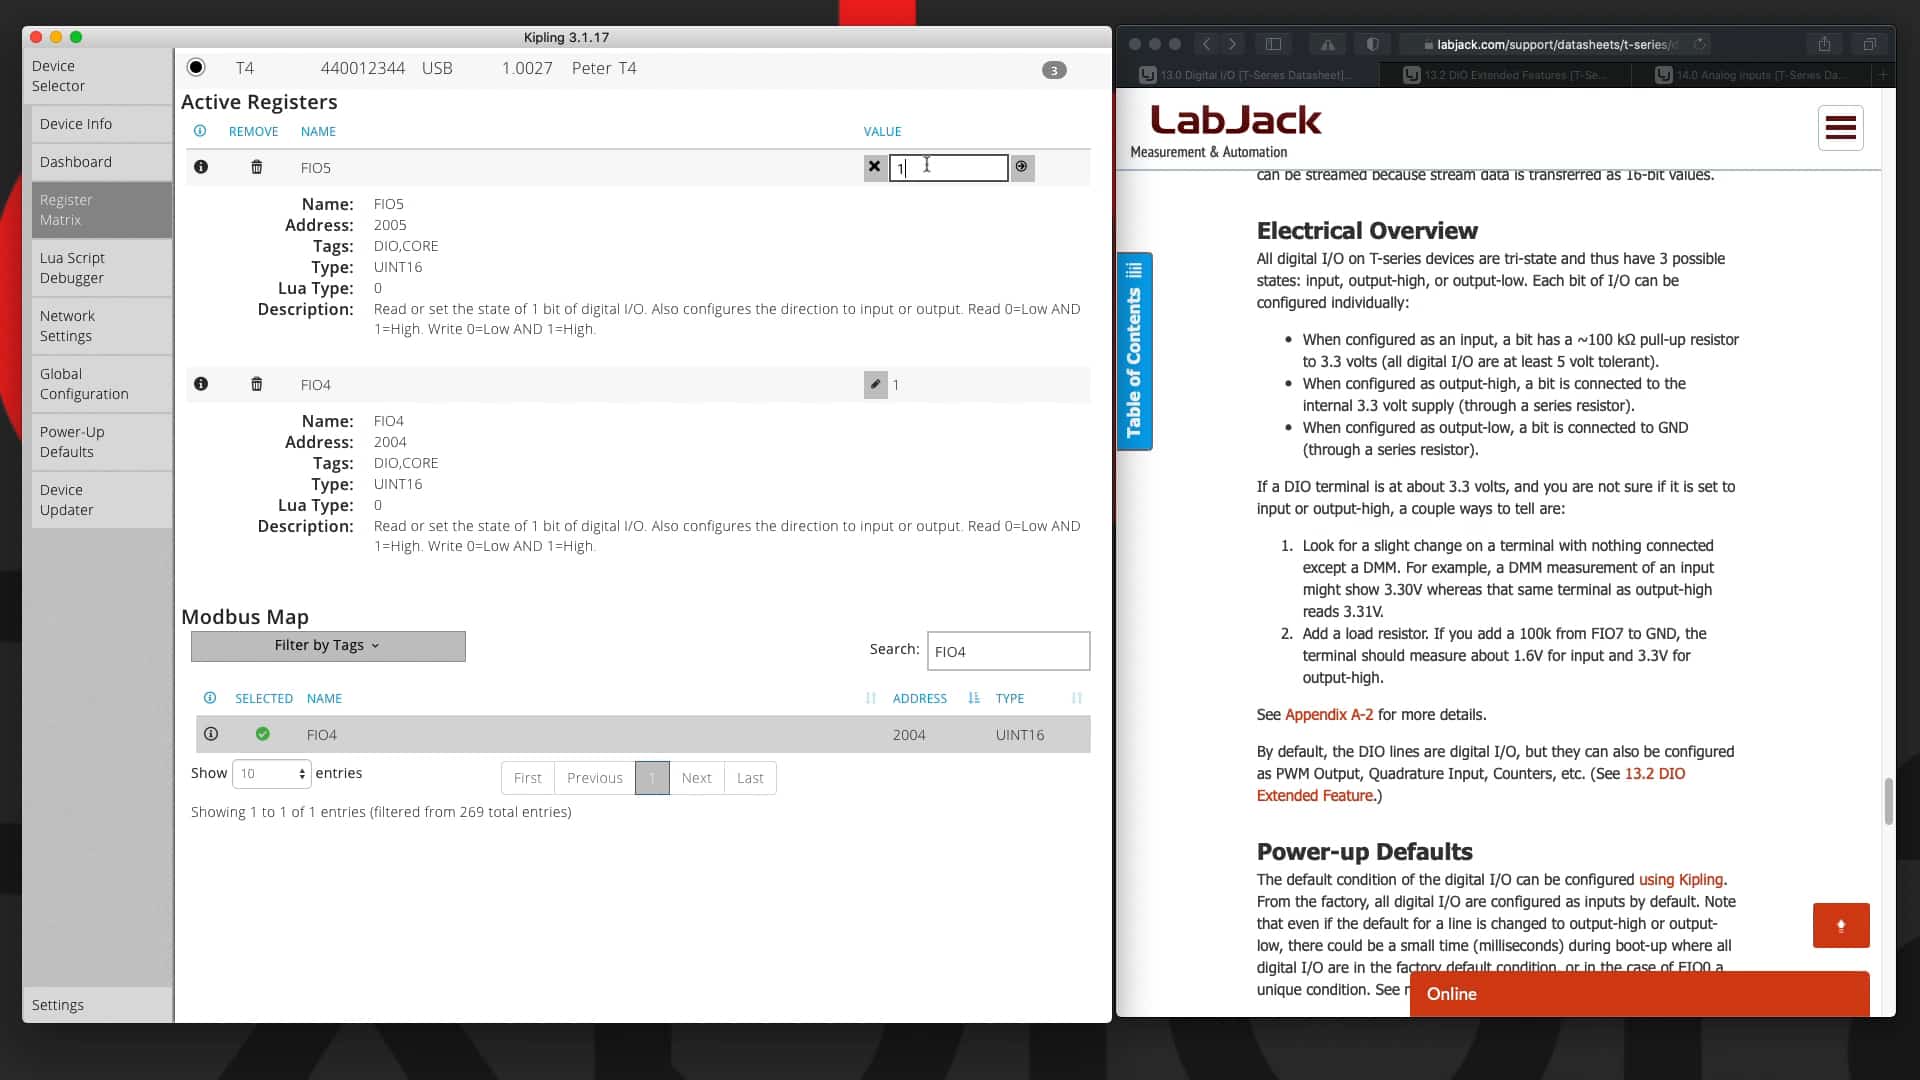
03.40 Modbus registers map
04 - Introduction to Kipling and LJLogM
04.10 What is this section about?
04.20 Device selector
04.30 Device info
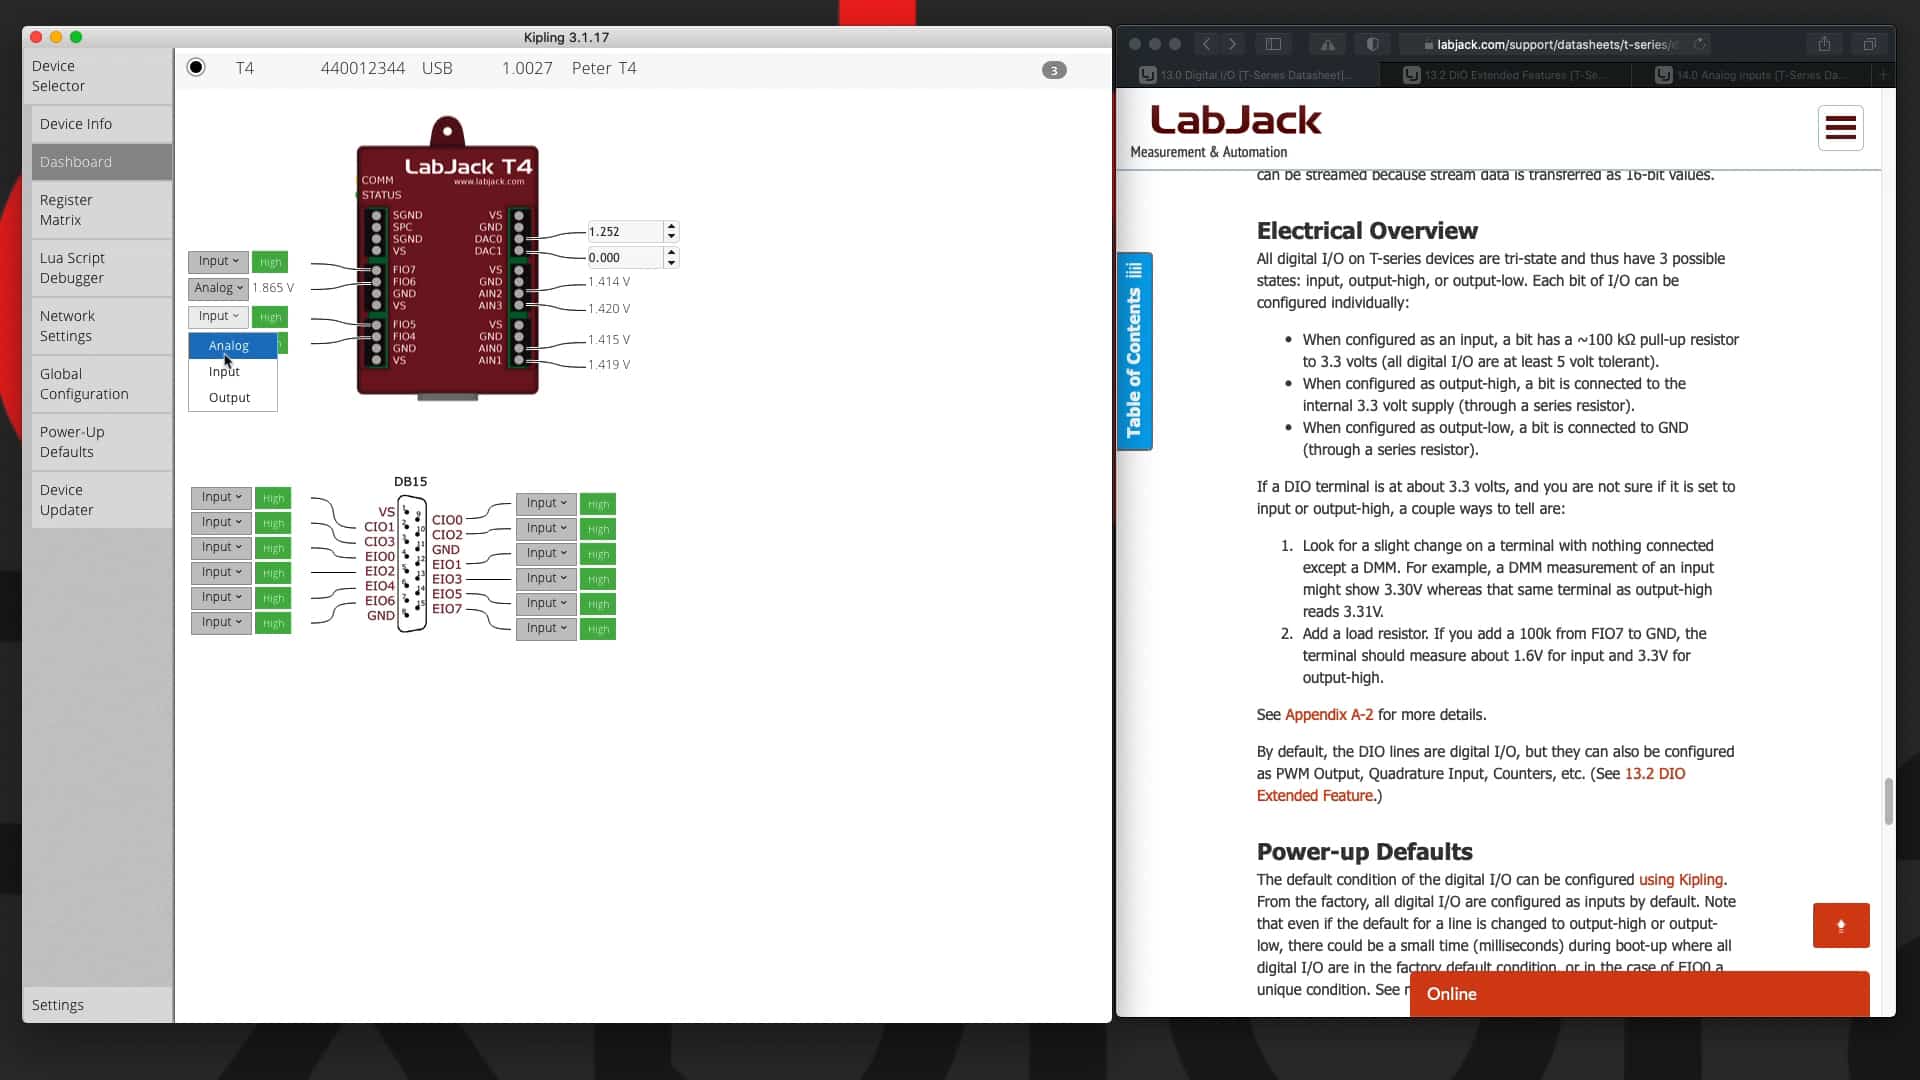
04.40 Dashboard
04.50 Register matrix
04.60 Lua script debugger
04.70 Network settings, global configuration and power-up defaults
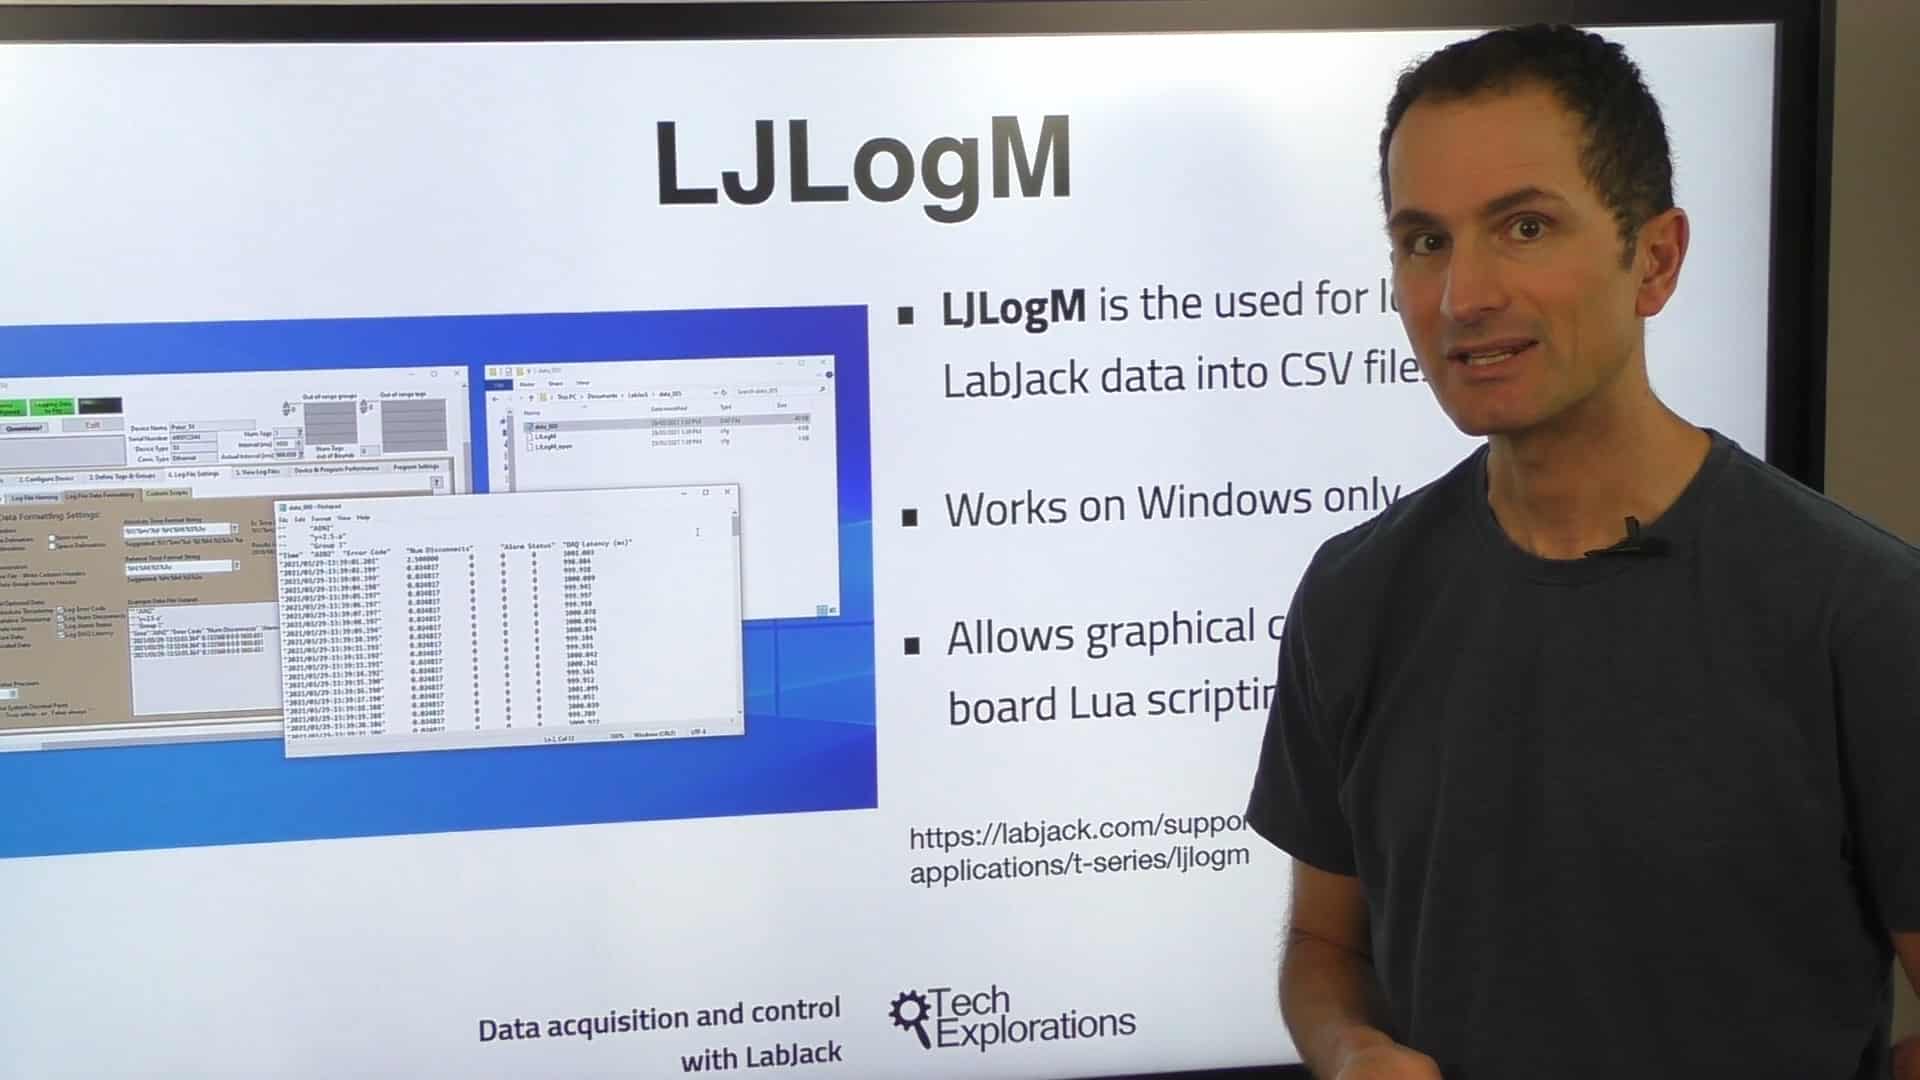
04.80 Logging with LJLogM
05 - Analog inputs
05.10 LabJack Analog inputs (AIO) introduction
05.20 Button with AIO (ON/OFF)
05.30 Potentiometer with AIO
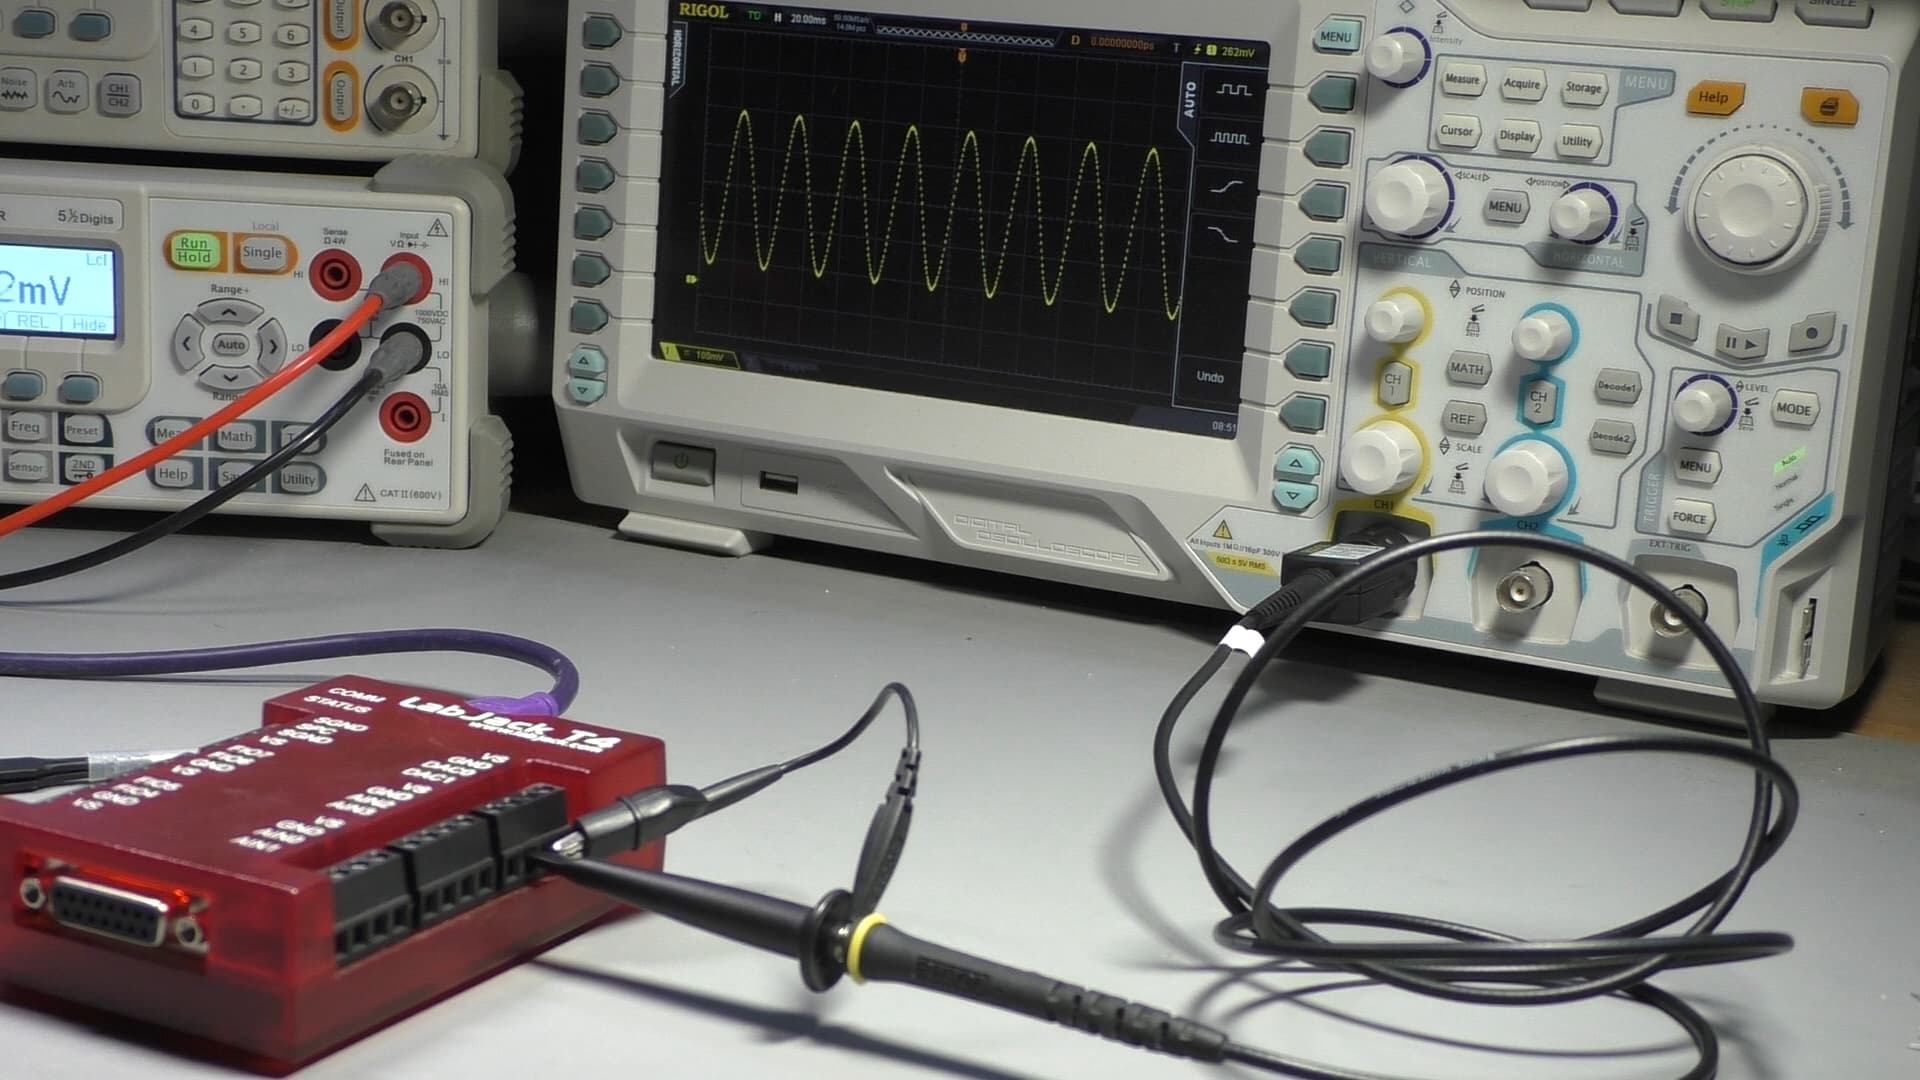
05.40 Test your LabJack for accuracy
05.50 Light sensor
05.60 Thermistor analog temperature sensor
05.70 Temperature with LM34CAZ silicon sensor
05.80 Temperature with thermocouple - Part 1 - setup and Kipling
05.81 Temperature with thermocouple - Part 2 - Logging with LJLogM
06 - Flexible ports: DIO + AIN
06.10 LabJack Flexible I/O (FIO)
06.20 LabJack Digital I/O
06.30 FIO as AIN demo with potentiometer
06.40 FIO as DIO demo with LED and relay
06.50 FIO as DIO demo with button
07 - Digital to Analog converter ports
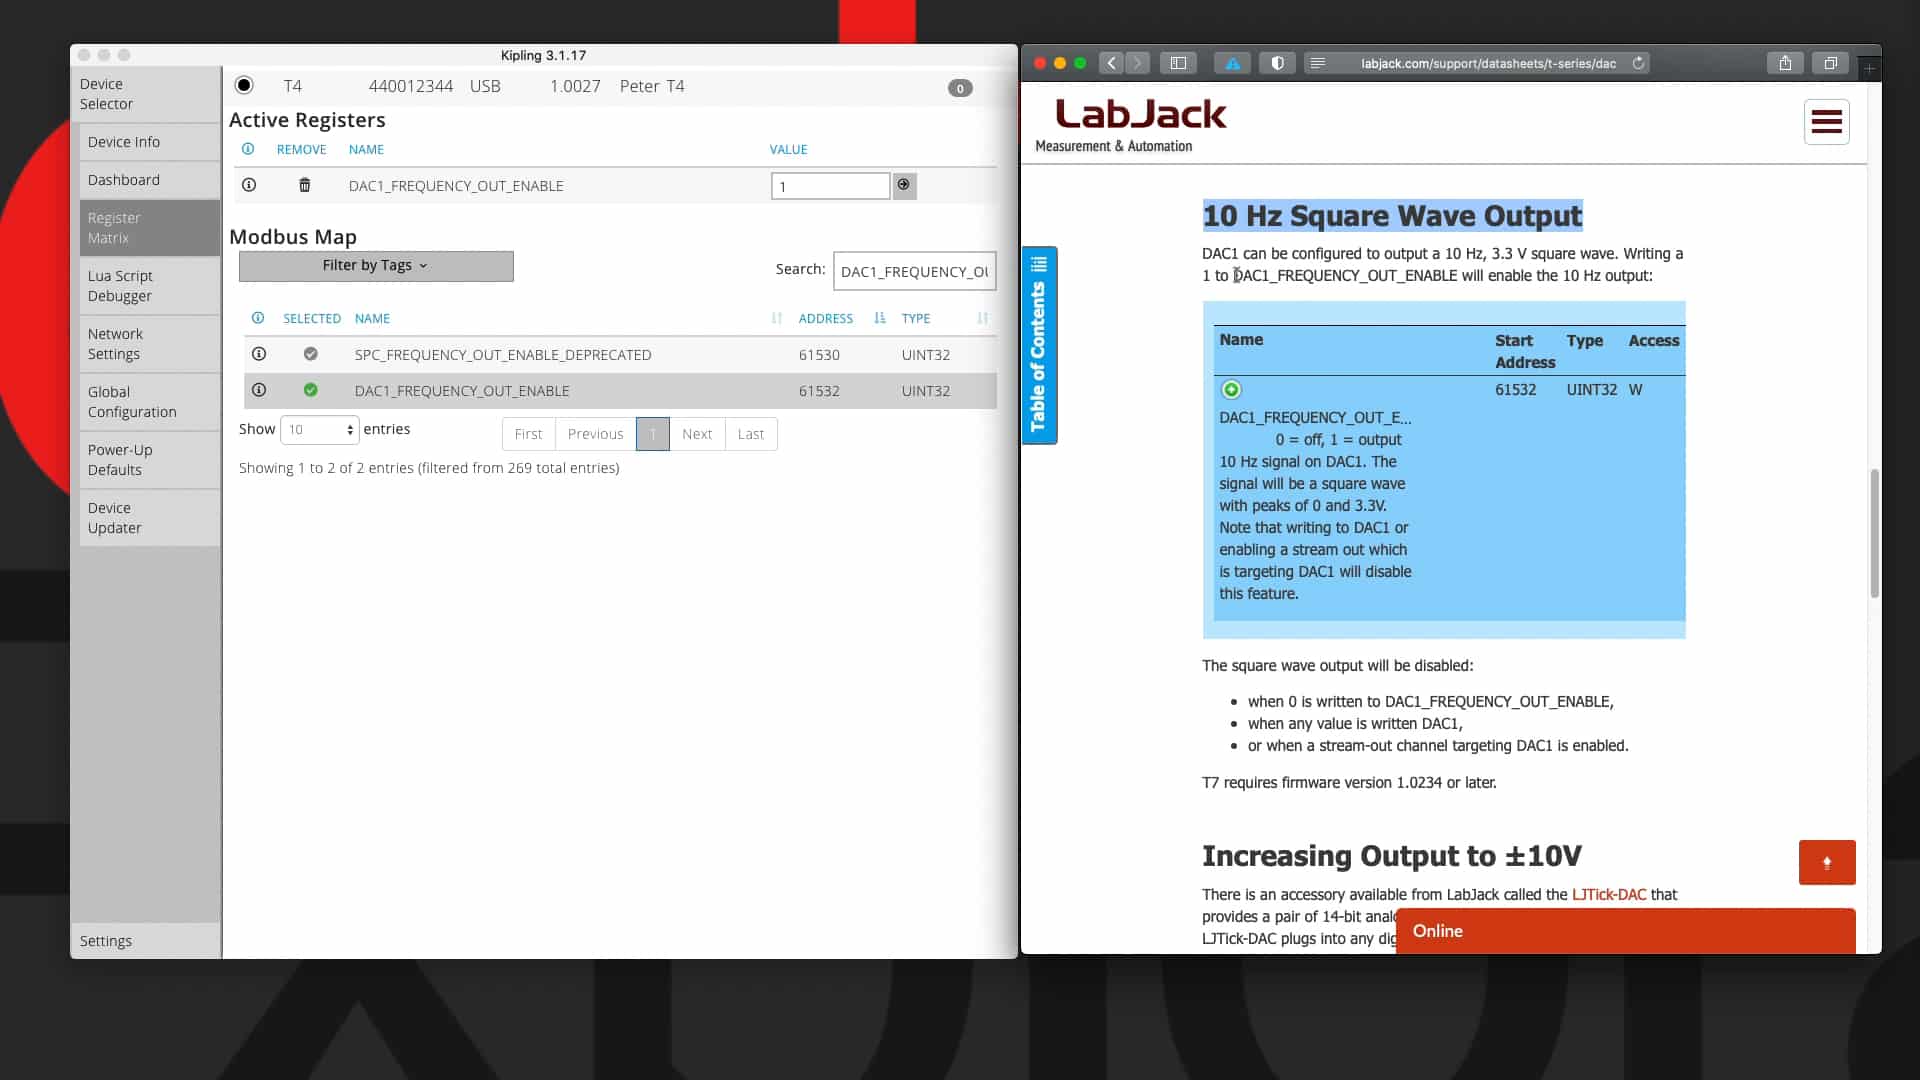
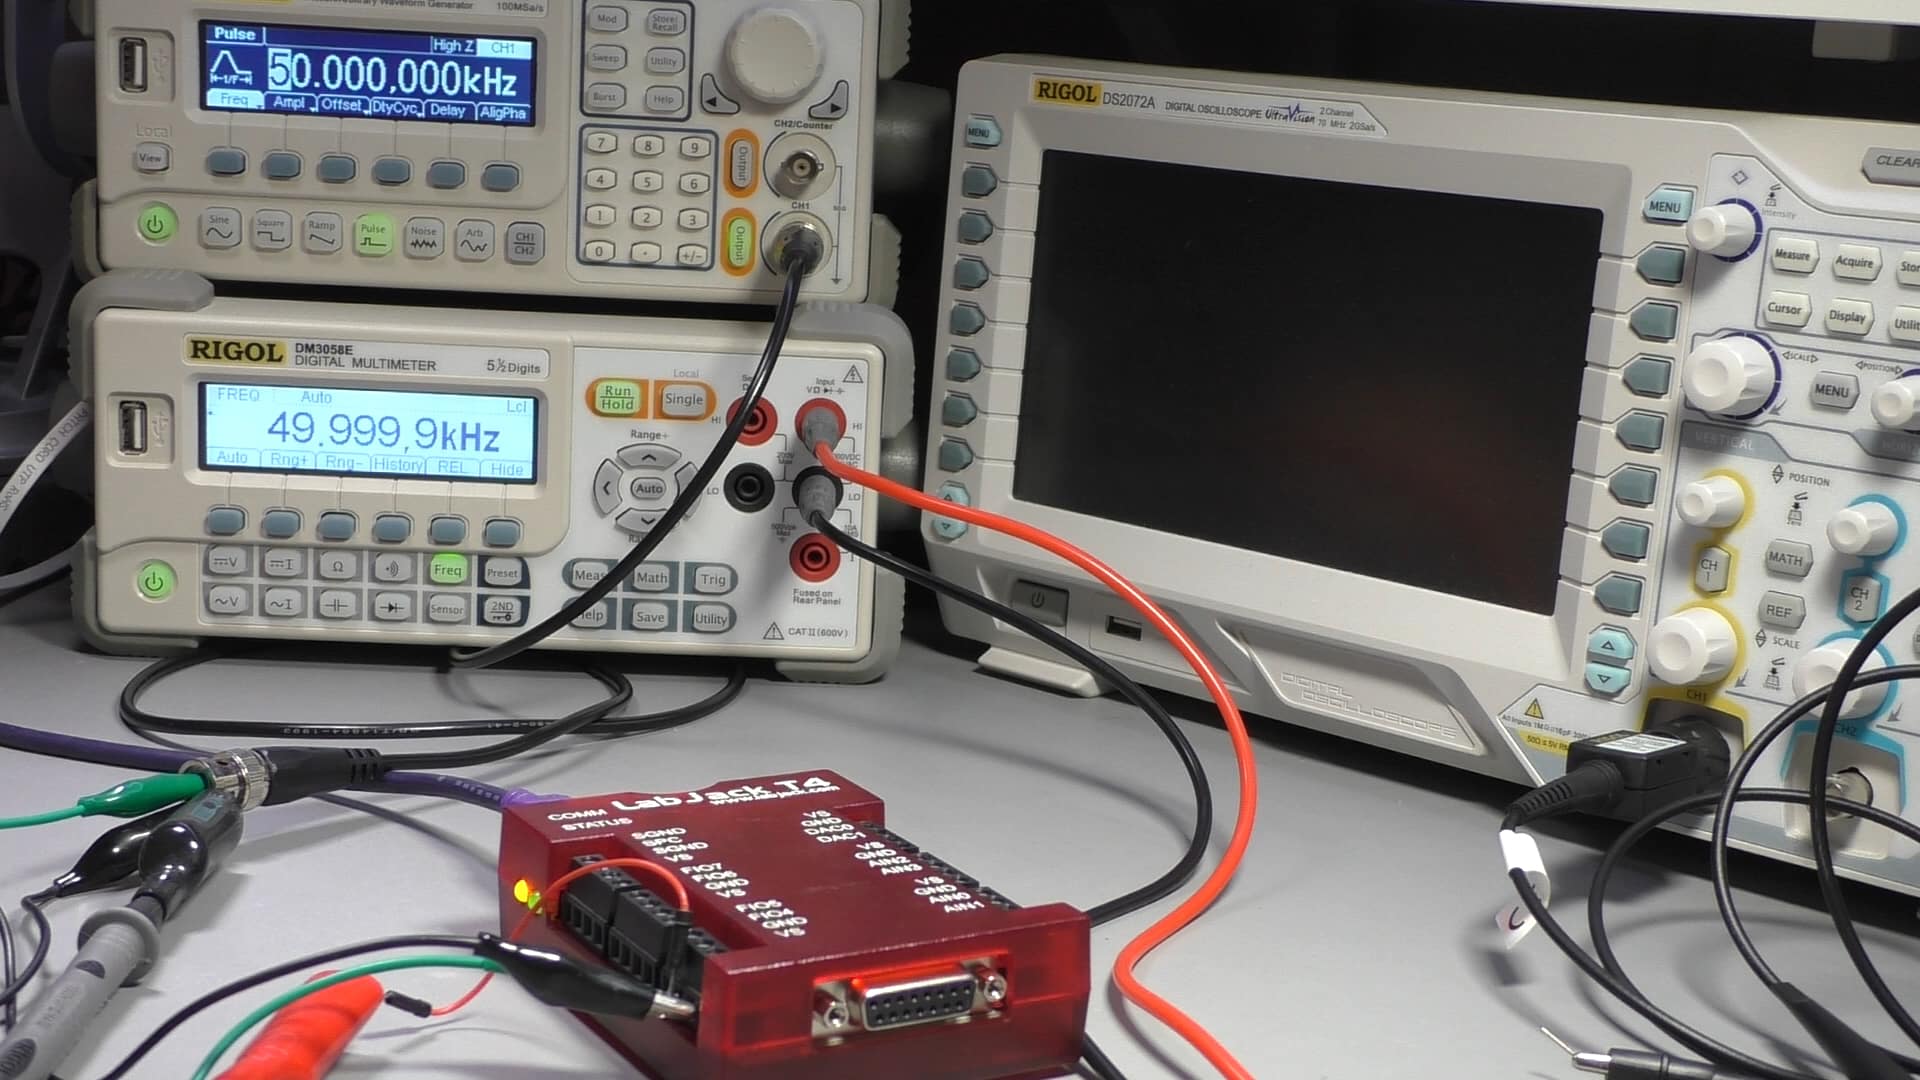
07.10 LabJack DAC introduction
07.20 DAC demo
07.30 DAC demo with Lua
08 - DIO extended feature examples
08.10 DIO extended features, an introduction
08.20 Interrupt counter without debouncing
08.30 Interrupt counter with debouncing
08.40 Frequency counter
08.50 PWM output
08.60 Bonus: DAC 10Hz square wave generator
09 - On-board programming with Lua
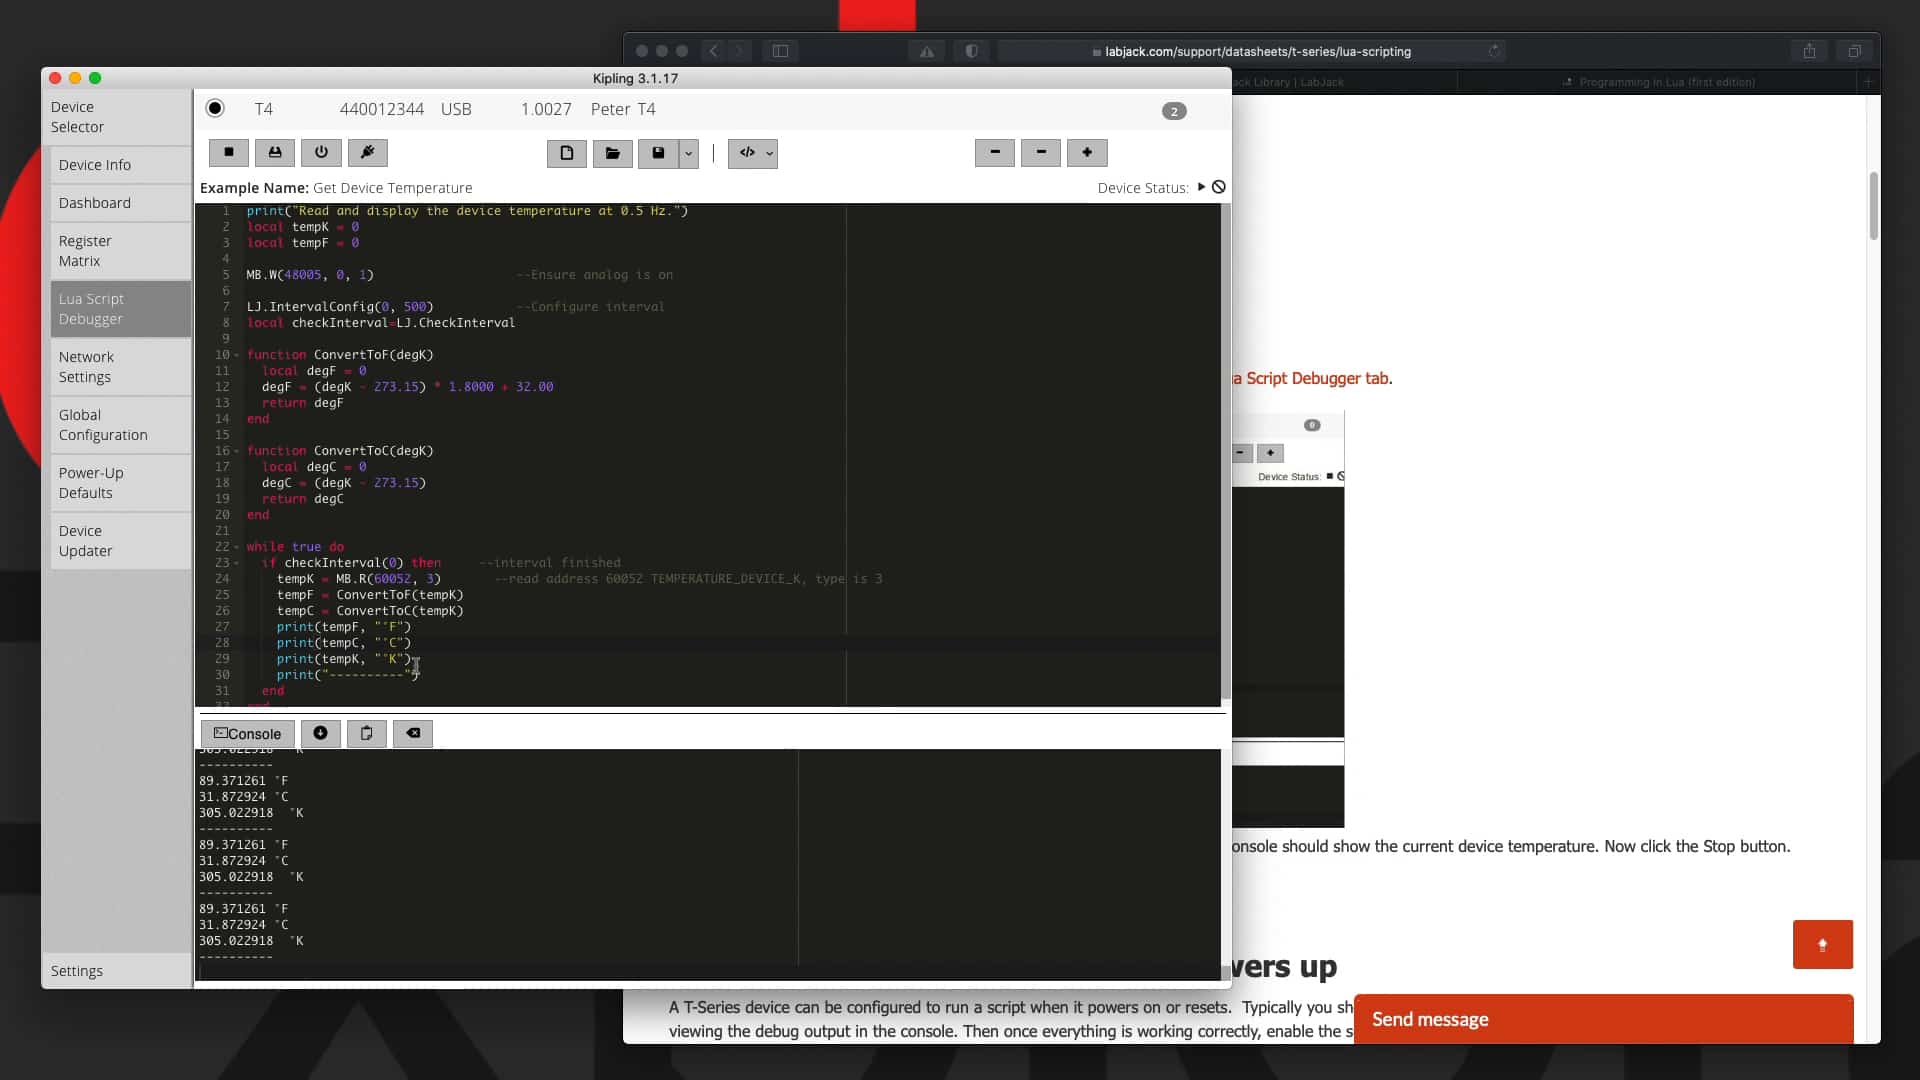
09.10 What is Lua?
09.20 Lua for LabJack
09.30 The Lua script debugger
09.40 Lua for LabJack memory management tips
09.50 Toggle an output with Lua
09.60 Control LabJack build-in LEDs with Lua
09.70 Read and write voltage with Lua
09.80 Counter with Lua (no debouncing)
09.90 Counter with Lua (with debouncing)
09.100 Convert AIN voltage to anything with a function with Lua
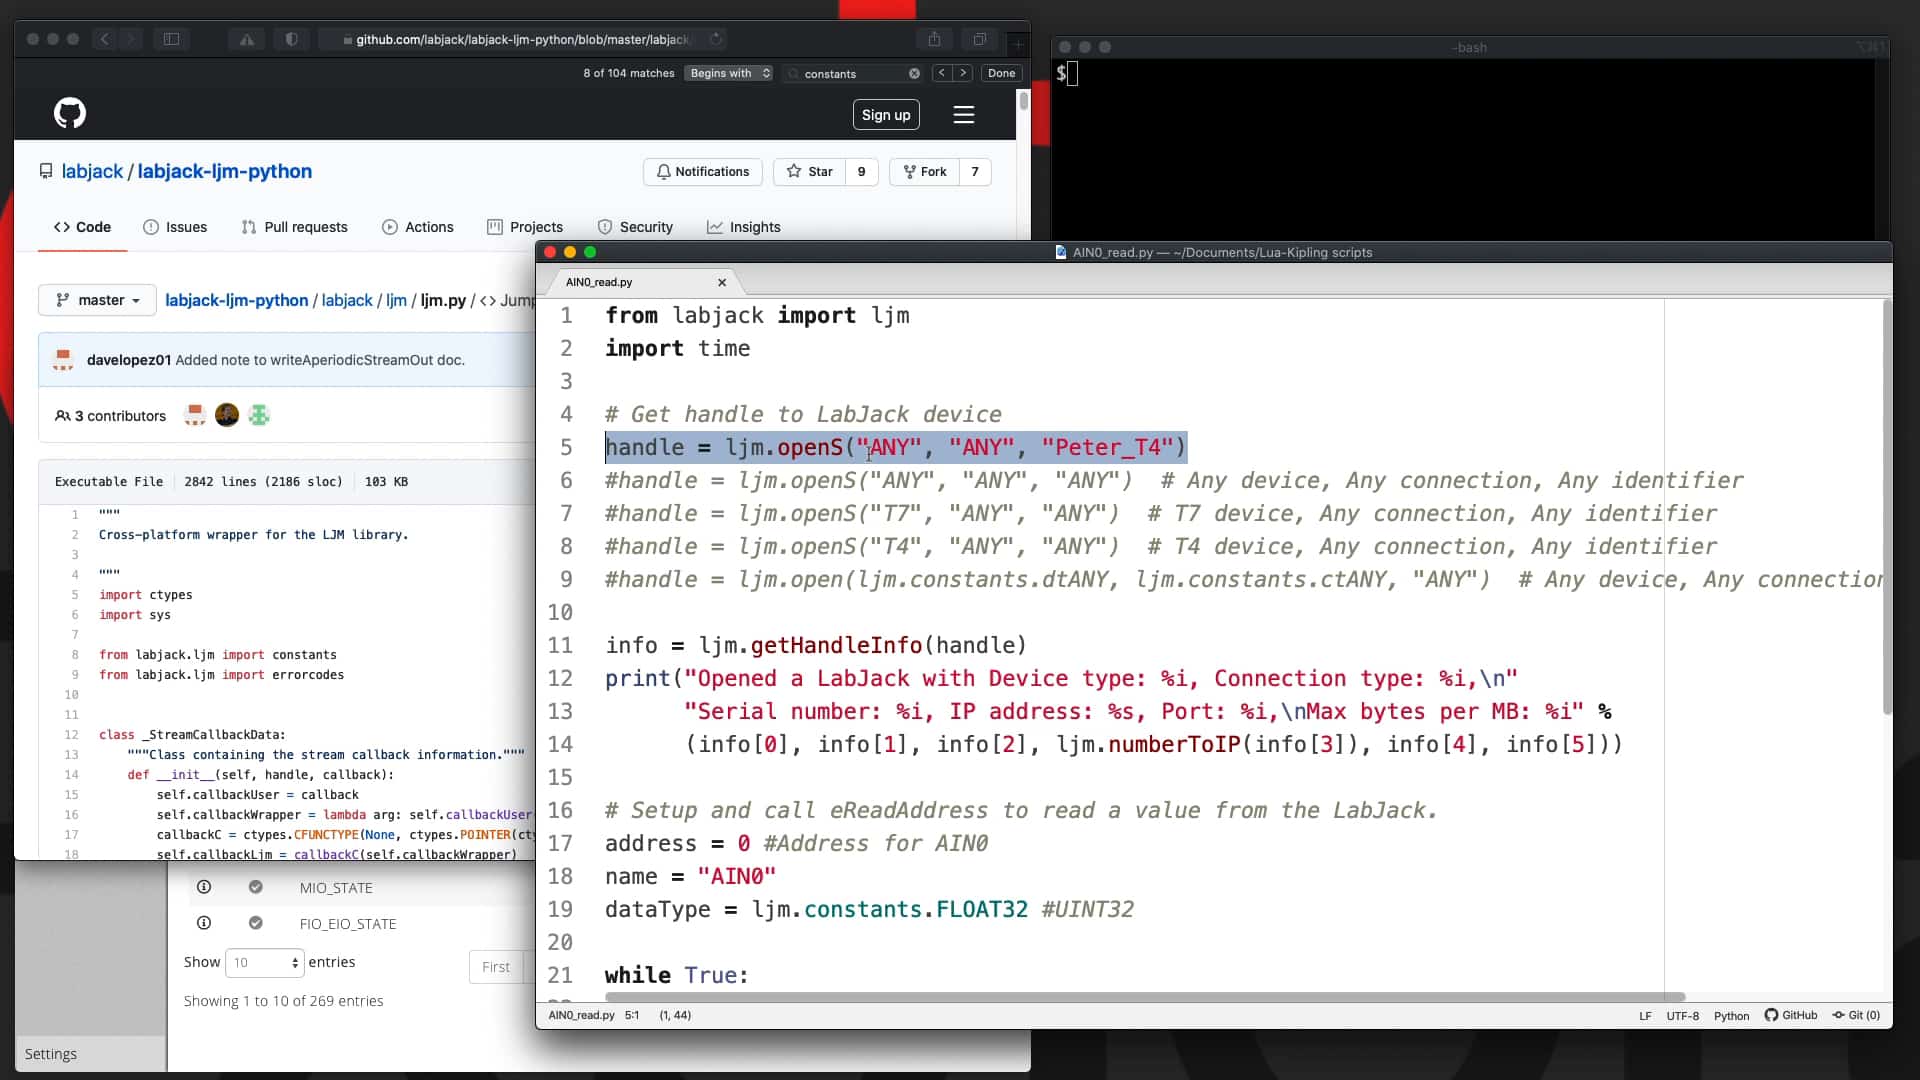
10 - Using the Labjack API with Python
10.10 The LabJack API and documentation
10.20 Install the Python wrapper for LabJack API
10.30 Simple AIN read with Python
10.40 Simple DAC write with Python
10.50 Toggle LED on FIO4 with Python
10.60 Lua script controlled by host with Python
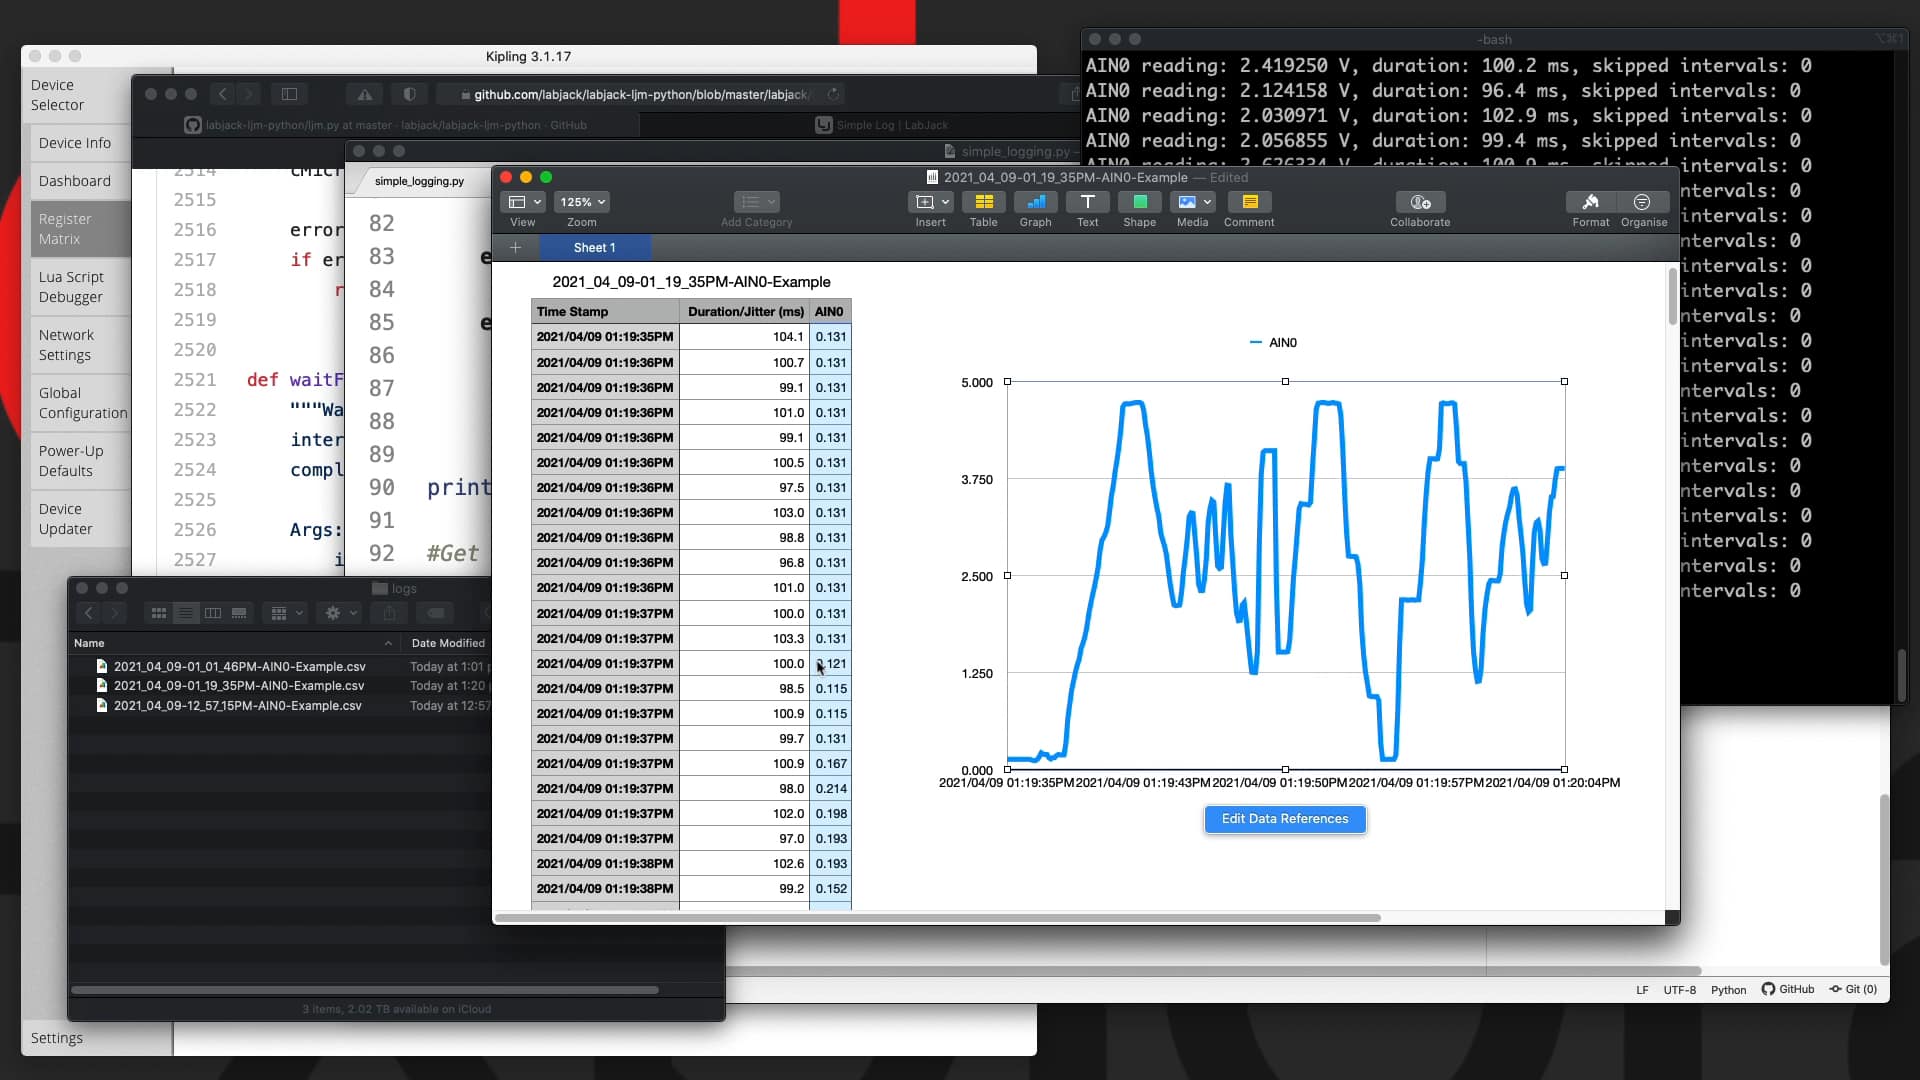
10.70 Data logging on host with Python
The course instructor

The course instructor is Peter Dalmaris, PhD.
Peter has created over 20 other courses on technology education.
He is the author of Maker Education Revolution, a book on how making is changing the way we learn and teach.
He is also the host of Stemiverse, a podcast in which he discusses education and STEM with the shakers and movers of technology and science education from around the world.
Copyright 2024, Tech Explorations - Privacy