Arduino Step by Step Getting Started
No prior knowledge of electronics or programming required.
This classic course will teach you everything you need to know to create Arduino gadgets with sensors, displays, and lights.
Course last updated in December 2024
I have updated Arduino Step by Step Getting Started with a new section on using online Arduino simulators to accelerate your learning and development. These tools make it possible to design, test, and debug Arduino projects without needing physical hardware, saving time and resources. The new lectures introduce two powerful simulation platforms: Wokwi and Tinkercad, providing detailed examples and hands-on exercises to help you get started.
The new section features a variety of practical examples, including simple LED blink and fade circuits, projects using potentiometers and digital sensors like the DHT22 and HC-SR04 ultrasonic sensor, and more advanced setups incorporating I2C LCD displays and servos. Each example is demonstrated in both Wokwi and Tinkercad, allowing you to compare the capabilities of these platforms and choose the one that best fits your needs. Whether you’re a beginner or looking for a way to prototype your ideas faster, these new lectures make it easier than ever to explore and experiment with Arduino projects.
In making this course, I emphasized the importance of getting the basics right and learning to mastery. As an educator for over 15 years, I know first-hand that hitting a roadblock because you lack the fundamental knowledge to progress can be demotivating.
In Arduino Step by Step: Getting Started, through more than 20 hours of video content, mini projects and quizzes, you will cover all the basics so that you can enjoy learning about the Arduino.
Go hands-on with the Arduino's inputs and output, learn about communications, and understand the differences between the Uno and some of the other Arduinos, like the Mega, Due, and the Zero.
In the last update of October 2022, we added lectures on the modern Arduino MKR and Nano families of boards.
Apart from knowing how to use the components that I demonstrate in this course, you will also learn how to read datasheets, how to use libraries on your own, and how to learn the skills you need to create the gadgets you want, on your own.
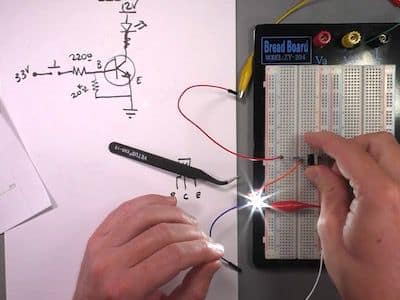
Learn about prototyping, how to use the multimeter, how to solder.
Go hands-on with the Arduino's inputs and output, learn about communications, and understand the differences between the Uno and some of the other Arduinos, like the Mega, Due, and the Zero.
Arduino Step by Step Getting Started is also available as a Bootcamp for Teachers and Trainers.
In this Bootcamp, I help students to learn the curriculum to mastery so that they can go on to teach their students. The workload is intense, and the daily learning curve is steep.
In this Bootcamp, my role is to be a dedicated coach, and help the student one-on-one.
The Bootcamp version of this course costs US$997.
Within a month, a student that started from having no knowledge of the Arduino, graduates to be a confident maker, and teacher.
The transformation is impressive. That's why I think that $997 for this Bootcamp is a steal.
But, a $997 Bootcamp is not for everyone.
If you prefer to learn on your own, then Arduino Step by Step Getting Started will save you hundreds of dollars compared to the Bootcamp.
It really is a bargain!
Apart from knowing how to use the components that I demonstrate in this course, you will also learn how to read datasheets, how to use libraries on your own, and how to learn the skills you need to create the gadgets you want, on your own.
Learn about prototyping, how to use the multimeter, how to solder.
What is this course about and what to expect?
More information about this course
Update 2024 brief
Study guide
Prototyping tools
Here are three sample lectures from this course
Arrays, example 3
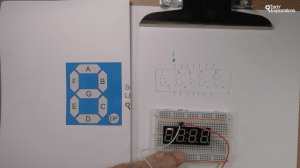
Seven segment display and pins
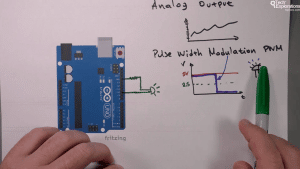
Analog output
Which option is best for you?
You can enroll to our courses in one of three options: Solo, Community, and Mentor. For more information, please see this explainer page.
Solo
Once-off payment, best for self-sufficient learners on a budget.
Once-off.
Once-off.
Community
Best for the social learner: be a member of the course community.
Once-off.
Once off.
* You will receive an email with your discount code after your purchase is complete. You can use the discount code on the Arduino.cc website to purchase a discounted Arduino Student Kit (priced at USD60). You can use the same code to receive 20% on the Arduino Certification Bundle (priced at USD125.30, includes the Arduino Starter Kit + Arduino Certification Exam) and and Arduino MKR WiFi 1010 (priced at USD38.60).
Consider a subscription
Did you know, you can get a subscription for immediate access to this and 20+ of our courses. All for a low monthly payment, cancel anytime.
Do you prefer to learn on Udemy?
On Udemy you will find all of the Tech Explorations courses at the lowest possible price.
Each course is individually priced by Udemy based on your location. We don't have control of the price on Udemy and so we can't display it on this page.
Click on the button below to open a new window where you can see the price of this course on the Udemy website.
Please see our refunds policy.
What's in this course?
Introduction to the course
What is this course about?
Tools you will need
Parts you will need
How to get the most out of this course
Update 2022 brief
Know your Arduino Uno R3
Introduction
Getting to know the Arduino Uno: Atmega328P, USB, Shields
Getting to know the Arduino Uno: Pins, power, clock
Using the digital output pins
Using the digital input pins
Using the analog output pins
Using the analog input pins
Quiz
Know your Arduino Uno R4 Minima
The Arduino Uno R4 Minima: an overview
Power options
Digital and PWM output on the R4 Minima
Digital and analog input on the R4 Minima
Arduino Uno R4 analog input DAC
Human Input Device (HID)
Real-Time Clock
Introduction to communications
Introduction
Serial (UART) communications
I²C (TWI) communications
SPI communications
Quiz
Arduino boards
Introduction
Arduinos past and present
Classic Arduinos
Meet some members of the Arduino family
Introducing the Arduino Mega 2560
Introducing the Arduino Due
Introducing the Arduino Zero
Introducing the Arduino 101
Introducing the Arduino Pro Mini
Introducing Arduino-compatible boards
Modern Arduinos
Arduino MKR
Arduino Nano
Kits
Arduino Student Kit
Arduino Explore IoT Kit
Seeed Studio Arduino Sensor Kit
DFRobot Beginner Kit for Arduino
Quiz
Prototyping basics
Introduction
Using the breadboard
Using jumper wires
The absolutely essential tools
Powering your Arduino with power supplies
Using the multimeter to measure voltage
Using the multimeter to measure current
The multimeter – Resistance and continuity
The Arduino Student Kit multimeter
Introduction to soldering – the soldering iron
Soldering – preparation and using holders
Soldering – using wire cutters and fume extractor
Soldering – Simple maintenance tips for your solder iron
A demonstration of soldering a header onto a breakout board
An introduction to protoboards
Quiz
The Arduino IDE
Introduction
Arduino IDE 1.8
Arduino IDE 2.0
Arduino Web IDE
An introduction to the Arduino IDE
Getting and installing the Arduino IDE
Understand the basic parts of an Arduino sketch
The Arduino IDE – Understanding the Preferences pane
The Arduino IDE – Understanding the Menu items
How to upload a sketch to your Arduino
How to upload a sketch to your Arduino – For Windows users
Sharing code with the Arduino Web IDE
Quiz
Introduction to Arduino Programming
Introduction
An introduction to Arduino programming
Understand the basic parts of an Arduino sketch
Getting started with custom functions
Creating custom functions with parameters and the return keyword
Using variables
Understanding variable scope
Understanding constants
Introduction to control structures: The “if” statement
Introduction to control structures: The “while” statement
Introduction to control structures: The “For” statement
Introduction to control structures: The “Switch” statement
Digital output – how to control an LED
Digital input – how to read the state of a button
Analog input – how to read the state of a potentiometer
Analog output – how to create a fading LED
Introduction to the RGB (color) LED
Wiring the RGB LED
RGB LED: creating colors
Using a library to control an RGB LED with PWM
Learning more with the Arduino language documentation
Quiz
Arduino programming: Arrays
Introduction to this section
Introduction to Arrays
Arrays, Example 1
Arrays, Example 2
Arrays, Example 3
Arrays, Example 4
Quiz
Measuring light and color
Introduction
What is a photoresistor and how to wire it
How to select the appropriate fixed resistor for a photoresistor
Using the Ultra-Violet light sensor
An introduction to the RGB Color sensor
Wiring the RGB Color sensor
Mini project: copy a color to an RGB LED using an RGB Color sensor
Quiz
Measuring temperature, humidity and pressure
Introduction
Using a DHT22 sensor to measure temperature and humidity
An introduction to the Thermistor
Wiring the Thermistor
How to calculate the temperature from the thermistor resistance
Thermistor: getting a temperature using a library
Thermistor: improving the accuracy of analog readings with AREF
An introduction to measuring temperature with the TMP36
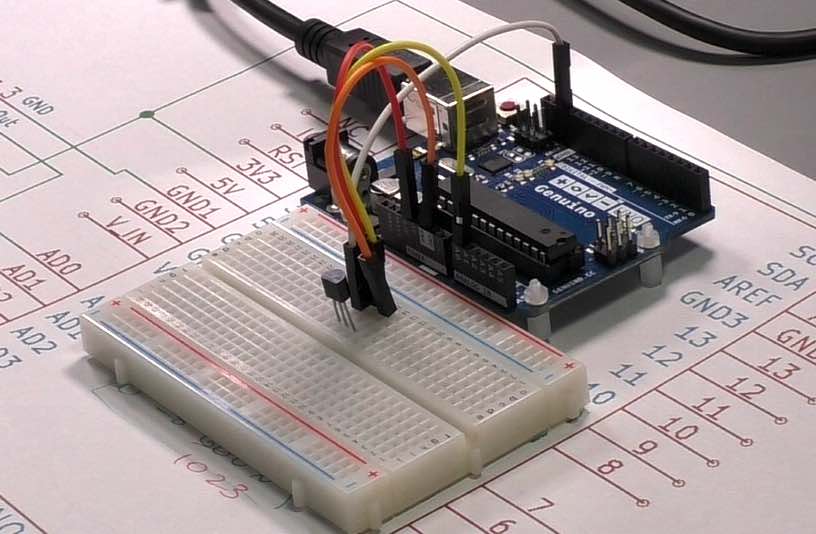
Wiring the TMP36 and a demonstration sketch
An alternate wiring of the TMP36
An introduction to the MCP9808 for very accurate temperature readings
MCP9808: Wiring
Using the MCP9808, demo and sketch walkthrough
MCP9808: A closer look at I2C addressing
An introduction to measuring barometric pressure with the BMP180
Wiring the BMP180 and first sketch walkthrough
A first demo sketch for the BMP180
A second demo sketch for the BMP180
Quiz
Detecting acceleration
Introduction
Introduction to detecting acceleration with the ADXL335
Wiring the ADXL335
Plugging the ADXL335 directly in the Arduino, and detect its orientation
Write the sketch for detecting orientation with the ADXL335
Quiz
Detecting objects with the infrared motion sensor
Introduction
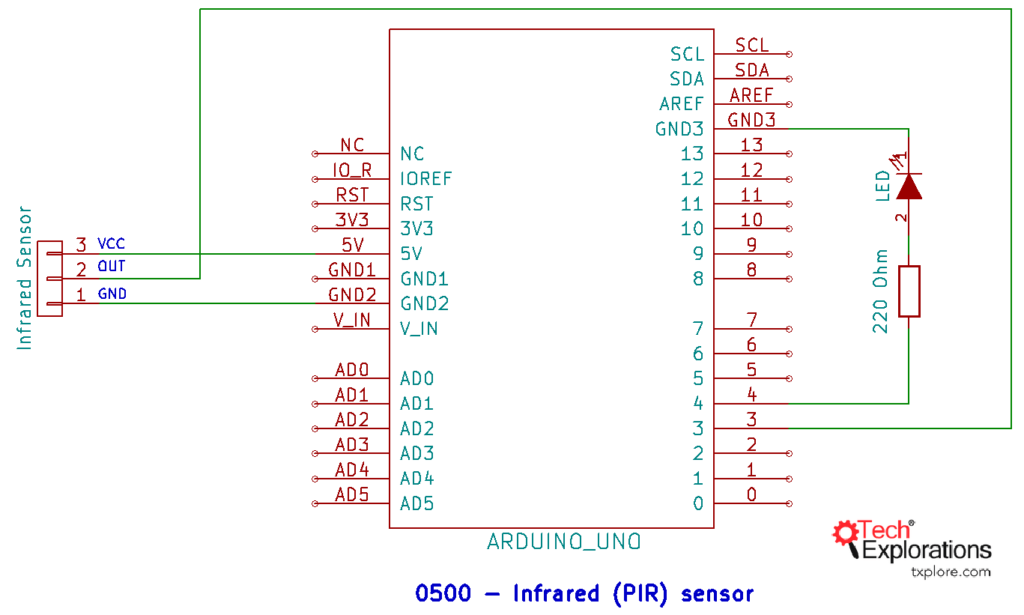
Introduction to the Passive infra-Red (PIR) motion sensor
A simple PIR experiment with an LED
A demonstration of using the PIR sensor with the Arduino
PIR sensor first demonstration sketch walkthrough
PIR sensor second demonstration sketch walkthrough
Quiz
Sensing distance
Introduction
Introduction to the ultrasonic distance sensor
Wiring and understanding Trigger and Echo
How to calculate distance
Quiz
Sensing sound
Introduction
Introduction to the analog sound sensor
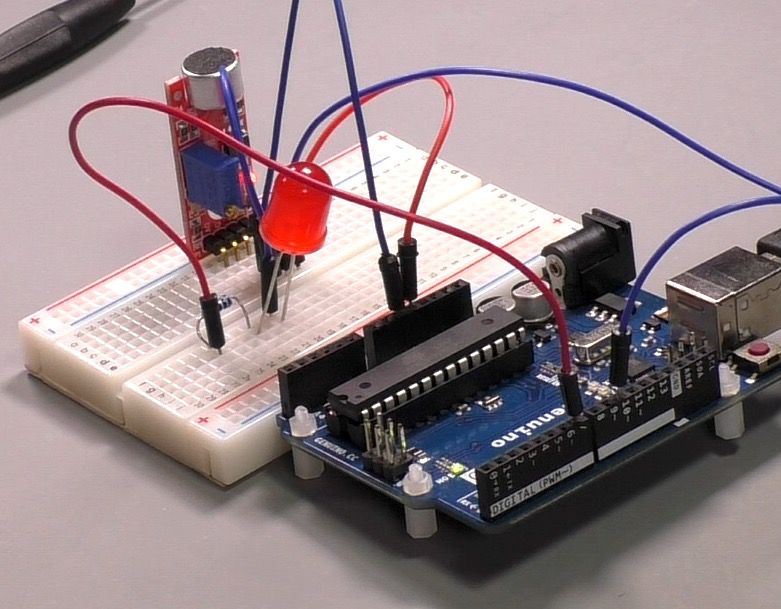
A demonstration and sketch of the analog sound sensor
A demonstration and sketch of the digital sound sensor
Quiz
Making noise with a buzzer
Introduction
Introduction to the buzzer
Playing music
Control the sound volume
Quiz
The Liquid Crystal Display
Introduction
Introduction to the LCD
LCD wiring in 4-bit parallel mode
LCD demonstration sketch
Display sensor data in the LCD
Connect LCD using the I2C adaptor
Using the RGB LCD and buttons shield
Quiz
Arduino simulators
Why use a circuit and Arduino simulator?
Example 7: Wokwi Arduino, sensor, LCD and servo custom library
Two options: Wokwi and Tinkercad
Example 1a: Tinkercad - simple LED blink and fade
Example 1b: Wokwi - simple LED blink and fade
Example 2a: Tinkercad - potentiometer and LED
Example 2b: Wokwi - potentiometer and LED
Example 3: DHT22 digital sensor on Wokwi
Example 4a: Tinkercad with the HC-SR04 ultrasonic sensor
Example 4b: Wokwi with the HC-SR04 ultrasonic sensor
Example 5a: Tinkercad with the I2C LCD
Example 5b: Wokwi with the I2C LCD
Example 6: Wokwi Arduino, sensor, LCD and servo
Testimonials
Very well explained and very informative. A good course to introduce children to IoT. Thanks for all your effort to make it into an well organized course.
Darryl C
I've returned to re-review this course... because I didn't realise how great the teacher and the course he designed is. Just blown away by how much I've been able to learn and understand in a relatively short period of time. I think the key point is that the course really deepens your understanding of the Arduino platform rather than tells you how to do a particular task! The questions are really useful in this way as you have to process what you just learnt. Dr Peter Dalmaris is simply a great teacher (his podcast is worth checking out as well) - who clearly has a massive enthusiasm for spreading knowledge and understanding which will allow other people to make stuff. The course has been a great pleasure to take part in and, as a teacher, I feel like I've learnt more than just Arduino engineering. Thanks so much to Dr Peter!
James S
Good course, very detailed and covers almost everything you need to know about many Arduino components if you are new to it
Ayman S

This course instructor is Peter Dalmaris, PhD.
Peter has created over 20 other courses on technology education.
He is the author of Maker Education Revolution, a book on how making is changing the way we learn and teach.
He is also the host of Stemiverse, a podcast in which he discusses education and STEM with the shakers and movers of technology and science education from around the world.
Copyright 2025, Tech Explorations - Privacy
