Arduino mobile development with blynk
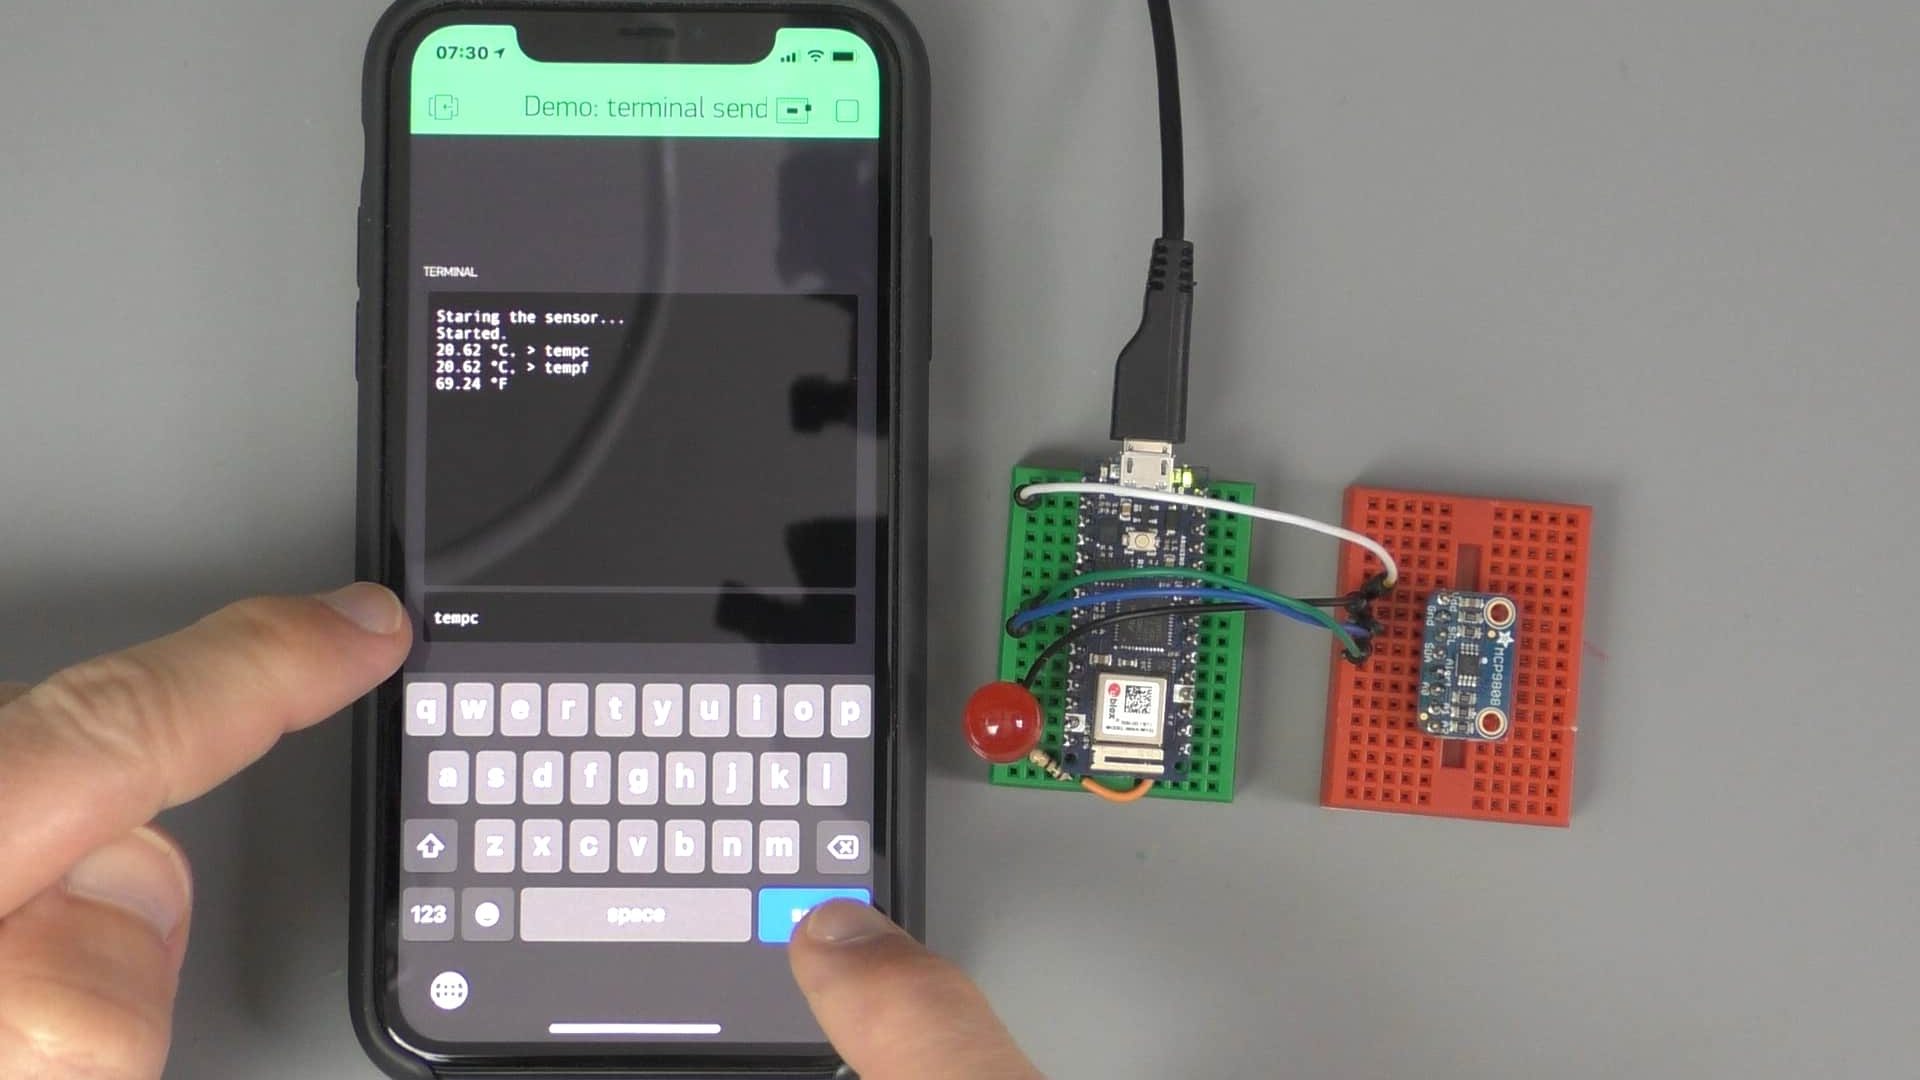
With this course, you will learn how to use the Blynk platform to create apps for iOS and Android that work with the Arduino Nano 33 IoT and the ESP32 or any other supported device.
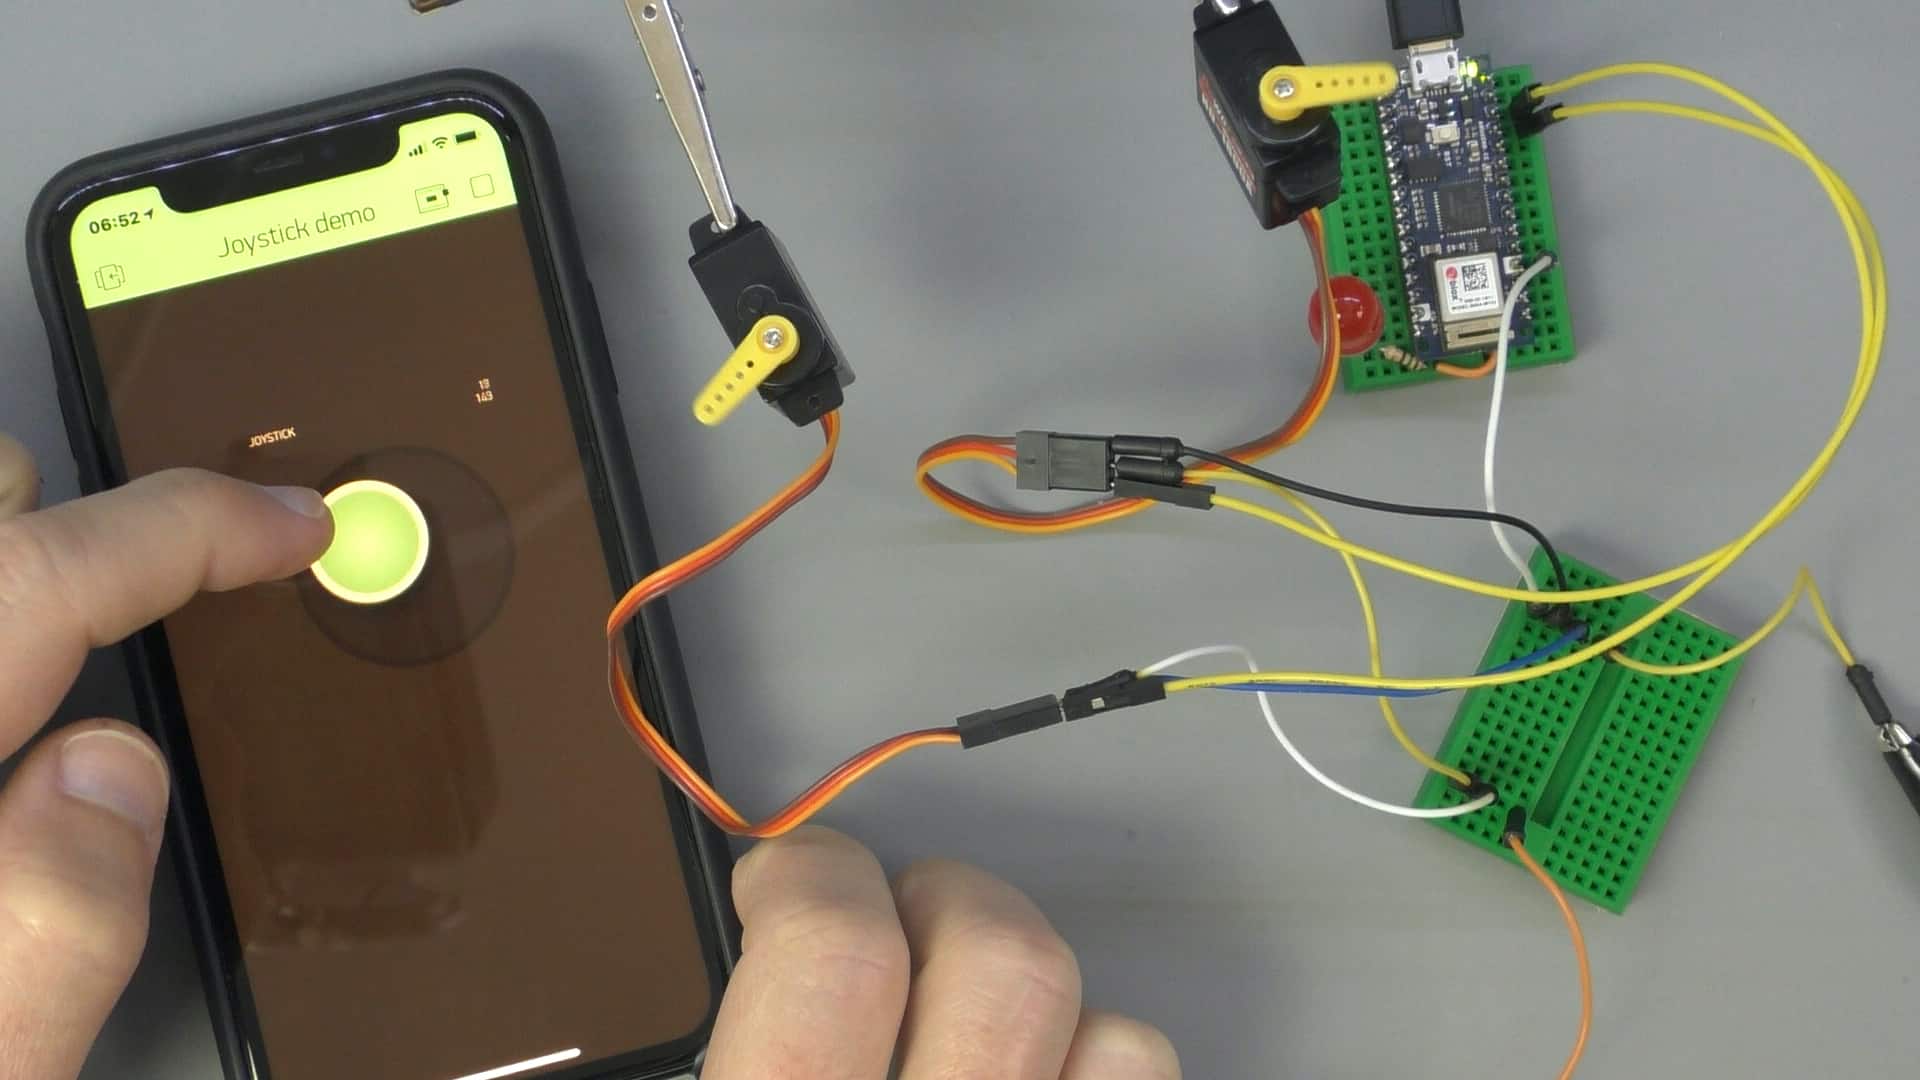
With a Blynk smartphone app, you will be able to create powerful applications that integrate your smartphone with any supported device to read data from sensors, control motors, log data, and send out notifications.
The Blynk Platform consists of a smartphone application for Apple iOS and Android, microcontroller libraries for dozens of devices like the Arduino MKR 1010, and server software for Linux or Windows hosts.
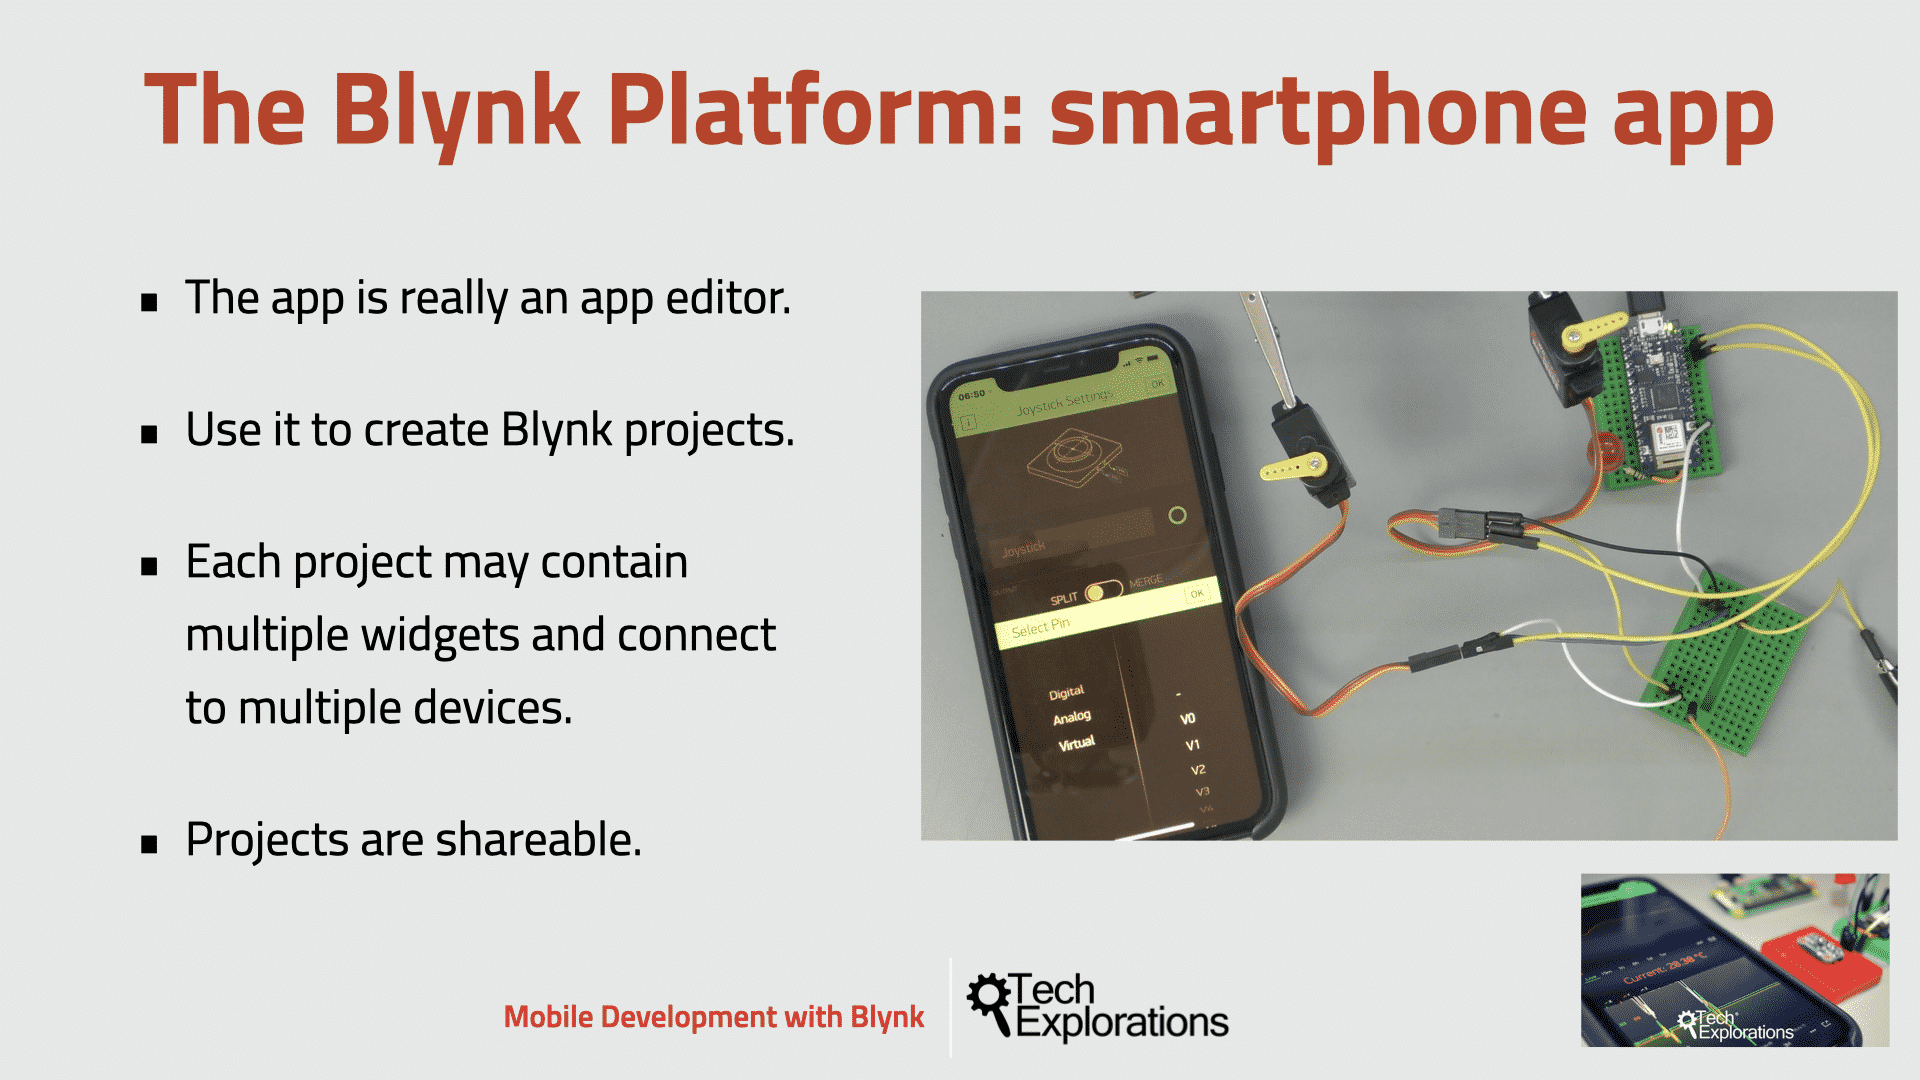
The Blynk smartphone app is like the Arduino IDE: it is a smartphone app editor that allows you to compose your smartphone app using a simple drag-and-drop interface. No programming is needed.
The main focus of the Blynk platform is to make it super-easy to develop the mobile phone application.
As you will learn in this course, developing a mobile app that can talk to your Arduino is as easy as dragging a widget and configuring a pin.
The Blynk device libraries make it easy to connect an Arduino or other microcontroller to a Blynk project. For programming a device like the Arduino Nano 33 IoT or the ESP32, you will use the Arduino IDE.
And, the Blynk server is the component that allows your Blynk smartphone app and as many devices as you want to integrate within one or more Blynk projects.
Blynk is a robust and scalable tool that is used by hobbyists and the industry alike.
You can use it to monitor the soil humidity of your vegetable garden and turn on the water, or open up your garage door, with your phone.
You can also use it to control smart furniture that can learn from your routines, or embed IoT and AI to traditional industrial products such as a boiler, or for improving the integrity and safety of oilfields.
This course is perfect for people who want to create mobile phone-powered microcontroller applications.
You may want to create a home automation system, a rocket launcher, a robot, or even an industrial automation application.
All this is possible with Blynk.
This course will introduce you to the Blynk platform through a series of projects based on an Arduino Nano 33 IoT and an ESP32.
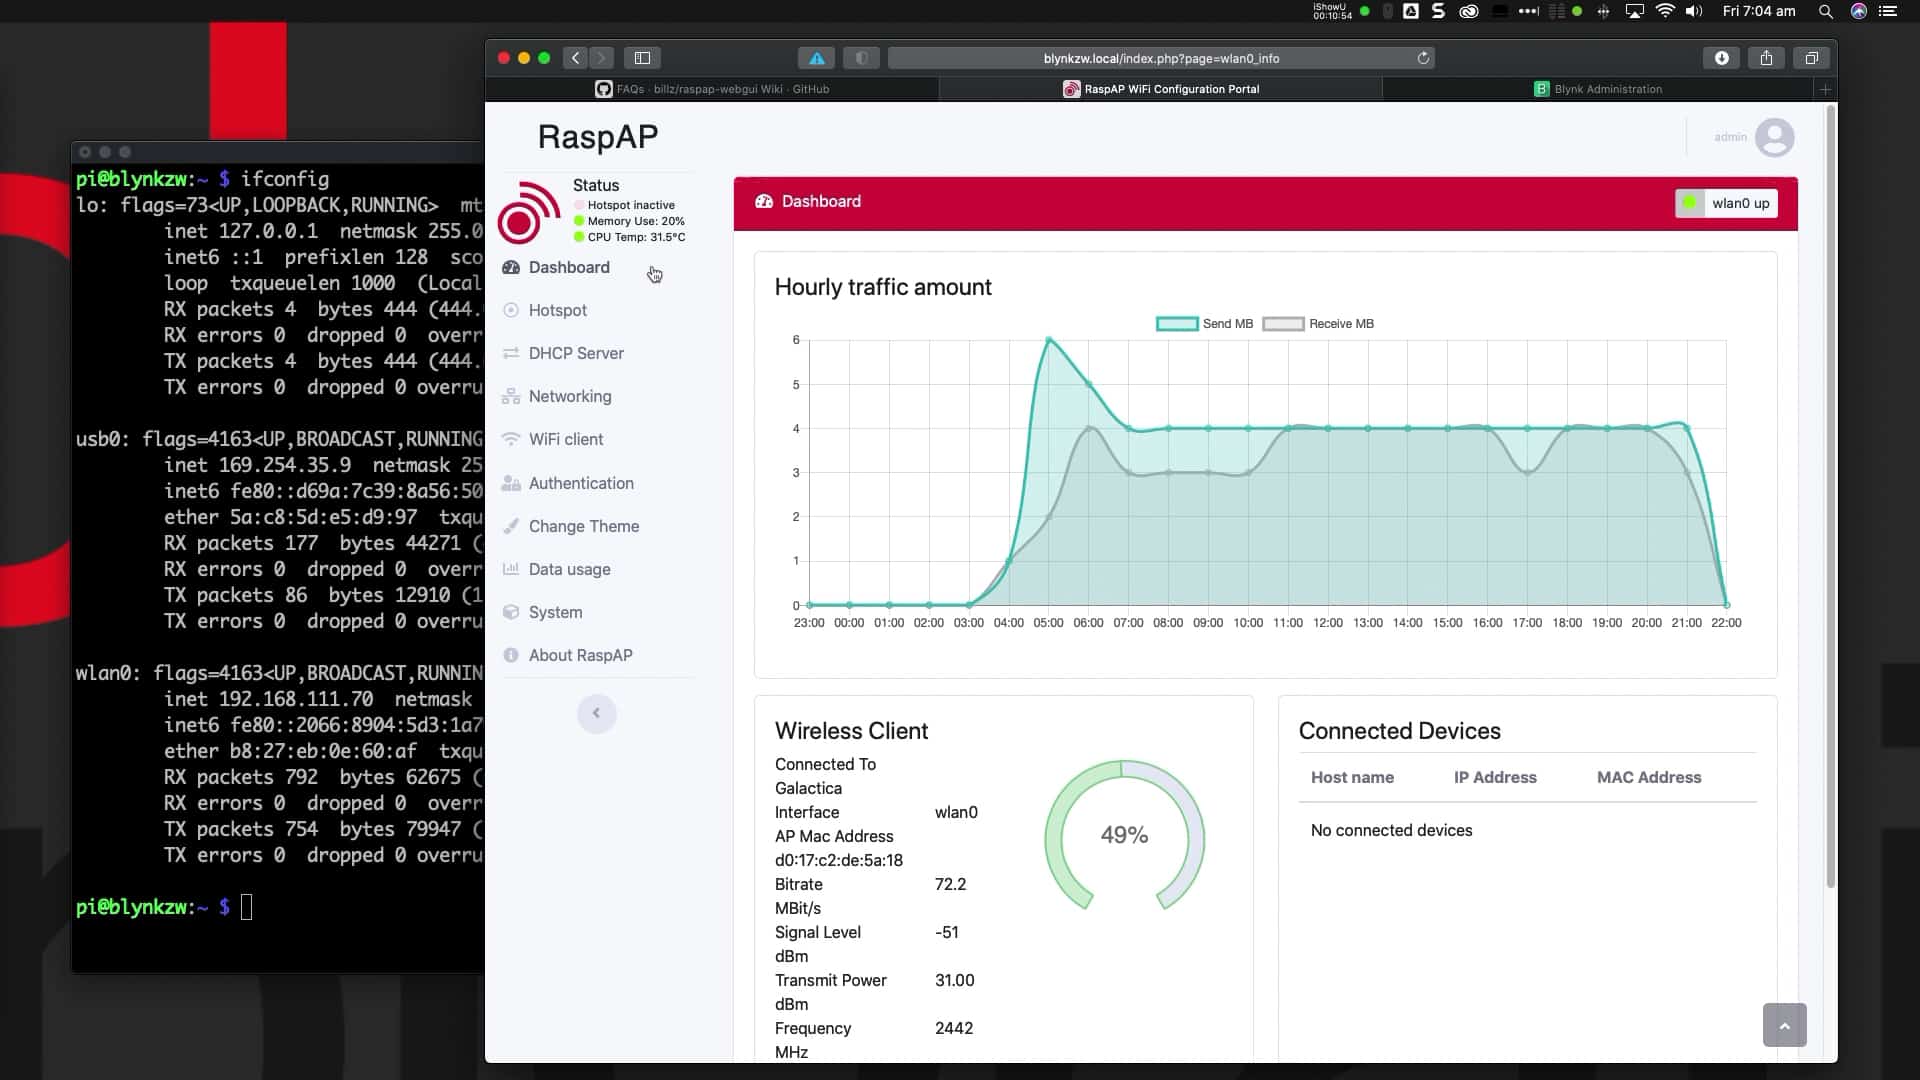
You will also show you how to set up your Blynk private server on a Raspberry Pi Zero W so that you can create applications without limitations of size and performance that the public server imposes.
What is the Blynk 2.0 update?
A few months ago, Blynk completed a significant revamp of their platform. The revamp introduced new features, and ended support for others.
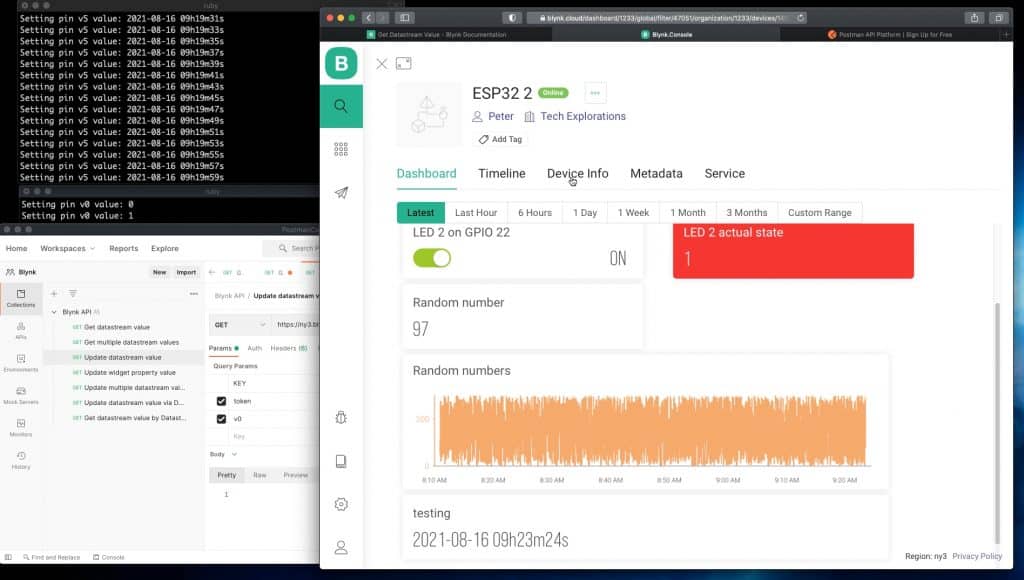
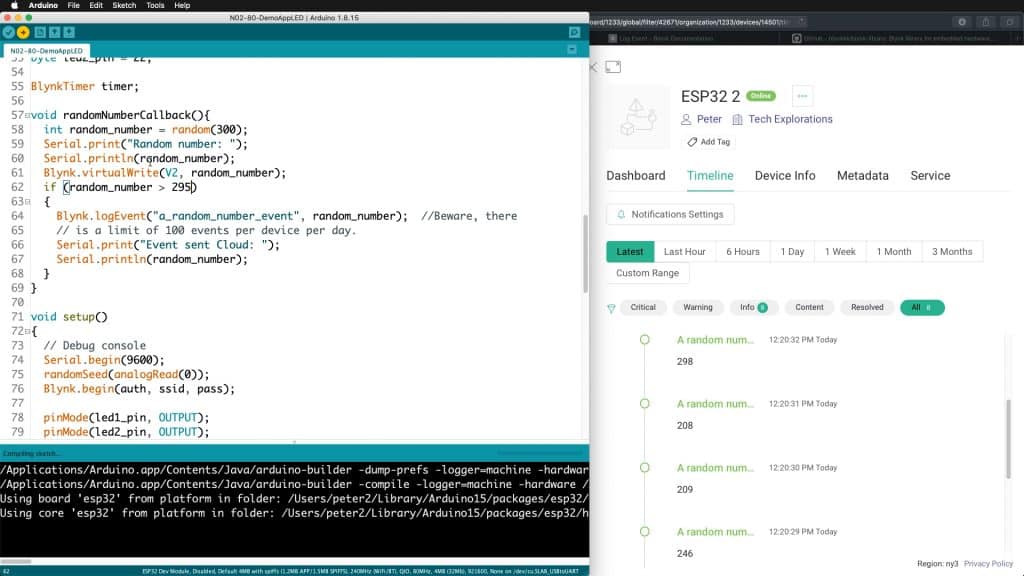
Blynk 2.0 is much more powerful then the legacy version, and cheaper for hobbyists. It maintains the familiar graphical user interface for creating mobile applications, and adds a cloud dashboard. It also offers a significantly upgraded Arduino library packed with features, including support for over the air firmware upgrades.
We have updated the course to cover all new features, and to bridge your knowledge from Blynk "legacy" to Blynk "2.0".
What hardware will you need?
To complete this course, you will need an Arduino Nano 33 IoT, an ESP32 devkit, and a few additional components.
You can substitute the Arduino and the ESP32 with similar devices, such as an Arduino MKR1010 and an ESP8266.
This course does not include any hardware! Please source your own hardware from your preferred retailer. You can find a detailed list of hardware in the course hardware page.
You can find more details in the course hardware page.
What is this course about?
Please watch this video to learn about the learning outcomes of this course, and how it is structured, so that you know what to expect.
Here's what you're getting:
Which option is best for you?
You can enroll to our courses in one of three options: Solo, Community, and Mentor. For more information, please see this explainer page.
Solo
Once-off payment, best for self-sufficient learners on a budget.
...
Once-off.
...
Once-off.
Community
Best for the social learner: be a member of the course community.
...
Once-off.
...
Once off.
Mentor
Get one-on-one live meetings with a mentor, learn to mastery.
US$299
Mentor tier not available for this course
Consider a subscription
Did you know, you can get a subscription for immediate access to this and 20+ of our courses. All for a low monthly payment, cancel anytime.
Do you prefer to learn on Udemy?
On Udemy you will find all of the Tech Explorations courses at the lowest possible price.
Each course is individually priced by Udemy based on your location. We don't have control of the price on Udemy and so we can't display it on this page.
Click on the button below to open a new window where you can see the price of this course on the Udemy website.
What's in this course?
01 - Introduction
01.10 What is this course about?
01.20 Software you will need
01.30 Hardware you will need
01.40 A quick review of the Blynk platform
01.41 A quick review of the new Blynk platform
01.50 How to get the most out of this course
(NEW) 02 - Getting started with Blynk Cloud
02.10 An example Blynk app
02.20 Create your Blynk account (mobile app or Cloud console)
02.30 Hands-on: Create the app Template
02.40 Hands-on: Setup the ESP32 device
02.50 Hands-on: add an LED state confirmation widget
02.60 Hands-on: add a random number datastream
02.70 Hands-on: add a second LED control widget
02.80 Hands-on: add a logger
(NEW) 03 - Blynk Edgent and Firmware Over the Air
03.10 The Blynk Edgent library
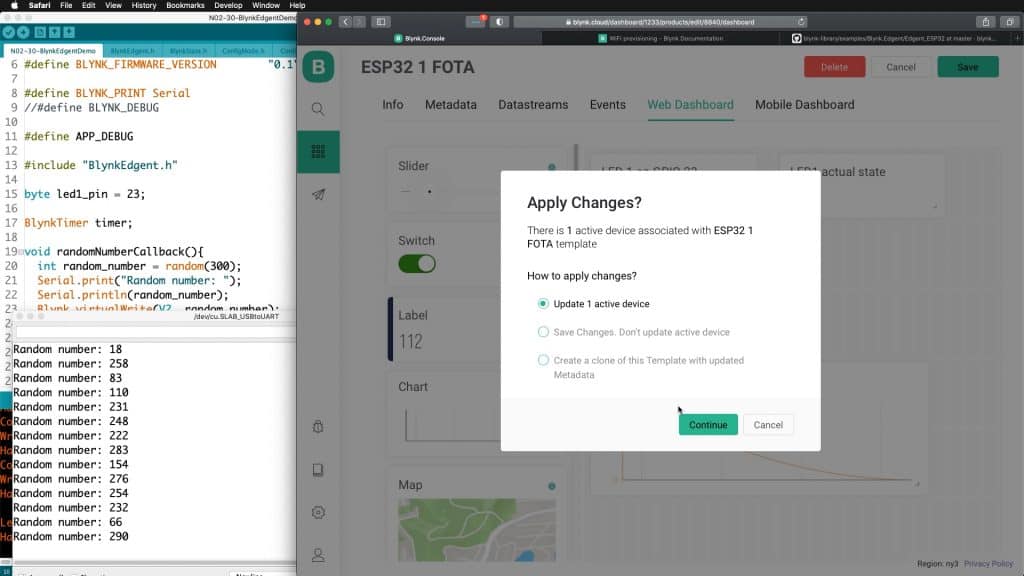
03.20 Convert the demo app to FOTA (Firmware Over the Air)
03.30 Upload Edgent firmware to device and configure Wifi
03.40 Test, change firmware and push update to device (FOTA)
(LEGACY) 02 - Getting Started with Blynk
02.10 Your first Blynk app using the public server, review
02.20 The Arduino Nano 33 IoT
02.30 Install the Blynk app, create an account
02.40 Create a new Blynk app
02.50 How to use a virtual pin
02.60 Replace the Arduino Nano 33 IoT with an ESP32
(LEGACY) 03 - Blynk with two or more devices
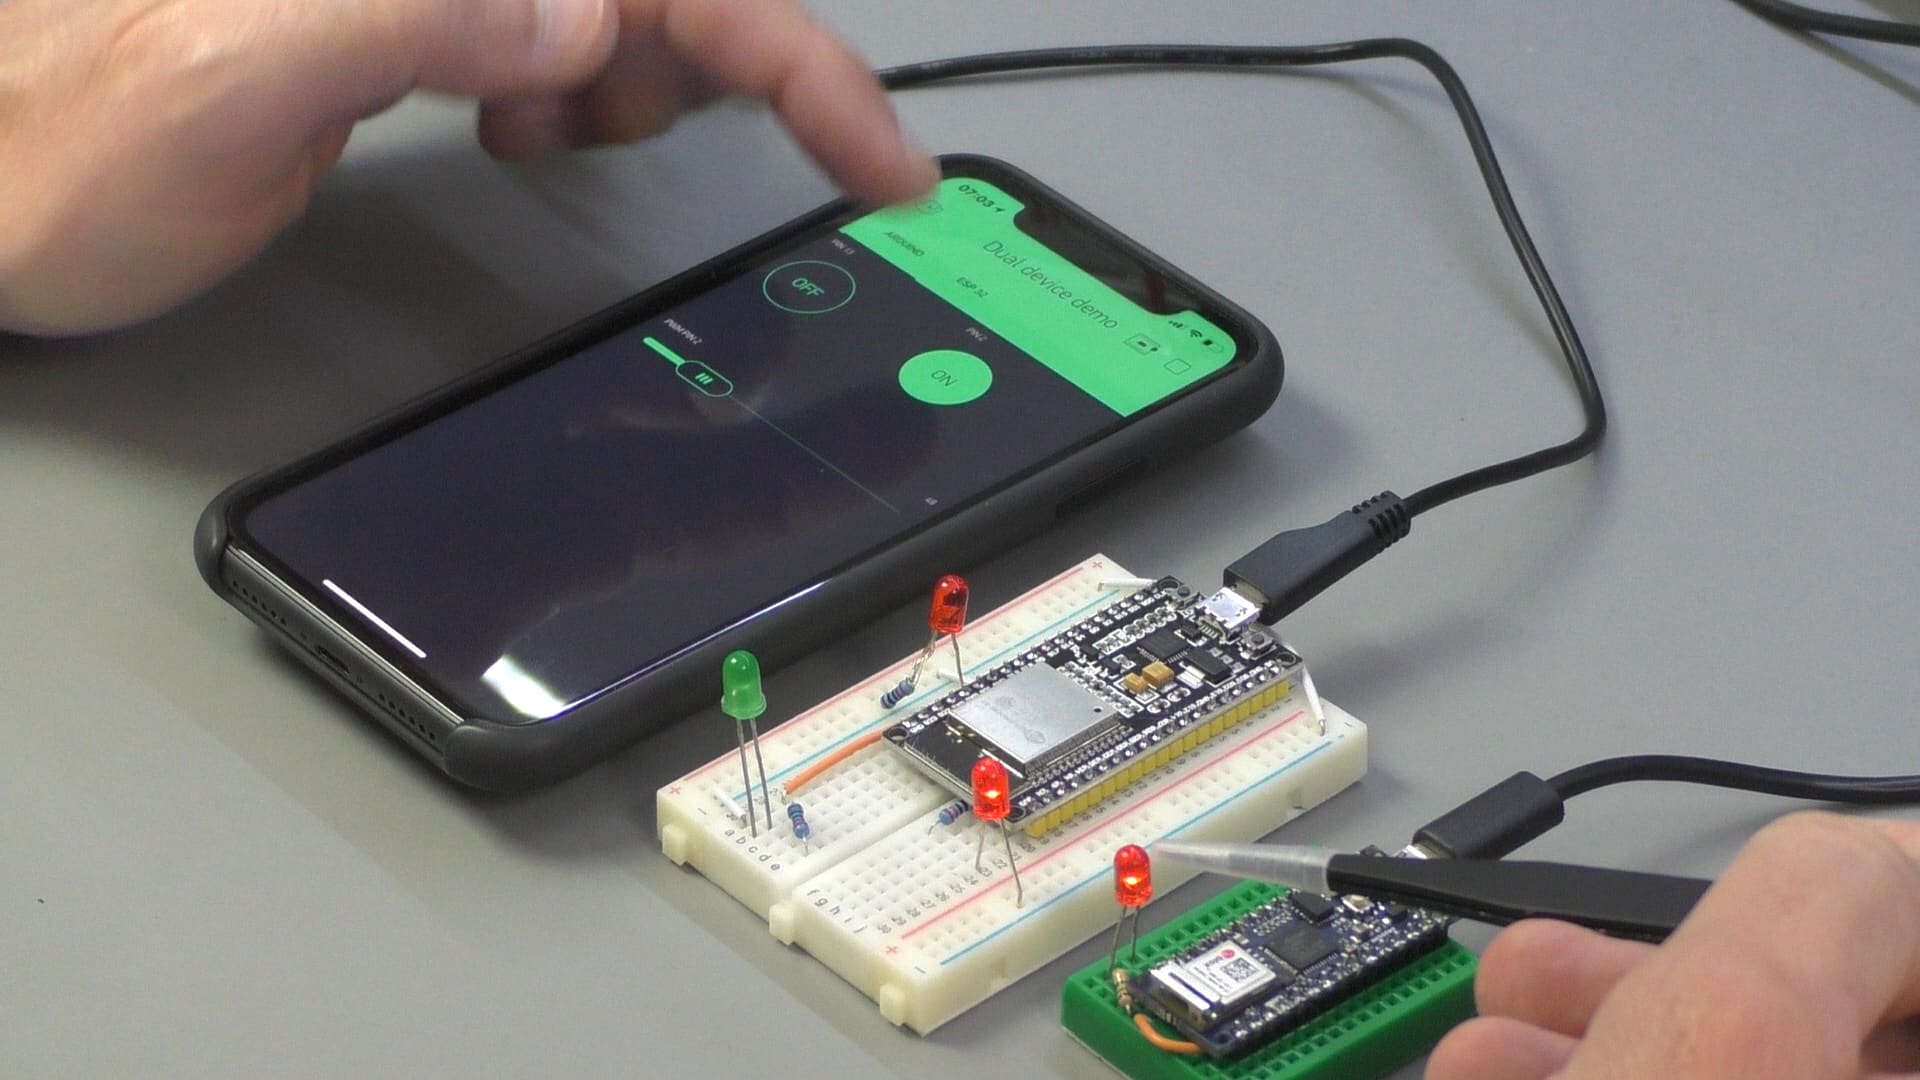
03.10 Dual-device example with Arduino Nano 33 IoT and ESP32
03.20 Setup project in Blynk
03.30 Sketch for the Arduino and the ESP32
03.40 Dual-device project demonstration
04 - Explore some of the Blynk widgets
04.00 Watch this before you continue
04.01 About Blynk basic vs Pro widgets
04.05 How to do these Blynk experiments
04.10 About pins
04.20 Button and styled button
04.25 Hardware button LED
04.26 Hardware potentiometer LED
04.30 Vertical and horizontal slider
04.35 Vertical and horizontal step control
04.40 Joystick
04.50 zeRGBa color picker
04.60 Timer
04.70 LCD with Sensor MCP9808 precision temp sensor (simple)
04.75 LCD with Sensor MCP9808 precision temp sensor (advanced)
04.80 Value and Labeled value display
04.85 Superchart
04.90 Gauge push/pull
04.95 Gauge with accelerometer
04.100 Level with accelerometer
04.110 Terminal receive
04.115 Terminal send
04.120 Email notifications
04.130 Smartphone notifications
05 - Setup a Private Blynk Server on a Raspberry Pi Zero W
05.05 What is this section about?
05.10 Prepare the Raspberry Pi Zero W with the OS
05.12 Boot the Raspberry Pi for the first time and basic configuration
05.20 Optimise OS for RPi Zero
05.30 Install the Blynk server
05.40 Test private server with a new Blynk project
06 - Blynk Server Configuration
06.10 Introduction to Blynk server configuration
06.20 Setup autostart
06.30 Enable email notifications
06.50 Security with self-signed certificates
06.60 Access your Blynk server from the Internet with port forwarding
06.70 The properties file
07 - Setup the Raspberry Pi Zero W as a WiFi Hotspot
07.10 - WiFi hotspot demo and reasons
07.30 - Install raspap-webgui
07.40 - Connect your Arduino to the RPiWZ WiFi
07.50 - Test the Blynk project
07.60 - Power your Raspberry Pi via a USB battery
07.70 - Switch from Hotspot mode to client wifi mode [Peter to edit]
07.80 - Switch from client mode to Hotspot mode
08 - Other Experiments
08.10 - Access your Raspberry Pi Zero via USB
08.20 - Data-logging
08.30 - Handle the data folder for backup or migration
(NEW) 09 - The Blynk HTTPS API
09.10 What is the Blynk HTTPS API?
09.20 Code-free examples using Postman Canary
09.30 HTTPS API Examples with Ruby
The course instructor

The course instructor is Peter Dalmaris, PhD.
Peter has created over 20 other courses on technology education.
He is the author of Maker Education Revolution, a book on how making is changing the way we learn and teach.
He is also the host of Stemiverse, a podcast in which he discusses education and STEM with the shakers and movers of technology and science education from around the world.
Copyright 2025, Tech Explorations - Privacy
