NODE-RED & ESP32:
A match made in maker heaven
With this course, you will learn how to design and build an automated control system using Node-RED and the ESP32.
Course last updated in December 2022
In December 2022, we added a new section with eight lectures that cover Node-RED version 3. With these lectures, you will learn how to upgrade your Node-RED instance to version 3 and use the most important new and updated features.
In a previous update we added two new sections that address Node-RED 2.
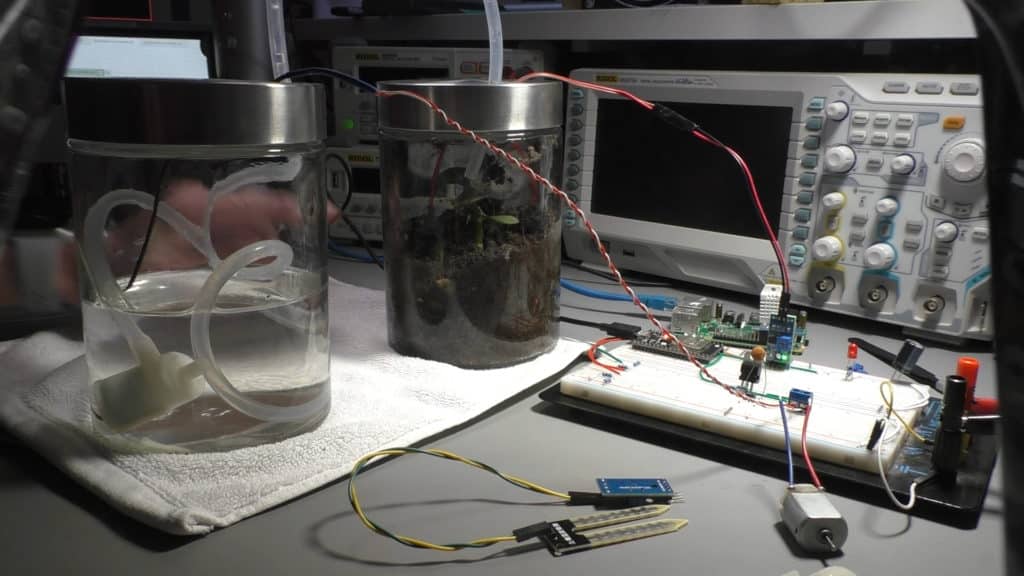
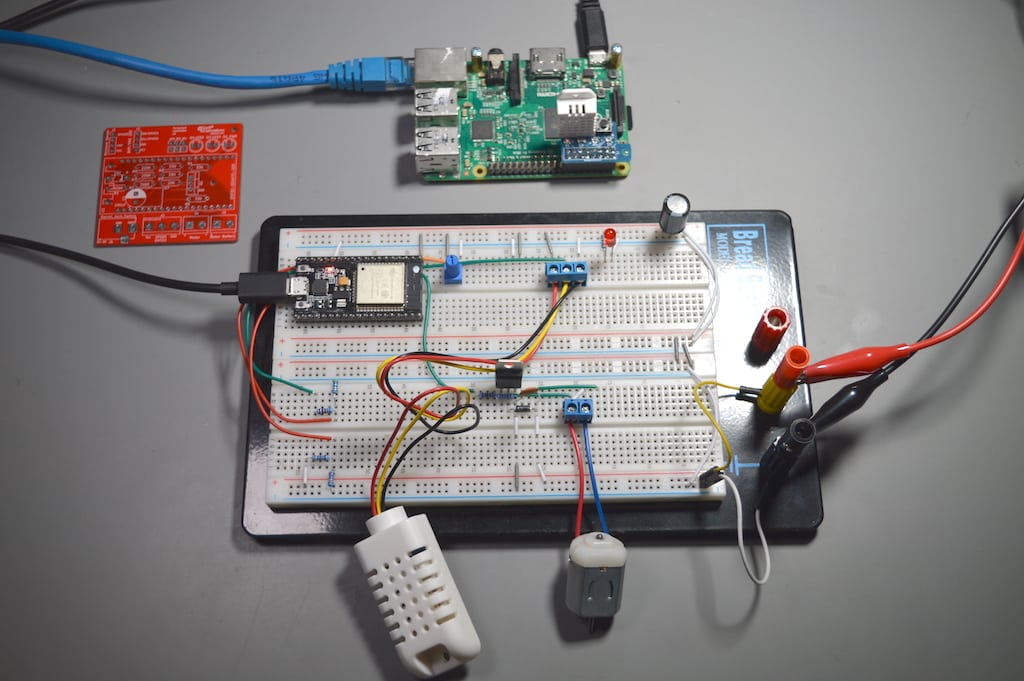
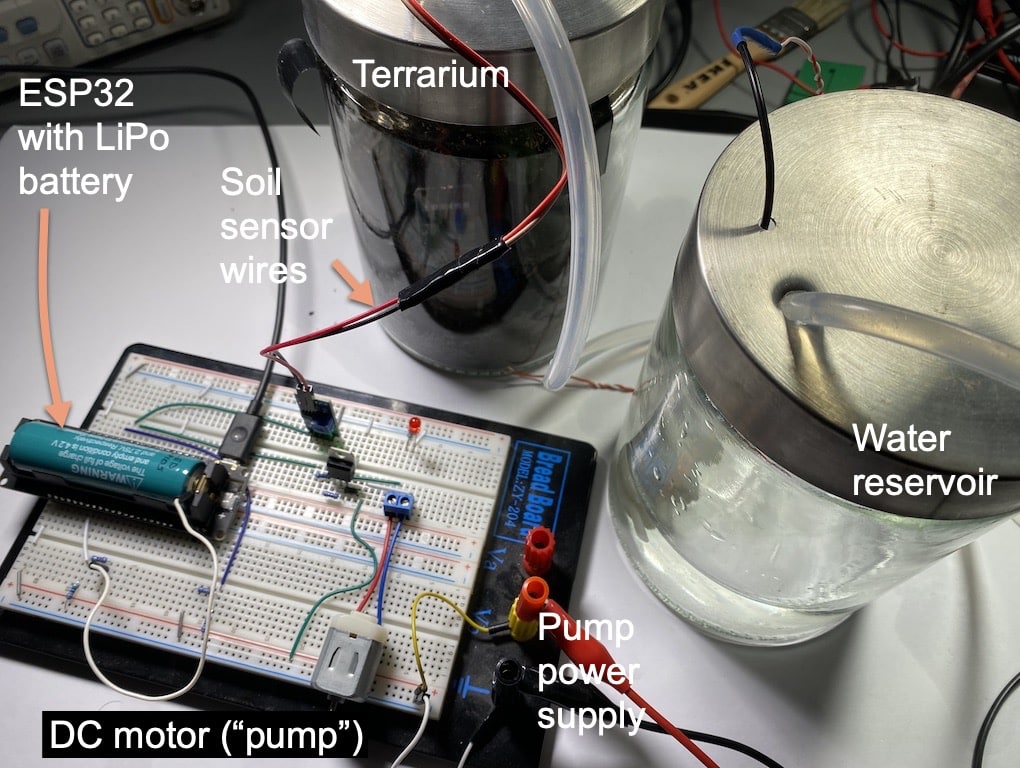
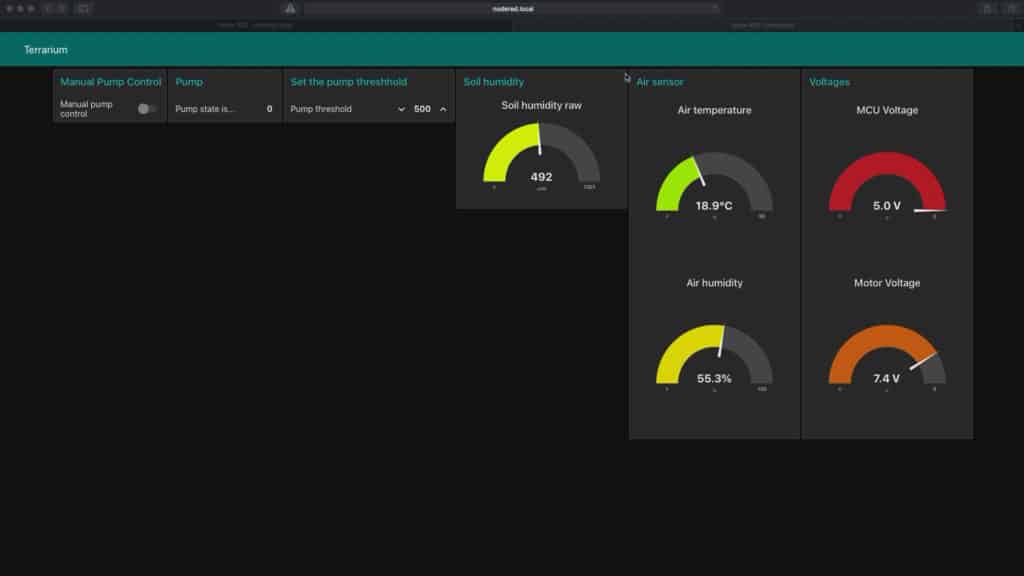
This course will guide you through the construction of an automated control system. The deliverable is a Terrarium controller.
Along the way, you will learn a great deal about useful technologies such as the Node Red programming environment and MQTT.
This course is perfect for Makers who are familiar with the ESP32 and are interested in learning how to use it alongside Node-RED.
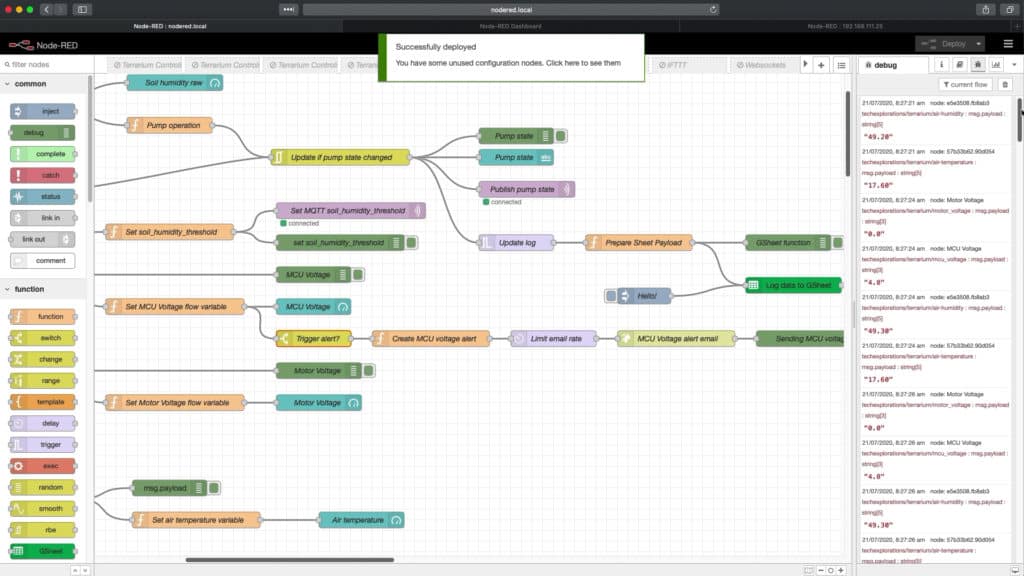
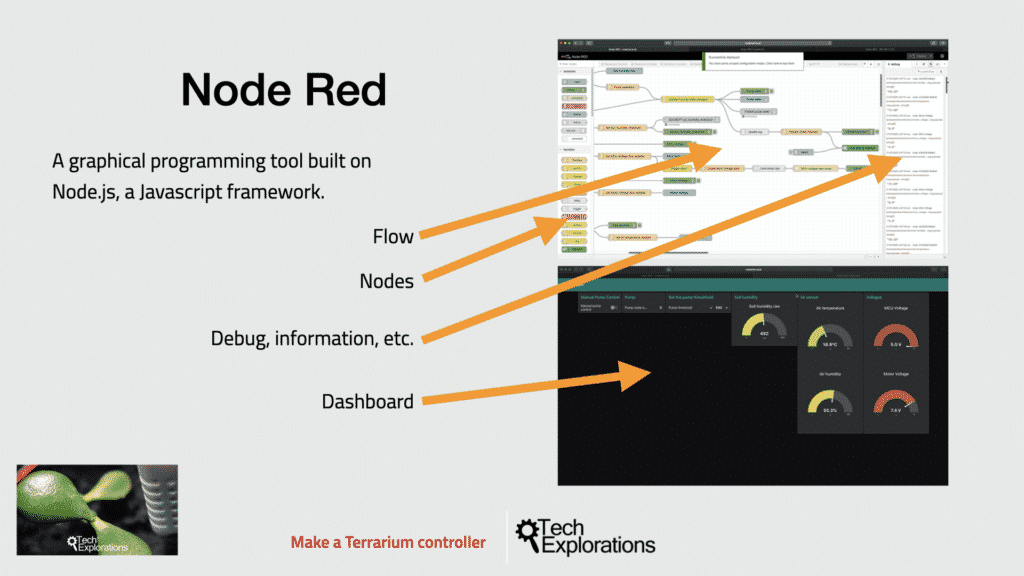
Node-RED is a lightweight graphical programming tool. You can use it to join a variety of hardware and software components and create applications such as the automated terrarium controller in this course.
Node-RED is used in a range of settings. Makers to create home automation applications and organisations use it to automate their factory floors, among many other possibilities.
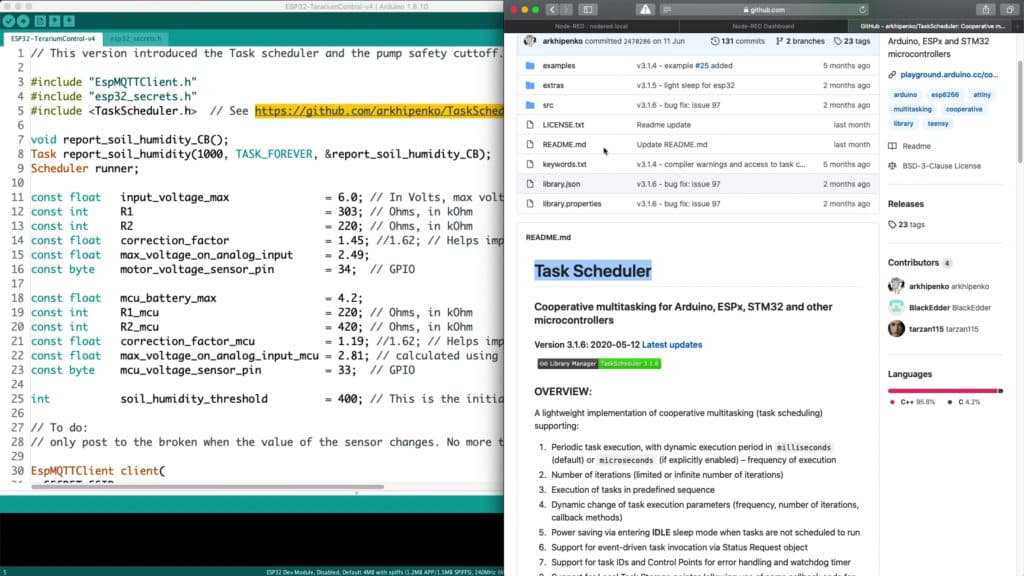
The ESP32 is a powerful low-cost microcontroller with build-in Wifi that we can program with the familiar Arduino IDE. Its "call to fame" is that it makes it easy for anyone that is familiar with the Arduino to leverage their knowledge and create gadgets that need more memory and processing power than what the Arduino Uno can provide, in addition to Wifi and Bluetooth. All this at a lower price point.
Watch: What is this course about?
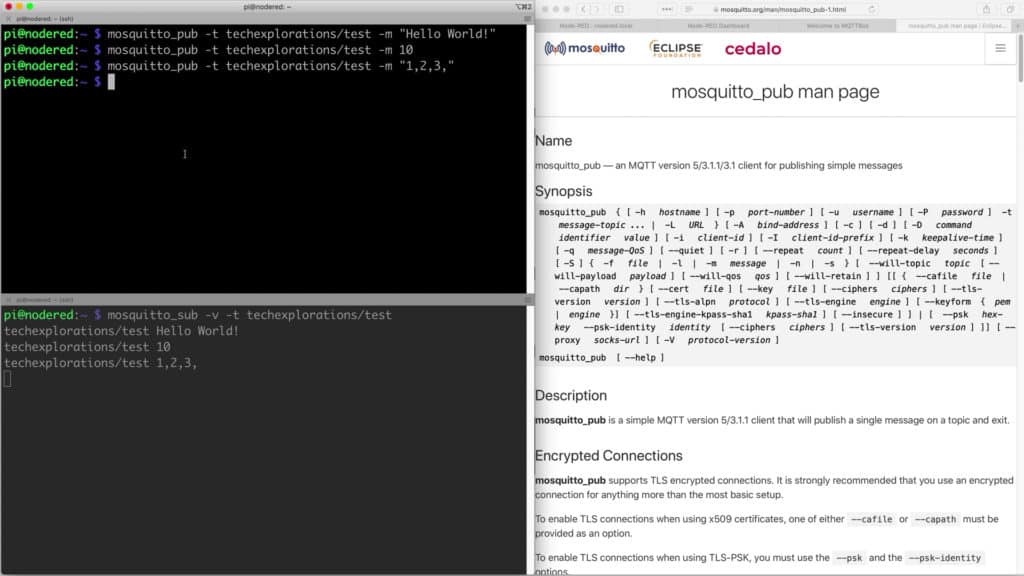
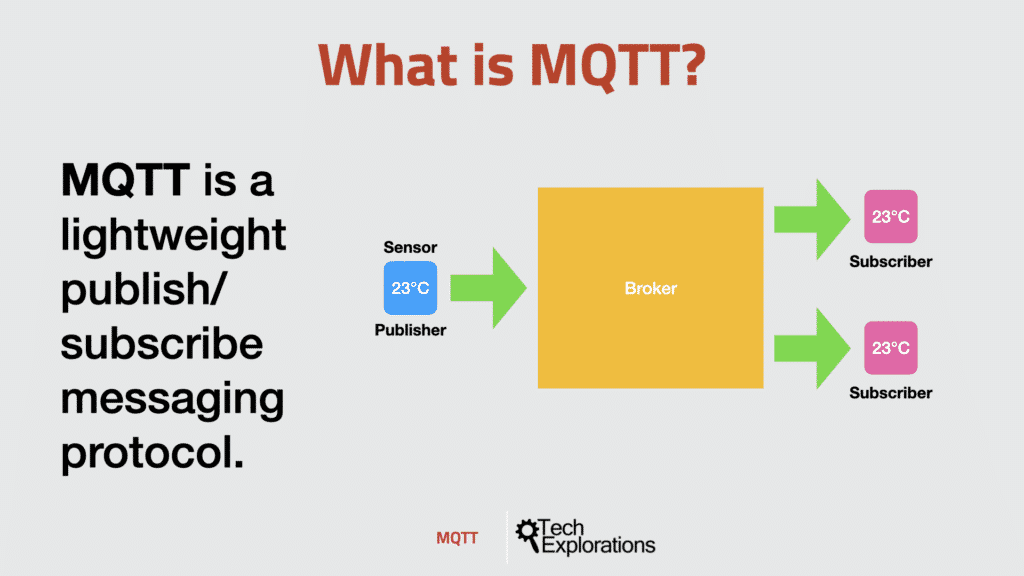
In this course, we use the MQTT messaging protocol to combine Node-Red and the ESP32.
With MQTT, Node-RED and the ESP32, we have a formidable and versatile combination of technologies.
You can use them to build automated control applications of almost any size and complexity.
This course is a project.
You will start with the basics of Node-RED and create your first few flows. Then, you will use MQTT so that your Node-Red flows can communicate with the ESP32.
And, you'll apply your new knowledge to mastery by developing the terrarium controller application, step by step.
Hardware requirements
To complete this course you will need a few hardware components, like an ESP32 microcontroller, a Raspberry Pi (to host the Node-RED service), and various sensors and actuators.
Go to this page to learn exactly what hardware you will need (opens in new tab).
Software requirements
To complete this course you will need software, like the Arduino IDE, Node-RED, and the Mosquitto MQTT broker.
Go to this page to see a list of all required software (opens in new tab).
Knowledge requirements
To complete this project you do need to be comfortable with a few technologies and skills.
Here is a list:
If you have completed these two courses:
... or are confident that you have the skills listed above, then you are ready to start with this new project and challenge.
A project like this gives us an opportunity to branch out and explore.
In this project, the primary learning objective is Node Red and MQTT. However, it presents an opportunity to learn more.
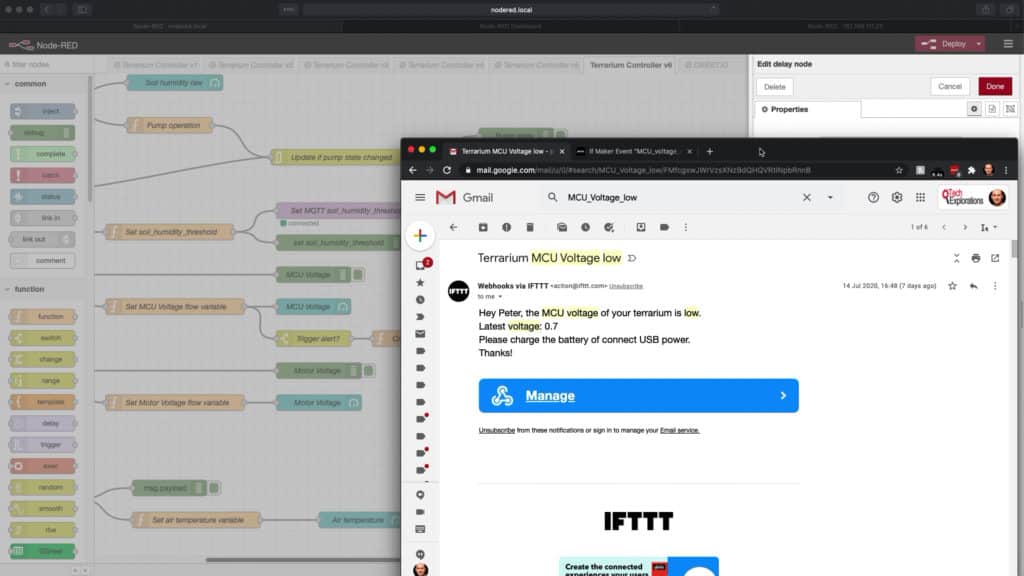
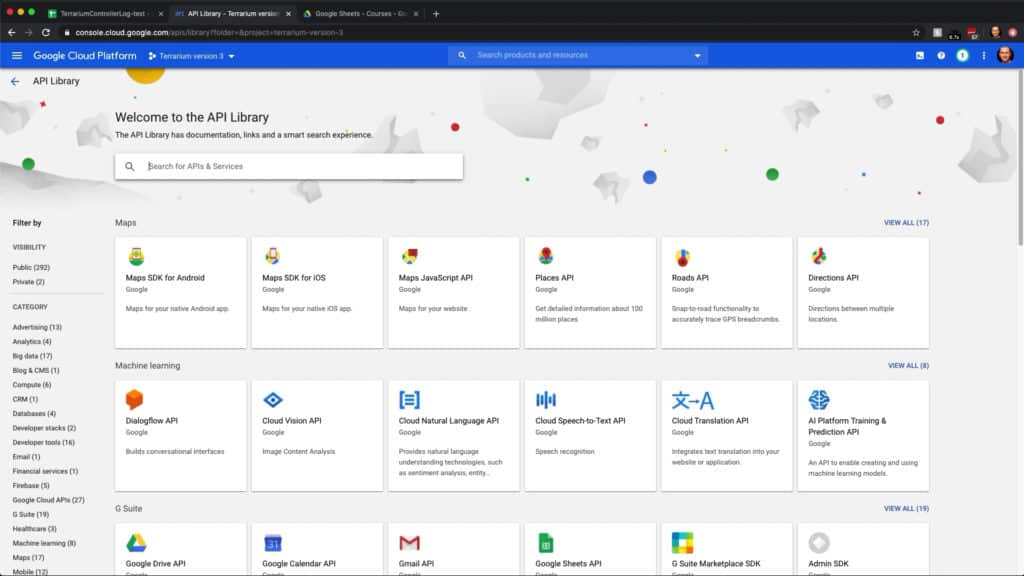
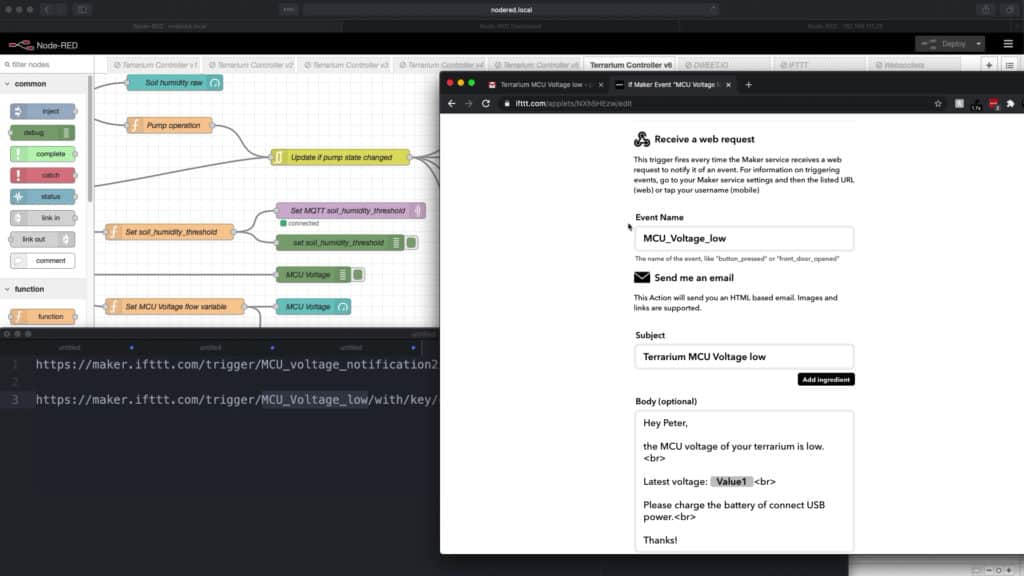
You will learn how to use Google’s Drive and Sheet APIs and IFTTT (If This Then That). These are excellent representative technologies of what is available to Makers right now.
Both technologies are mature, and very useful, no fluff.
With Node-RED, you will be able to easily integrate both in your flows.
Very well designed
Written by russ
Very well designed project showing the basics of NodeRed ESP32 and RaspberryPi.
The presenter describes the processes clearly. Well worth purchasing .
Watch: How to make the most out of this project course?
Here's what you'll get:
Which option is best for you?
Solo
Once-off payment, best for self-sufficient learners on a budget.
...
Once-off.
...
Once-off.
Community
Best for the social learner: become a member of the course community.
...
Once-off.
...
Once off.
Mentor
Get one-on-one live meetings with a mentor, learn to master.
US$299
US$299
This button will take you to Stripe, our payments processor.
Consider a subscription
Did you know, you can get a subscription for immediate access to this and 20+ of our courses. All for a low monthly payment, cancel anytime.
Do you prefer to learn on Udemy?
On Udemy you will find all of the Tech Explorations courses at the lowest possible price.
Each course is individually priced by Udemy based on your location. We don't have control of the price on Udemy and so we can't display it on this page.
Click on the button below to open a new window where you can see the price of this course on the Udemy website.
What's in this course?
01 - Introduction
01.10 What is this course about?
01.20 Software you will need
01.30 Hardware you will need
01.40 How to get the most out of this course
02 - The completed controller circuit
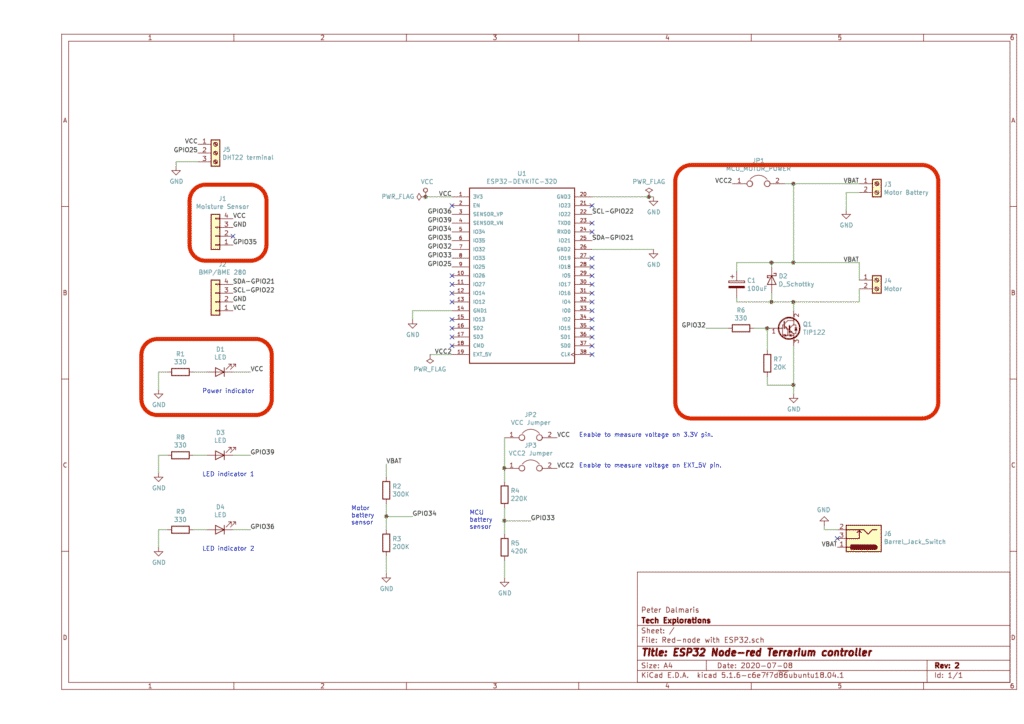
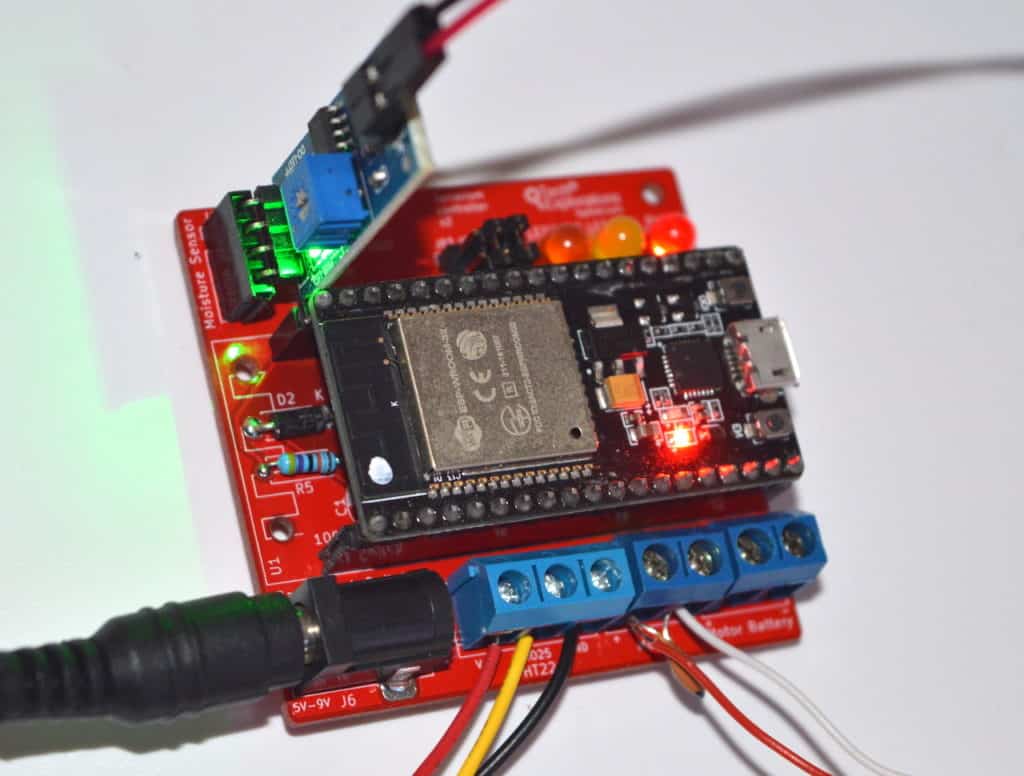
02.10 The completed controller circuit
02.20 Setup the circuit on a breadboard
02.30 Use the PCB
02.40 Power supply
03 - The completed Node Red dashboard, flow and sketch
03.10 The Node Red dashboard
03.20 Walkthrough the Node Red controller flow
03.30 Walkthrough the ESP32 sketch
04 - Prepare your Raspberry Pi
04.10 Install Raspberry Pi OS
04.20 First boot and set hostname
05 - Getting started with Node-RED
05-10 Introduction to Node Red, examples and documentation
05-20 Install on the Raspberry Pi
05-30 Configuration
05-40 Nodes
05-50 Flows
05-60 Messages
05-65 Variables (Global, Flow, Node)
05-100 The "complete" node
05-110 The "catch" node
05-120 The "linkout" and "linkin" nodes
05-130 The "switch" node
05-140 The "range" node
05-150 The "delay" node
05-160 The "trigger" node
05-170 The "RBE" (Report by Exception) node
06 - Node Red dashboard
06-10 A review of the Dashboard
06-20 Text input and output
06-30 The button
06-40 The gauge and slider
06-60 The switch
06-70 The dropdown
06-80 The UI template
06-90 The form
07 - MQTT on the Raspberry Pi with Mosquitto
07-10 Quick introduction to MQTT
07-20 Install MQTT Mosquitto on the Raspberry Pi
07-30 Command line and MQTTBox examples
07-40 Mosquitto configuration and authentication
07-60 Subscribing and Publishing with authentication
08 - MQTT and Node-red experiments
08-10 The "MQTT in" node
08-20 The "MQTT out" node
08-30 MQTT Out DHT22 example flow
08-40 MQTT In DHT22 example flow
08-50 MQTT Dashboard slider example
09 - Terrarium project, prototype 1: soil moisture sensing
09-10 First prototype review
09-20 Circuit review
09-30 ESP32 sketch version 1
09-40 Node-red flow Part 1: pump control
09-50 Node-red flow Part 2: soil humidity
09-60 Test and recap
10 - Terrarium project, prototype 2: Voltage sensing
10-10 Voltage sensing for battery usage demonstration
10-20 Circuit review and simulation
10-30 Sketch review, version 2
10-40 Node Red flow review, version 2
10-50 Review and planning ahead
11 - Terrarium project, prototype 3: Google Sheet data logging
11-10 Record terrarium data in a Google sheet
11-20 The GSheet node and installation
11-30 Setup Google Sheet and access credentials
11-40 Flow review
11-50 Test, Review and planning ahead
12 - Terrarium project, prototype 4: Add humidity threshold control to Dashboard
12-10 Set the pump humidity threshold in the dashboard
12-20 Flow review, version 4
12-30 Sketch review, version 3
12-40 Review and planning ahead
13 - Add Task Scheduler
13-10 The objectives of this iteration
13-20 Add scheduler, Sketch review, version 4 (no change in flow)
13-30 Add auto-pump off, Sketch review, version 5 (no change in flow)
13-40 Test and planning ahead
14 - Setup the terrarium with the actual soil sensor 2 Lectures
14-10 The terrarium setup (2 jars, actual pump, actual soil sensor)
14-20 Test the terrarium
15 - Terrarium project, prototype 5: Add DHT22 sensor
15-10 The objective of this iteration
15-20 Circuit review
15-30 Sketch review version 6
15-40 Flow review version 5
15-50 Test and next steps
16 - Node-red network nodes
16-10 Objectives of this section
16-20 The "http request" node and dweet.io example
16-30 An example with IFTTT
16-40 The "websocket in" and "websocket out" node
17 - HTTP request example: IFTTT Voltage low email notifications
17-10 The objective of this iteration
17-20 Flow review version 6
18.1 - Node-RED 2
18.10 What is Node-RED version 2
18.20 Upgrade Node-Red from version 1 to version 2
18.30 Flow Groups with environment variables
18.40 Subflows
18.50 Data exchange between flows and subflows
18.60 Flow debugger
18.70 Projects, setup
18.80 Using Projects, local repository
18.90 Using projects, remote repository
18.100 Link In, Out, Call nodes
18.2 - Node-RED 3
18.2-10 What’s in Node-RED 3
18.2-20 Upgrade Node-Red to version 3
18.2-30 Context menu and junctions
18.2-40 Continuous Search
18.2-50 Debug Path Tooltip
18.2.60 Default node names
18.2-70 Safe mode
18.2-80 Dynamic Link Call node
19 - Recipes
19-10 How to upgrade Node.js
19-20 How to reset or change an admin password
19-30 Context stores
19-40 How to deal with Error: ENOSPC: no space left on device
20 - Conclusion
The course instructor

The course instructor is Peter Dalmaris, PhD.
Peter has created over 20 other courses on technology education.
He is the author of Maker Education Revolution, a book on how making is changing the way we learn and teach.
He is also the host of Stemiverse, a podcast in which he discusses education and STEM with the shakers and movers of technology and science education from around the world.
Our Satisfaction Guarantee

Please read this statement carefully:
If you are not satisfied with this course for any reason, you can request a full refund within within 15 days of your purchase. Conditions do apply.
Please see our refunds policy for more information.
Copyright 2020, Tech Explorations - Privacy
