make an internet of things web application with your raspberry pi from the ground up
Available as a video course and eBook. Get both as a bundle and save.
Raspberry Pi: Full Stack is a comprehensive project course that will teach you how to build a modern Internet-of-Things application that includes a local web server application written in Python and JavaScript, sensors, buttons and LEDs, and Cloud services like If-This-Then-That, Google Sheets, Google Charts, Plotly.
Use the low-cost nRF24 transceiver to enable radio communications between the Raspberry Pi and Arduino nodes.
Course last updated in August 2022
We updated this course and eBook to be fully compatible with Raspberry Pi OS version 11 ("Bullseye"), Python 3.8.13, and updated software modules across the entire stack. In designing this update, we chose to use the latest available software modules without breaking any part of the application or requiring modifications. Please watch the application briefing video (below) for more details.
Video course
eBook
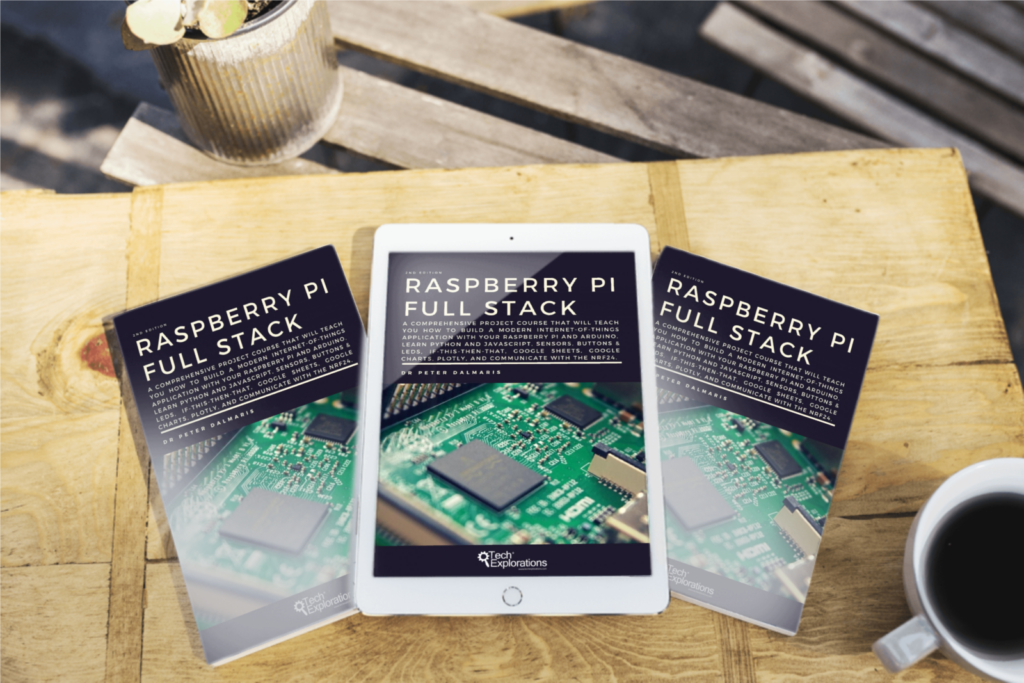
This course and book will take you on a whirlwind tour of full-stack web application development on the Raspberry Pi.
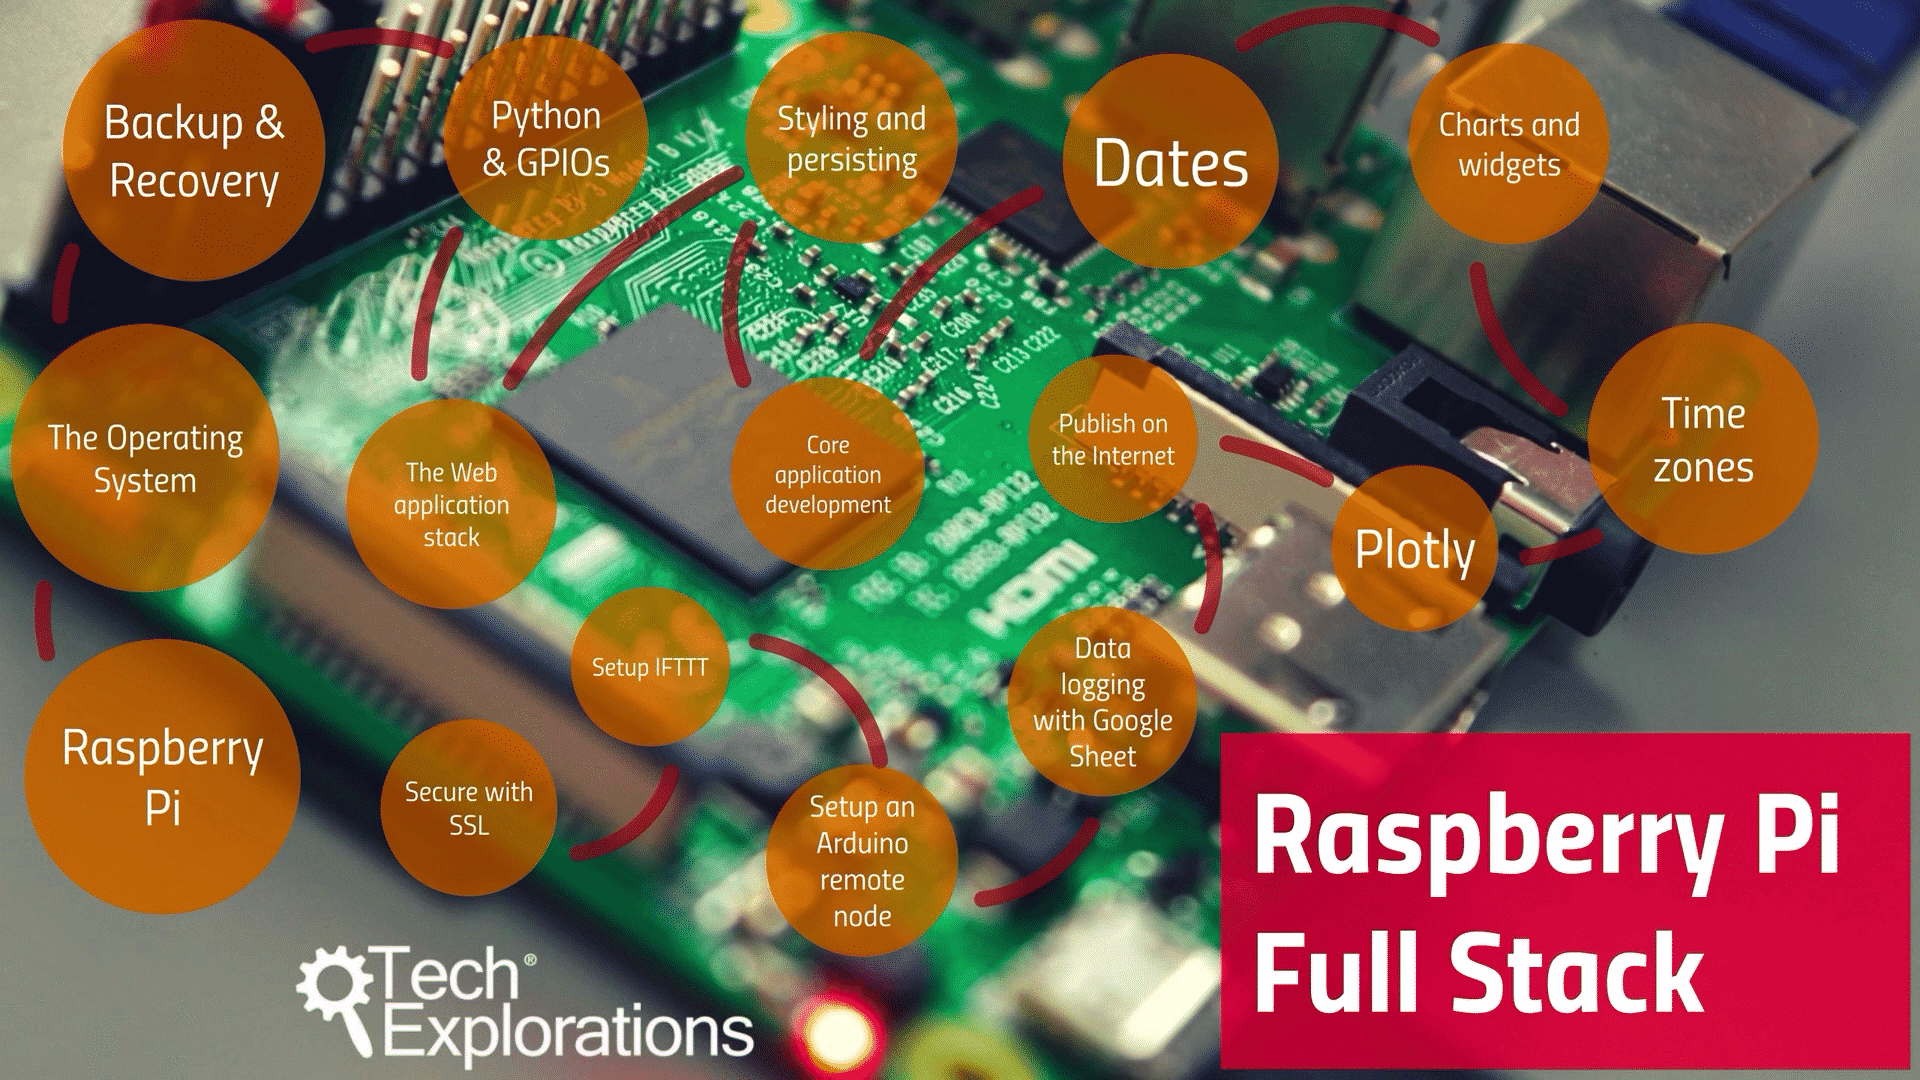
You will learn how to build this application from the ground up, and gain experience and knowledge with technologies such as...
- The Linux operating system and the command line,
- The Python programming language,
- The Raspberry Pi General Purpose Input Output pins (GPIOs),
- The Nginx web server,
- The Flask Python web application microframework,
- JQuery and CSS for creating user interfaces,
- How to deal with timezones,
- How to create charts with Plotly and Google Charts,
- How to do datalogging with Google Sheet,
- How to create applets with IFTTT,
- How to secure your application with SSL.
There is no other course on the Internet that I know about that offers all this content, in a single project.
But that's not where this course ends...
In this course, you will also learn how to setup a remote wireless Arduino sensor node, and collect data from it. Your Raspberry Pi web application can then process the Arduino node data in the same way it processes data from its on-board sensor.
What hardware will you need?
This course requires a Raspberry Pi and other components to complete.
This hardware is not included in this course, and you must source it separately.
You can find a complete listing of the hardware you will need for this course in the course hardware page.
In summary, you will need these components:
- Any Raspberry Pi. We have tested this project with the Raspberry Pi 4, 3, 2, 1, as well as the Raspberry Pi Zero W.
- An Arduino Uno or compatible for the remote wireless node.
- 2 x DHT22 sensors.
- 2 x nRF24 transceivers.
- Assorted breadboard-friendly momentary buttons, LEDs, and resistors.
- Two mini breadboards.
Raspberry Pi Full Stack will teach you multiple skills that are essential in building non-trivial web and Internet of Things applications.
But beyond that, the application itself is a platform which you can extend in many varied ways. This project is just the start of what you can do with a Raspberry Pi and the software and hardware components that you will learn about.
For example, you can extend the Raspberry Pi Full Stack application to do things like:
- Automate your home based on sensor readings from remote Arduino nodes and IFTTT. Use relays to control fans and lights, or electric locks to open/close doors.
- Store environment data to Google Sheet that originate from multiple Arduino nodes. Analyze the data and optimize your home's heating and cooling plan.
- Use Arduino nodes to measure soil moisture in a plant pot and alert you if it falls below a threshold.
- Receive email or SMS alerts when arbitrary environment thresholds are met.
- Build a home automation dashboard that gives you current and historical sensor data from multiple locations in your home.
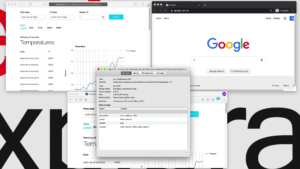
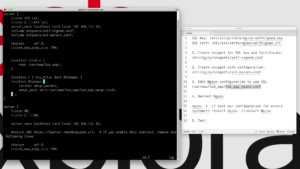
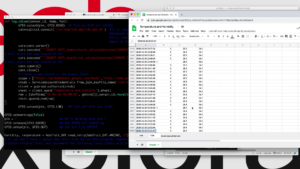
Testimonials
What some of our students say about Raspberry Pi Full Stack
Instructor is very thorough and clear and also covers some peripheral material which is very beneficial in the learner. I am happy to see that he covers both OS and Windows processes with the same level of detail.
Jeff Mitchell
I like the speed and the technical level.
I have used a Raspberry Pi a little bit but this course goes in to a bit more depth but still at a beginner level. Perfect for me.
LeRoy Rice
What a thorough guide through the process.
This was by far one of the most well laid out courses I've followed on Udemy.
He provides more than enough details along the way to know how to troubleshoot your own mistakes.
Well done!
Thomas Smith
I have watched the course from end to end to see if this course meets my needs. This is the first and only course that I have found that covers this topic from beginning to end. I look forward to going through this course again at a much slower pace to bring my project to life. I really feel that I have a good chance to take my ideas and build something amazing after this course. I strongly recommend this course.
John Copes
Clear explanations and graphically awesome.
A complete and precise roadmap to the course.
Bento Silva
Fantastic course. I had basic Linux skills before entering this course and was able to follow along fine. Instructor goes into detail on what and why we are doing things, while still keeping the lesson moving. This class is a must for anyone wanting to learn about RPi and Linux.
Shane Mattner
What is this course about and what to expect?
Please watch this video to learn about the course curriculum and outcomes. Find out exactly what to expect so that you can plan your learning and make the most out of Raspberry Pi Full Stack.
Application update 2022
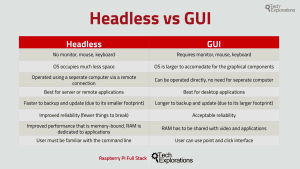
Headless vs GUI operating systems
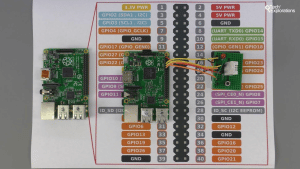
The Raspberry Pi GPIOs
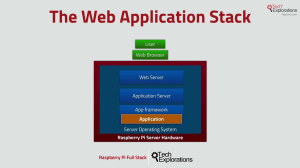
The Web Application Stack
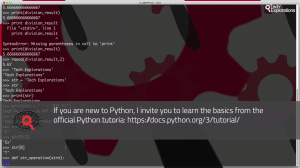
Python on the command line
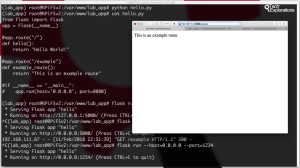
Tour of a simple Flask app
Get your course & eBook
You can enroll to our courses in one of three options: Solo, Community, and Mentor. For more information, please see this explainer page.
Video course
This course was last updated August 2022.
SOLO
Once-off payment, best for self-sufficient learners on a budget.
...
Once-off.
COMMUNITY
Best for the social learner: become a member of the course community.
...
Once-off.
MENTOR
Get one-on-one live meetings with a mentor, learn to master.
Includes eBook and video course.
US$299

video course + ebook
This course & eBook was last updated August 2022.
SOLO
Once-off payment, best for self-sufficient learners on a budget.
PDF only.
...
Once-off.
COMMUNITY
Best for the social learner: become a member of the course community.
...
Once-off.
MENTOR
Get one-on-one live meetings with a mentor, learn to master.
Includes eBook and video course.
ebook
This eBook was last updated August 2022.
SOLO
Once-off payment, best for self-sufficient learners on a budget.
PDF only.
...
Once-off.
COMMUNITY
Best for the social learner: become a member of the course community.
...
Once-off.
MENTOR
Get one-on-one live meetings with a mentor, learn to master.
Includes eBook and video course.
US$299
Consider a subscription
Did you know, you can get a subscription for immediate access to this and 20+ of our courses. All for a low monthly payment, cancel anytime.
Do you prefer to learn on Udemy?
On Udemy you will find all of the Tech Explorations courses at the lowest possible price.
Each course is individually priced by Udemy based on your location. We don't have control of the price on Udemy and so we can't display it on this page.
Click on the button below to open a new window where you can see the price of this course on the Udemy website.
Video course and eBook contents
Curriculum
What's in this video course?

The curriculum for the video course has been updated in August 2022.
1 - Getting Started with the Raspberry Pi Full Stack
0010 - What is this course about
0030 - Parts you will need
0050 - How to get help
0060 - Code repository
0070 – Course update briefing
2 - Get to know your Raspberry Pi
0110 - Raspberry Pi 3 specs and features
0111 - Raspberry Pi 4 specs
0120 - Raspberry Pi models
0130a - Raspberry Pi vs Arduino high level comparison
0130b - Raspberry Pi vs Arduino comparing the boards
3 - Setup the operating system
0160 - Operating systems for the Raspberry Pi
0165 - Headless vs GUI
0170 - Download and Install Raspbian Lite using Etcher
0180 - How to enable SSH and configure Wifi in headless mode
0190a - Boot for the first time and basic configuration
0190b - Connect for the first time using Mac OS
0190c - Boot for the first time and connection using Windows
0210a - Working as the "root" user
0210b - How to enable the "root" user for logging on with SSH
4 - How to recover from a serious glitch by backing up and restoring your SD card
0220a - Backup an SD card (Mac OS)
0220b - Restore an SD card (Mac OS)
0220c - Backup an SD card (Windows)
0220d - Restore an SD card (Windows)
5 - Pins, GPIOs, and how to control them with Python
0250 - The Raspberry Pi GPIO header and numbering system
0260a - A taste of Python on the Command Line Interpreter
0260b - A taste of Python on the Command Line Interpreter Functions
0270a - A taste of Python with a simple program
0280 - Wire a simple circuit
0290a - Install the Python installer program pip
0290b - Manipulate an LED using rpi.gpio
0300 - Read a button
0305 - Control an LED with a button
0310a - Install Git and the DHT library
0310b - Use the DHT22 sensor
6 - Setup the Web application Stack
0340 - The Web Application Stack
0350 - The Python Virtual Environment
0360a - Set up system Python - preparation
0360b - Download, compile and install Python 3
0365 - Setup the app Python Virtual Environment
0430a - Setup Nginx
0430b - Setup Flask
0435 - A tour of a simple Flask app
0440a - UWSGI installation
0440b - Nginx configuration
0440c - UWSGI configuration
0440d - UWSGI and Nginx configuration testing
0450 - Configure Systemd to auto-start Uwsgi
7 - Styling with Skeleton
0460a - Install SQlite3
0460b - Working with SQlite3
0470a - Static assets and the Skeleton boilerplate CSS
0470b - Setup the static assets directory
0470c - Introducing the Skeleton boilerplate CSS
0470d - Copying files using SFTP
0480 - Flask templates
0497 - Debugging a Flask app
8 - Getting started with our web application
0500a - Introduction to the section - Getting started with our web application
0500b - Install the DHT library and the rpi-gpio module
0500c - Install the DHT library and the rpi-gpio module
0510 - Create a database to store sensor data
0520 - Sensor data capture script
0530 - Schedule sensor readings with Cron
0540a - Display database records in the browser - Python script
0540b - Display database records in the browser - Template
9 - Implement the date range selection feature
0560a - Introduction - Implement the date-time range selection feature
0560b - Select range of records in SQLite
0570 - Set date-time range in URL and show records in browser
0580 - URL query string validation
0590 - Quick tidying up
0595 - Adding radio buttons for quick time-date range selection
0597 - Provision the Python script to work with the radio buttons
10 - Improving the user interface with Google Charts and date-time selector
0610a - Introduction to Google Charts
0610b - Implementation of Google Charts
0610c - Testing Google Charts
0650a - Introduction to the date-time picker widget
0650b - Implement the date-time picker widget
0650c - Upload and test the date-time picker widget
11 - Dealing with time zones
0665 - Adjust date-times to local time zone on the client side
0670a - Introduction to Arrow
0670b - Implement Arrow
0670c - Upload timezone changes and test
0680 - Link the two pages of the application
12 - Charting with Plotly
0710a - Install Plotly
0710b - Try out Plotly on the command line
0720a - Implement Plotly support on the client side
0720b - How to debug JavaScript
0730a - Add Plotly support to the app script
0730b - Server side debugging example
13 - Publish on the Internet
0810 - Setting a static IP address
0850 - Expose your app to the Internet with port forwarding
14 - Data-logging with Google Sheet
1010 - Introduction to this section and Google Sheet
1020 - Setup Google API credentials
1030 - Setup the Python libraries and Google Sheet
1040 - Implementation of Google Sheet data-logging
15 - Setup a remote Arduino sensor node with the nRF24
1100 - Introduction to the setup of an Arduino remote node
1110 - The Arduino node wiring (coming up)
1111 - The Arduino node sketch
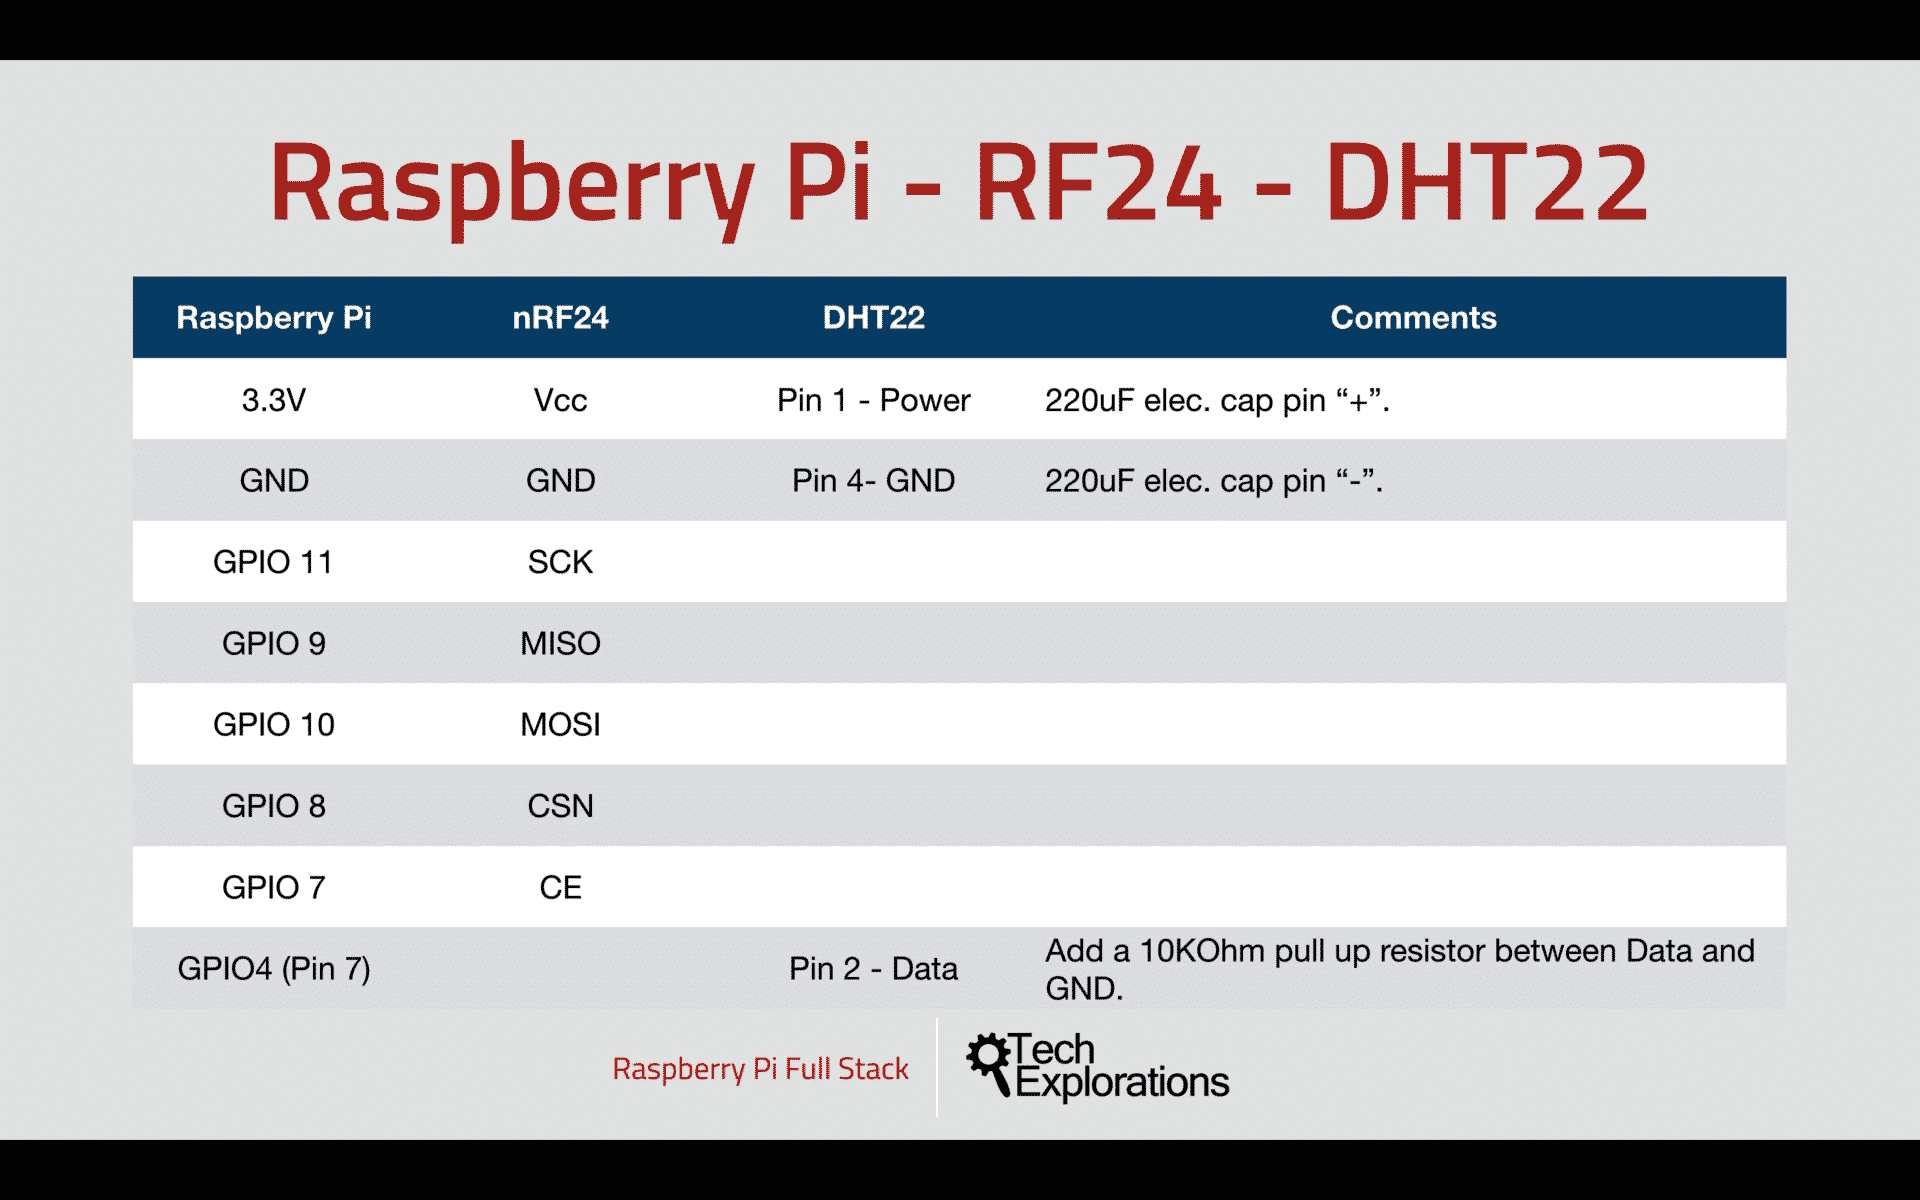
1112 - Raspberry Pi and nRF24 wiring
1120 - The Raspberry Pi nRF24 receiver script
1123 - How to install the Python nRF24 modules on the Raspberry Pi
1125 - Test the nRF24 communications
1130 - Modify the front end of the application to show remote node data
16 - If This Than That alerts
1140 - An introduction to If This Than That
1143 - Create an IFTTT web hook and applet
1145 - Add IFTT code in the application and testing
1170 - Install the node listener script as an Systemd service
17 - Secure your application with SSL
1300 - Introduction to this section
1310 - Create a self-signed certificate for application
1320 - Edit Nginx configuration to use SSL
1330 - Test SSL in Firefox, Safari, Chrome
18 - Wrapping up
1410 - Make lab_env_db page update every 10 minutes
0760 - Recap and what's next
19 - Update 2022
1910 - Introduction to the application update
1920 - Backup and update apt packages
1930 - Update system Python to 3.8.13
1940 - Update Python Virtual Environment to 3.8.13
1950 - Update application Python modules
1955 - Update the RF24 driver (TBA)
1960 - Update Javascript, JS libraries and other assets
1970 - Testing the full stack app (successful) (TBA)
1975 - Tweak the application to work with the updated components
Table of Contents
What's in this book?

At this time, the eBook does not contain the content that was introduced to the video course in August 2022.
Part 1: Getting Started with the Raspberry Pi Full Stack 8
Chapter 1 - What is this book about? 9
Chapter 2 - A walk-through the Full Stack project 11
Chapter 3 - Required hardware 16
Chapter 4 - How to get help 21
Chapter 5 - The code repository 23
Part 2: Get to know your Raspberry Pi 25
Chapter 6 - Raspberry Pi vs Arduino high level comparison 26
Chapter 7 - Raspberry Pi vs Arduino comparing the boards 27
Chapter 8 - The Raspberry Pi Zero 28
Chapter 9 - Need speed? The Raspberry Pi 4 29
Part 3: How to setup the operating system 30
Chapter 10 - Operating systems for the Raspberry Pi 31
Chapter 11 - What is a 'headless' operating system 35
Chapter 12 - How to download and install Raspbian 39
Chapter 13 - How to setup SSH and Wifi in headless mode 43
Chapter 14 - How to set a hostname 46
Chapter 15 - Boot into Raspbian for the first time 49
Chapter 16 - How to set a fixed IP address 55
Chapter 17 - Basic configuration 57
Chapter 18 - Working at the 'root' user 60
Part 4: How to backup and restore your SD card 64
Chapter 19 - Backup an SD card - Mac OS 65
Chapter 20 - Restore an SD card - Mac OS 68
Chapter 21 - Backup an SD card - Windows 70
Chapter 22 - Restore an SD card - Windows 73
Part 5: Pins, GPIOs and how to control them with Python 75
Chapter 23 - Raspberry Pi pins, roles, and numbers 76
Chapter 24 - A taste of Python on the Command Line Interpreter 80
Chapter 25 - Python Functions 85
Chapter 26 - A simple Python program 90
Chapter 27 - Wire a simple circuit 97
Chapter 28 - Control an LED with GPIOZERO 100
Chapter 29 - Control an LED with rpi.gpio 106
Chapter 30 - Read a button with GPIOZERO 110
Chapter 31 - Read a button with RPi.GPIO 114
Chapter 32 - Control an LED with a button 117
Chapter 33 - Setup the DHT22 sensor with Git 121
Chapter 34 - Use the DHT22 sensor 125
Part 6: Setup the Web application Stack 130
Chapter 35 - The Web Application Stack 131
Chapter 36 - The Python Virtual Environment 137
Chapter 37 - Increase the disk swap file size 141
Chapter 38 - Set up system Python - preparation 144
Chapter 39 - Download, compile and install Python 3 146
Chapter 40 - Setup the app Python Virtual Environment 150
Chapter 41 - Setup Nginx 154
Chapter 42 - Setup Flask 156
Chapter 43 - A tour of a simple Flask app 160
Chapter 44 - UWSGI installation 163
Chapter 45 - Nginx configuration 167
Chapter 46 - UWSGI configuration 171
Chapter 47 - UWSGI and Nginx configuration testing 174
Chapter 48 - Configure systemd to auto-start uwsgi 177
Part 7: Setup the database 181
Chapter 49 - Install the SQLIte3 database 182 Chapter 50 - Hand-on with the SQLite3 CLI 185
Part 8: Styling with Skeleton 192
Chapter 51 - Static assets and the Skeleton boilerplate CSS 193 Chapter 52 - Setup the static assets directory 197 Chapter 53 - Introducing the Skeleton boilerplate CSS 201 Chapter 54 - Copying files using SFTP 205 Chapter 55 - Flask templates 210 Chapter 56 - Debugging a Flask app 215
Part 9: Capture and record sensor data 219
Chapter 57 - Introduction to Part 9 220
Chapter 58 - Install the DHT library and the rpi-gpio module 221
Chapter 59 - Display the current sensor values in the browser 226
Chapter 60 - Create a database to store sensor data 234
Chapter 61 - Capture sensor data with a Python script 237
Chapter 62 - Schedule sensor readings with cron 241
Chapter 63 - Update the application file and template file 244
Part 10: Implement the date range selection feature 252
Chapter 64 - Introduction to Part 10 253
Chapter 65 - Prototype datetime range of records in SQLite CLI 256
Chapter 66 - Prototype datetime range in the browser 260
Chapter 67 - URL querystring validation 266
Chapter 68 - Quick tidying up 271
Chapter 69 - Use radio buttons for easy timedate range selection 276
Chapter 70 - Provision the Python script to work with the radio buttons 280
Part 11: Google Charts and Datetime widgets 285
Chapter 71 - Introduction to Part 11 286
Chapter 72 - Implement Google Charts 292
Chapter 73 - Test Google Charts 300
Chapter 74 - The datetime picker widget 302
Chapter 75 - Implement the datetime picker widget 305
Chapter 76 - Test the datetime picker widget 309
Part 12: Dealing with time zones 312
Chapter 77 - Adjust datetimes to local time zone on the client side 313
Chapter 78 - Introduction to Arrow 319
Chapter 79 - Implement Arrow 323
Chapter 80 - Upload timezone changes and test 328
Chapter 81 - Link the two pages of the application 331
Part 13: Charting with Plotly 336
Chapter 82 - What is Plotly and how to install it 337
Chapter 83 - Try out Plotly on the CLI 341
Chapter 84 - Implement Plotly support on the client side 345
Chapter 85 - Add Plotly support on the server side 351
Chapter 86 - How to debug Javascript 357
Chapter 87 - Server side debugging example 364
Part 14: Access your application from the Internet 368
Chapter 88 - How to access your application from the Internet? 369
Chapter 89 - Set a static IP address 372
Chapter 90 - Expose your app to the Internet with port forwarding 375
Chapter 91 - Create a self-signed certificate for application 380
Chapter 92 - Edit Nginx configuration to use SSL 387
Chapter 93 - Test SSL in Firefox, Safari, Chrome 392
Part 15: Data-logging with Google Sheet 397
Chapter 94 - What is datalogging, and why Google Sheet? 398
Chapter 95 - Setup Google API credentials 401
Chapter 96 - Setup the Python libraries and Google Sheet 412
Chapter 97 - Implement of Google Sheet data-logging 419
Part 16: Setup a remote Arduino Sensor node with the nRF24 423
Chapter 98 - Why setup an Arduino remote node? 424
Chapter 99 - The Arduino node wiring 426
Chapter 100 - The Arduino node sketch 429
Chapter 101 - Raspberry Pi and nRF24 wiring 435
Chapter 102 - The Raspberry Pi nRF24 receiver script 438
Chapter 103 - How to install the Python nRF24 modules on the Raspberry Pi 446
Chapter 104 - Test the nRF24 communications 453
Chapter 105 - Modify the front end of the application to show remote node data 456
Part 17: If This Than That alerts 462
Chapter 106 - An introduction to If This Than That 463
Chapter 107 - Create an IFTTT webhook and applet 465
Part 18: Wrapping up 450
Chapter 109 - Make lab_env_db page update every 10 minutes 451
Chapter 110 - Recap and what's next 452
Part 19: Project extension: Text messaging using Twilio 454
Chapter 111 - What is this project extension all about? 455
Chapter 112 - An introduction to Twilio 458
Chapter 113 - Setup Twilio account 460
Chapter 114 - Create a useful bash shell script 466
Chapter 115 - Add Twilio support to Raspberry Pi 469
Chapter 116 - Install Twilio CLI 472
Chapter 117 - Create local and public DNS hostnames 477
Chapter 118 - Create trusted SSL/TLS certificate 483
Chapter 119 - Send text alert messages 493
Chapter 120 - Receive text message commands 497
The course instructor

The course instructor is Peter Dalmaris, PhD.
Peter has created over 20 other courses on technology education.
He is the author of Maker Education Revolution, a book on how making is changing the way we learn and teach.
He is the host of the Stemiverse and Tech Explorations podcasts, in which he discusses technology and education with engineers, educators, scientists and Makers from around the world.
Copyright 2025, Tech Explorations - Privacy
