Take Raspberry Pi Full Stack to the next level
Upgrade the original Raspberry Pi Full Stack application with new hardware and capabilities and improve your Maker knowledge and skills.
Click to play
Raspberry Pi Full Stack Upgrade Project is an opportunity to take the Raspberry Pi Full Stack application to the next level.
Learn how to upgrade the hardware and software of the original Full Stack application as well as your Maker soft and hard skills and knowledge.
In the original Raspberry Pi Full Stack course, you learned how to build an application that integrates microcomputers, microcontrollers, sensors, radio transceivers, web servers, a database, and Cloud services.
This course will teach you how to upgrade this application with new hardware and software.
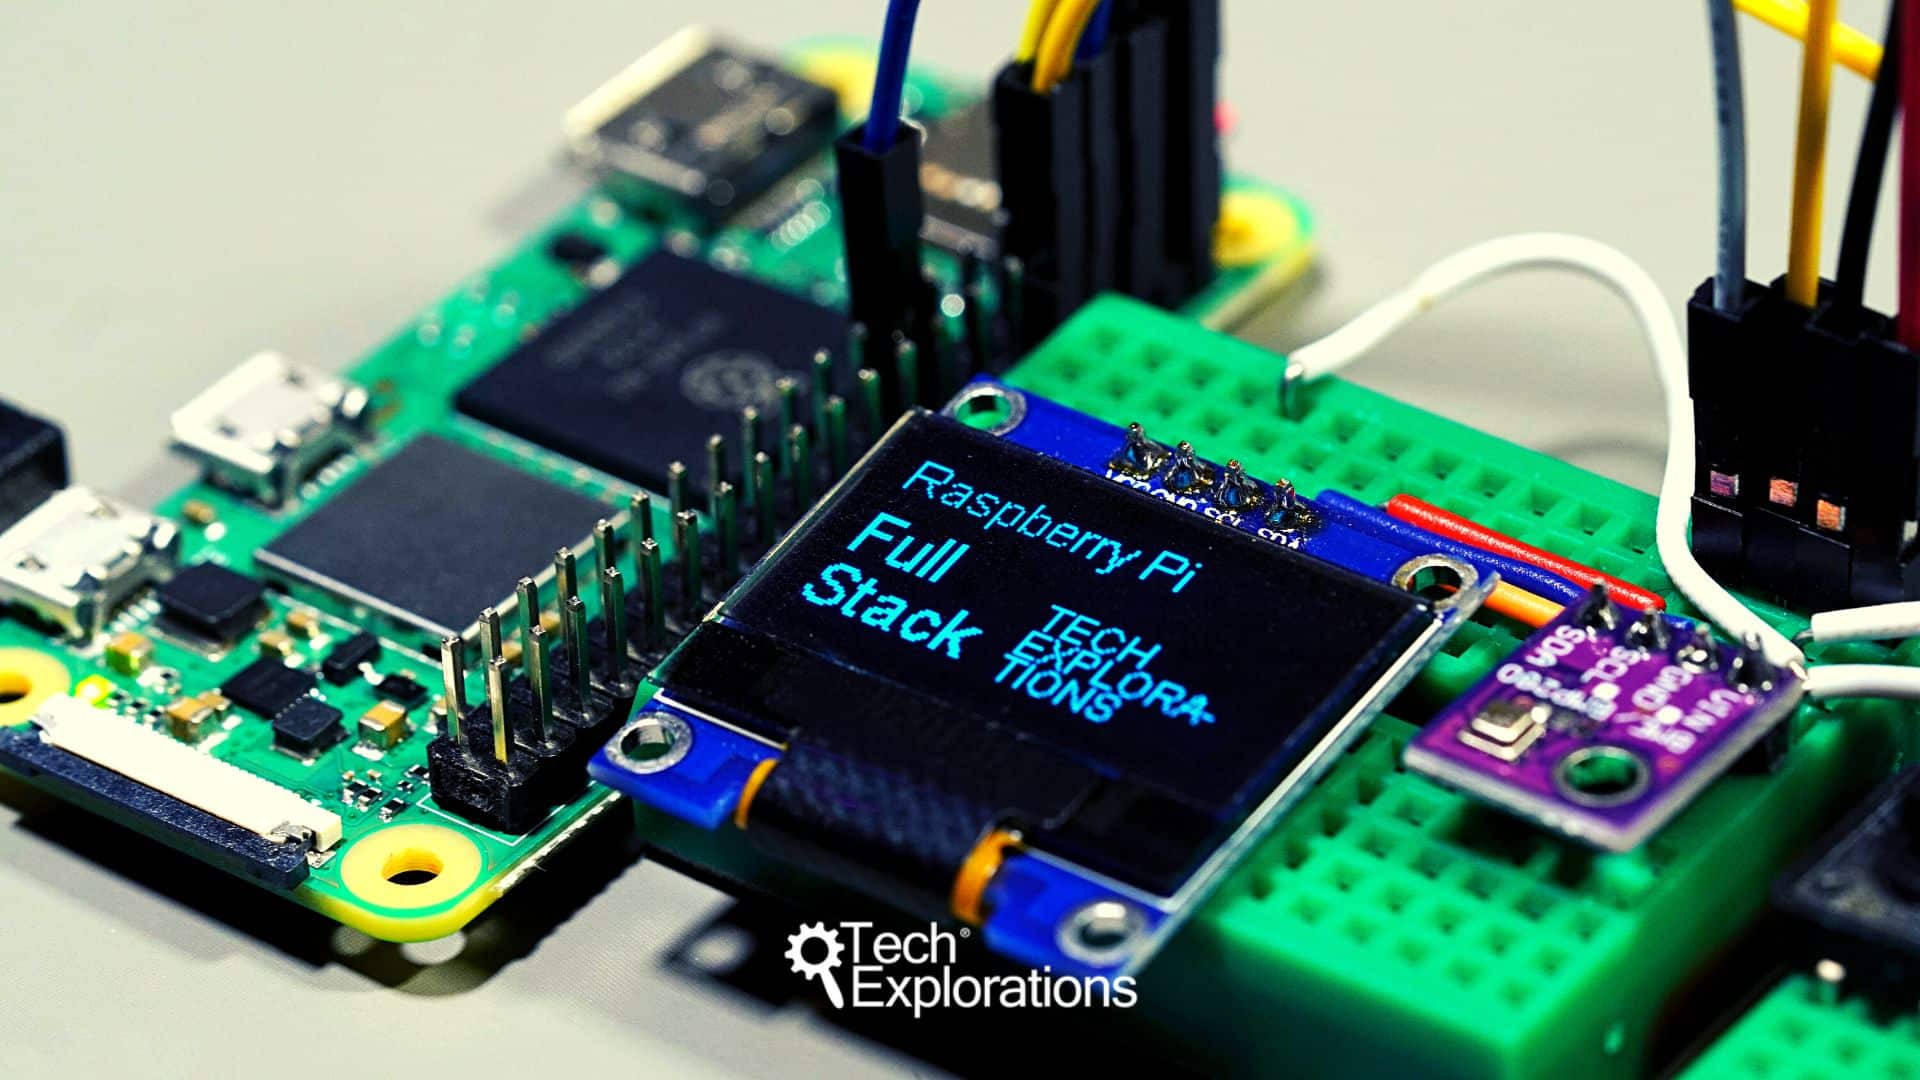
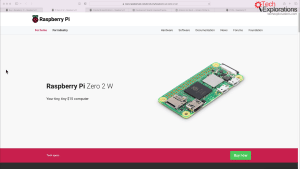
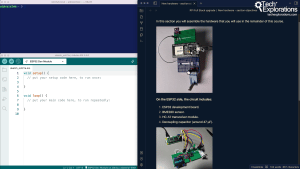
The upgraded Full Stack application utilises the Raspberry Pi Zero 2 W single-board computer and the ESP32 microcontroller - although you can use any Raspberry Pi and Arduino-compatible board.
The two nodes communicate via a modern radio transceiver (the HC-12). They can sense their environment, show their status on an organic LED display and a web interface, log data on the Cloud, and trigger notifications when specific conditions arise.
By completing this course, you will gain and improve soft and hard knowledge and skills. You will become better at the analysis, design, and planning required when working on large projects.
And you will learn how to integrate sensors, displays, and local and Cloud communications using Raspberry Pi and ESP32 or Arduino boards.
Here are some of the elements of the upgraded Raspberry Pi Full Stack application:
- The Linux operating system and the command line.
- The Python programming language.
- The Raspberry Pi General Purpose Input Output pins (GPIOs).
- The Nginx web server.
- The Flask Python web application microframework.
- jQuery and CSS for creating user interfaces.
- Timezone management with Python and Javascript.
- Charting with Plotly and Google Charts.
- Datalogging with Google Sheet.
- Applets and notifications with IFTTT.
There is no other course on the Internet that I know about that offers all this content, in a single project.
This course has a prerequisite: Raspberry Pi Full Stack

In the original Raspberry Pi Full Stack, you learn how to build the Full Stack application from the ground up, in detail.
If you have not completed this course, I recommend that you do so before attempting Raspberry Pi Full Stack Upgrade Project.
Learn more about Raspberry Pi Full Stack, and enroll.
In this course, you will also learn how to setup a remote wireless Arduino sensor node, and collect data from it. Your Raspberry Pi web application can then process the Arduino node data in the same way it processes data from its on-board sensor.
What hardware will you need?
This course requires a Raspberry Pi with a model B header, an ESP32 (or any other Arduino-compatible board) and a few other components.
This hardware is not included in this course, and you must source it separately.
You can find a complete listing of the hardware you will need for this course in the course hardware page.
In this project, you will have the opportunity to work on your Maker soft skills on an existing project. Rather than starting from a blank slate, you must evaluate what you already have, and decide what to keep, what to throw out, and what to change.
In this course, you will improve your ability to build a full-stack application based on the Raspberry Pi, the ESP32 and a combination of software tools and technologies.
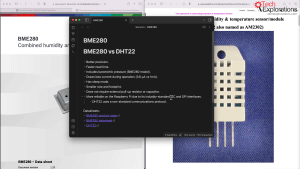
In the Raspberry Pi Full Stack Upgrade course, you will build on the hard skills you learned in Raspberry Pi Full Stack and add new ones. Most notable of those new skills are the ability to use the BME280 sensor, the HC12 transceiver, and the SD1306 OLED display in your Raspberry Pi and ESP32 projects.
You will also gain new skills in maintaining, modifying, and extending a full-stack application; an essential skill often overlooked in technical and technology education.


What is this course about and what to expect?
Please watch this video to learn about the course curriculum and outcomes. Find out exactly what to expect so that you can plan your learning and make the most out of Raspberry Pi Full Stack Upgrade Project.

Click to play
Full application demo
Click to play
Raspberry Pi Zero 2 W review
Click to play
ESP32 review

Click to play
Why BME280?
Click to play
Setup SQLite3
Click to play
Section 6 objectives
Click to play
Get this course
You can enroll to our courses in one of three options: Solo, Community, and Mentor. For more information, please see this explainer page.
Solo
Once-off payment, best for self-sufficient learners on a budget.
A$36.93
Once-off.
A$36.93
Once-off.
Community
Best for the social learner: be a member of the course community.
A$120.90
Once-off.
A$120.90
Once off.
Mentor
Get one-on-one live meetings with a mentor, learn to mastery.
US$399
US$399
This button will take you to Stripe, our payments processor.
Consider a subscription
Did you know, you can get a subscription for immediate access to this and 20+ of our courses. All for a low monthly payment, cancel anytime.
Do you prefer to learn on Udemy?
On Udemy you will find all of the Tech Explorations courses at the lowest possible price.
Each course is individually priced by Udemy based on your location. We don't have control of the price on Udemy and so we can't display it on this page.
Click on the button below to open a new window where you can see the price of this course on the Udemy website.
Video course
Curriculum
What's in this video course?

01 Introduction
01.10 – What is this course about
01.20 – Parts you will need
01.30 – Code repository
01.40 – Application demonstration
02 The new boards
02.10 – Raspberry Pi Zero 2 W review
02.20 – Raspberry Pi OS installation
02.30 – Raspberry Pi OS preparation
02.40 – ESP32 review
02.50 – ESP32 and Arduino IDE
03 Replace the DHT22 with the BME280
03.05 BME280 basics and why replace the DHT22
03.10 Raspberry Pi – wiring
03.20 Raspberry Pi – BME280 Python module and example
03.30 ESP32 – BME280 wiring
03.40 ESP32 – BME280 library and example sketch
04 Add the OLED display
04.05 OLED SSD1306 basics
04.10 Raspberry Pi – wiring
04.20 Raspberry Pi – Python modules and setup
04.30 Raspberry Pi – example code
04.40 How to install and use custom fonts and sizes
05 Replace the RF24 with the HC12
05.05 Introduction to the HC12 and why replace the nRF24
05.10 ESP32 – wiring
05.20 ESP32 example sketch and testing
05.30 Raspberry Pi – wiring
05.40 Raspberry Pi – UART setup and example code
05.50 ESP32 & RPi communication via HC12
05.60 HC12 configuration with AT commands
06 Assemble the new hardware
06.10 Objectives of this section
06.20 Raspberry Pi – Wiring
06.30 Raspberry Pi wiring test
06.40 ESP32 – wiring
06.50 ESP32 wiring testing
07 Restore the original Full Stack application
07.05 Application restoration introduction
07.10 Install required system modules
07.20 Download, compile and install Python 3
07.30 Setup the app Python Virtual Environment
07.40 Setup Nginx
07.50 Setup Flask
07.60 UWSGI installation
07.70 Nginx configuration
07.80 UWSGI configuration
07.90 UWSGI and Nginx configuration testing
07.100 Configure systemd to auto-start uwsgi
07.110 Copy the original application files
08 Testing and fixing
08.05 Introduction and plan
08.10 Configure uWSGI to work with the FS app
08.20 Setup SQLite3
08.30 Install required Python modules
08.40 Restore lab_app.py – Part 1 – Python modules
08.41 Restore lab_app.py – Part 2 – fix lab_temp route
08.45 Restore main flask application script – Part 2 – Fix lab_env_db route
08.50 Restore logger script: env_log.py
08.60 Plotly
08.70 Google Sheet logger
08.80 Remote node receiver script: hc12_receiver.py Part 1 – ESP32
08.85 Remote node receiver script: hc12_receiver.py Part 2 – Raspberry Pi
08.90 Remote node receiver service
08.100 IFTTT
08.110 Full test
09 New features
09.05 Introduction and plan
09.10 Capture barometric pressure - local
09.15 Capture barometric pressure - remote
09.20 Show current local barometric pressure
09.25 Show historical barometric pressure
09.30 Upgrade Plotly Part 1 - Setup and the Plotly Graph Object
09.31 Upgrade Plotly Part 2 - Upgrade implementation
09.40 Show sensor data on OLED Part 1 - Plan
09.41 Show sensor data on OLED Part 2 - setup and base script
09.42 Show sensor data on OLED Part 3 - scheduler
09.50 Show SD available space on OLED (button press)
09.60 OLED display as a service
09.70 New PCB for the Raspberry Pi
09.80 New PCB for the ESP32
09.90 Verify ESP32-RPi communications
The course instructor

The course instructor is Peter Dalmaris, PhD.
Peter has created over 20 other courses on technology education.
He is the author of Maker Education Revolution, a book on how making is changing the way we learn and teach.
He is the host of the Stemiverse and Tech Explorations podcasts, in which he discusses technology and education with engineers, educators, scientists and Makers from around the world.
Copyright 2025, Tech Explorations - Privacy