Node-RED guide series
Node-RED, the "delay" node
The "delay" node does two things: (1) It allows you to delay a message by an arbitrary amount of time and (2) to limit the rate of messages that are passing through it.
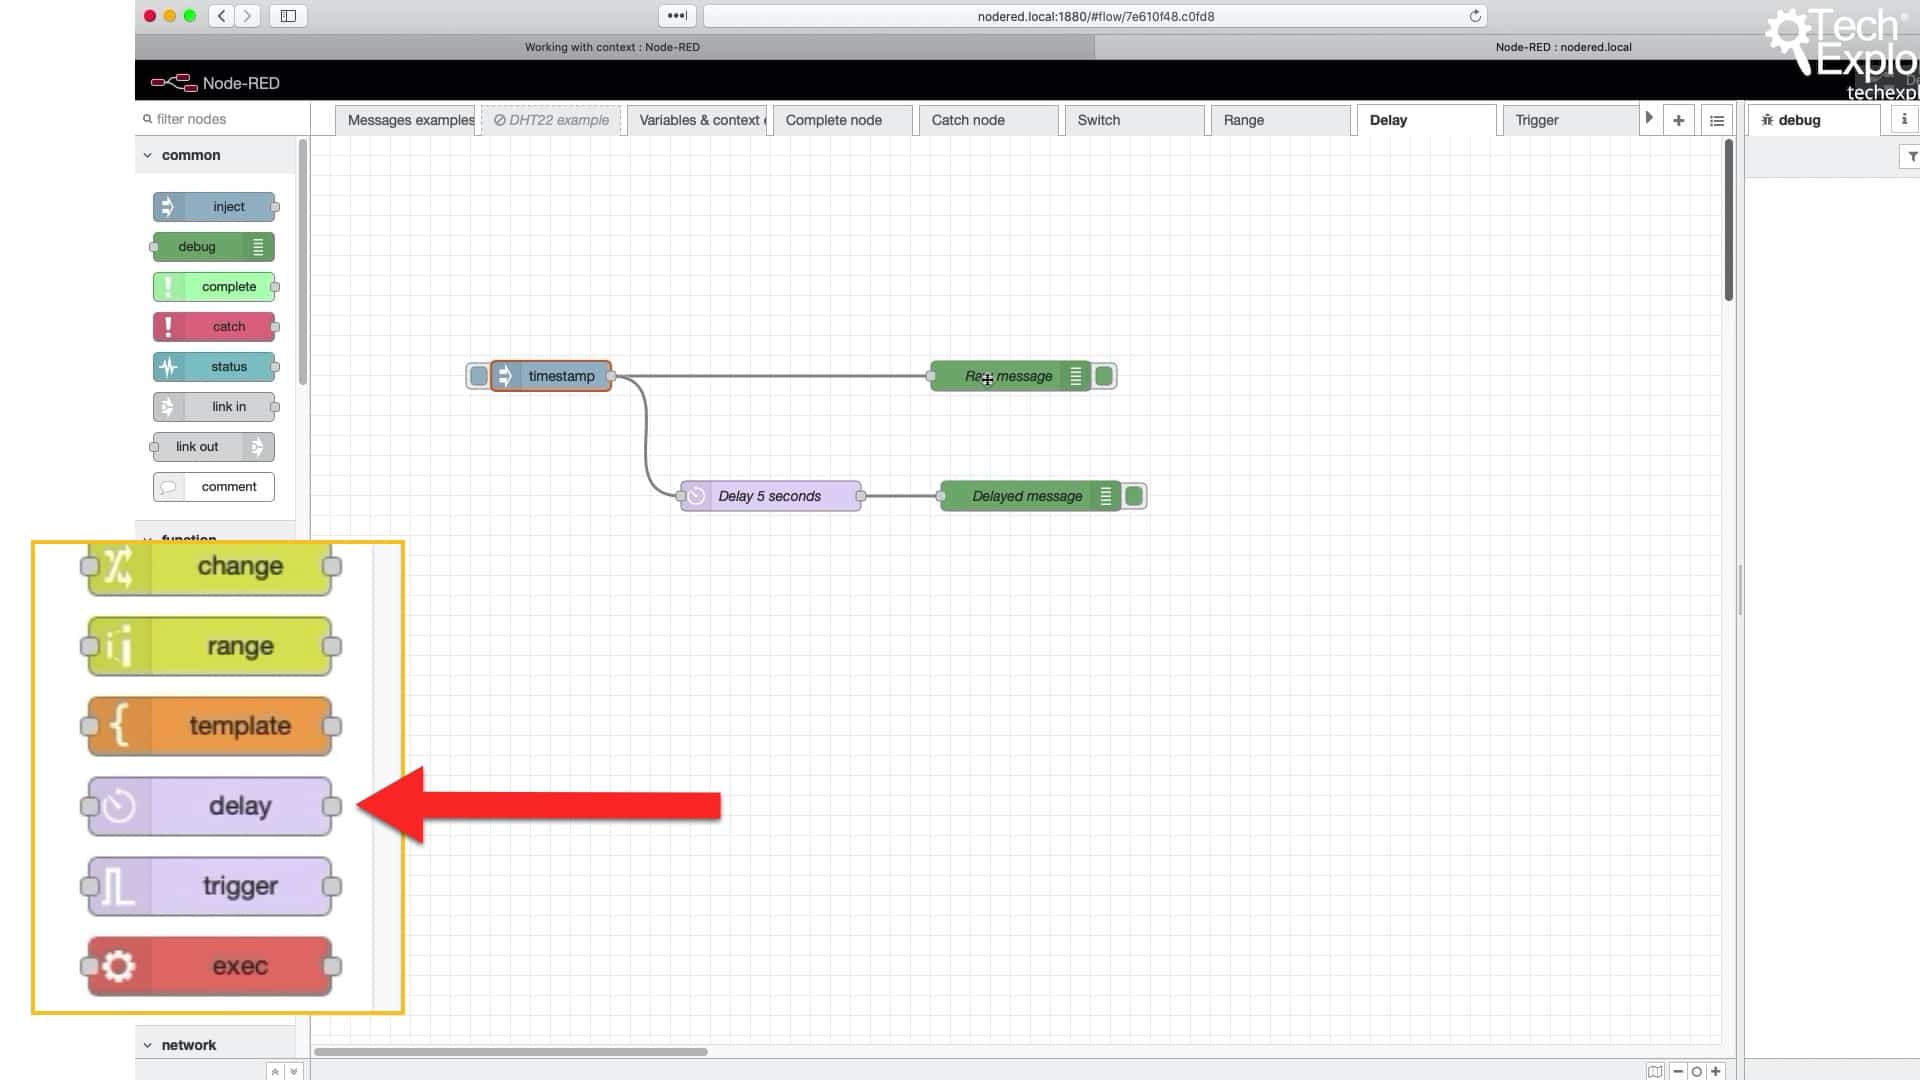
In this article I will show you how to use the "delay" node to introduce a delay in the propagation of a message through a flow, and to limit the rate of messages coming through.
The rate-limiting function is very useful, for example, when you want to connect your flow to an external resource on the cloud. Typically, IoT resources impose a limit to how often you can "hit" them. If your application exceeds this limit, your account can be suspended, or at least made in-operable for an amount of time. With the "delay" node, you can ensure that your flow does not "hit" the IoT resource beyond a specific rate.
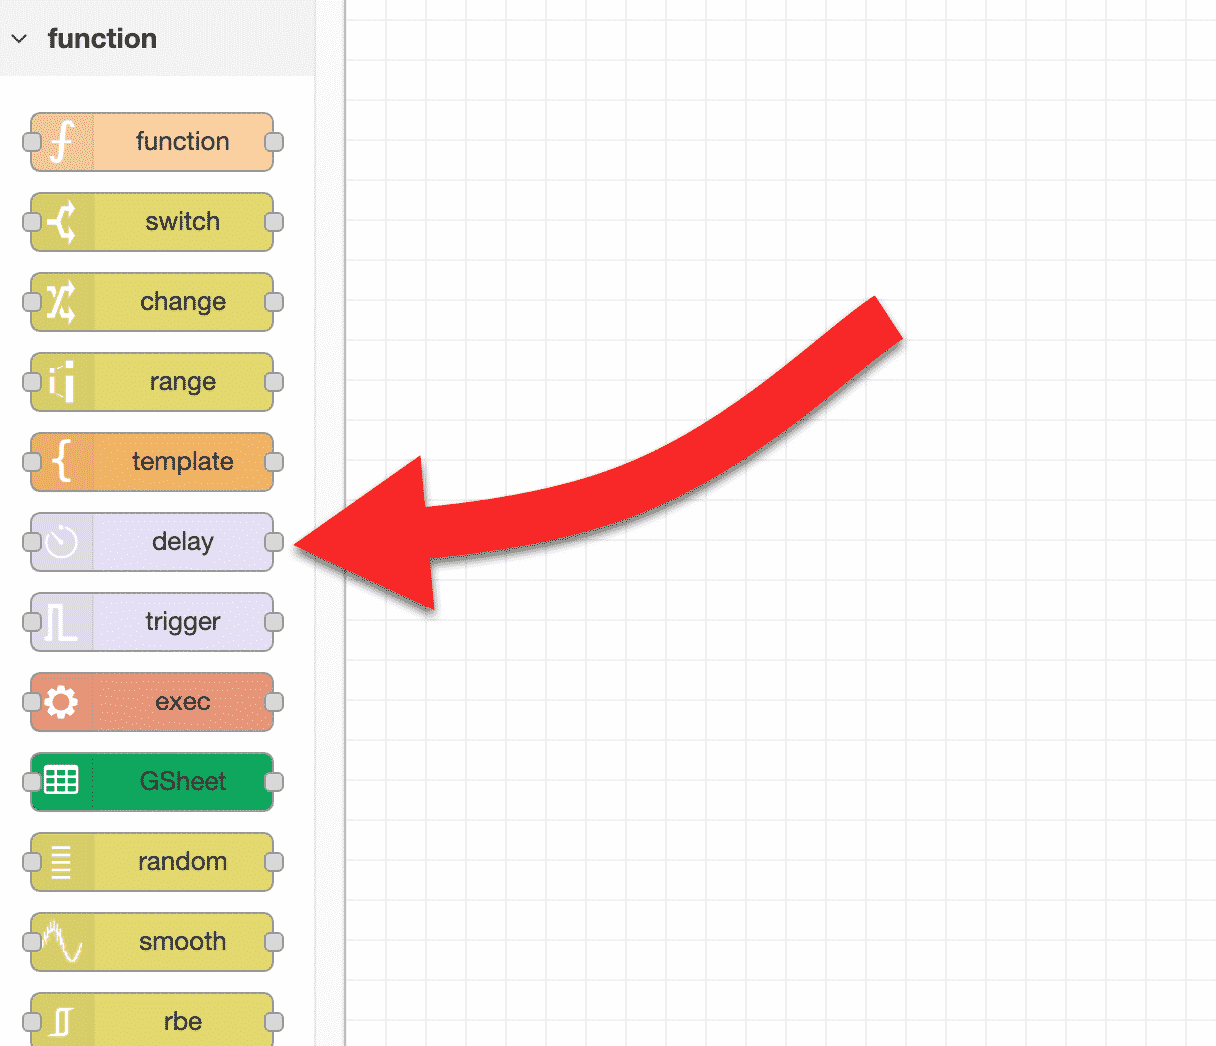
The "delay" node.
Setup the "delay" node
To explain how to use the "delay" node, I have create this simple flow:

This flow contains a "delay" node.
I am using an "inject" node to send a timestamp to two "debug" nodes.
I'll be doing two experiments with the delay node. For both, the configuration of the inject node is the same, and it looks like this:
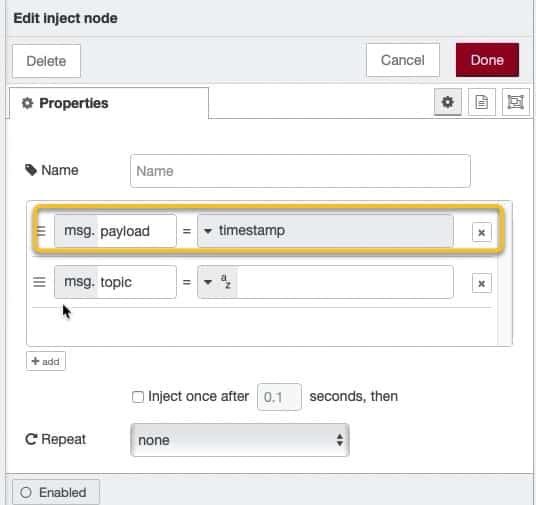
The configuration of the "inject" node.
Experiment one: simple delay
In the first experiment, I want to use the "delay" node to hold the incoming message for 5 seconds, and then pass it on to the "debug" node.
To achieve that, I have set the "delay" node like this:
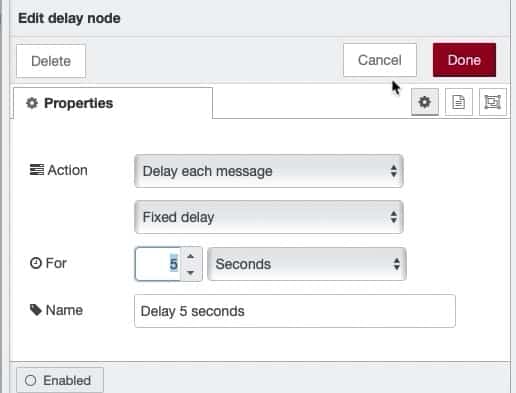
The configuration of the "delay" node.
Deploy the flow, and click on the inject node button.
The first "debug" node will display the timestamp immediately.
However the second "debug" node is fed by the delay node, which holds the message for 5 seconds before it lets it through.
The second "debug" node will display the message exactly 5 seconds after the first one, as you can see from the message timestamps, marked by the yellow boxes:
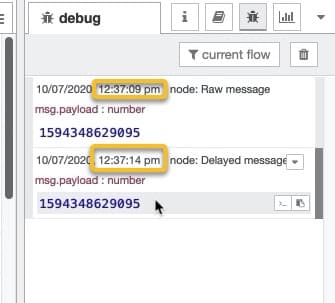
The two messages are exactly 5 seconds apart, even though they were created at the same time
Experiment two: rate limiter
In the second experiment, I want to use the "delay" node as a rate limiter.
The way that the flow works now, if you click on the "inject" button repeatedly and as fast as you can, you will see a timestamp for each click.
Very quickly, the debug pane will fill up with timestamps:
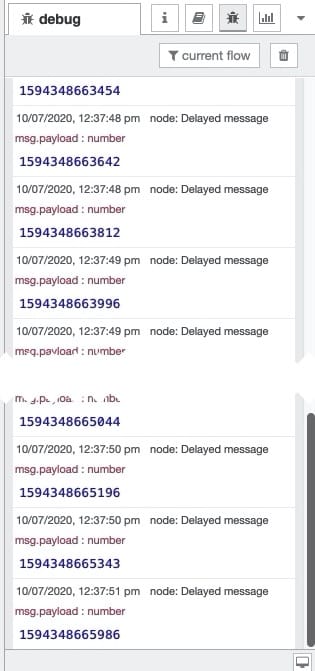
The debug pane is filled with timestamps.
To reduce the number of messages that get through to the "debug" node to a small number, say one message per second, I can configure the delay node like this:
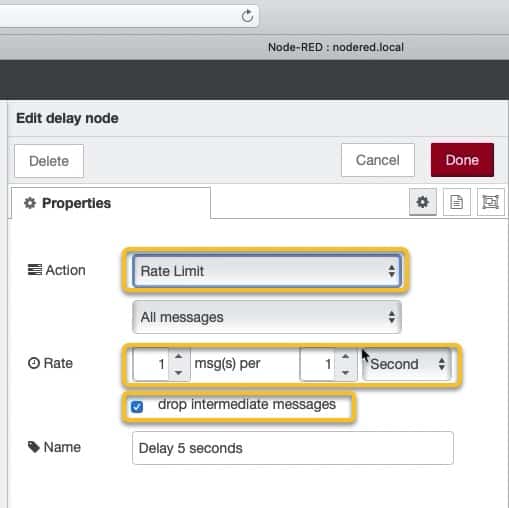
The rate is limited to one message per 1 second.
Now, no matter how fast I can click on the "inject" node button, only one message per second will appear in the debug pane. All intermediate timestamps will be dropped.
The rate limiting capability of the "delay" node is something use in the terrarium controller project. For example, I have implemented a feature so that the gadget can notify me when the MCU or pump voltage drops below a threshold. I don't want to flood IFTTT (or my inbox) with such messages, so I have used the rate limiter to only send me one message every ten minutes.
Learn Node-RED and how to use it with the ESP32
This course will guide you through the construction of an automated control system. The deliverable is a Terrarium controller.
Along the way, you will learn a great deal about useful technologies such as the Node Red programming environment and MQTT.
Jump to another article
1. Introduction to Node-RED
2. Install Node-RED on the Raspberry Pi
3. Configuration
4. Nodes
5. Flows
6. Messages and Variables
7. The "complete" node
8. The "catch" node
9. The "link out" and "link in" nodes
10. The "switch" node
11. The "range" node
12. The "delay" node
13. The "trigger" node
14. The "RBE" (Report by Exception) node
Last Updated 1 year ago.
We publish fresh content each week. Read how-to's on Arduino, ESP32, KiCad, Node-RED, drones and more. Listen to interviews. Learn about new tech with our comprehensive reviews. Get discount offers for our courses and books. Interact with our community. One email per week, no spam; unsubscribe at any time

