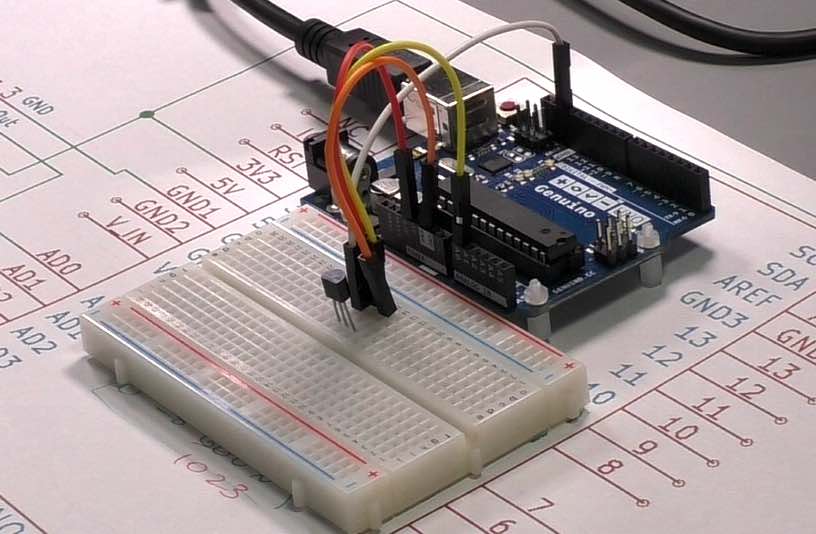
So, you are eager to experiment with your Arduino and some of the most commonly used peripherals?
In the tutorials in this series, you will learn how to use an LED and a button, and then go straight into learning how to use several popular and very useful sensors.
By the time you complete these 11 experiments, you'll have a good beginner-level understanding of Arduino programming and components.
Before you dive right in, please read the following so you can get a good understanding of sensors.
Sensors are the eyes and ears of machines: they provide environmental data. There are all sorts of sensors, some more exotic than others. Here's a shortlist from Wikipedia:
- Light
- Motion
- Temperature
- Magnetic fields
- Gravity
- Humidity and moisture
- Vibration
- Pressure
- Electrical fields
- Sound
- Stretch and stress
Clever gadgets combine multiple sensors in order to capture a more complete snapshot of their environment.
This is similar to our human perception of the environment that is based on multiple senses, like sight and hearing.
Each sensor that is attached to a machine requires processing power. The more sensors attached, the greater the processing requirements on the machine. In the Arduino Uno, the ATMega328 micro-controller is a simple computer running at a clock speed of 16MhZ (mega-hertz). This means that this Arduino can process roughly 16 million instructions every second. This processing resource has to be shared between all the things that your Arduino is supposed to do, like reading values from its sensors, doing calculations, updating a screen or other outputs, communicating with other devices, and interacting with the user.
The Arduino is fast, but it has a limit, and your design must take that into consideration.
In the lectures in this section, we will play with the following components:
- An LED and how it works.
- A button, and how it works.
- A photo-resistor for measuring light.
- Combined temperature and humidity.
- Infrared line sensor.
- Barometric sensor for measuring air pressure.
- Ultrasonic sensor for measuring distance to other objects.
- Tilting, so you know if your gadget has fallen over.
- Orientation.
Simple sensors, like the photo-resistor for measuring light, work by measuring the voltage they provide to one of the analog sockets in the Arduino. You can do this by using the analogRead function. Other sensors are a bit more involved, and they require special software libraries to work with the hardware. More often than not, however, these libraries are very easy to learn and they provide useful extra features at no additional cost.


