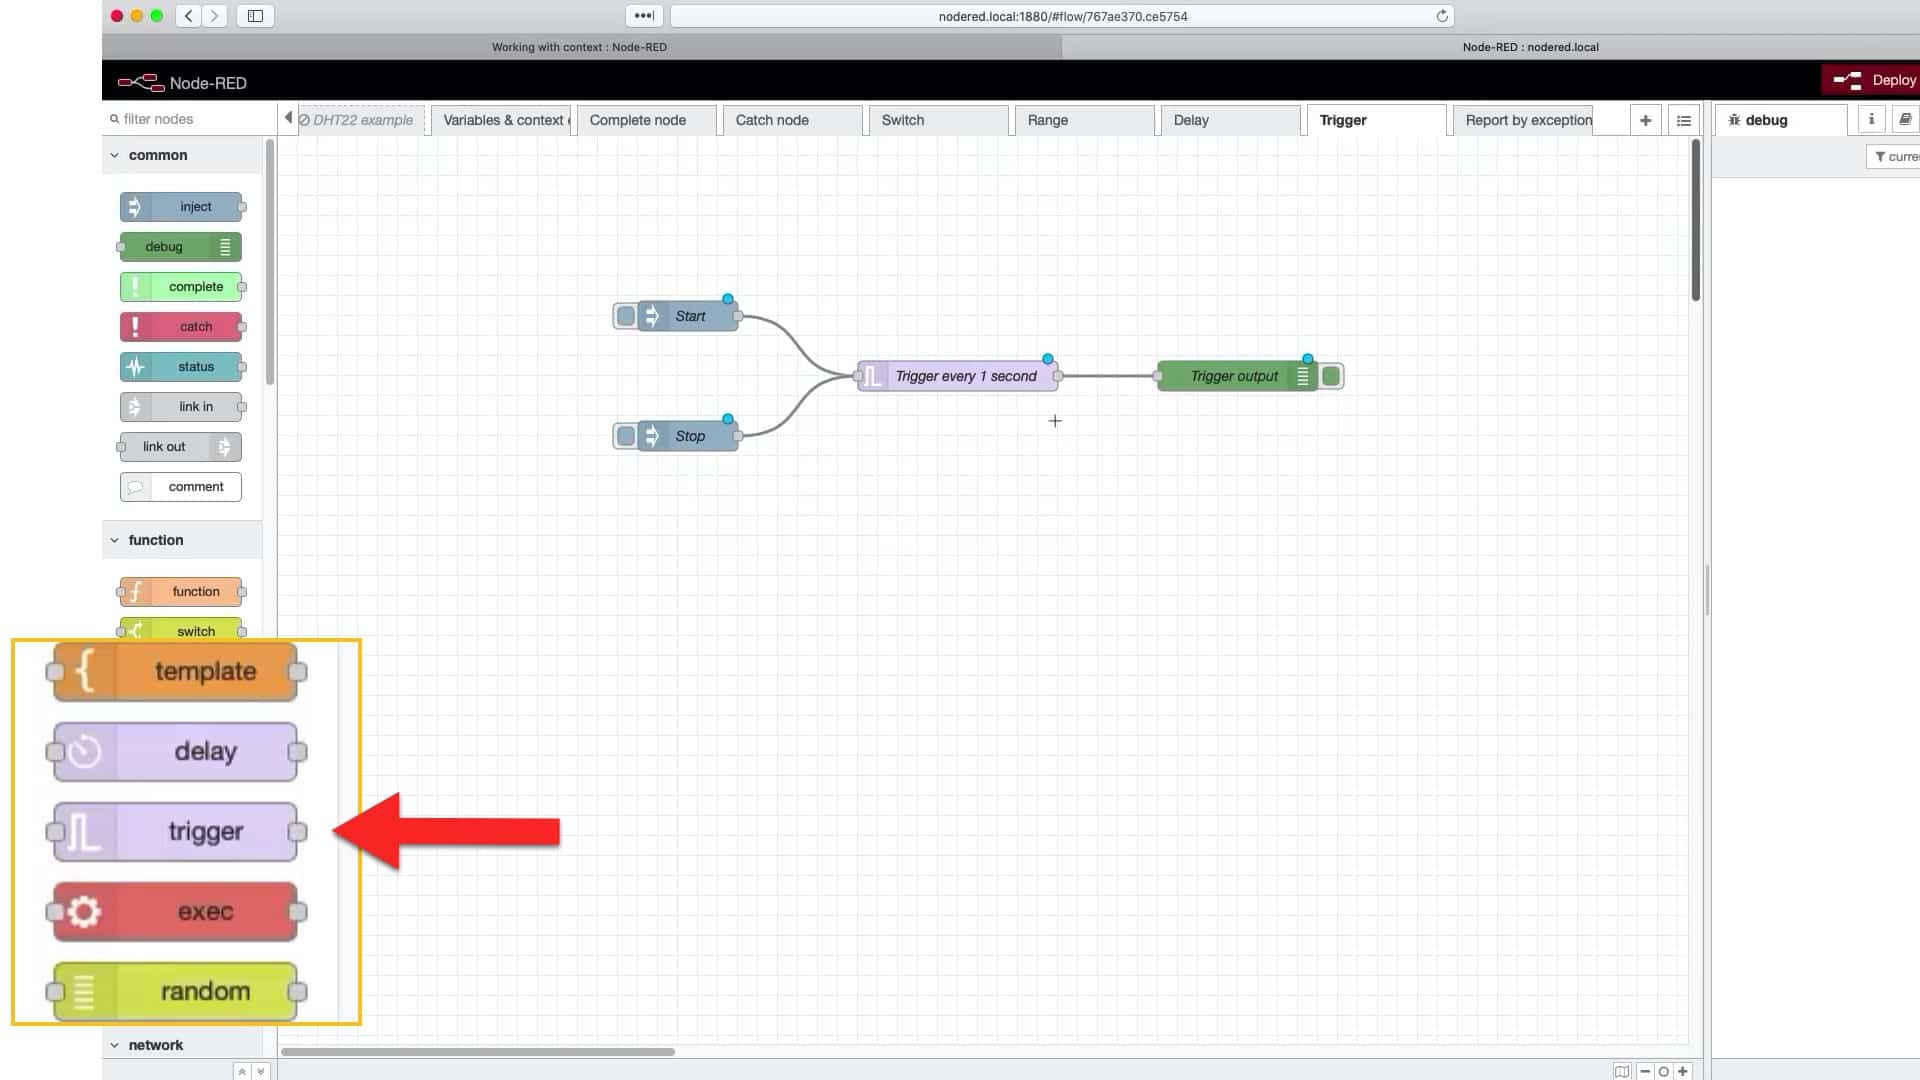
With the "trigger" node, you can repeat a message at an arbitrary period.
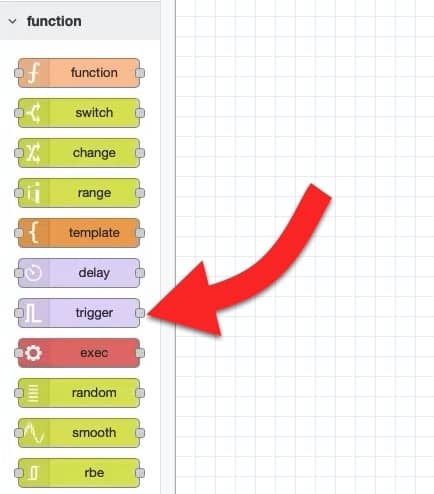
You will find the "trigger" node in the functions group of the left toolbar.
To explain how to use the "trigger" node, I have created this simple flow:
When I click on the button of the "inject" node named "Start", the "trigger" node will send the string "tap..." to the "debug" node, and will continue to do so every 1 second.
When I click on the button of the "inject" node named "Stop", the trigger node will reset and wait for the next message from "Start".
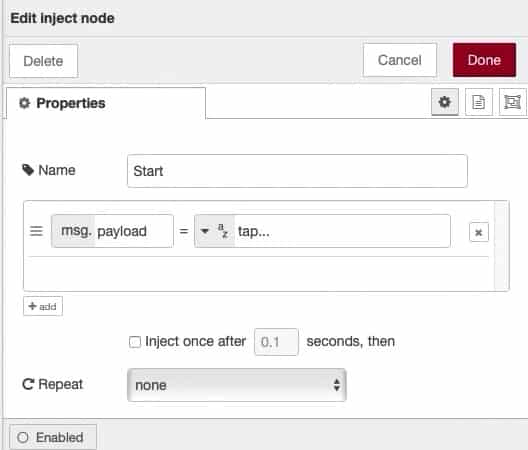
Here is the configuration of the Start node:
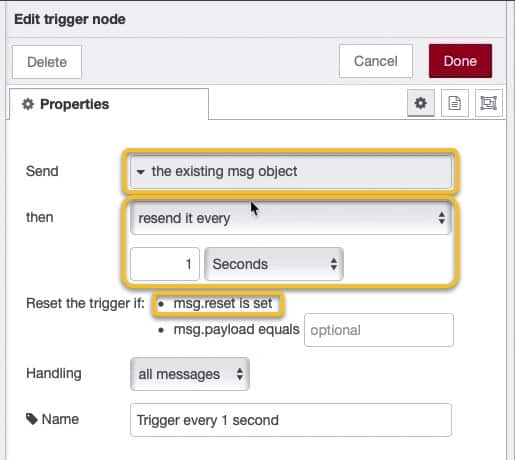
This is the configuration of the "trigger" node:
There's a few options available. I have set this "trigger" node to propagate whichever message object it receives in its input, and to resend it every one second.
Notice that there is an option to reset the trigger by sending a msg.reset (the content of the reset attribute is not important), or by setting a specific value in the msg.payload attribute.
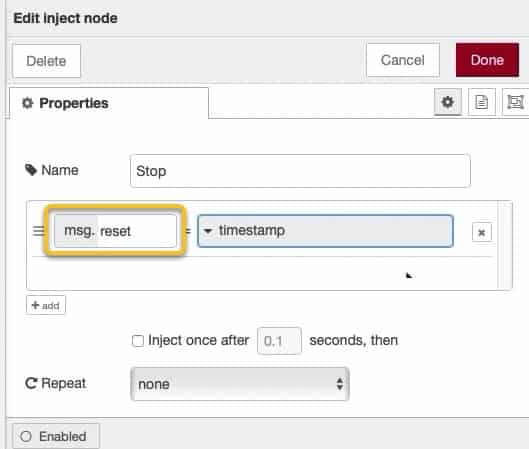
In this example flow, I use the msg.reset method. Here is the configuration of the Stop node:
In the Stop node configuration, notice that I have created the "rest" attribute of the msg object, and set it to contain a timestamp. It does not matter what you store in the reset attribute. It can be a number, a string, a JSON object etc. The actual content is ignored by the trigger node; what matter is that the reset attribute exists.
In the terrarium project, among other things, I use a trigger node to get a reading from the DHT22 sensor every 10 seconds.
