
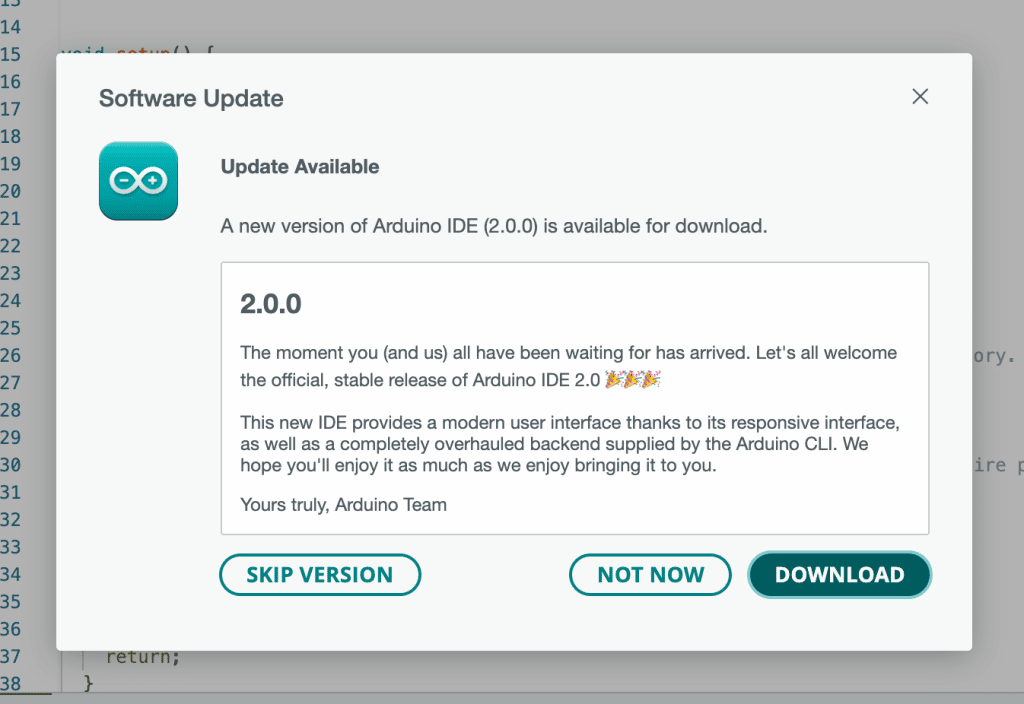
A few days ago, on September 14, the much anticipated new version of the Arduino IDE came out of “release candidate” status and became the current stable version of the IDE.
Welcome to Arduino IDE 2.0!
We’ve been waiting for you 🙂
The timing could not have been better for me. During September, I was (and still am) working on a comprehensive update of Arduino Step by Step Getting Started.
The course update covers changes in the Arduino ecosystem since I originally published this course (back in 2017). These changes include hardware (with the new MKR and Nano families that complement the original Classic boards), and software (especially the two new IDEs, Web and 2.0)
I had already recorded a lecture in which I compared the (then “release candidate”) Arduino IDE 2.0 against the Arduino IDE 1.8.20 (a nightly build of Arduino IDE 1.8 that never made it to “stable”). Before I had finished editing this lecture, the Arduino IDE 2.0 stable came out, and 1.8.20 became legacy.
After this, I reviewed the differences between Arduino IDE 2.0 RC9 (which I reviewed in the lecture) and Arduino IDE 2.0 stable. I did not find any usability or user interface changes. All changes are “under the hood” (you can see the detailed comparison in the Github comparison tool).
In this post, I list the biggest changes and most important features of Arduino IDE 2.0, share my comparison video of IDE 2.0 vs 1.8, and provide links to IDE 2.0 resources that I hope you will find useful.
First, the video
Next, what’s new and different in Arduino IDE 2.0?
Arduino IDE 2.0 in a nutshell
Arduino IDE 2.0 is rewritten from the ground up. Users of the classic (i.e. 1.x) Arduino IDE will find 2.0 familiar. The Compile and Upload buttons are where they are supposed to be. The menu items (File, Sketch, Tools etc.) are also there, with most of their functions in the same positions and names. Even the Preferences window is mostly the same, with familiar functions even though re-arranged.
If you have been using Arduino IDE 1.8 for a while, I expect you will be able to get started with 2.0 without any transition problems.
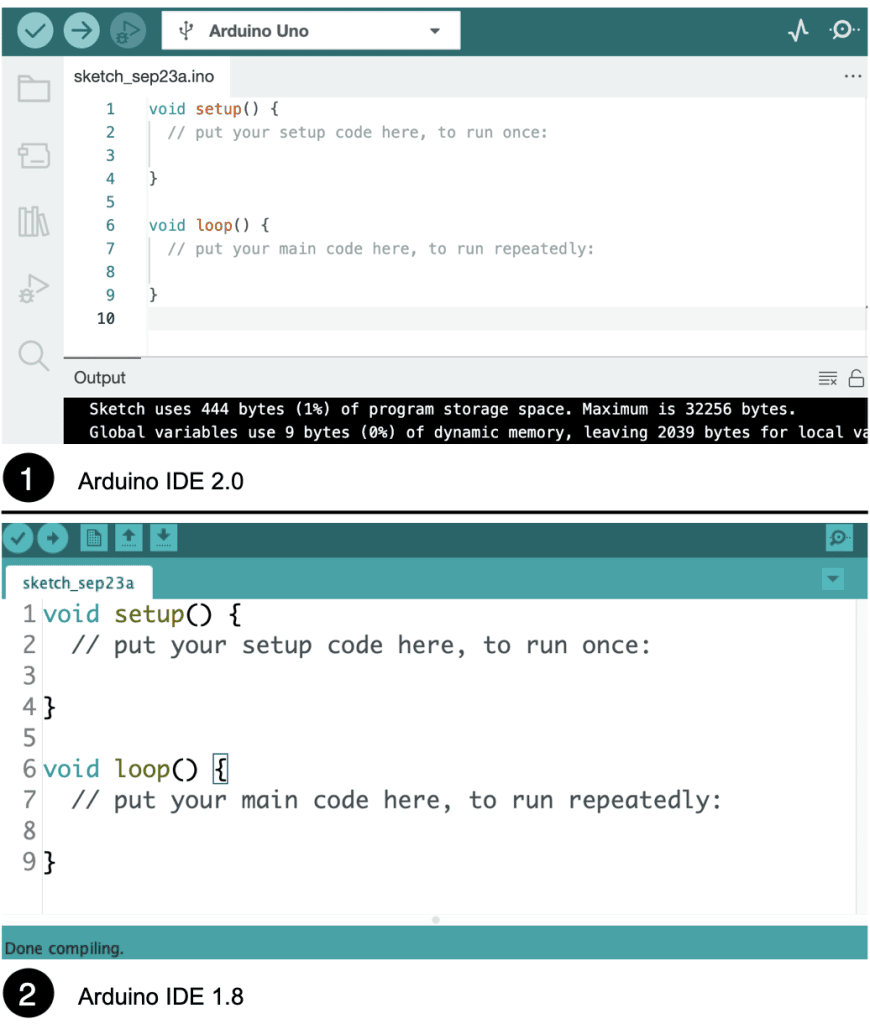
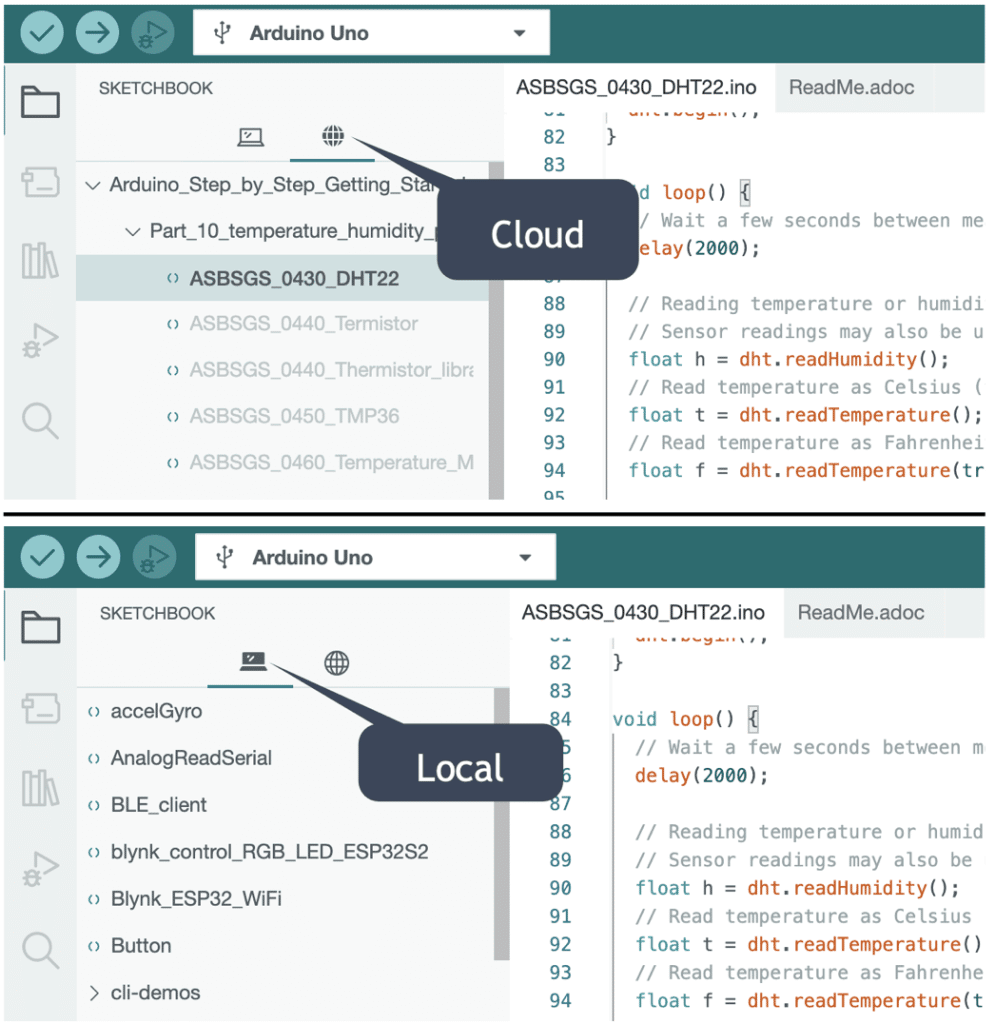
However, Arduino IDE 2.0 has introduced new networked features and a user interface design that resembles the Arduino Web IDE. Both have a sidebar with buttons that open up various panes (Sketchbook, Examples, Libraries etc.). You can use the Arduino IDE 2.0 to access your Arduino Web IDE projects, as shown in the image below.
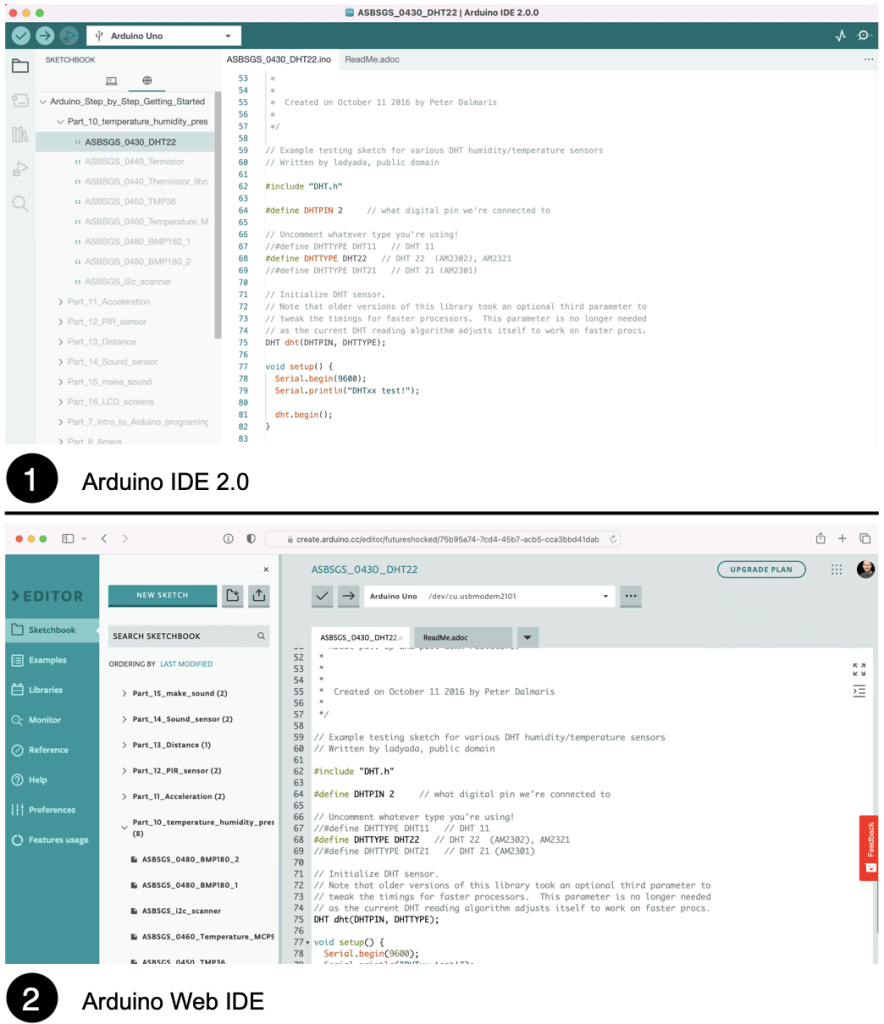
This new feature shows Arduino’s emphasis on Cloud computing and IoT. You can use the Arduino IDE 2.0 and the Arduino Web IDE to access your Arduino Cloud projects.
If you prefer local computing, that’s no problem: Arduino IDE 2.0 retains all local functionality. Unlike IDE 1.x, in IDE 2.0, local Arduino programming happens via the Arduino CLI. With the Arduino CLI, you can compile and upload code to an Arduino board on the command line without any GUI tools. The Arduino IDE 2.0 uses this infrastructure to separate the end user editor elements from the compiler elements.
To be sure, you will not need to learn anything about the Arduino CLI to be able to use IDE 2.0, but you will see its invocations in the Output window every time you compile and upload a sketch.
The new Arduino IDE 2.0 is written from the ground up on the Theia IDE framework, an open-source web-based technology for creating integrated development environments, and Electron, a technology for building desktop applications based on Javascript, HTML and CSS.
For us, the end users, IDE 2.0 brings features that did not exist in IDE 1.x. Here are the most important:
Flexible user interface
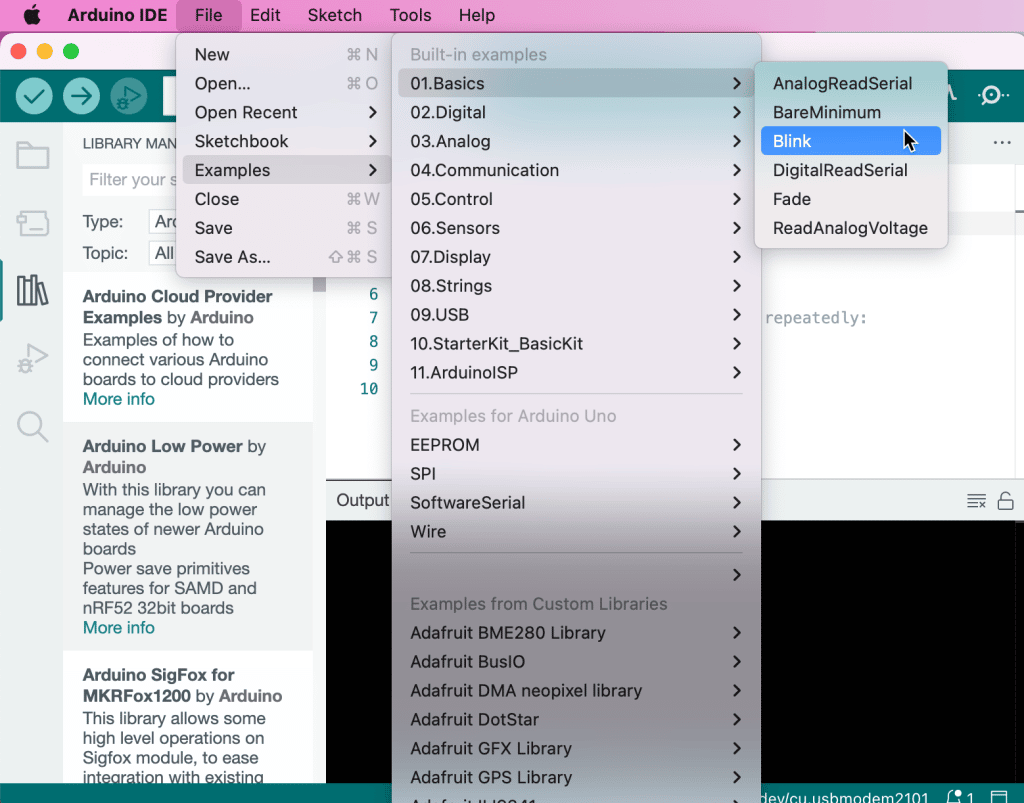
The Arduino IDE user interface is very flexible. You can configure it to match your preferences. You can use it as if it was Arduino IDE 1.x, and depend on the top bar menus as they are all there in their familiar places:
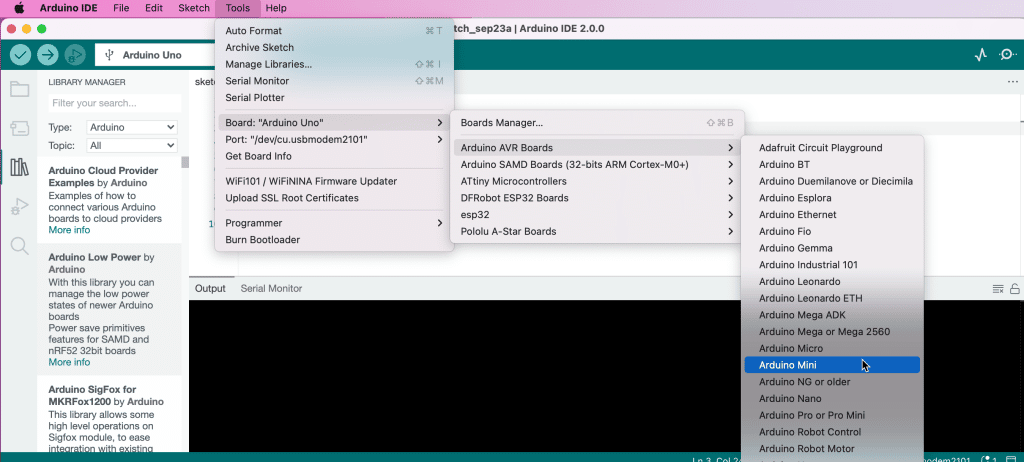
Or, should you choose to “modernise”, you can use the new UI elements. For example, you can access the Boards Manager from the left toolbar:
You can search, find, and install drivers for any supported board.
From the left toolbar, you can access the Sketchbook, the Boards Manager, the Library Manager, the Live Debugger, and the Search.
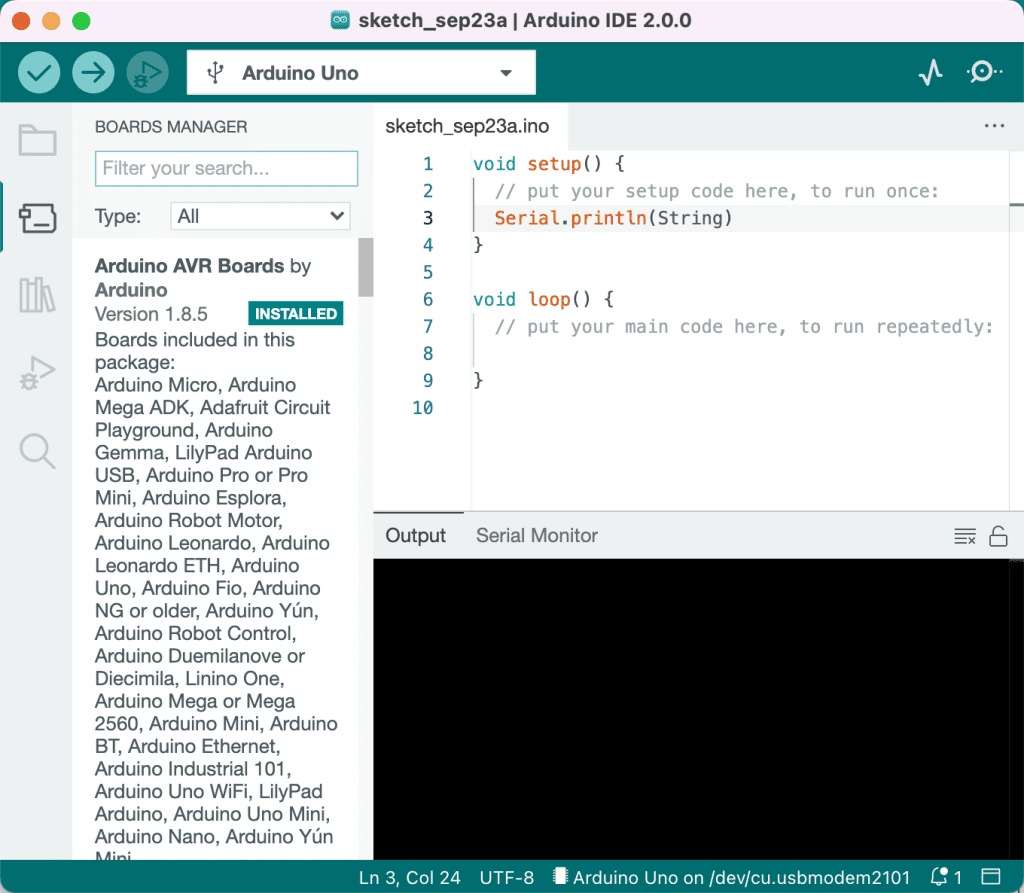
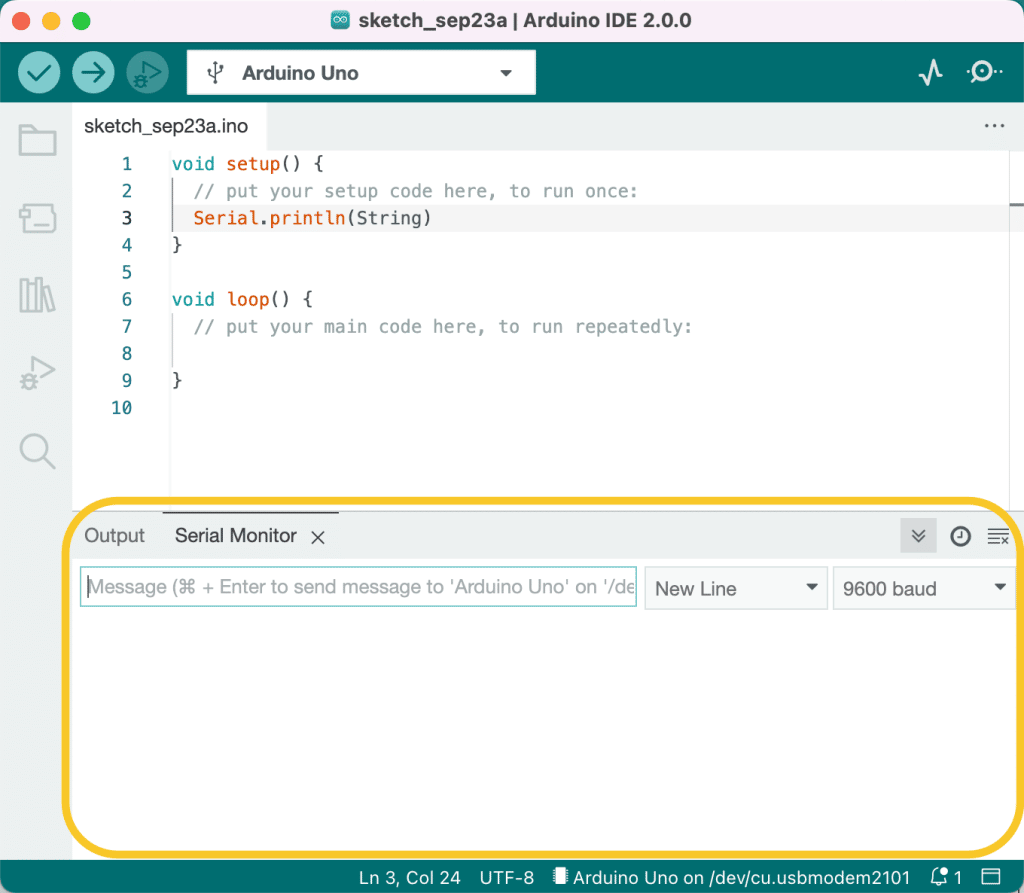
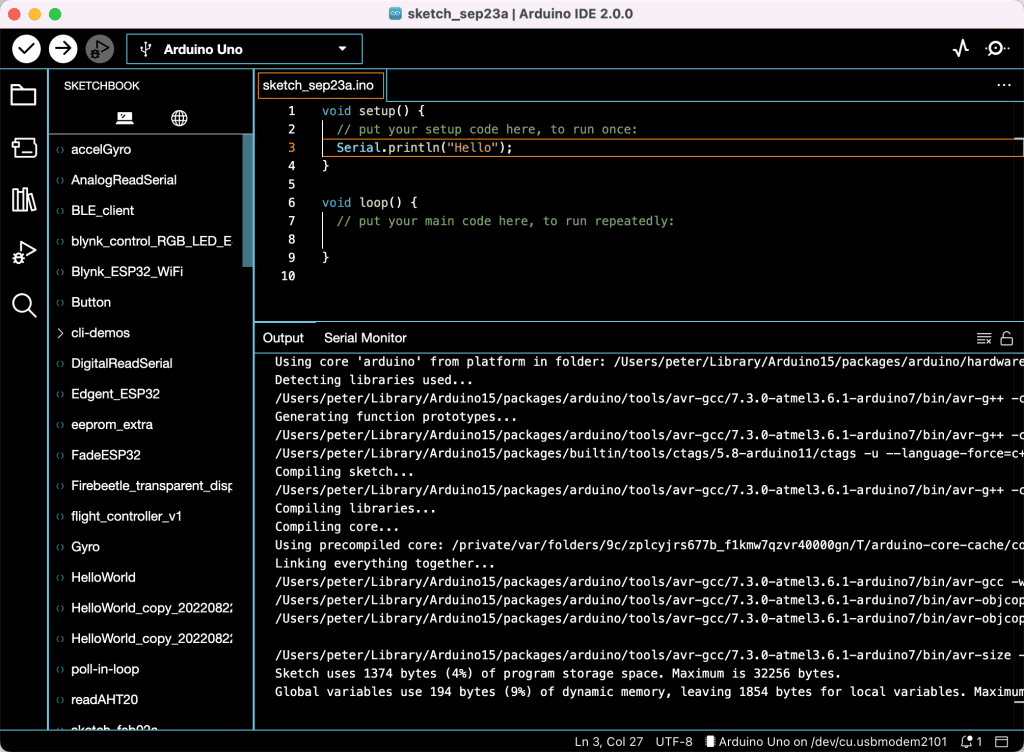
In the main window, you can reveal and hide the Output and Serial monitors, which appear in a tabbed pane at the lower part of the editor pane:
Of course, you can set up the code editor (font size, theme, language etc.) via the Preferences:
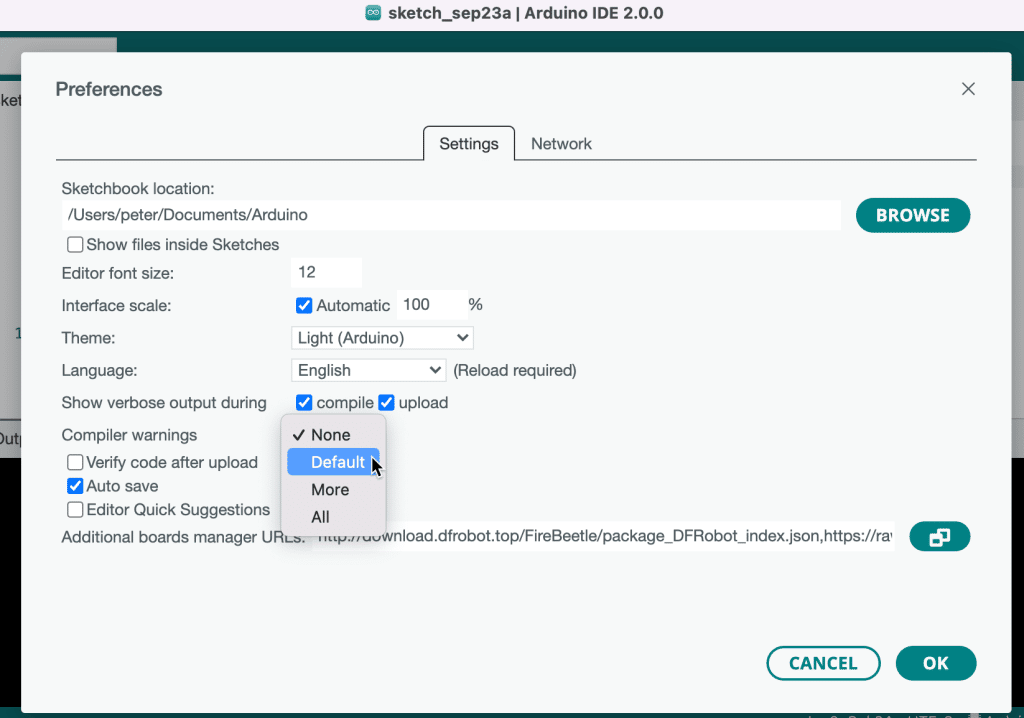
Try out the themes. Some are very dramatic, to say the least:
Autocompletion
One of the biggest complaints for IDE 1.x was the lack of auto-completion. This feature is a given in modern IDEs, yet it wasn’t in Arduino IDE until now.
There are two ways to use auto-completion. Both require you first to type a few characters of the keyword you want to autocomplete. In the example below, I have typed “Seri”. Then, type Ctrl-Space to bring up the suggestions bubble. You should see this:
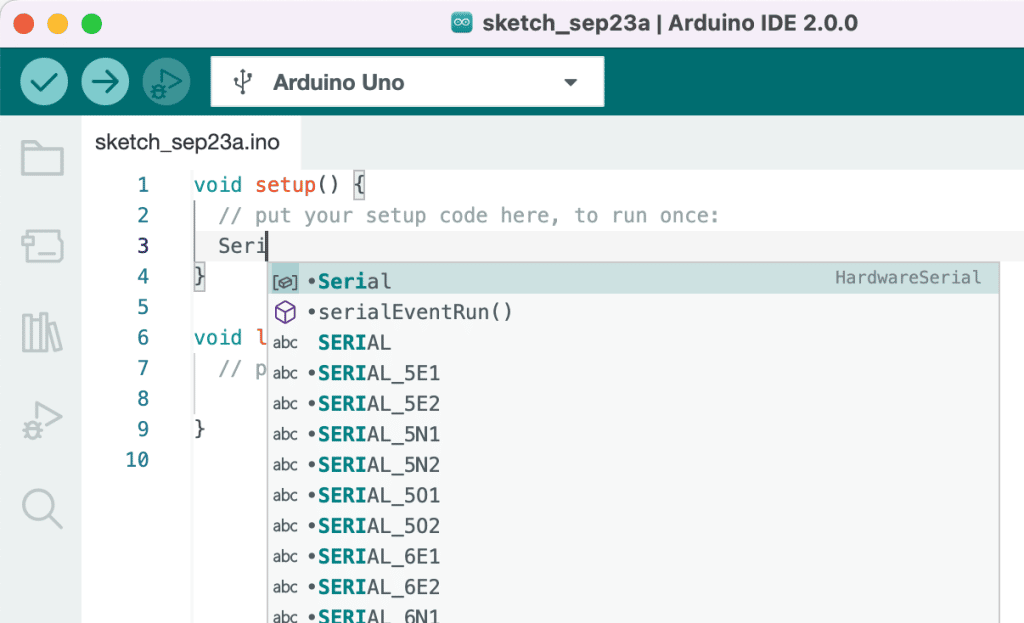
You can use the keyboard arrow keys to highlight the keyword you want from the list and the Enter key to select it and complete the operation. You can also point and click with your mouse.
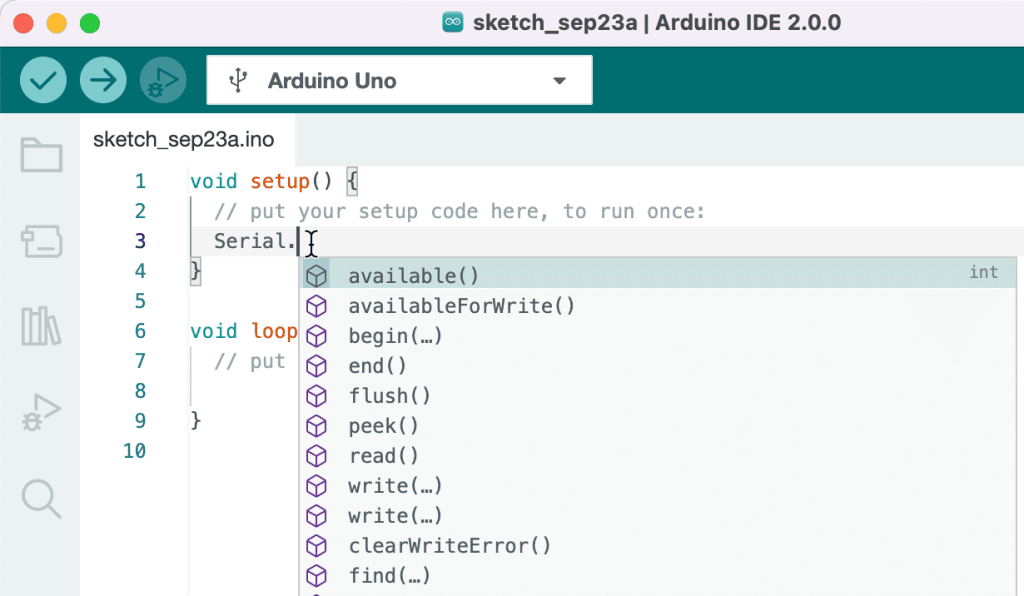
The second way is to type the entire keyword if it happens to be a class or object name and then type the full stop (“.”). The IDE will offer function options from the typed class. In the example below, I have typed “Serial.”, and the IDE offered a list of options to choose from:
Autocompletion can also suggest function parameters. Auto-completion and the new code navigation feature will make you a much more efficient programmer.
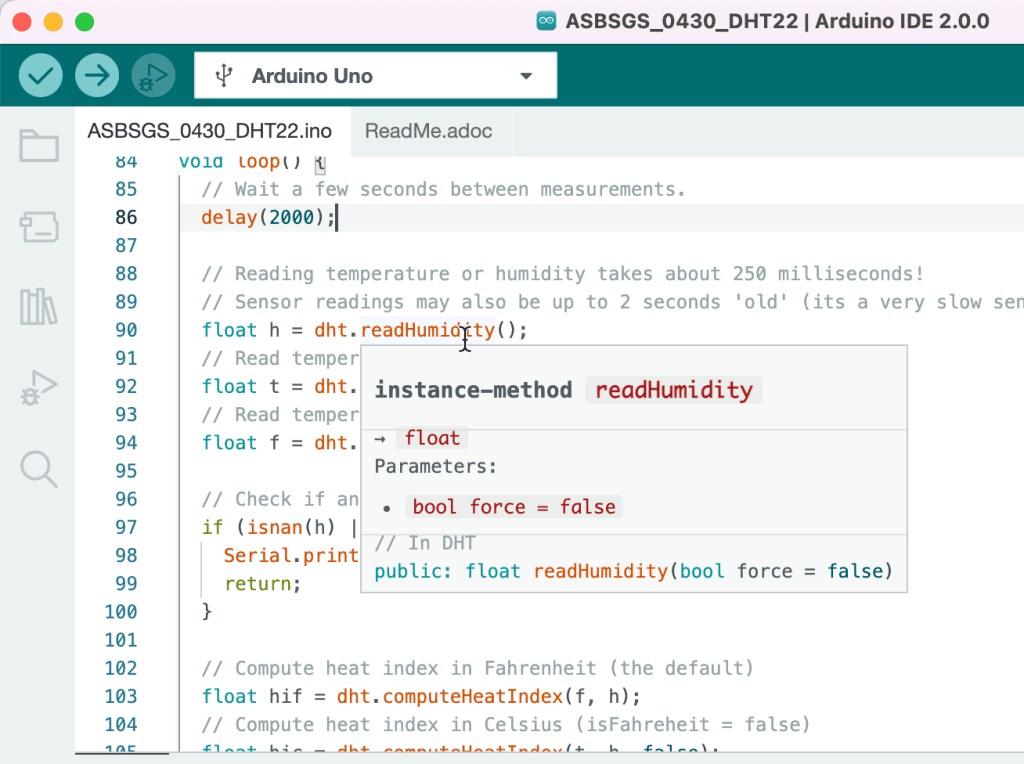
Code navigation
The editor in IDE 2.0 allows you to inspect your code and jump to definitions of functions and classes. Here are two examples of code navigation in action.
In the first example (below), I want to learn more about the function “readHumidity”. I can simply hover my mouse pointer over the keyword. A bubble appears with more information about this function, including its inputs and outputs.
Say that you are using a library and want to see a function’s actual implementation. In Arduino IDE 1.x, you would need to manually browse the library’s source code, find and open the file containing the implementation you are looking for, and then scroll to the relevant segment of the code.
In Arduino IDE, simply right-click to reveal the context menu and select “Go to Definition”.
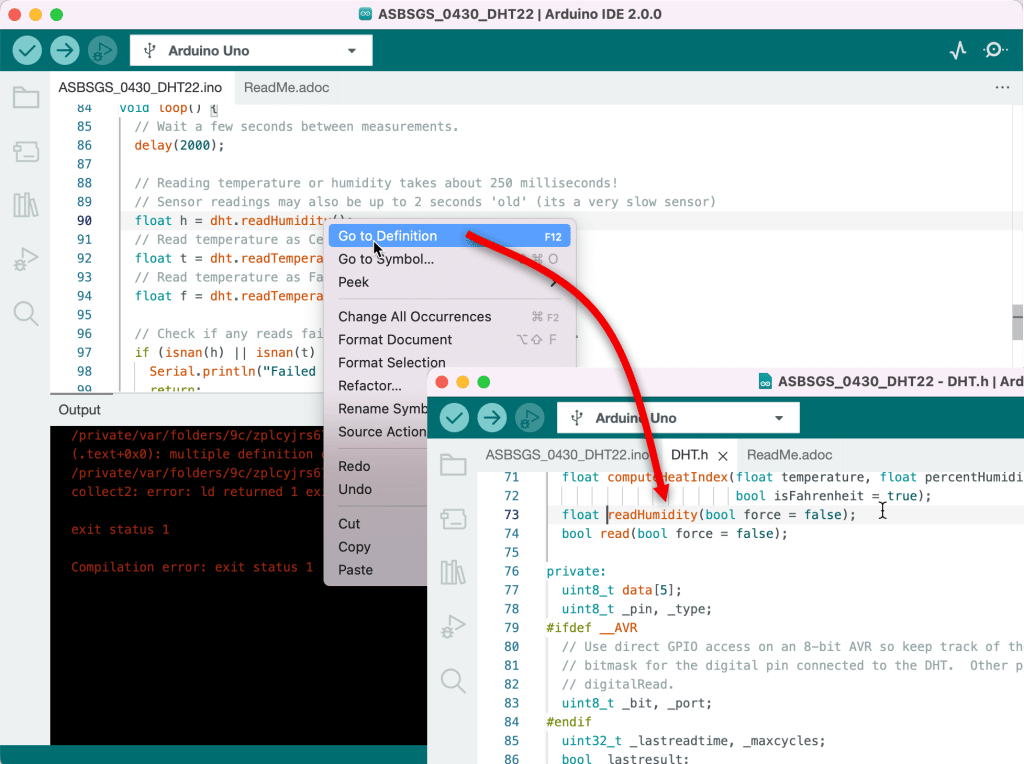
Brilliant.
Live debugger
If you use an Arduino from the MKR family (such as the MKR Zero or the MKR Wifi 1010) or an Arduino Zero, you can now debug your code using IDE 2.0. The Arduino Zero can do this out-of-the-box as it contains a hardware debugger on the board. The MKR Arduinos require an external debugger, such as Segger’s J-Link or Atmel-ICE (I show how to use the latter in “Advanced Arduino Boards and Tools“).
I have not tested the IDE 2.0 live debugger (yet). Still, the documentation shows it has everything expected, including breakpoints, play, pause, continue, step in/out, and the ability to inspect variables.
In the past, I would use Atmel’s Microchip Studio or OpenOCD for this. The ability to debug within the Arduino IDE is AMAZING!
I will soon test the live debugger in Arduino IDE 2.0 using an Arduino Zero and an Arduino MKR 1010 Wifi.
Local & Cloud projects
With the Arduino IDE 2.0, you can work on local and Cloud projects. You can start a project in Arduino Web IDE (on the Arduino Cloud) and continue working on it on Arduino IDE 2.0. You can “push” any changes to the Cloud and continue working on it on the Web IDE.
Better search
You can search for any text in a project. The IDE will show you the results in the left search pane. Click on a result to focus on the relevant code in the main window pane.

Conclusion
I started using Arduino IDE 2.0 (one of the release candidates) in early August. I did not experience any “work in progress” issues.
After having spent time with Arduino Web IDE earlier this year (due to my work on “Arduino IoT Cloud for Busy People”), it felt normal.
I felt constrained when I had to fall back to Arduino IDE 1.8 several times. Not having access to my growing list of Arduino Cloud projects, code autocompletion and code navigation is now a problem to the point that I can’t work on an Arduino project without those features to boost my productivity.
Even though Arduino IDE 2.0 was just published as stable a few days ago, it is ready for prime time. It is very easy to transition from IDE 1.8.
Because it depends on the Arduino CLI infrastructure, ties closely to the Arduino Cloud, and is built on the solid foundations of the Theia Framework and Electron, I expect to see work towards closer integration with IoT services and potential plugins that offer more high-end functions. Think of plugins that integrate your IDE to a source code repository like Github, continuous integration services, project management (example) and issue management (here’s the issue manager for Arduino IDE 2.0).
In conclusion, Arduino IDE has finally evolved into a tool for serious work, not only for Education, without losing the qualities that made it so popular among learners. It is still simple to learn and use (perfect for beginners) yet offers advanced features for power users. I am looking forward to Arduino IDE 2.1!