
We have been working on a new course on Blynk, the IoT mobile app development platform.
In this course, you’ll learn how to use the Blynk platform to create apps for iOS and Android that work with the Arduino Nano 33 IoT and the ESP32 or any other supported device.
This course is perfect if you want to create mobile phone powered microcontroller applications.
In this article:
What is Blynk?
First, what is Blynk?
Blynk is a mobile application development platform for the Internet of Things.
With Blynk, you can create smartphone applications that allow you to interact with microcontrollers easily or even for computers such as the Raspberry Pi. The focus of the Blynk platform is to make it super easy to develop the mobile phone application.
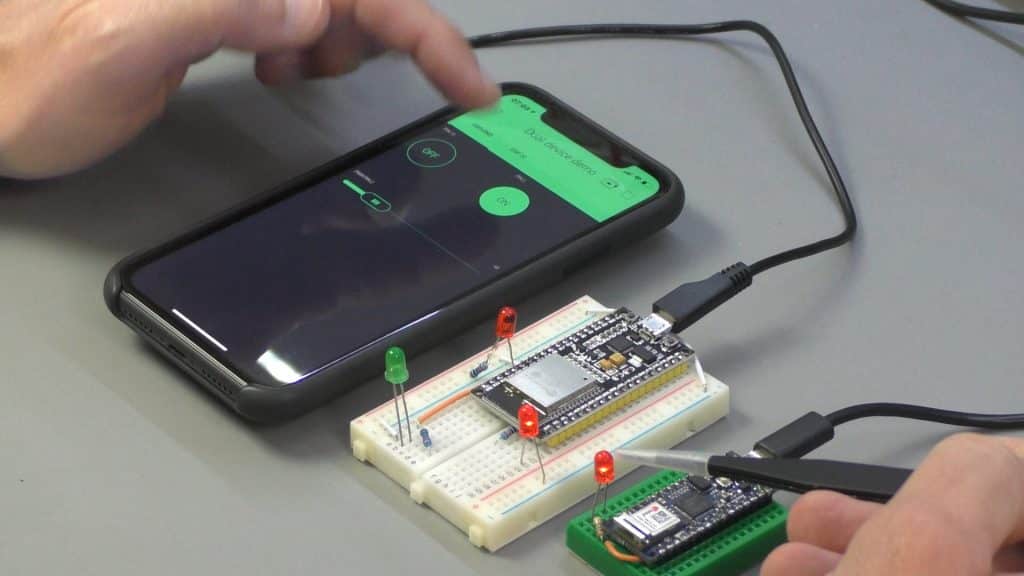
Developing a mobile app that can talk to your Arduino is as easy as dragging a widget and configuring a pin.
With Blynk, you can control an LED or a motor from your mobile phone with literally no coding. This is actually the first experiment that I’ll demonstrate in this course.
But don’t let the simplicity make you think that Blynk is only useful for trivial applications.
Blynk is a robust and scalable tool that is used by hobbyists and the industry alike. You can use it to monitor the soil humidity of your vegetable garden and turn on the water or open up your garage door with your phone. You can also use it to control smart furniture that can learn from your routines or embed IoT and AI to traditional industrial products such as a water boiler. Or for improving the integrity and safety of oil fields.
As you can see, the applications are very diverse. Blynk is free to use for personal use and prototyping.
The Blynk smartphone app
Let’s take a closer look at each component of the Blynk platform.
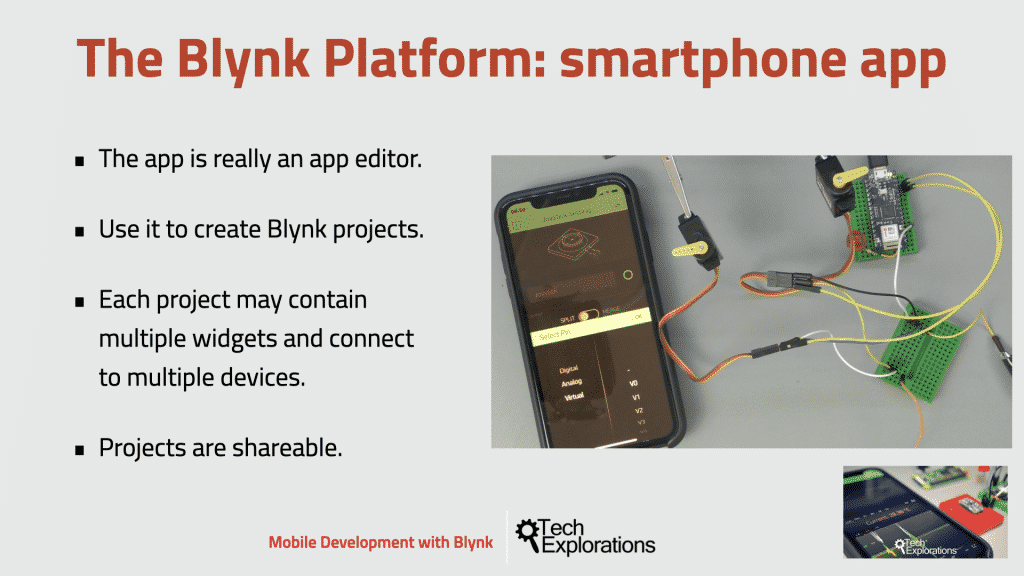
First, we have the smartphone app.
The Blynk smartphone app is an application editor. It allows you to create one or more projects. Each project can contain graphical widgets, like virtual LEDs, buttons, value displays, and even a text terminal, and can interact with one or more devices. With the help of a Blynk library (see below), it is possible to control the Arduino or ESP32 pins directly from your phone without having to write any code at all.
It’s also possible to share a project with friends or even customers so that they can access the connected devices but not be able to modify the project. Imagine a scenario where you build a smartphone application where you can control lights, window blinds, and room temperature from your phone. You can share the project with other family members so they can also access the same functionality.
The Blynk microcontroller libraries
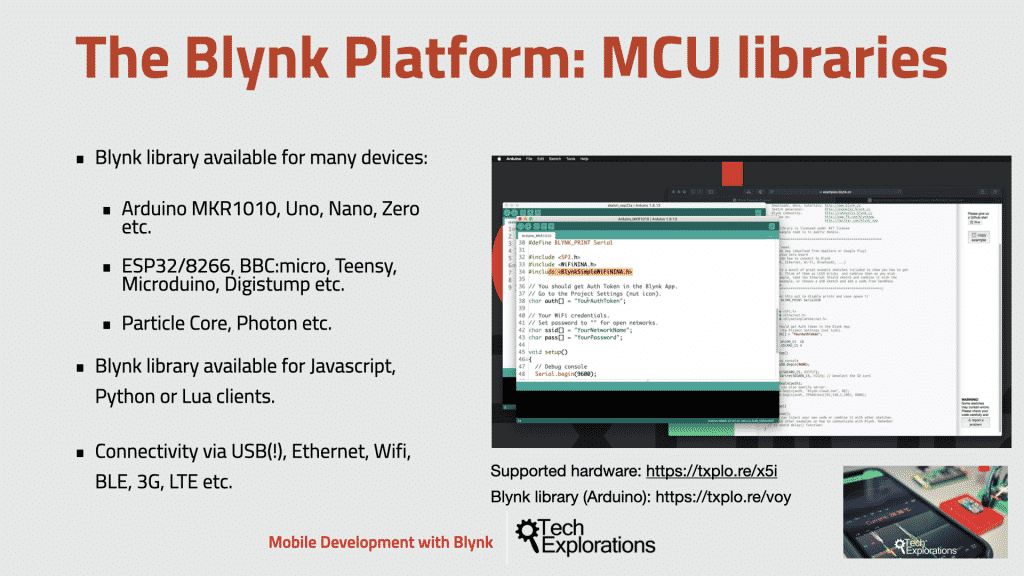
The second component of the Blynk platform is the collection of microcontroller libraries. I’m amazed by the range of devices and connectivity types that the Blynk platform supports. There is a dedicated library for each supported device and connectivity type combination.
Here is a list of supported devices.
For example, if you want to use your Arduino Uno with an Ethernet Shield, you would use the library named “BlynkSimpleEthernet” which contains the Blynk firmware plus the required connectivity support. If you want to use your Arduino Uno with the Wi-Fi 101 Shield, you will use the library named “BlynkSimpleWiFiShield101”.
There is a convenient web utility that generates Blynk code based on your selection of microcontroller and communications type.
Here’s two examples:
- For Arduino Uno + Wifi 101, click here.
- For Arduino Uno + Ethernet W5100 Shield, click here.
Both sketches would use the same Blynk infrastructure, such as the physical pins that are part of the Arduino’s hardware, as well as the virtual pins that are implemented in software by the Blynk platform.
This is very important because it means that with a bit of planning, you can write sketches that you can easily share among different target devices. You can write a sketch for an Arduino Uno, and with minimal modification, run it on an Arduino MKR 1010.
In this course, I’ll show you how to share a sketch between an Arduino Nano 33 IoT and an ESP32 by only changing a single line of code. Blynk also supports clients that are not microcontrollers.
You can write client code that is JavaScript, Python, or LUA, thanks to the available Blynk libraries for these languages. This means that you can have a Blynk project that interacts with an Arduino and with Python code running on a Linux virtual machine somewhere on the Cloud.
The possibilities here are fascinating.
The Blynk server
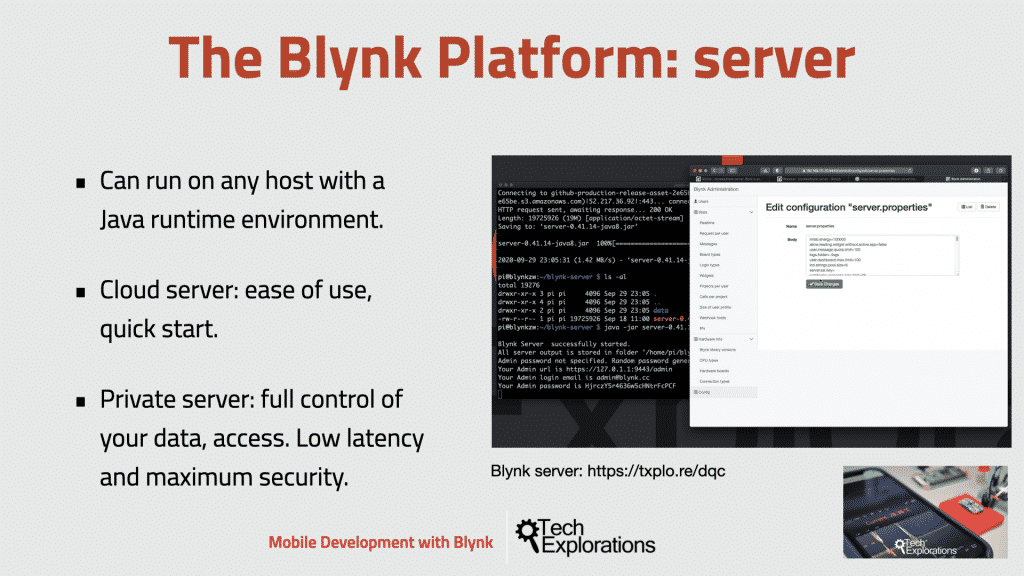
The third component of the Blynk platform is the Blynk server.
Unlike IoT platforms, such as if, this, and that, Twilio and even Adafruit IO, you can host a private instance of the full Blynk server and connect your smartphone Blynk app to it.
The Blynk Cloud server is an excellent choice for most projects, as it’s always there ready to use. We’ll use the Cloud server in the first few experiments in this course to help you get started with minimal effort.
However, as you’ll see, the Cloud Blynk server has imposed limitations. Some limitations are due to the topology of the server. So, depending on your geographical location, the server may be in a different continent. As the distance between the Blynk server, the app and the devices increases so does the travel time of the data packets. This distance, in turn, has an impact on the performance of your Blynk application.
Another imposed limitation is that, in the Cloud server, you can only use a small number of widgets. Blynk is using the concept of energy and energy units to implement a pricing system for its widgets.
In the Cloud server, you may start a new project with just 1000 energy units. An LED widget may cost you 200 units, leaving 800 units for other widgets. But on a private server, you can set your own energy limits. You can configure your server to allocate 100,000 energy units to new users.
And this is totally up to you. Of course, you can purchase additional energy units to spend on the Cloud Blynk server. And this is a legitimate consideration, especially if the users of your Blynk project are distributed around the world, which means that latency is not a big issue.
However, a private Blynk server gives you additional benefits.
You get, unlimited energy units so that you can build any Blynk application you can think. There’s minimal latency, which is useful when your application is used in a limited geographic area and responsiveness is important.
And, in my opinion, the most important point, is that you have total control of your data. You can keep your own backups of your private server. You can migrate your server to a new host. You can implement whichever security mechanism you wish. And you can finally control your users.
In this course, I’ll show you how to install and configure a private Blynk server so that you can see the related benefits and costs.
You can run an instance of the Blynk server on any host that has a Java runtime environment. In this course, I used a $15 Raspberry Pi Zero W running the Raspberry Pi operating system. The Raspberry Pi Zero W is a computer with just half a gigabyte of RAM and still runs the Blynk server without any issues at all. You can use any Raspberry Pi with Wi-Fi. It does not need to be a Raspberry Pi Zero W. In fact; you can use any Linux or Windows host you want, including virtual machines.
In this course, I’ll show you how to set up your Raspberry Pi Zero W to use its limited resources efficiently.
I will also show you:
- How to do basic configuration of your Blynk server.
- How to setup email and smartphone notifications.
- How to do port forwarding so that you can access the Blynk server from anywhere on the Internet.
- How to create custom security certificates.
- How to back up your project data.
- How to migrate your server between hosts.
What will you learn in this course?
Let’s have a look at the course learning objectives.
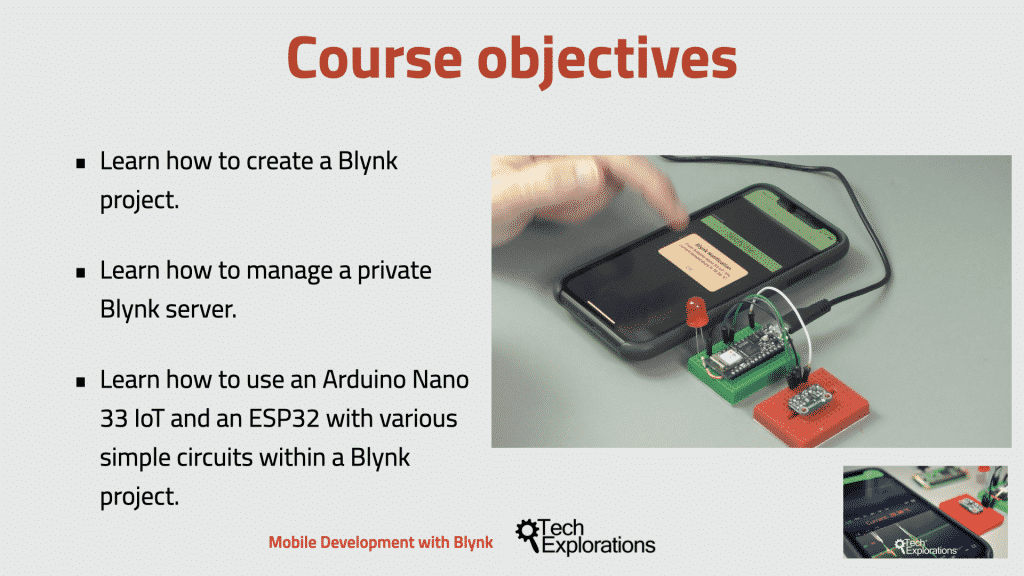
In this course, I’ve set the following main objectives.
One, is to learn how to create a simple Blynk project using the Cloud Blynk server. Using the Cloud Blynk server, you’ll learn how to use the most important and commonly used Blynk widgets and the mobile app development process.
Two, is to learn how to install, configure, and manage a private Blynk server. While I’ll be using a Raspberry Pi Zero W, you can use the knowledge you earned to manage a Blynk server on any host. The private Blynk server will open up exciting capabilities for your mobile app development.
And, three, you’ll learn how to use two popular microcontrollers, the Arduino Nano 33 IoT and the ESP32 Dev kit with Blynk. In fact, if you check the list of devices that are supported by Blynk, you’ll see that the Arduino Nano 33 IoT is not in it. However, as you learned, that does not mean that you can’t use it with Blynk. I’ll show you that with a little effort you can use many more devices than those explicitly listed as supported.
Course organization
Finally, let’s have a look at the course organization.
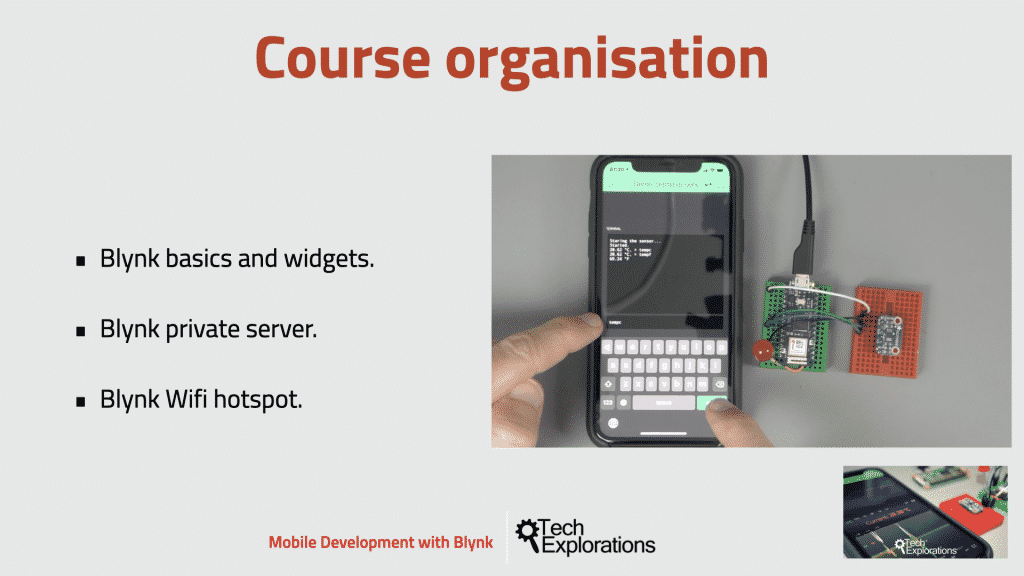
This course is organized into three main parts.
In the first part, you’ll learn the basics of mobile development on the Blynk platform. This includes creating an account on the Cloud server, building your first Blynk project, and learning how to use most of the available widgets from the Blynk Library.
In the second part, you’ll learn how to install, configure, and manage a Blynk private server. For this, I’ll use the Raspberry Pi Zero W as a low cost but efficient host.
And in the third part, you’ll learn how to set up your Raspberry Pi Zero as a Wi-Fi hotspot. With a Wi-Fi hotspot, your Blynk server can operate in total independence of other networks. You’ll be able to connect your Arduinos or other devices and your phone to the hotspot and run your application in places where there are no other connectivity options.
What to learn more? See more details, including the complete curriculum and enrollment options.