
I got my first Raspberry Pi in 2012 when this single-board computer made its debut. In the following years, I purchased all models: Raspberry Pi 2, 3, 4, Zero and Zero W.
In most cases, I used these computers in headless mode, powering my various IoT projects, except for my bench computer, which I have connected to a Raspberry Pi touch screen. All my other RPIs are either in a 3D-printed enclosure or in storage, waiting for my next project.
Even though I knew that the Rasberry Pi 4 is powerful enough to be used as a general-purpose computer in GUI mode, with a display, keyboard and mouse, I never explored this option. Also, because I preferred using my 3D printer to make my enclosures, I never looked at other enclosure options that would increase the usability of the Raspberry Pi.
So, when I discovered the Pironman enclosure from Sunfounder, I decided to take a closer look.
My overall impressions
What I liked about the Pironman:
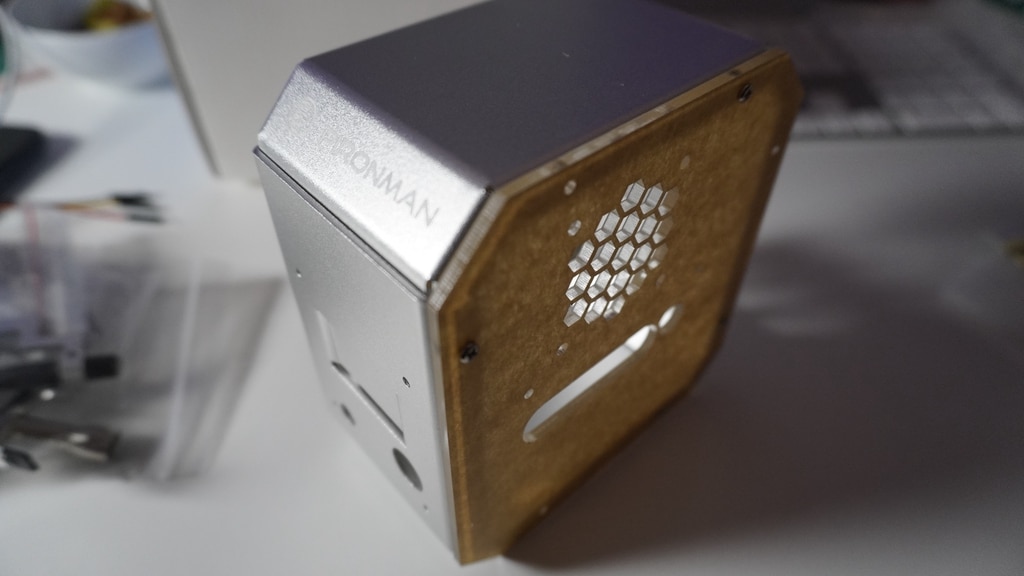
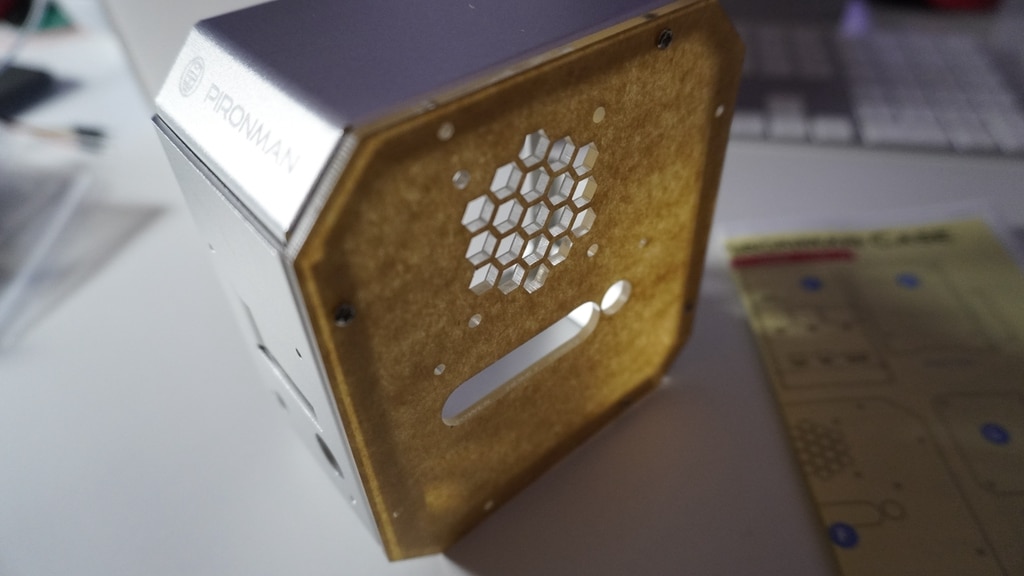
- It is a full enclosure, protecting the Raspberry Pi from all sides.
- It works with a regular Raspberry Pi 4 (not a compute module, as other enclosures require). I have several Raspberry Pi 4, so this point is particularly important.
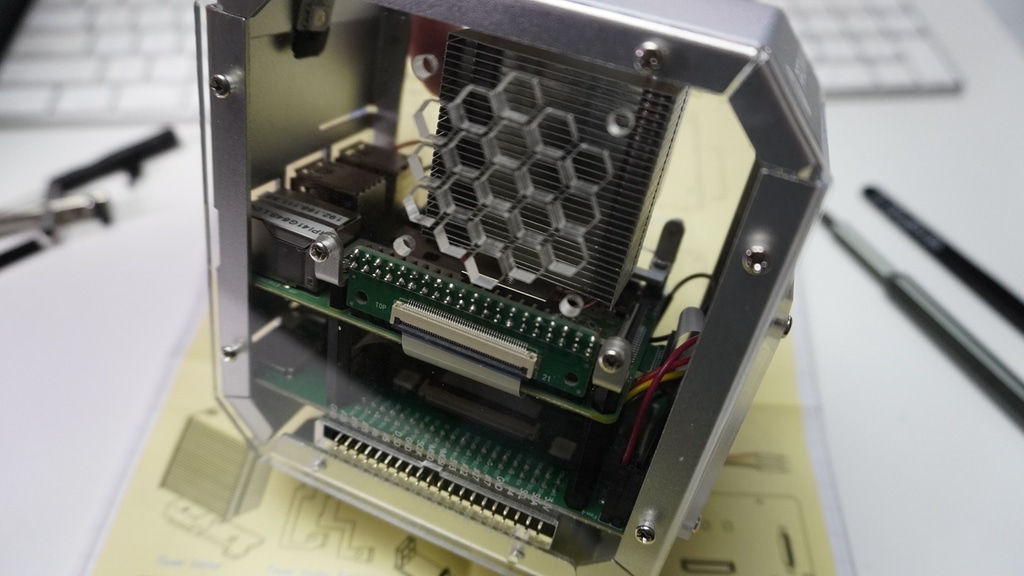
- The enclosure has a daughterboard that provides additional functions (see below).
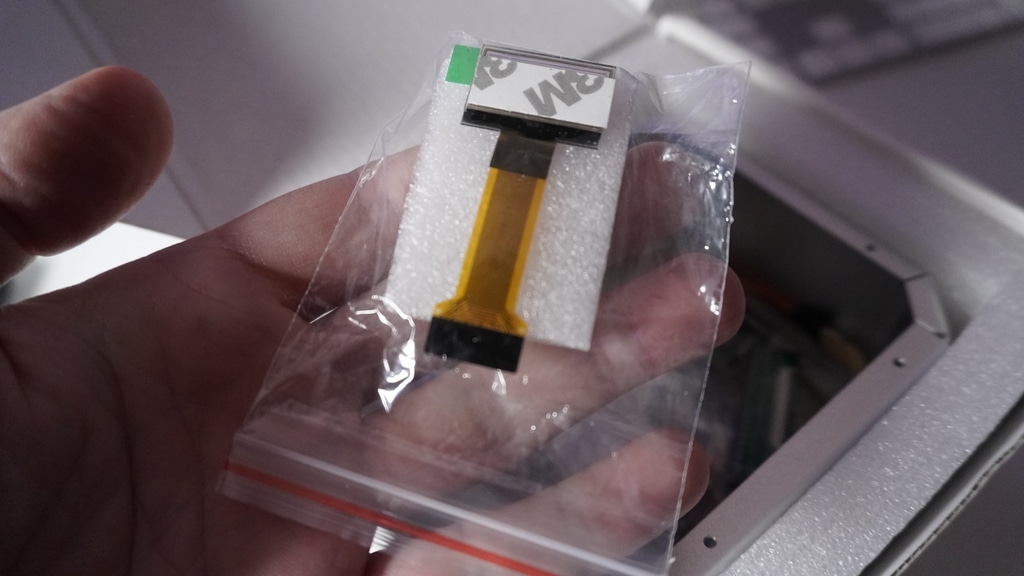
- A status OLED screen shows available disk space, CPU load, and temperature.
- A multifunction button (power on/off and activate the status screen).
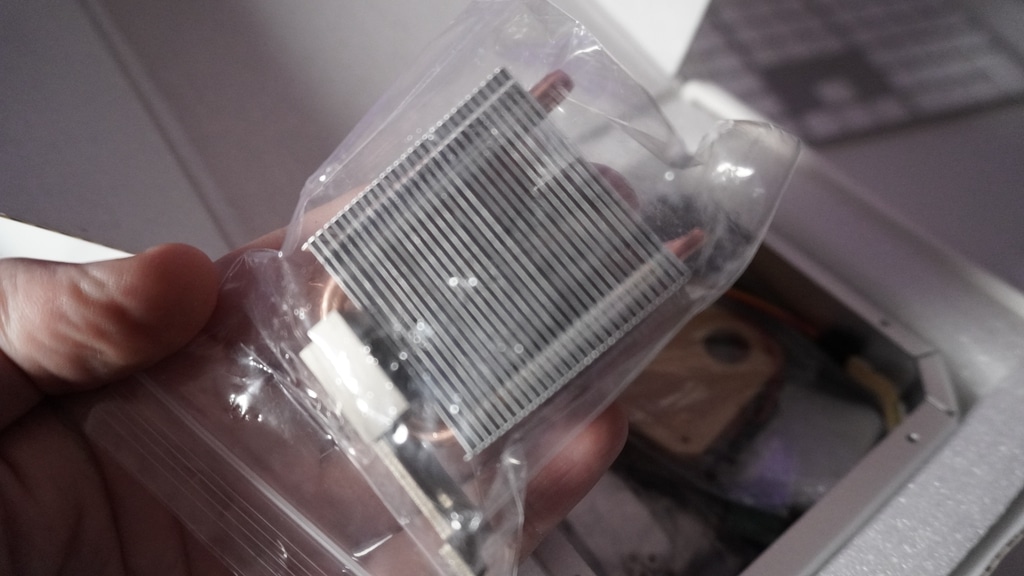
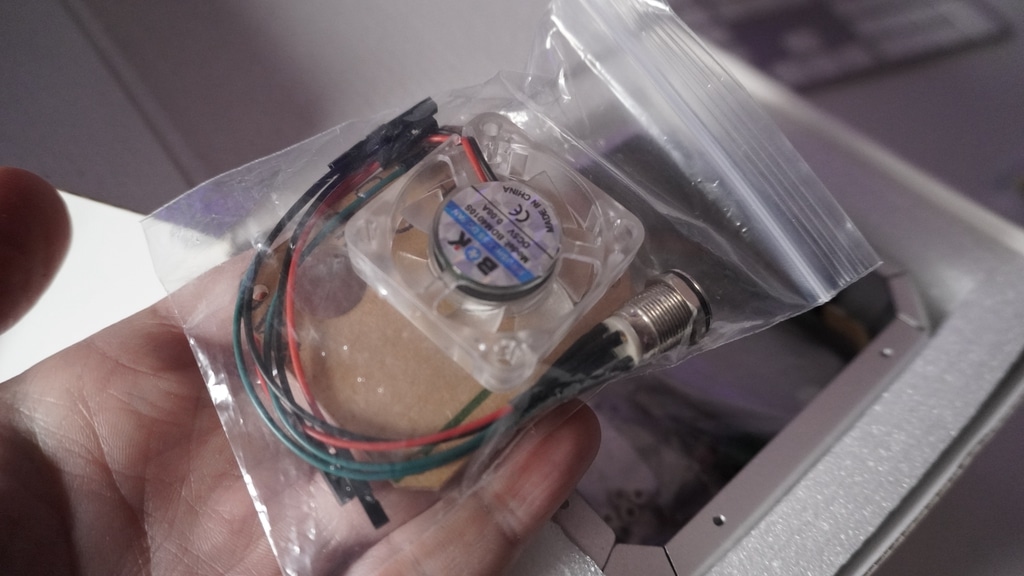
- A cooling tower and fan for the CPU (you can now *safely* overclock the CPU).
- A breakout for the GPIO pins so that you can connect external hardware.
- An M.2 SATA SSD to dramatically increase the Raspberry Pi’s available disk space and performance.
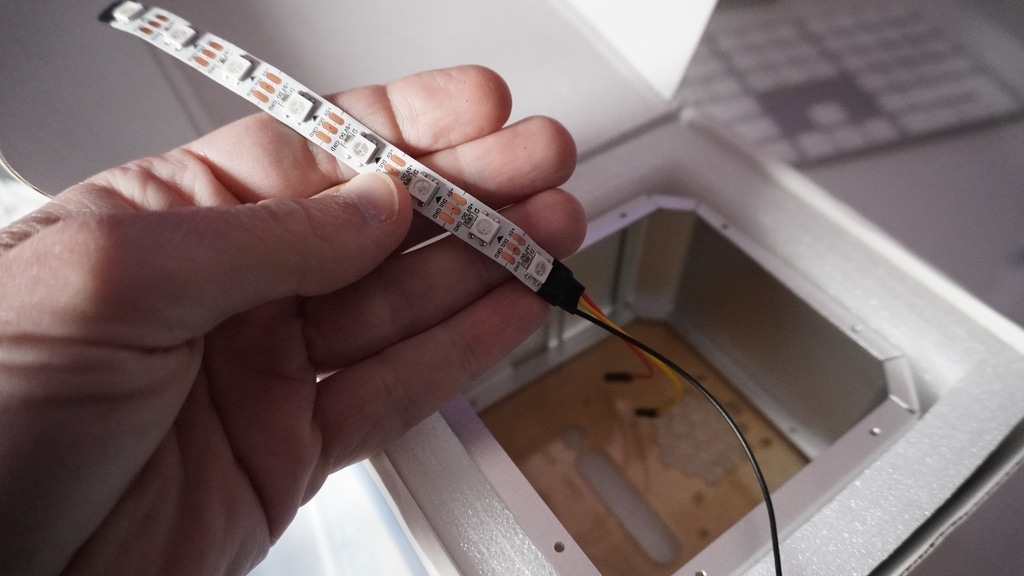
- An RGB LED strip combined with the elegant design of the enclosure makes the Pironman very nice to look at.
- Excellent assembly instructions. Assembly tools are included in the box.
- Nice price 🙂

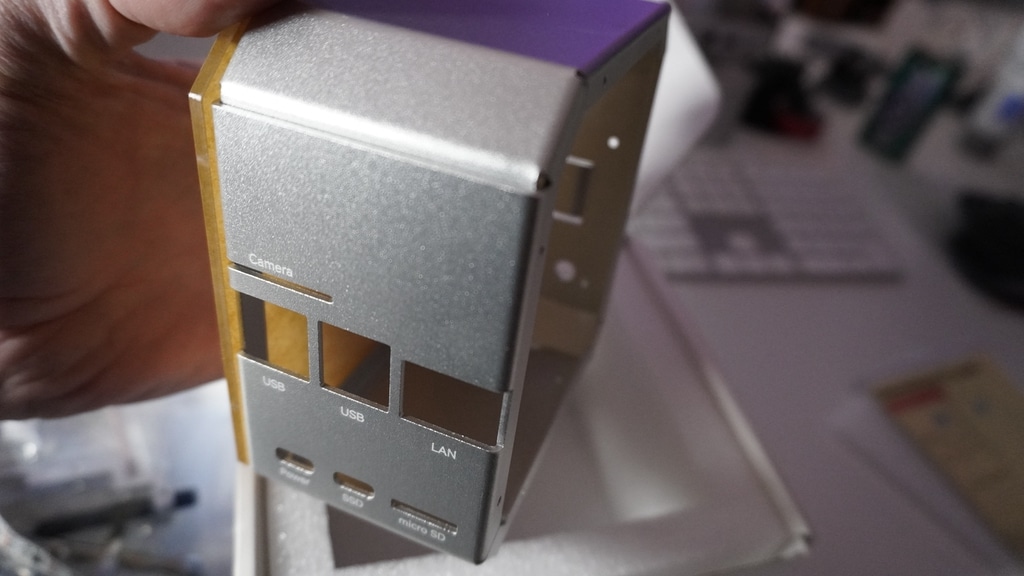
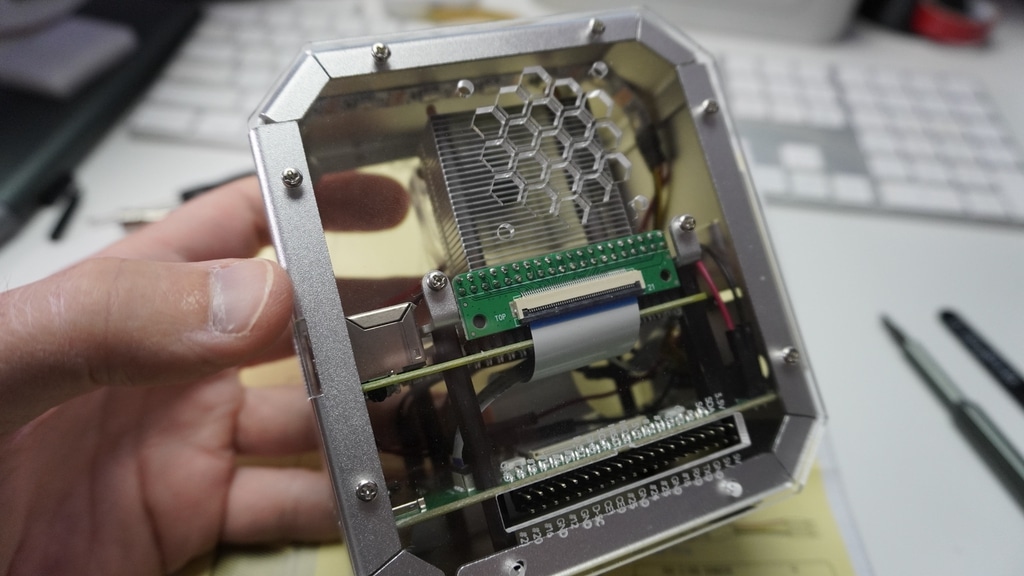
In the photograph above, you can see my assembled and working Pironman encolure. It contains a Raspberry Pi 4 with 1 GB RAM and a 128 GB SSD. In the OLED screen, you can see that the CPU is idle, the CPU temperature is around 49 °C, and RAM and storage utilisation is very low (the bars show a quick relevant status).
This Raspberry Pi now runs my Node-Red server. Soon, I will explore using the Raspberry Pi as a regular Linux PC, doing “normal” computer work, like email and research.
Next, I’d like to write about my experience setting up the Pironman.
Assembly
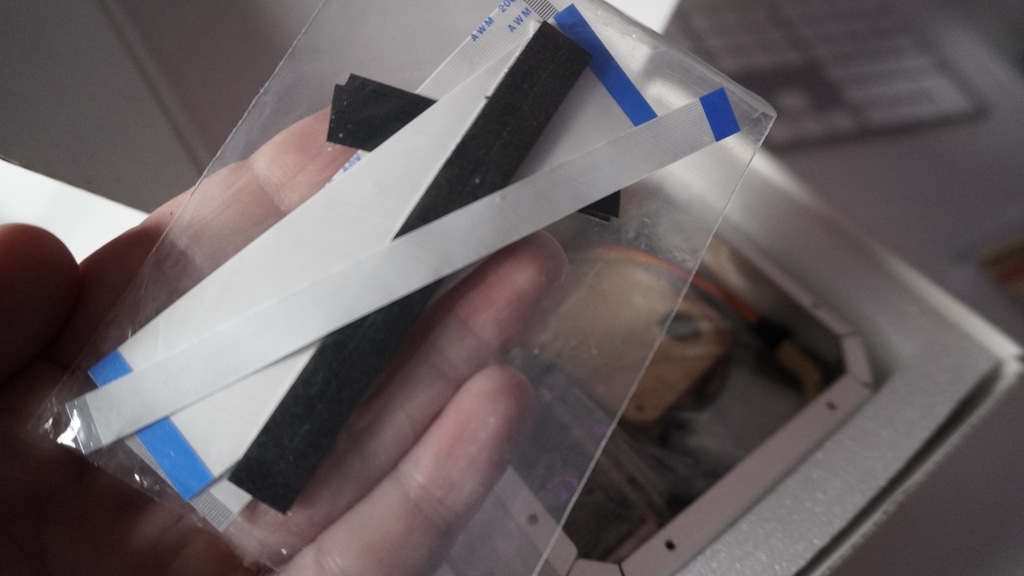
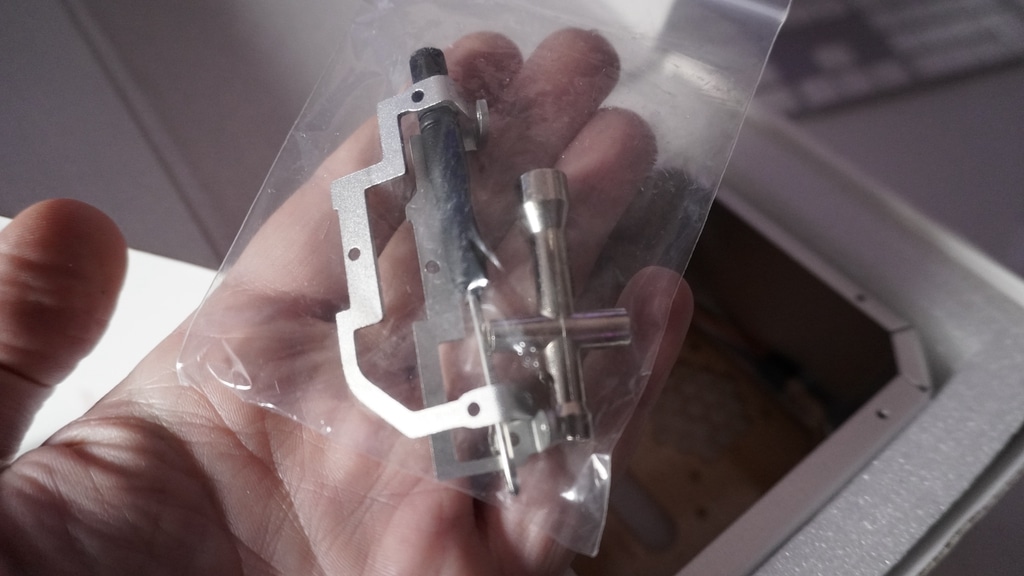
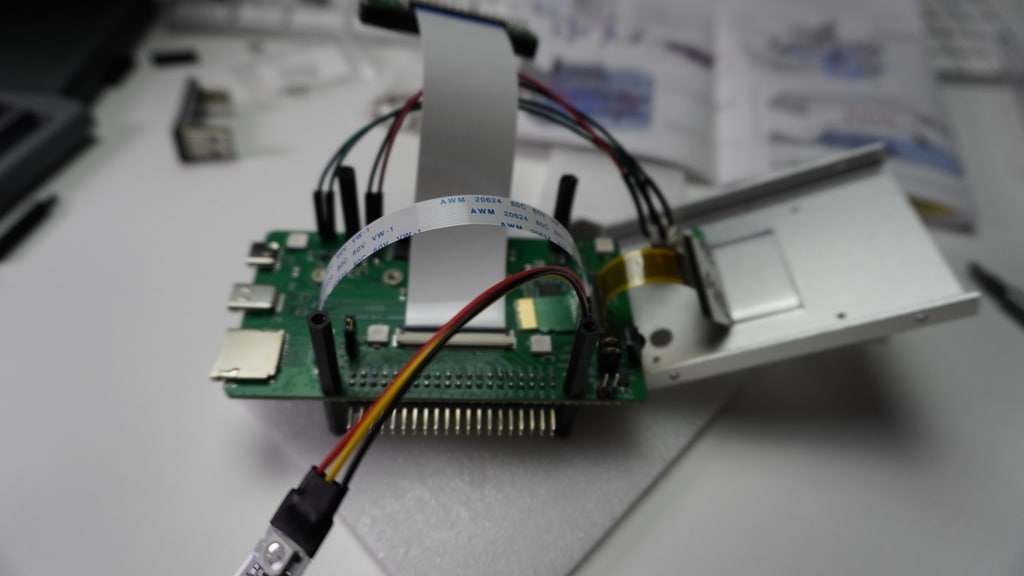
The box contains a partially assembled enclosure, although you must disassemble it before re-assemble it. Yes, I know, this sounds weird, but it makes sense from a packaging point of view.
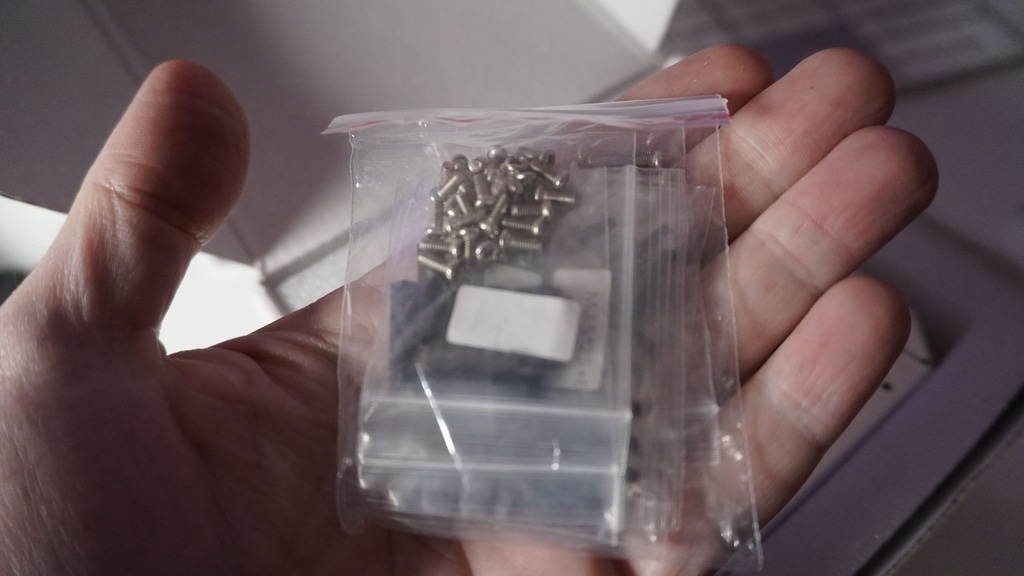
The box contains spare spacers, screws and nuts, and even a spare ribbon cable. So, if you lose or damage one of those items, you can use the spare. A nice surprise is that the box also contains tools: a small Phillips screwdriver and a cross wrench for the spacers.
The assembly instructions come in colour and are printed. You can also find them in PDF format (see the documentation).
I found the instructions very clear to follow and did not encounter any significant issues. I did have to backtrack a couple of times, but this was because I was in a hurry (as usual) and was not careful.
Here are a few pointers to remember when you do your assembly:
- You will need two male-female jumper wires to extend the fan wires. The ones that come with the fan are not long enough.
- Be careful when you place the side acrylic panes. There is an “out” and “in” side. If the screw holes don’t align perfectly, you have probably made a mistake with the orientation of these panels. Disassemble, fix the orientation and re-assemble.
- The acrylic panels are sensitive to bending forces and pressure from the screw heads. Do not tighten the screws too much or risk damaging those panels.
- If you install an SSD, I recommend attaching a cooler to the SSD IC. SSD chips, like CPUs, can get hot, and a cooler will help a lot in increasing the SSD lifespan.
- Block approximately one hour to complete the assembly.
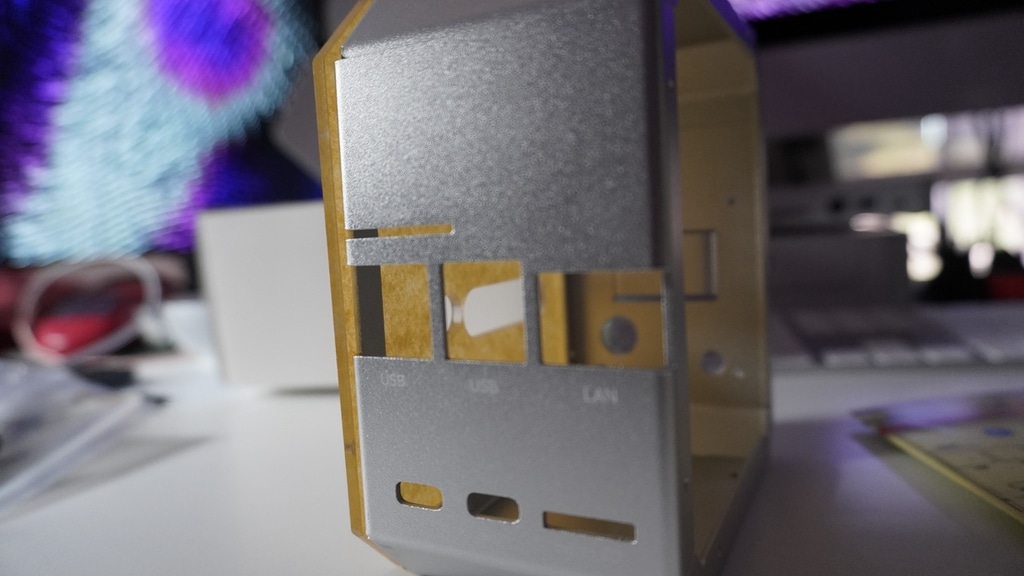
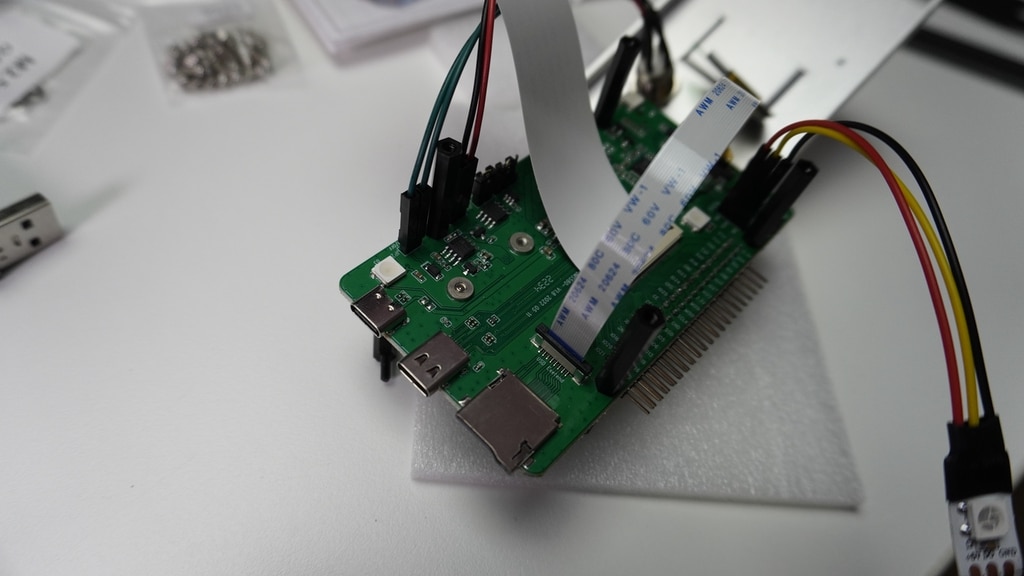
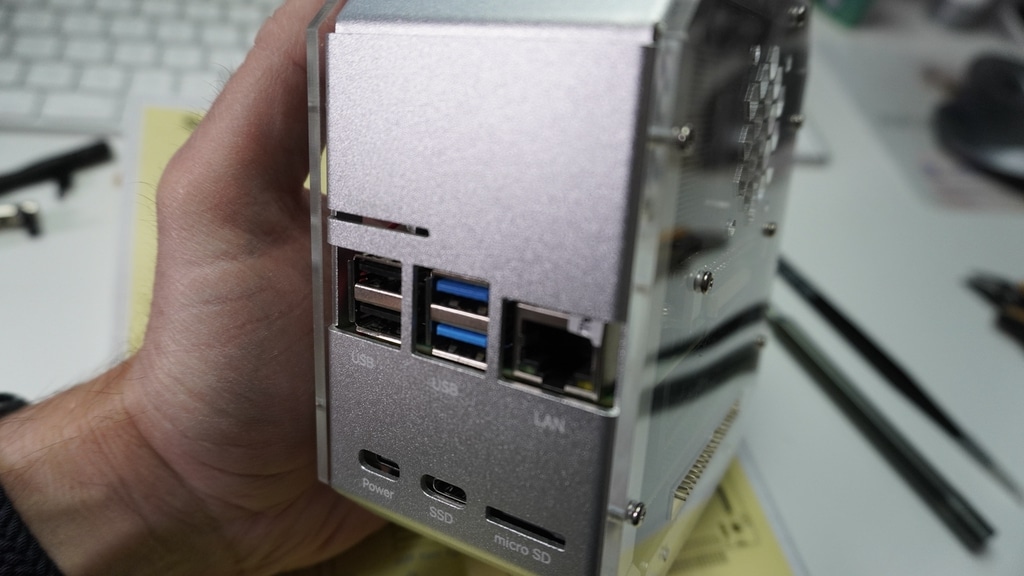
- When the Pironman is assembled, you cannot use the Raspberry Pi built-in SD card reader because there is no cutout on the enclosure. Instead, you will use the SD card reader on the daughter board. A ribbon cable breaks out the Raspberry Pi SD card reader to the daughter board. During the assembly, remove the SD card from the Raspberry Pi so that you can insert it in the daughterboard SD card ready later.
- Do not rush!
Setup software
Now that you have assembled the Pironman, you can use it. You will need to install a small Python utility to activate the multifunction button, OLED screen and fan.
Insert the Raspberry Pi SD card in the daughterboard’s SD card reader, and press the power button to turn on the Raspberry Pi. Connect to your Raspberry Pi via SSH.
You can find step-by-step instructions on how to install the utility in the documentation. I followed these instructions and had my Pironman up and running within two minutes.
I have copied the instructions here for convenience:
- Use the nano editor to edit the
config.txtfile in the /boot directory to assign a GPIO pin to the button and infrared sensor:
$ sudo nano /boot/config.txt2. Add this code at the end of config.txt:
dtoverlay=gpio-poweroff,gpio_pin=26,active_low=0
dtoverlay=gpio-ir,gpio_pin=13
Exit the nano editor with Ctrl+X -> Y -> Enter.
3. Install the pironman Python module. You can fetch the code from GitHub. If your Raspberry Pi does not have git installed, do so now like this:
sudo apt update
sudo apt install git python3-pip python3-setuptools python3-smbus
Next, install the pironman module:
cd ~
git clone https://github.com/sunfounder/pironman.git
cd ~/pironman
sudo python3 install.py
As soon as the installation finishes, the OLED screen will become active, and RGB LED strip will light up, and the button will be ready to use.
4. You can change the pironman module settings and also check its current settings.
Use “pironman -c” to see the current (default settings). You can type “pironman” to see a listing of allowed switches, such as “-f” for the fan activation temperature and “-s” for the OLED screen on timeout.
I find it more convenient to edit the pironman configuration file and make changes in bulk. Simply use nano to edit the configuration:
sudo nano ~/.config/pironman/config.txtInstall the SSD
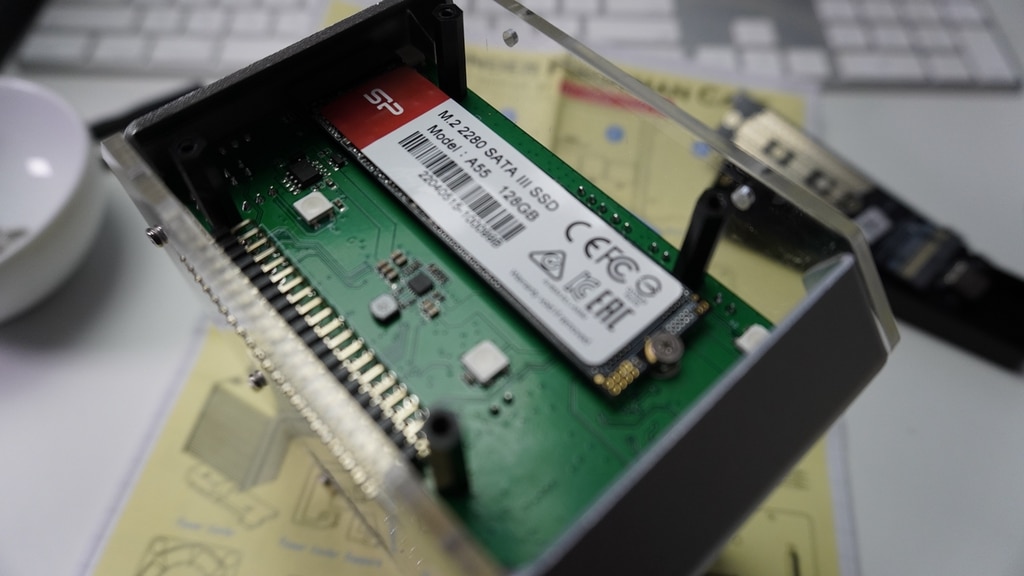
The best feature of the Pironman enclosure is the SSD SATA slot hosted on the daughter board. You can populate this slot with an M.2 board. I used a full-size 2280 M.2 board with a single 128 GB flash memory module (priced around AUD 30!!!).
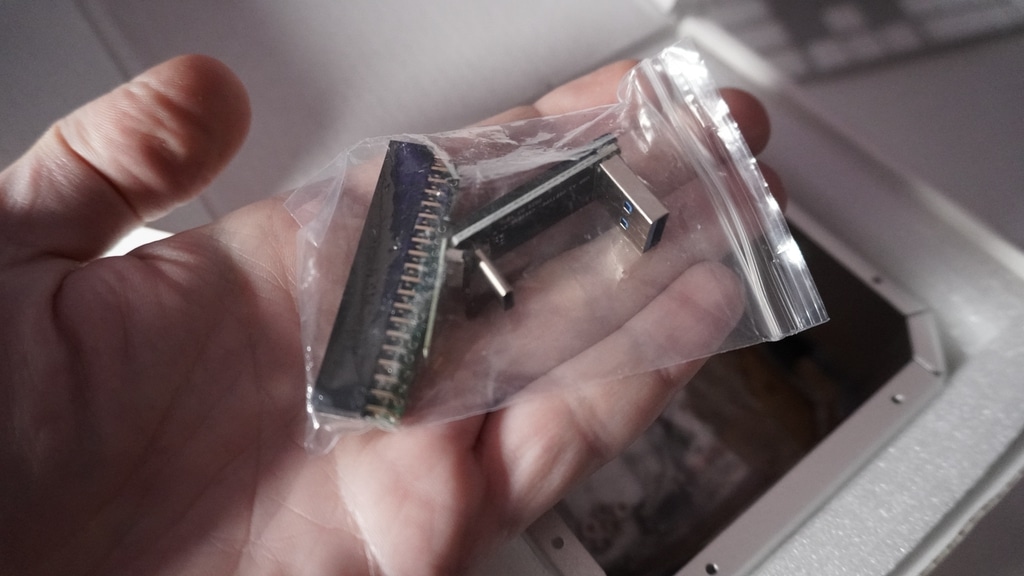
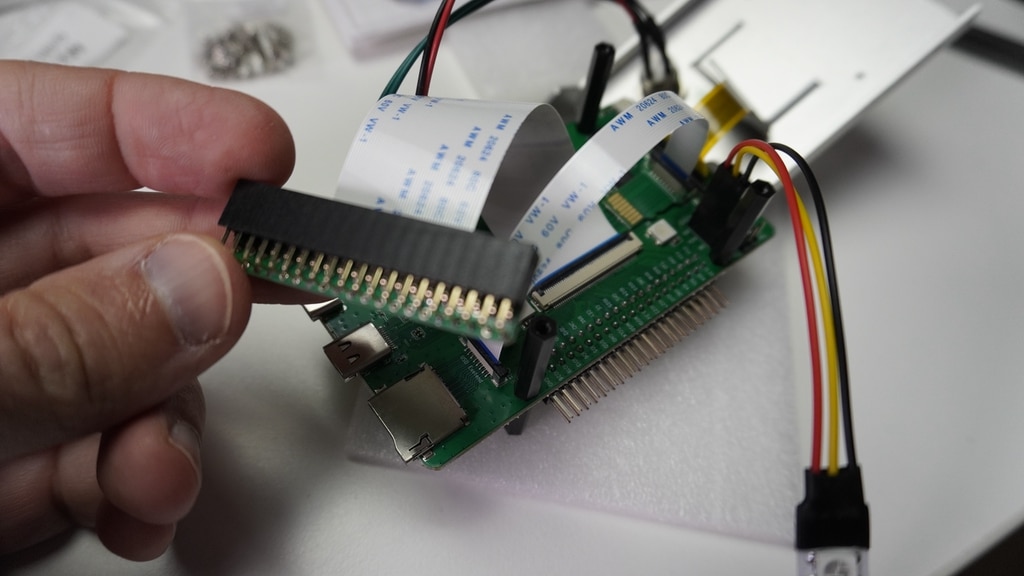
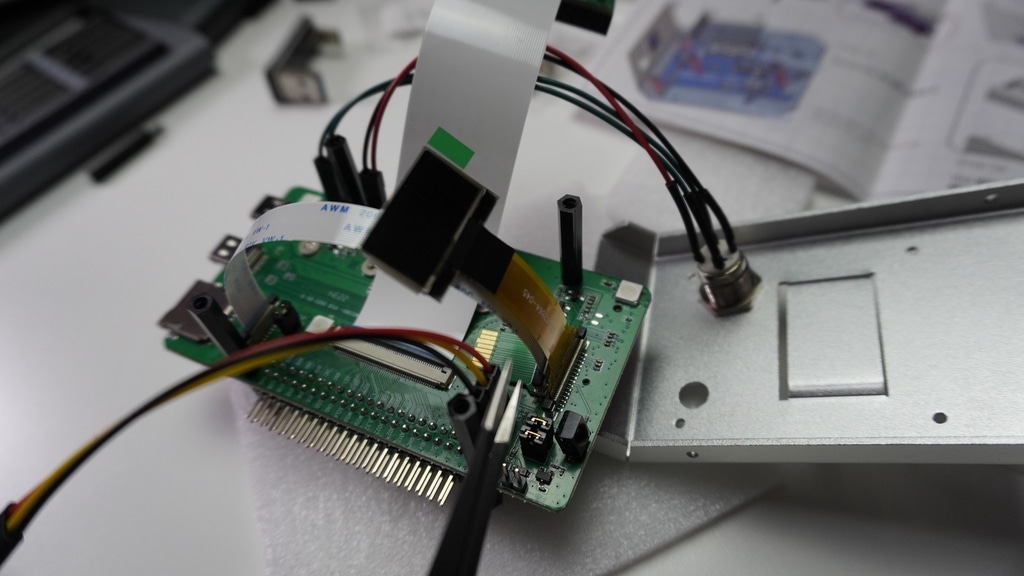
The enclosure contains a USB 3 to USB C bridge that connects the Raspberry Pi to the daughterboard. This bridge also allows you to use the SD card reader on the daughterboard, as the ready on the Raspberry Pi is not accessible because there is no cutout for it on the enclosure.
In the photograph above, you can see the bridge (the black rectangular device) that connects one of the Raspberry Pi USB 3 ports to the daughter board’s USB C port. Also, notice the SD card ready slot in the bottom right corner of the enclosure. You can use this slot instead of the one on the Raspberry Pi.
Once you add the SSD to the enclosure, to actually use the SSD, there are two steps:
- Set up your Raspberry Pi, as usual, with the operating system on the SD card. The easiest way to do this is with the Raspberry Pi Imager software.
- Migrate the operating system from the SD card to the SSD.
With your Raspberry Pi operating system on the SD card, power up the Raspberry Pi if not already on, and connect to the terminal via SSH.
I followed the migration instructions from the Pironman documentation, which I also copied below. There is one additional step to the documentation.
- Update the Raspberry Pi bootloader. Newer bootloaders have better support for external USB bootable drives:
sudo apt update
sudo apt full-upgrade
sudo rpi-update
sudo rpi-eeprom-update -d -a
sudo reboot
2. Find the SSD storage device:
sudo fdisk -lMy drive is “/sda“.
3. Clone the operating system from the SD card to the SSD:
sudo dd if=/dev/mmcblk0 of=/dev/sda bs=4M4. Pull out the SD Card and reboot the Raspberry Pi:
sudo reboot5. Expand the file system. Because you migrated a relatively small SD Card to a much larger SSD, the operative system currently is not using the entire available space. Use raspi-config to expand the file system:
$ sudo raspi-configIn Raspi-config, select “6 Advanced Options –> A1 Expand Filesystem” and reboot to make the change effective.
Once you are back in the Raspberry Pi shell, use this command to verify that the file system has expanded to take all available space on the SSD:
$ sudo fdisk -l

Device        Boot        Start              End                Sectors           Size     Id      Type
/dev/sda1                   8192             532479           524288           256M   c       W95 FAT32 (LBA)
/dev/sda2                   532480         250069579     249537200     119G   83     Linux
Conclusion
The Pironman enclosure is an excellent addition to the Raspberry Pi. The most important feature of this enclosure is the SSD, which makes the Raspberry Pi a respectable general-purpose personal computer.
The enclosure also looks good and contains convenience features that I appreciate: the operation status display and the power button. I have not yet found a good use for the infrared sensor, but it is something I will explore in the future.
The giant cooling tower with the fan means that I experiment with overclocking. I am not a big fan of this, but I feel a bit more confident to give it a go knowing that with this tower, it is less likely I will burn out my Raspberry Pi.
The only slightly annoying “characteristic” is the loudness of the fan. When it is on, the Raspberry Pi is louder than my work computer, even when I’m encoding and exporting video. Maybe I can find a more low-noise alternative.
Do you use a Raspberry Pi as a “normal” computer? Do you use an enclosure, like the Pironman or something else? Feel free to add your comments below!