I am working on an update and extension of my course “Raspberry Pi Full Stack”. In this post, I’d like to provide some details about this work.
In case you are not familiar with this course, here’s a summary of what it is about:
Raspberry Pi Full Stack is a comprehensive video course which takes you through the process of building a web application based on the the Raspberry Pi (of course). By “Full Stack”, I mean that this project contains elements from all levels of web application development + the hardware.
By taking this course, you will learn about the Raspberry Pi, it’s operating system, how to set it up and use it in “headless” mode (i.e. without a connected monitor, mouse and keyboard).
You will learn how to connect sensors, buttons and LEDs, and of course how to control all that using Python through the Raspberry Pi GPIOs.
The course then will introduce you to the technologies that make up the web application stack: the Python Virtual Environment, the Flask Python framework for building web applications, the Nginx web server, the uWSGI for controlling the application, databases for persisting sensor data, Skeleton for “beautifying” your application user interface, Javascript and various libraries for implementing front-end features, as well as Google Charts and Plotly for visualizing your sensor data.
All in all, this is a turbo-boosted project that will introduce you to multiple modern technologies that all play a role in any modern web application.
What I am working on at the moment is an update, as well as an extension to this project.
First, the update…
I have updated the project to work with the latest and greatest:
- Raspberry Pi 4
- Raspbian Buster
- Python 3.8.1
- The new Plotly API (we are continuing to work with Plotly’s version 3 of the library so that we can still call the online API).
- The newer versions of the Python Arrow library used for time/data calculations.
The application is compatible with all Raspberry Pi’s and all Raspbian OSs. I just tested and verified that it works with the latest versions available in February 2020.
But, the more interesting news are in the extensions to the project.
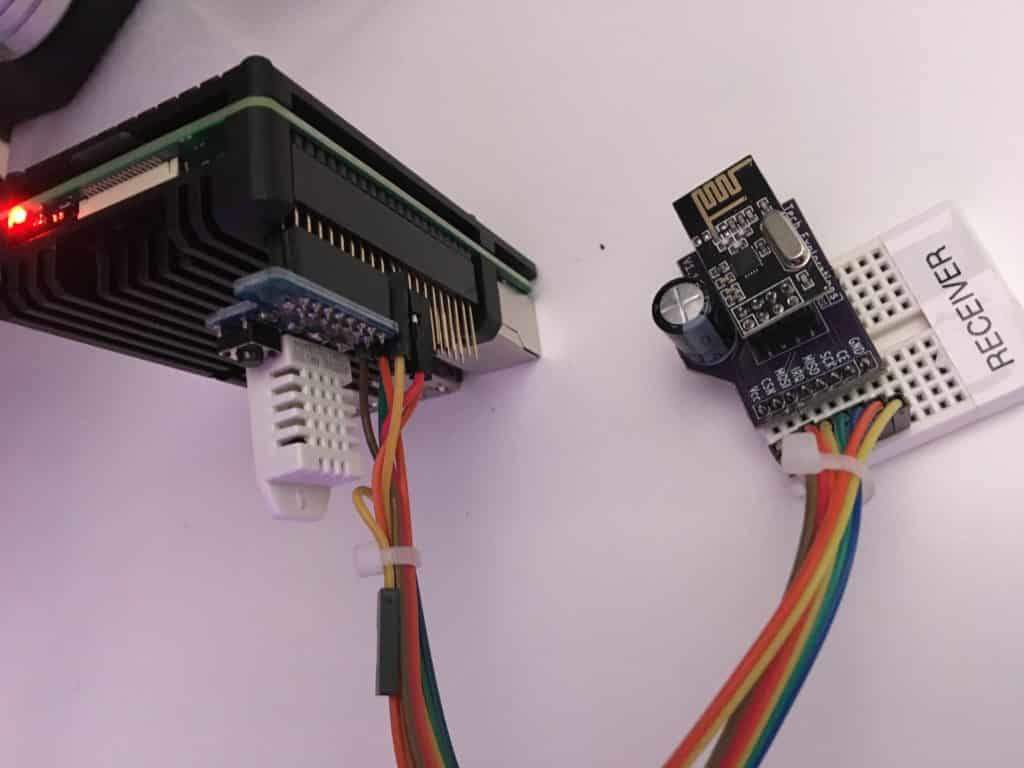
I wanted to make the project a more interesting IoT application. I did this buy introducing an Arduino node which communicates with the Raspberry Pi wirelessly, via nRF22 modules. On the Raspberry Pi, I am using the C library that I have used in the past (see Arduino Step by Step Getting Serious), but added a Python wrapper that makes it very easy to integrate with my Python scripts. I am also using the RF22 modules in network mode, which means that you can introduce many more Arduino nodes, all communicating with the Raspberry Pi.
This change required a couple of new scripts and modifications to the existing application. For example, there is a script that runs as a background service that listens for Arduino node transmissions, and stores their sensor data to the local database. There is also a change in the main web application script so that the use can request the data from a specific Arduino node, using a node ID.
I have also made a change that creates a copy of all sensor data on a Google Sheet, in real time. This way, you have all your data on the cloud, and you can do any kind of processing you can think of.
Another little thing I did is to add SSL support. If you are interested in accessing your application through the Web, then SSL will add a significant layer of security.
I also added If This That That (IFTT) as a new feature. If temperature or humidity reported by one (or any combination) of the nodes, then I get an email alert. Of course, once you setup a single IFTT feature, you can do anything.
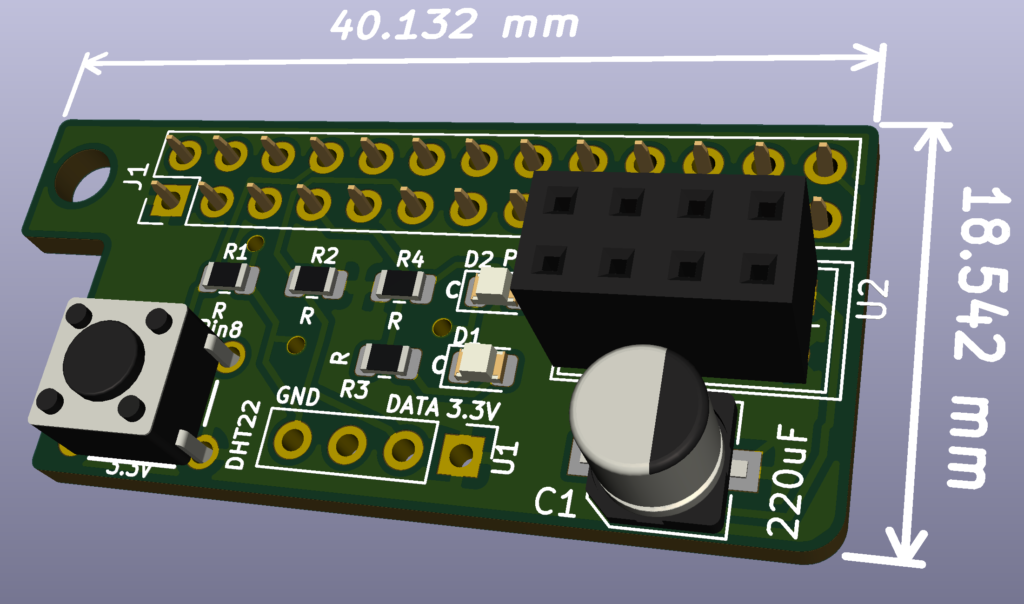
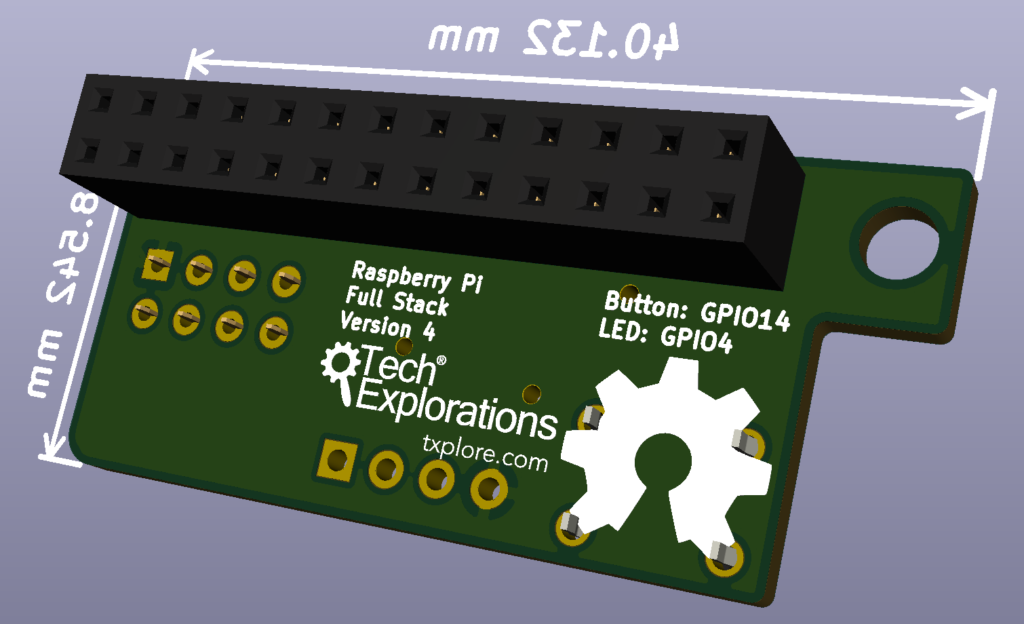
Last, I have upgraded the original Raspberry Pi Full Stack PCB to include provision for the nRF22 module. I am doing my testing with the nRF22 module on a breadboard, and I have completed the design of the new PCB and placed an order with Pcbway. I’ll update once I have the PCB and completed the testing.
Below, you can see my Raspberry Pi 4, encased in a massive heatsink. On its header, you can see the old HAT with the DHT22 and a button+LED. On the side, connected with jumpers, is the nRF22 module on a breadboard. This will all be more tidy with the new version of the HAT.