Circuits guide series
What is a bypass/decoupling capacitor?
In electronic circuits, capacitors can be used as a source of energy and as a filter to help smooth out voltage spikes.

In the first instance, a capacitor can be used as a store of energy that can substitute a battery or other power supply when the circuit needs more current than what the main source can provide.
I have taken the schematic diagram below from Microchip's (see Figure 2-2 on page 6) that discusses microcontroller hardware design considerations. In microcontroller applications, it is important to ensure that the input voltage is kept as close as possible to the device’s operating voltage.Supercapacitors
There is a particular type of capacitor, "supercapacitor" used in place of batteries in devices that work in environments that are too harsh for LiPo or other kinds of batteries.
A typical application of supercapacitors is in high-end dash-cams. These devices operate often directly exposed to the sun, and in extreme hot-cold climates. You will also find them in photographic flashes, photovoltaic systems, and laptop computers. You can find large supercapacitors in the power grid. In all cases, these capacitors are used to provide a stable power supply to the circuit.
You don’t have to use a super-capacitor to achieve outcomes I described above. Depending on the circuit, a small electrolytic capacitor can stabilize the voltage fed into a microcontroller, like the Arduino.
Decoupling capacitors
I have borrowed the schematic below from the AN2519 AVR microcontroller hardware design consideration documents (page 6), from Microchip. I have marked the location of a decoupling capacitor with the orange circle, placed across the Vcc and GND pins.
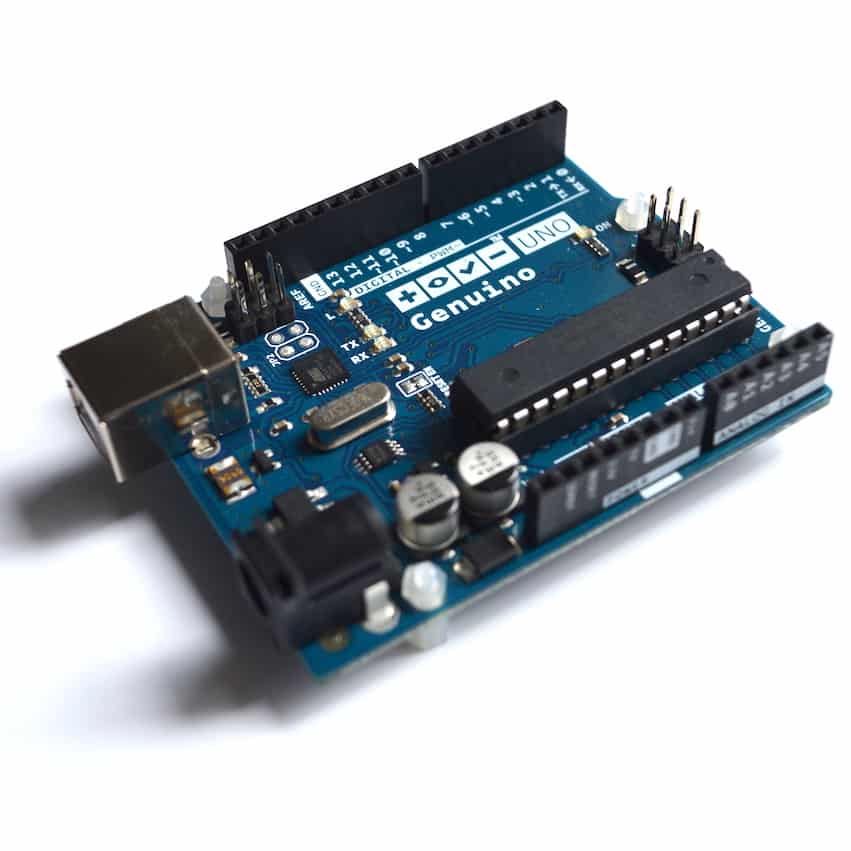
Let's examine a practical example. In the Arduino Uno, the ATMega328P microcontroller has an operating voltage (Vcc) of 5V. If the Vcc voltage drops to 4.5V or below, even for a few milliseconds, there is a significant risk of a “brown-out”. The result of this is that the MCU will be in an unstable state, and will not operate properly.
The decoupling capacitor will help to prevent a brown out by keeping the voltage stable. It does that by allowing the consumer circuit to draw energy from the capacitor, instead of the main power source.
As you can see in the example circuit above, the appropriate position for a decoupling capacitor in a microcontroller application is as close as possible to the Vcc and GND pins. A typical value for such a capacitor is 10μF to 50μF (usually tantalum or electrolytic). The exact value is not critical as having a capacitor around this range is much better than not having one.
Capacitors not only store energy, but they also filter out noise.
Which brings me to decoupling capacitors for filtering out noise.
Decoupling capacitors for noise filtering
In many DC applications, you can add a capacitor across the Vcc and GND lines to smooth out noise from the power supply or from other active components such as integrated circuits, motors or AC/DC power supplies.
When your circuit contains noisy components, it is important to add decoupling capacitors. These capacitors act not only as an energy store, but also as a filter for the harmful electrical noise.
You typically find very small-capacity capacitors here, around 0.1μF. While they do store energy (as all capacitors do) their primary purpose in the circuit is to filter out this unwanted electrical noise.
In digital circuits in particular, fast-switching components, such as an Atmega328P, can switch pins on and off (or their internal configuration) rapidly. Each pin on/off flip means that the current drawn from the power supply changes rapidly. These tiny changes in the current draw can cause small fluctuations in the voltages that runs through the circuit. This is noise. This noise is not predictable, and becomes worse as the number of active components in the circuit increases.
Too much of this noise in the circuit will cause it to stop working reliably.
The solution?
We can use a capacitor with appropriate characteristics for the purpose of filtering out (or dampening) the unwanted electrical noise.
The main characteristic of a capacitor that relates to its operation as a filter is its capacity. Connect such capacitor close to the microcontroller's GND and Vcc pins, to help smooth out those fluctuations.
For example, a 0.1μF is good for dampening noise at frequencies around 100MHz.
Each circuit generates different kinds of noise, both in terms of frequencies and amplitude. While a generic value of bypass capacitors like 0.1μF is a good place to start, it is often necessary to spend time with an oscilloscope to determine the best capacitor for the specific circuit.
When to use a decoupling capacitor?
In practice, when would you use a decoupling capacitor?
If your circuit contains a microcontroller or something similarly fast switching, then always include a small ceramic decoupling capacitor of around 0.1μF connected very close to that fast switching component's Vcc and GND pins. The capacitor will take care of the noise.
If your circuit contains a component that occasionally draws a big burst of current, like a motor or a transmitter, then add a larger bypass capacitor (say, between 10μF to 50μF).
This Atmel guide recommends that you include decoupling capacitors to all Vcc-GND pairs and also provides the appropriate values and locations (on the PCB) for these capacitors.
The Tech Explorations Subscription program
Subscribe and access all of our video courses immediately.
With a catalog of 25+ premium video courses (and growing), this subscription gives you an amazing resource to boost your learning.
Jump to another article
1. Pull-up & pull-down resistors
2. What is a bypass/decoupling capacitor?
3. What is the purpose of the diodes in a keypad circuit?
4. Logic level shifting
5. Why should you use a diode in a relay driver circuit?
6. Why use a voltage divider with a photoresistor?
7. Optoisolator: a simple way to electrically separate parts of a circuit
8. Use MOSFETs to drive large(ish) loads
New to the Arduino?
Arduino Step by Step Getting Started is our most popular course for beginners.
This course is packed with high-quality video, mini-projects, and everything you need to learn Arduino from the ground up. We'll help you get started and at every step with top-notch instruction and our super-helpful course discussion space.

Done with the basics? Looking for more advanced topics?
Arduino Step by Step Getting Serious is our comprehensive Arduino course for people ready to go to the next level.
Learn about Wi-Fi, BLE and radio, motors (servo, DC and stepper motors with various controllers), LCD, OLED and TFT screens with buttons and touch interfaces, control large loads like relays and lights, and much much MUCH more.
Last Updated 1 year ago.
We publish fresh content each week. Read how-to's on Arduino, ESP32, KiCad, Node-RED, drones and more. Listen to interviews. Learn about new tech with our comprehensive reviews. Get discount offers for our courses and books. Interact with our community. One email per week, no spam; unsubscribe at any time

