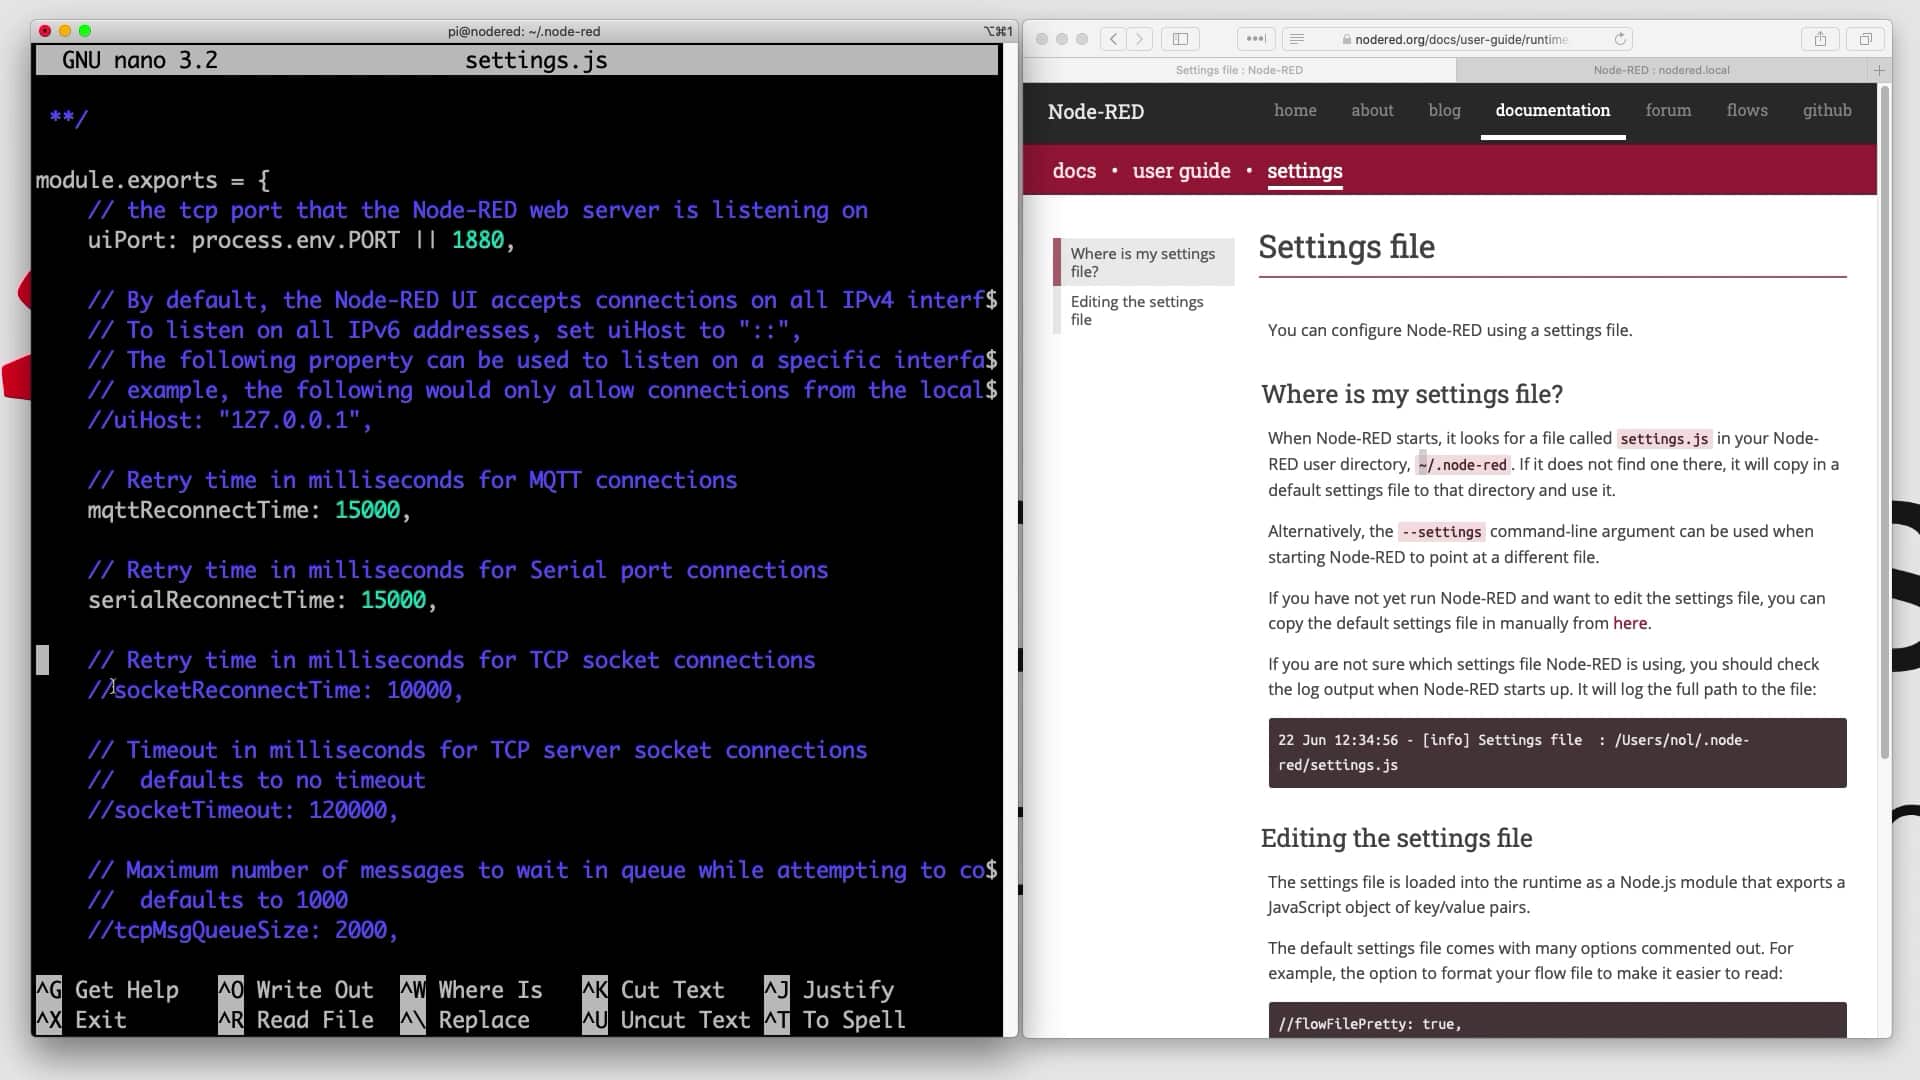
At this point, you've got a fully functioning Node-RED installation on your Raspberry Pi. You can actually go ahead and start creating your flows.
But you should be aware that the Node-RED service is configurable via a settings text file. In this file, you can set various configuration options and customize your Node-RED installation to better suit your needs.
You can find details about the Node-RED configuration file in the Node-RED documentation.
On the Raspberry Pi, the location of the configuration file is:
/home/pi/.node-red
In the hidden ".node-red" directory, Node-RED stores your flows, nodes, and, of course, its configuration file.
The configuration file is named "settings.js".
Go in the node-red directory and open it using the nano editor:
pi@rpi4:~ $ cd .node-red/
pi@rpi4:~/.node-red $ nano settings.js
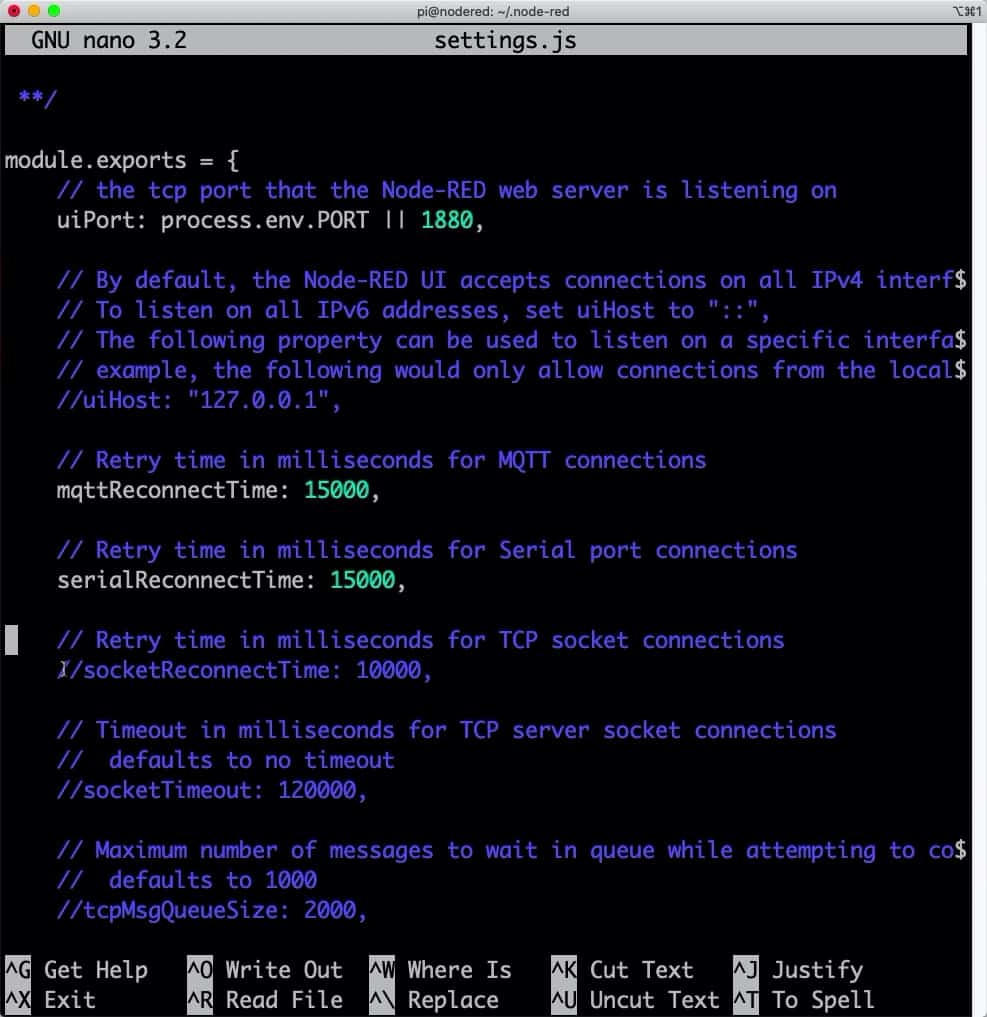
Below you can see a section of this file:
Most of the configuration options are commented out. You can enable them by removing the two forward slashes at the start of the corresponding line.
Here's a couple of interesting configuration options:
- "flowFile": this is the file that contains your flows. You can customise its location and name with this setting.
- "uiPort": this setting controls the port number under which the web user interface is accessible. The default is "1880", but you can change it to something else.
- "userDir": this setting controls the location of the Node-RED directory, which is where this configuration file, and the user flows and nodes are stored.
- "nodesDir": you can set an additional location that contain nodes (apart from the default userDir). If you enable this setting, Node-RED will scan in nodeDir for additional nodes.
- "adminAuth": you can protect the administrator or editor functions of your Node-RED service by setting up one or more user names and passwords. Each user may have their own set of credentials. Learn more about this in the documentation.
- And many more.
You can find a full list of configuration options in the documentation page.
For the purposes of my Node-RED & ESP32 project, I have left my configuration with its default settings.
Let's continue this series with the next article in which I will discuss Node-RED nodes.


