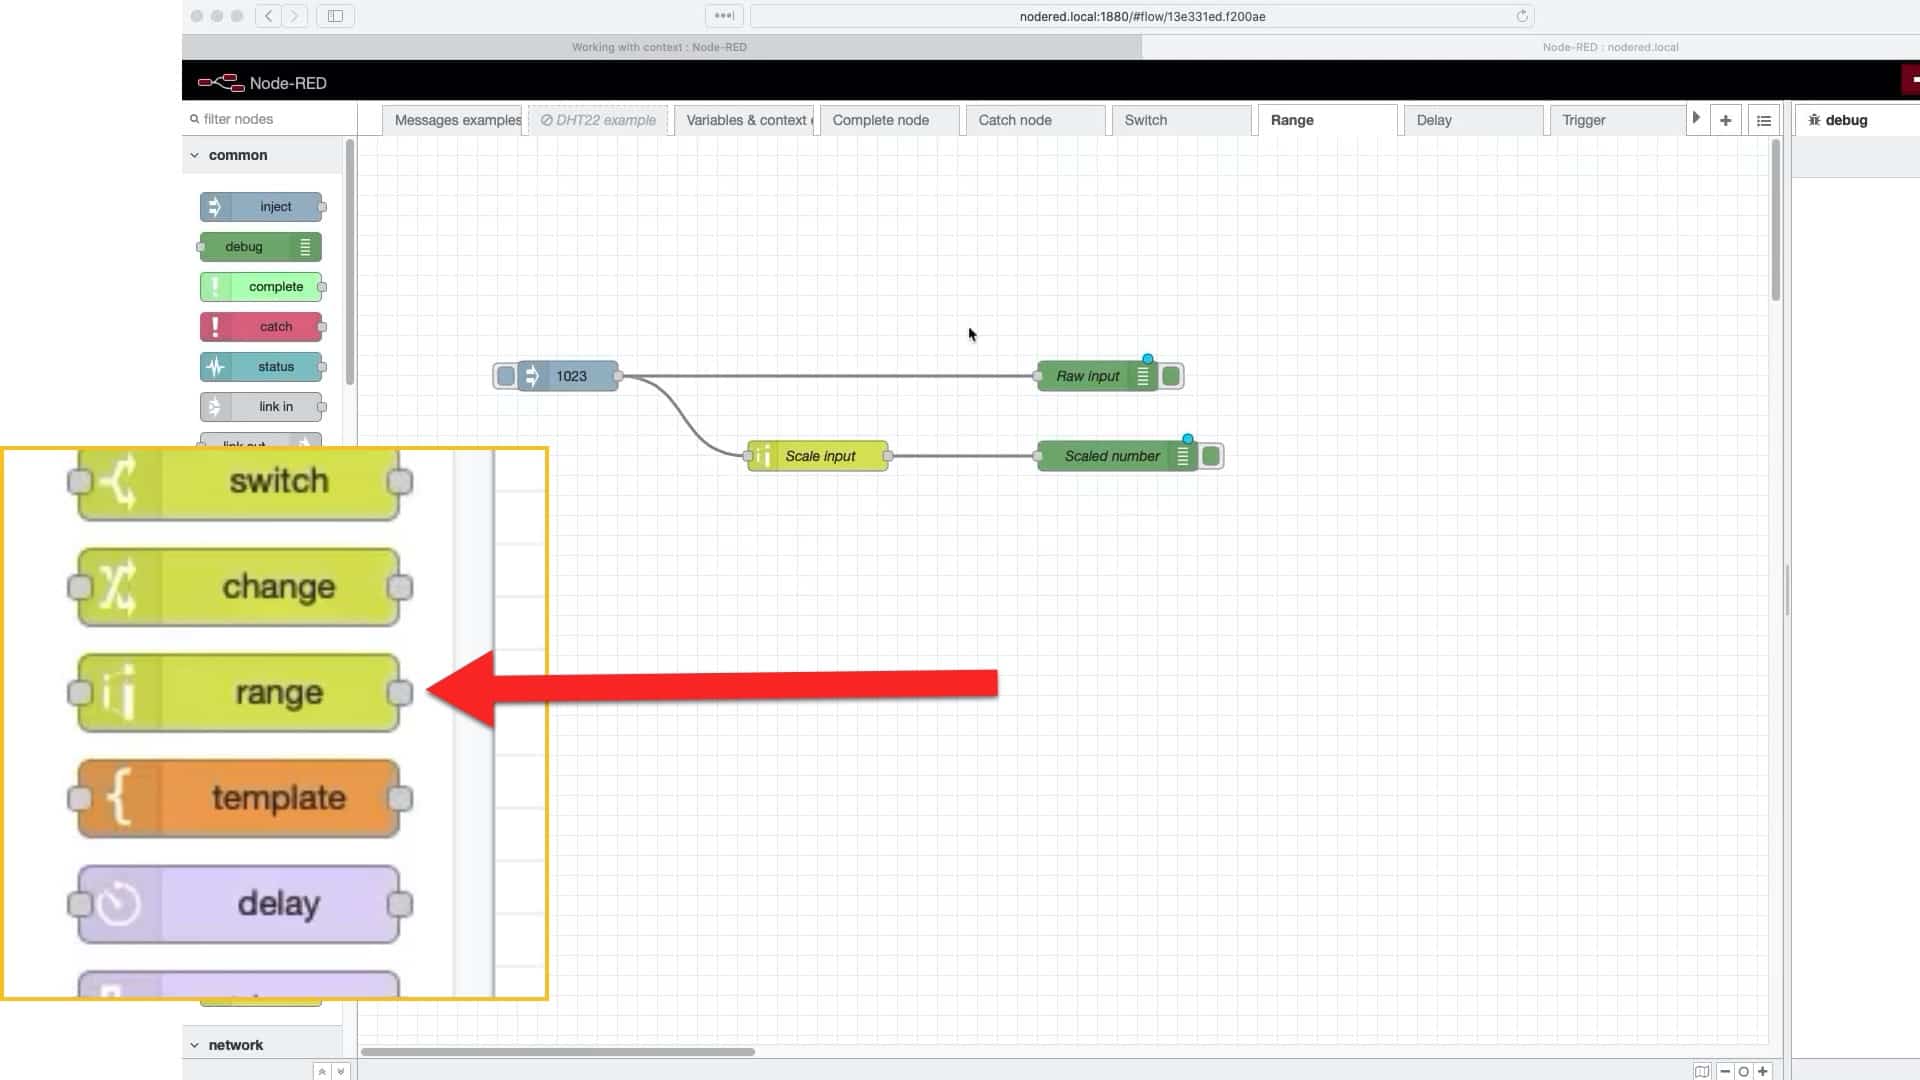
The range node works like the map function in the Arduino programming language. It takes a number, which belongs to a particular range, and it will re-map it into a new number in a new range.
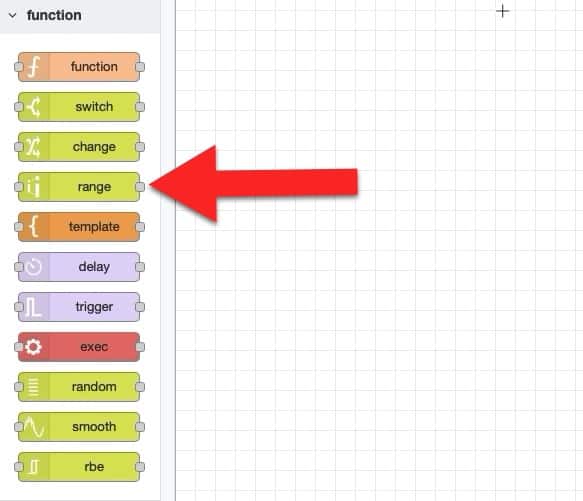
You will find the "range" node in the "function" group of the left toolbar.
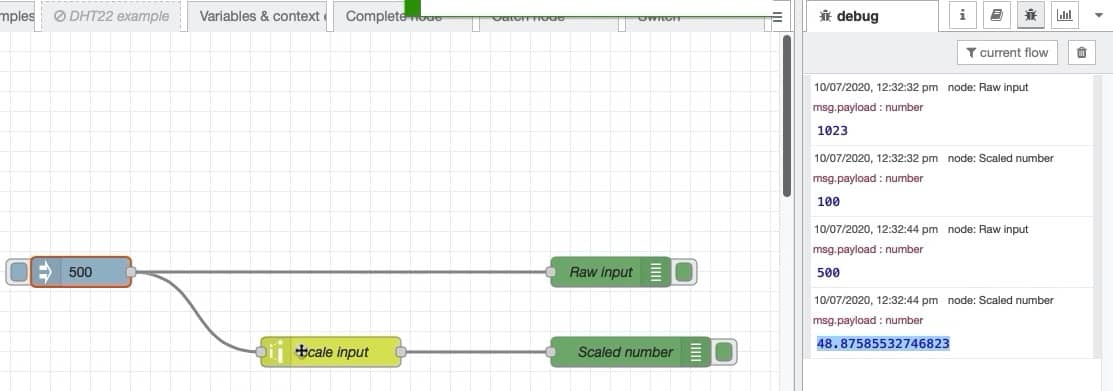
To explain how to use the "range" node, I have create this simple flow:
I am using an "inject" node to send a number to the "range" node titled "scale input".
The "range" node takes the number from its input and re-maps it.
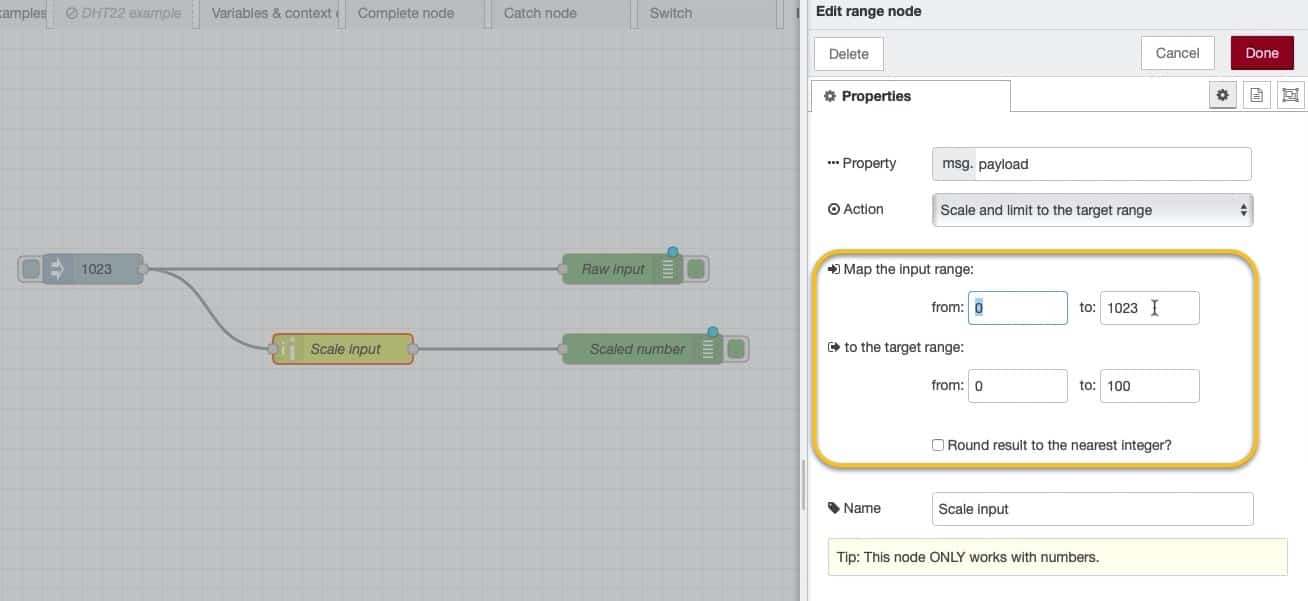
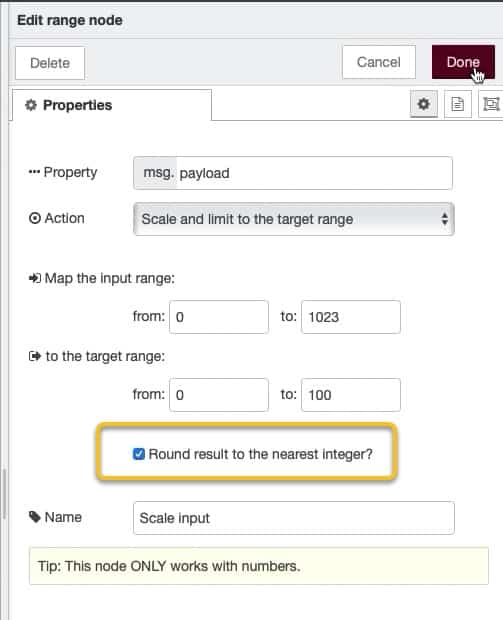
Below you can see how I have configured the "range" node.
The input range is 0 to 1023, and the output range is 0 to 100:
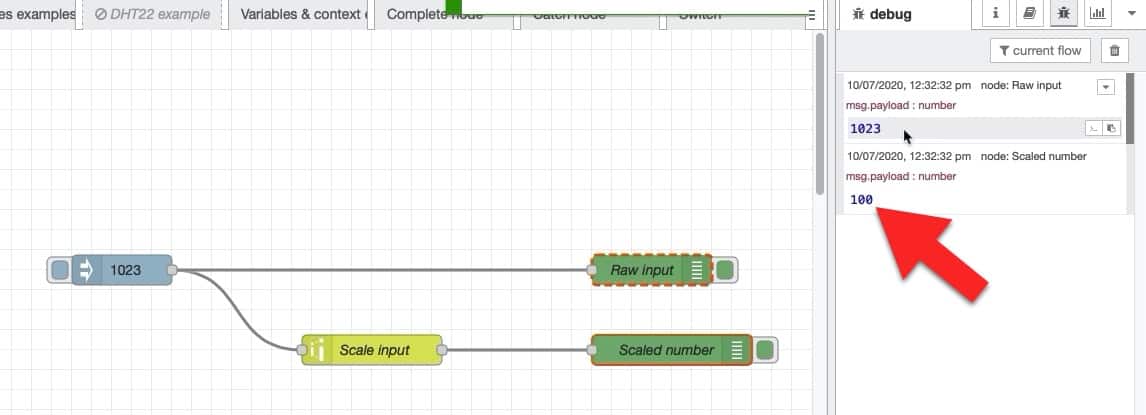
Let's try out a couple of input values. There's already "1023" set in the "inject" node. Deploy the flow, and click on the "inject" node button.
Look at the output in the debug pane. It should look like this:
The input "1023" belongs to the range 0 to 1023. Remapping this to the range of 0 to 100 yields "100".
Let's try another input number: "500".
Edit the "inject" node, redeploy and click on the button to start the flow.
The result is below:
The remapped value of 500 out of 1023 is 48.875855... out of 100. If you don't need all these decimals, you can round the result to the nearest integer by selecting the appropriate checkbox in the "range" node's properties:
Re-deploy and click on the inject button. The result is easier to read:
The "range" node is very useful, especially when you work with numbers exist within a specific range. For example, I'll be using this node in the terrarium project to scale the analog input that comes from the ESP32 for the humidity of the soil into a number from zero to 100 to represent humidity as a percentage.
