
The first time I used an oscilloscope, it was in the first year of my Electrical Engineering degree.
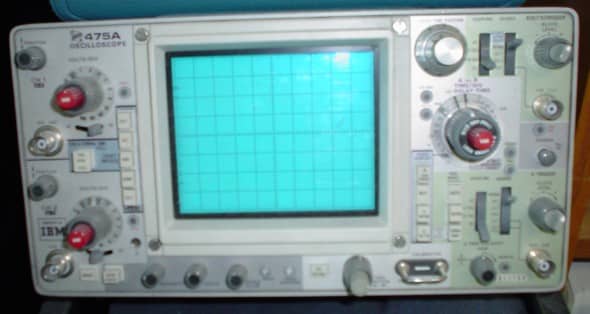
It looked like this:
When it’s the first time that you sit in front of one of these instruments, most of us feel daunted. Ok, the On/Off button works as you’d expect, but beyond that…
A modern oscilloscope is even more daunting. Not only it sports many more buttons and switches, but it contains a lot more functionality than its ancestors from twenty years ago.
To understand how to use an oscilloscope (and why), you must spend time to understand the fundamental properties of electricity and circuits. It turns out that if your understanding of those things is poor, learning how to use the oscilloscope is almost impossible (and pointless).
But let’s go back to the beginning when I was starting my career as an Engineering student.
Soon after I enrolled in Engineering school, I decided to purchase a multimeter.
This was over 25 years ago.
The lab at the school of Engineering had multimeters, but I didn’t like them because they were big, and they were analog 🙀.
They had a needle that was continually moving.
The needle pointed to a dial that was overflowing with markings for the various types of measurements that this instrument could make: Volts, Amperes, Ohms, etc., with lots of tiny denominations.
I didn’t like those multimeters.
I had this belief that digital tools are awesome (=better in every way), and they look much better than anything analog.
Perhaps an influence from Star Trek?
Anyway, I raised some money over several months, and I managed to get my own multimeter.
By today’s standards, it was nothing special. But back then, it was terrific.
It was small, and it could fit in my pocket.
It was DIGITAL and had an LCD 🤗!
It was auto-ranging 🤗!
The amazing thing is that I could take measurements in a fraction of the time that the lab’s analog multimeters could. It saved me a lot of time in my experiments and gave me confidence.
I used to steam through the lab experiments, while other students would labor over the range dial of the “standard” analog instruments.
I never used anything else (until I replaced it from a better digital portable multimeter years later, which I still use today).
Apart from my computer, it was my favorite device and my most important test instrument.
But, there was one other instrument in my University electronics lab that I drooled over: the oscilloscope.
The lab had oscilloscopes.
All of them were analog.
They used a cathode-ray tube to create a green, fluorescent trace of the waveform in almost real-time, as the signal came in from the circuit.
These scopes were massive and heavy.
They had a tiny screen and lots of buttons and dials. They looked retro and futuristic at the same time.
Compared to my multimeter, they were both advanced and ancient.
Everything was manual. I had to know very well what I am trying to measure so I could configure it properly.
Measuring anything was a matter of measuring distances between parts of the waveform on the screen, and doing manual calculations.
The scope was a complicated instrument, but there was no organised teaching of how to use it. I learned by trial and error, and by looking at others. There was no course on the Internet to teach me.
Although I was able to solve the multimeter problem I had by purchasing my own, this was out of the question for the oscilloscope. These instruments were simply too expensive.
Many years later, as I was setting up my lab, piece by piece, and I was making simple Arduino gadgets, the multimeter was there, making sure my resistors were correct, and the transistors were working.
But occasionally, I’d wonder how much more was happening in these circuits that I couldn’t see. I remember when I recorded my first lecture on how to make an LED fade using PWM. I was trying to explain what is the duty cycle and how variations in the duty cycle affect the brightness of the LED.
And I thought, “what if I can show what PWM looks like”?
How much better would the ability to show something like this make my understanding and my teaching?
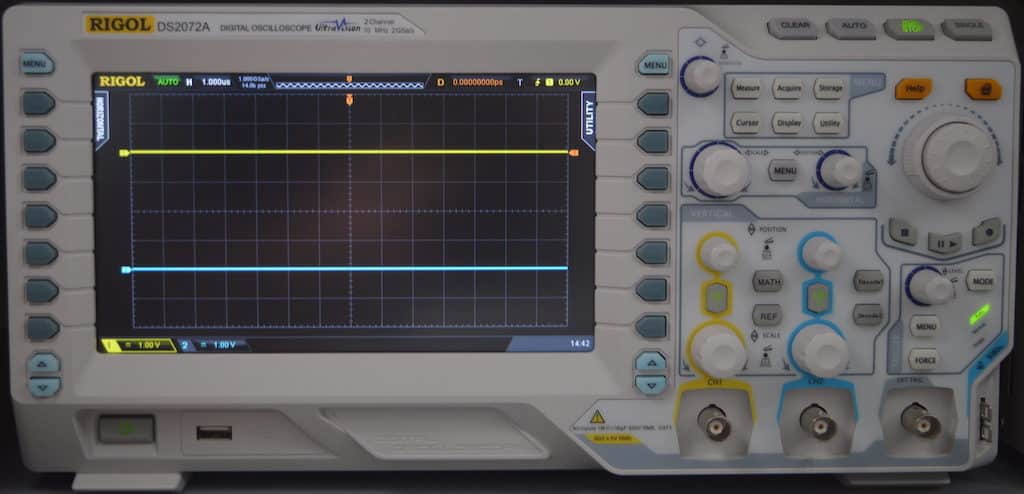
About fifteen years after I last used an oscilloscope in the lab, I purchased my own oscilloscope at a fraction of the cost of the old analog models in the lab.
And my new oscilloscope was AMAZING!
It was entirely digital, with a large color display, and with a full array of automations and capabilities.
These are things like automatic triggering, measurements, cursors, and decoding. None of that was available in the world of analog oscilloscopes that I was familiar with.
Just like with my transition from analog to digital multimeter made me far more productive, adding a digital oscilloscope to my bench boosted my ability to understand what is going on in my circuits.
In my experience, every time I added a useful tool in my tool kit, and learned how to use it…
- My ability to understand went up to the next level.
- I was able to do more work faster.
- The quality of my work increased.
- I enjoyed work more.
I think you will agree that this is true for any tool, no matter what you do. If you have the right tool, you can do anything.
Back to the oscilloscope…
Oscilloscopes today are amazing.
I often call them a “Maker’s super-tool” because of how much they do to probe and reveal what is happening inside a circuit.
Their quality and capabilities have gone up exponentially over the last 20 years, and their prices have gone down just as dramatically.
Their complexity has also increased due to the increase in their capabilities.
One thing that hasn’t changed much is the process of learning how to use an oscilloscope.
Operating manuals tend to emphasize lists of features and how to enable each one, not how to use the oscilloscope for its intended purpose.
Youtube videos and blog posts tend to show individual use cases, without building up prerequisite skills or an understanding of the fundamental concepts.
This is why I decided that it was time to create an online course that can help people learn how to use the Maker super-tool, the oscilloscope.
You may already have an oscilloscope, but not confident enough to use it
You may want to purchase your first oscilloscope, but don’t know enough about it to be able to make an informed decision.
You may be ready to complement your multimeter (great for giving you a snapshot of a signal in time) with an oscilloscope (great for giving you a plot of the signal variation over time) so that you can boost your understanding of electronics.
In that case, I hope that this course will help you achieve these objectives.
This is the course I wish I had when I was studying engineering. (If I had a digital oscilloscope from the future, even better).
If you are interested to know more about this course, please be sure to signup to my email list, if not already. We are putting in the finishing touches and preparing to launch!
[wpforms id=”4324″ title=”false” description=”false”]