MICROPYTHON WITH THE ESP32 GUIDE SERIES
Thonny IDE With BBC Micro:bit
In this lesson, I'll show you how to run a simple MicroPython program on the BBC micro:bit that scrolls text on the device's 5 by 5 bitmap display.

Of course, we'll do that using MicroPython and Thonny IDE.
In this lesson, we'll take a closer look at the boards that can use MicroPython.
Setup

The BBC Micro:bit, connected via USB.

Thonny IDE has build-in support for the Micro:bit.
The Micro:bit is equiped with a 5x5 LED matrix display on its rear side. Therefore, there is no wiring to be done. Simply connect the device to your computer via a USB cable.
Next, start Thonny and navigate to the Options dialog box. Ensure that MicroPython and BBC micro is selected as the interpreter for this session. Then, select the appropriate port.
Install the MicroPython interpreter on the Micro:bit
The micro:bit does not come from factory with the MicroPython interpreter installed on it.
So, if you are not able to make this work with your Thonny IDE, once you have selected the interpreter in the port, click on the install or update firmware in order to go ahead and install the MicroPython interpreter on the micro:bit.
I've already done that, so I'm not going to overwrite my firmware so I will click the cancel button. But in your case, you may need to do that if this is the first time that you are connecting your micro:bit to your computer and wanting to use it as a MicroPython interpreter in the target device. Follow the same process I have documented in the ESP32 flashing lesson.
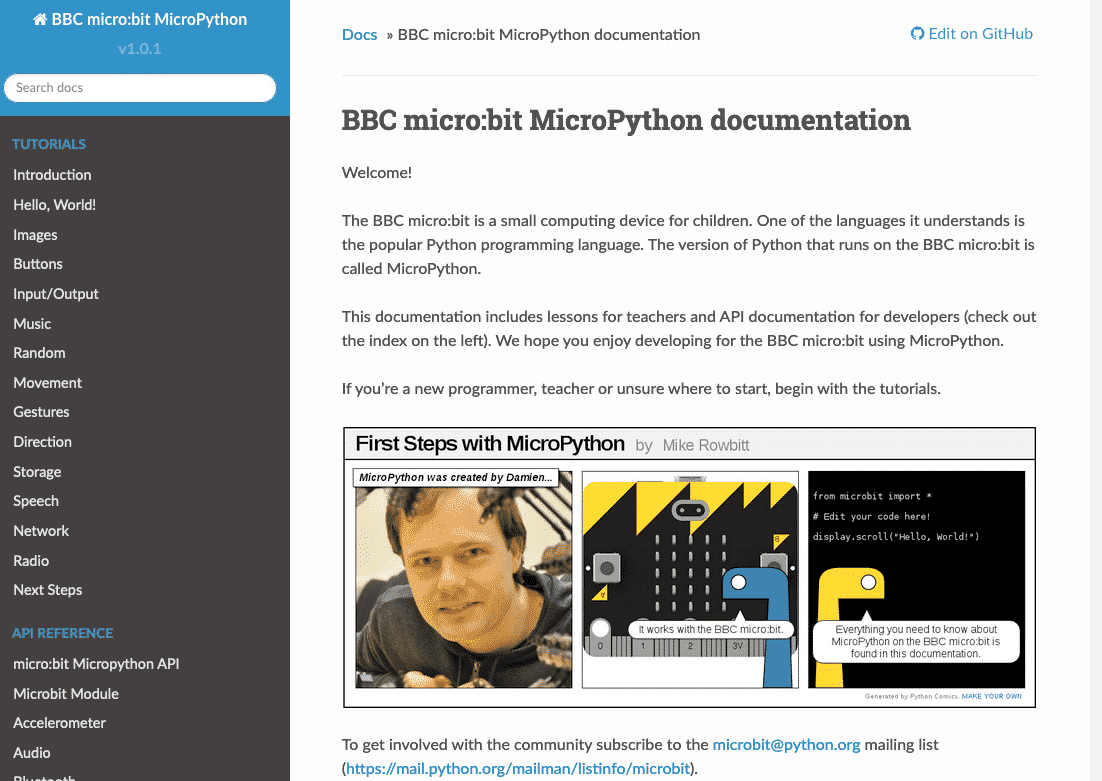
Micro:bit documentation for MicroPython

The documentation for MicroPython on the BBC Micro:bit.
Another resource that is very useful and I encourage you to look at if you are interested in using the BBC micro:bit as a MicroPython device is to look at the BBC micro:bit MicroPython documentation.
There's a lot that you can do with the micro:bit. The micro:bit does come with a lot of onboard hardware, such as an accelerometer.
It comes with two programmable buttons, a 5x5 matrix led display. It also has a row of multi-purpose input/output pins.
And the documentation shows you how to use all of that hardware.
Hello World on the Micro:bit with MicroPython

The 5x5 LED matrix display on the Micro:bit
In this example, I'll show you how to write a simple program that prints out "Hello World" in a way that it takes the individual letters scroll across the screen.
The MicroPython instruction for this purpose is microbit.display.scroll. The "dot" notation format of this instruction indicates that the scroll function, is inside the display module, which itself is inside the microbit package.
Below you can see an extract from the documentation, showing the scroll function and its parameters.

Documentation extract for the "scroll" function.
As per the documentation, the only required value is a string in the first parameter. The rest are optional and they have their own default value.
Here's my program:
>>> import microbit
>>> microbit.display.scroll("Hello World!")
Go ahead and type this program in the Thonny editor shell (no need to create a file for such a small program).
This is what the program looks like in Thonny:

The "Hello World!" program in Thonny.
Because we typed the program in the shell, the MicroPython interpreter will execute the scroll function as soon as you hit the return key.
Turn over the Micro:bit so that you can see the LED matrix display, and hit the return key. You should see the text scrolling across the screen, like this:
")
Text scrolling on the 5x5 matrix display of the Micro:bit
Controlling individual pixels
Of course, it is possible to control each pixel on the LED matrix display individually. To do this, you can use the "set_pixel" function.
Here's the extract from the documentation that provide information about this function:

Documentation extract for the "set_pixel" function.
The first two parameters are the x and y coordinates of a pixel, and the third paramter is the intensity ("0" will turn off the LED, "9" will turn it on at maximum intensity).
Here's a small program that turns on two of the pixels of the display:
>>> import microbit
>>> microbit.display.set_pixel(0,0,9)
>>> microbit.display.set_pixel(4,4,9)
>>> microbit.display.clear()
As you type the two "set_pixel" command into the shell, and hit the return key, the two pixels at the top-left and bottom-right of the display will turn on. The display should look like this:

Two LEDs are turned on.
To clear the display and turn off all LEDs, simply call the "clear" function.
This was a quick demonstration of how you can use the display on the BBC micro:bit with a simple MicroPython script.
Learn MicroPython for the ESP32
With this video course, you will learn how to use the
MicroPython programming language with the ESP32 micro-controller.
MicroPython is the perfect language for anyone looking for the easiest (yet still powerful) way to program a micro-controller.
Jump to another article
1. What is MicroPython?
2. MicroPython vs Python
3. MicroPython resources
4. MicroPython compatible boards
5. Getting started with Thonny IDE
6. How to install the MicroPython firmware
7. Setup an interpreter in Thonny IDE
8. How to write and execute a MicroPython program
9. Thonny IDE with the Raspberry Pi Pico
10. Thonny IDE with the BBC Micro:bit
11. Thonny IDE advanced configuration
12. How to find MicroPython packages at PyPi
13. The MicroPython shell
14. MicroPython Programming with files
15. How to interrupt a running program
16. How to run a program at boot
17. How to debug MicroPython program
Last Updated 1 year ago.
We publish fresh content each week. Read how-to's on Arduino, ESP32, KiCad, Node-RED, drones and more. Listen to interviews. Learn about new tech with our comprehensive reviews. Get discount offers for our courses and books. Interact with our community. One email per week, no spam; unsubscribe at any time