Oscilloscopes For Busy People guide series
Precautions
In this article, I list a few simple ways by which you can protect your expensive oscilloscope from damage.

In this article, I list a few simple ways by which you can protect your expensive instrument from damage.
Read the manual

Always read the safety notice that is included in the user manual of your oscilloscope
Just like you do with all electrical appliances, always read the safety notice that is included in the user manual of your oscilloscope.
Much of the information in this notice is what you expect to see in any mains appliance:
- Use the supplied power cord, which has a ground terminal and is appropriate for your country.
- Don’t operate it with the cover removed, that’s a big no-no.
- If you need to change the fuse, change it with one that has identical properties to the original
- Don’t operate the oscilloscope if it’s wet. This goes without saying, but there you go, I’ve said it!
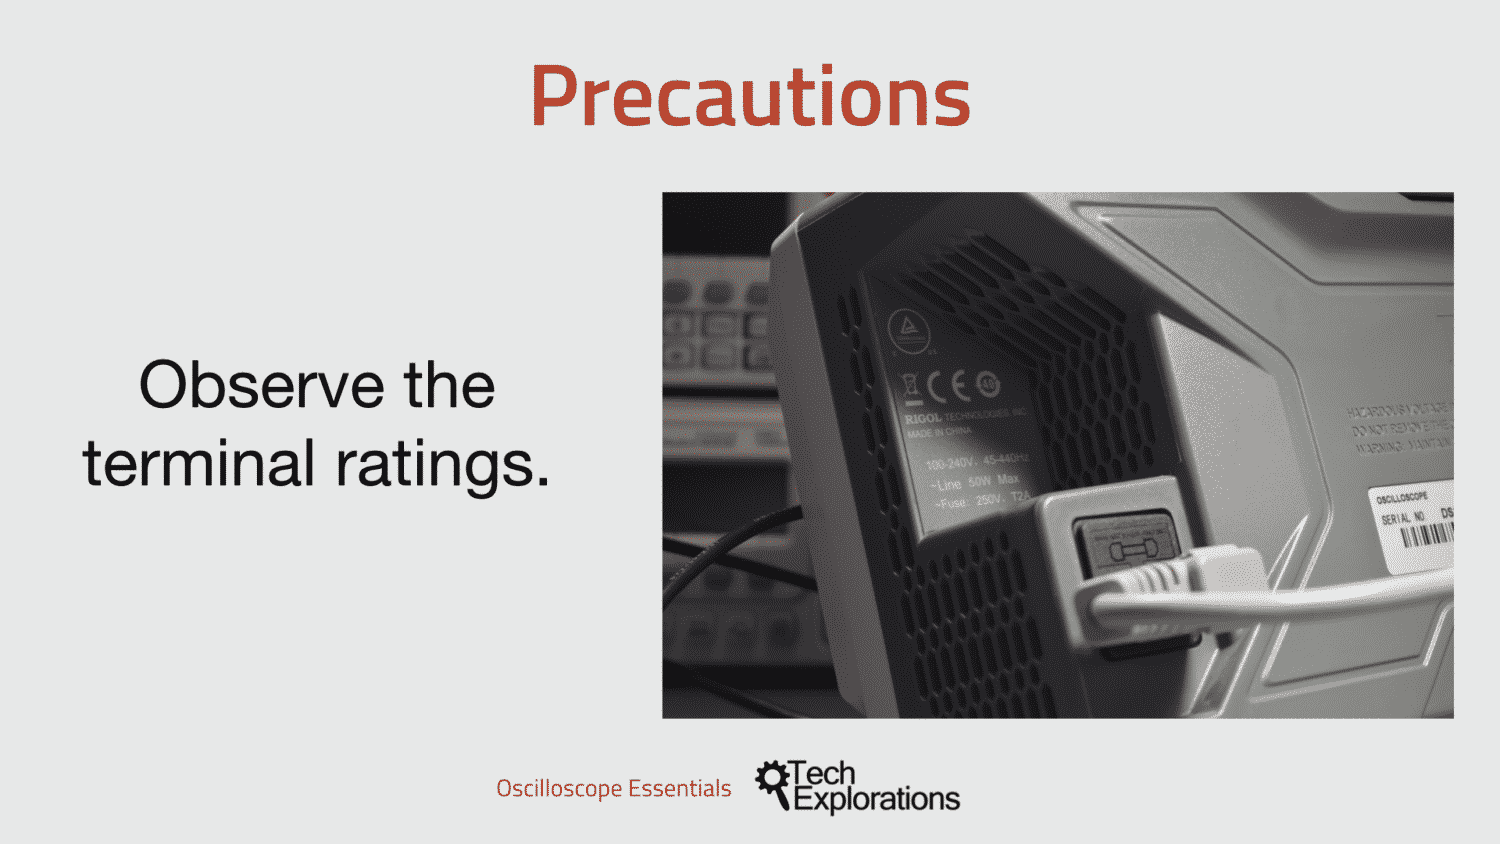
Terminal ratings

Be sure it's ok to plug the power cord into the wall socket.
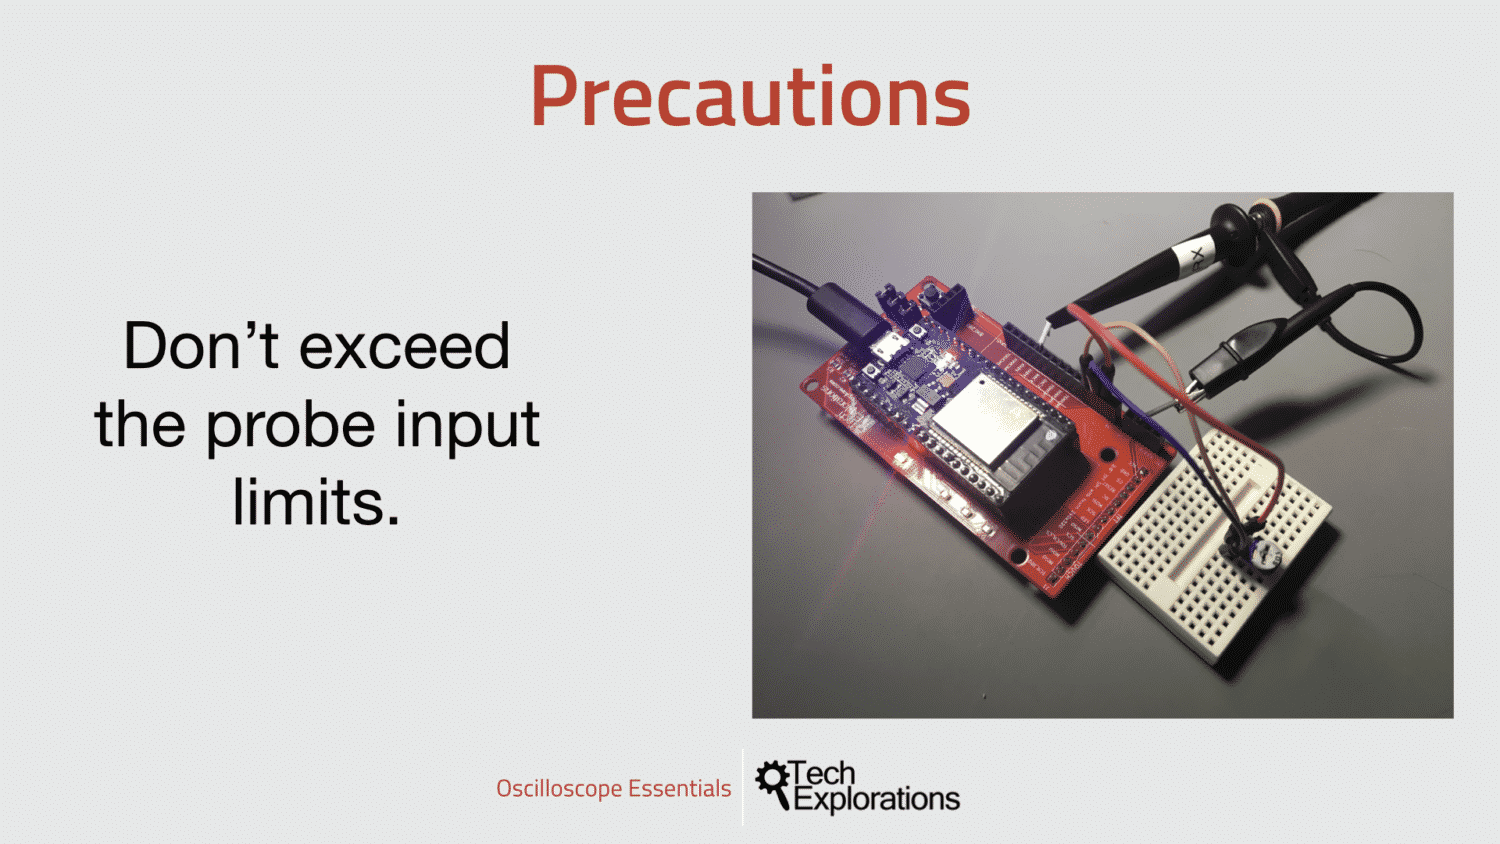
Input probe limits

Probes are rated to work within specific input voltage ranges.
Probes are rated to work within specific input voltage ranges.
For example, if your oscilloscope is rated for input voltages between -5V and +5V, don’t provide input beyond these values.
These days, most decent oscilloscopes have build-in over-voltage protection so that the device can survive 5, 10, or even 100 times the voltage limit, but why risk it?
You can, in fact, use an oscilloscope with input range of, say, +-5V, to measure an input signal that goes far beyond that, say 500V. But the only way to do this safely, is to use a probe that is rated for the input voltage.
For example, you can use a 10X probe to measure input signals that are 5V*10 = 50V. A 1X probe allows you to measure input signals that fall within the actual input rating of your oscilloscope.
At this point, I must stress that I have personally never worked with such high voltages, and that doing so is very risky. I strongly advise you that you don’t even try without the assistance and guidance of a qualified person.
Typical values for USB/PC oscilloscopes are +-5V, and for desktop oscilloscopes 40V.
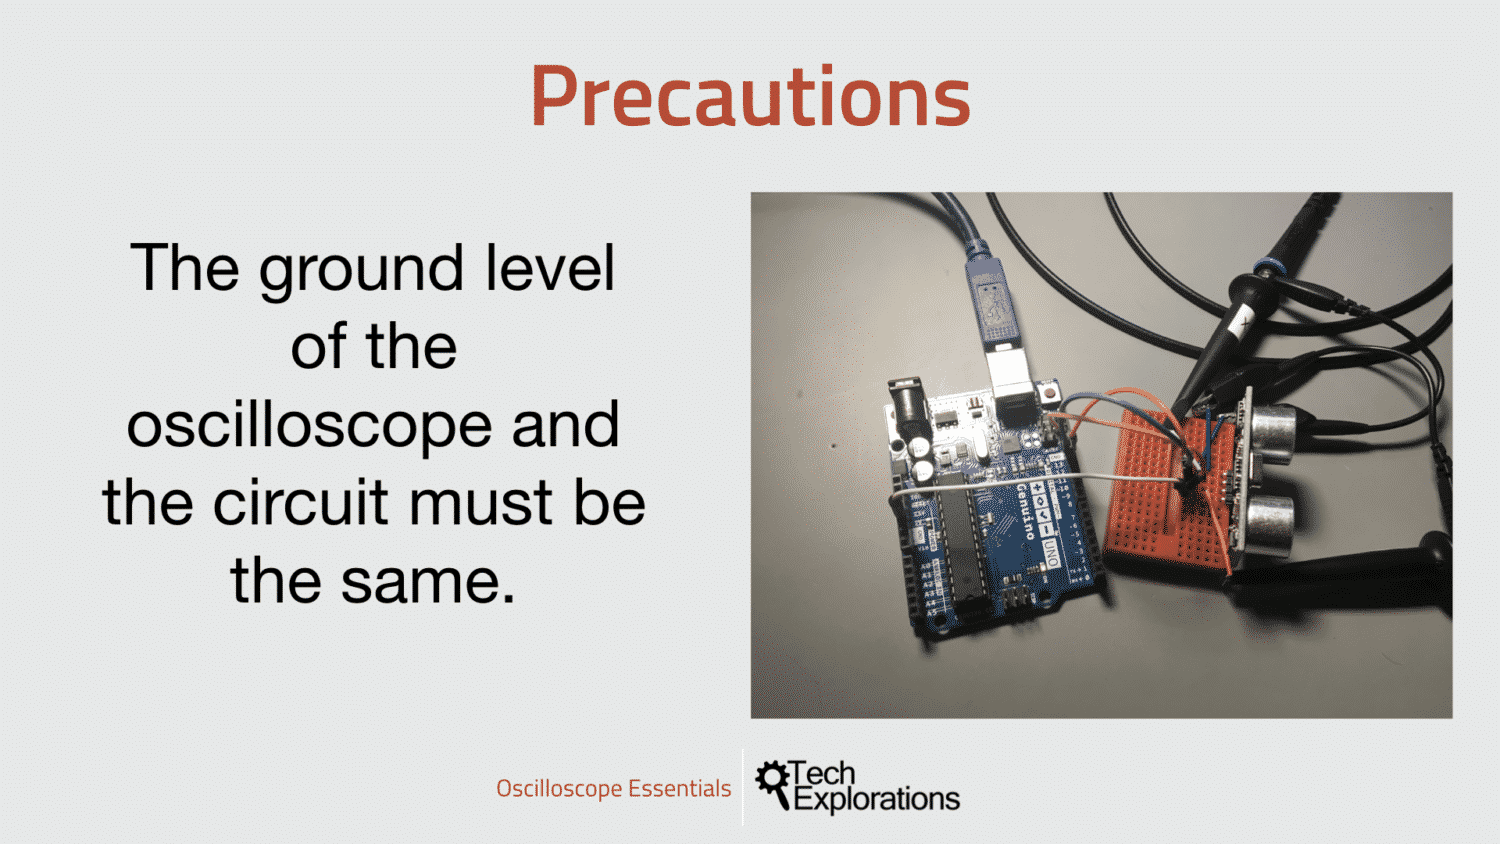
Ground should be the same

Your oscilloscope and whatever you are measuring must share the same ground level voltage.
Your oscilloscope and whatever you are measuring must share the same ground level voltage. Without a common ground, your measurements will not be reliable, and damage to your equipment and your circuit is also possible.
If you are using a USB powered oscilloscope, make sure that the computer that is powering the oscilloscope and the circuit you are measuring are properly grounded.
A tricky situation, especially for USB oscilloscopes, is when the computer is a laptop powered by its battery, and not connected to mains power and ground. In that case, the laptop ground and USB oscilloscope ground are floating. This is not a problem, and you can still take measurements reliably, but be very careful that the ground clip of the probe does not touch anything that is not in the same floating ground level. If it does, you will have a short circuit and damage will probably be the result of this.
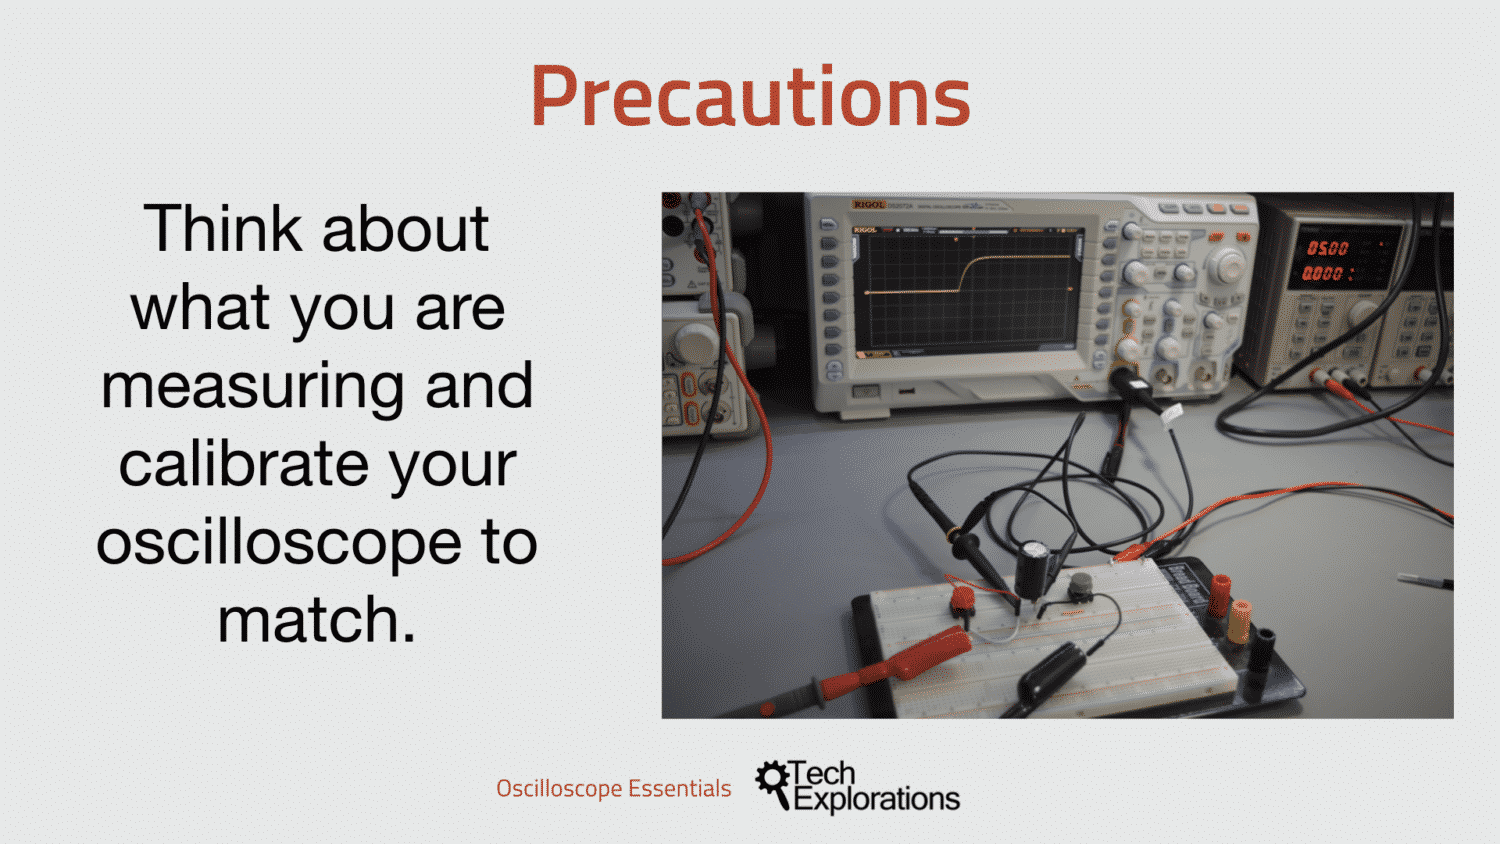
Think before you measure

Before you connect the probes and turn on your oscilloscope, take a few moments to think about what is it that you want to measure.
Before you connect the probes and turn on your oscilloscope, take a few moments to think about what is it that you want to measure.
Then, make sure that your oscilloscope can actually make those measurements.
Finally, think about the calibrations you will need to make on the oscilloscope, and ensure that your probes or probe are appropriate for the task.
- Is your probe suitable for the input signal voltage and frequency?
- Is your probe compensation appropriate?
- How can you set the oscilloscope to capture the best representation of the signal that is possible? What should the voltage and time scale be, as well as the trigger?
- Is the oscilloscope bandwidth appropriate?
Ask these question, get your answers, and your work with your oscilloscope will be a breeze. Through the experiments later in this course, you’ll get a lot of practice to help you do just that.

Ready for some serious learning?
Enrol to
Oscilloscopes for Busy People
Demystify the oscilloscope and learn how to use it in your projects.
This course is perfect for people who have never used an oscilloscope.
Through a series of projects, this course will teach you how to use an oscilloscope to measure and decode signals in your electronics.
Just click on the big red button to learn more.
Last Updated 1 year ago.
We publish fresh content each week. Read how-to's on Arduino, ESP32, KiCad, Node-RED, drones and more. Listen to interviews. Learn about new tech with our comprehensive reviews. Get discount offers for our courses and books. Interact with our community. One email per week, no spam; unsubscribe at any time