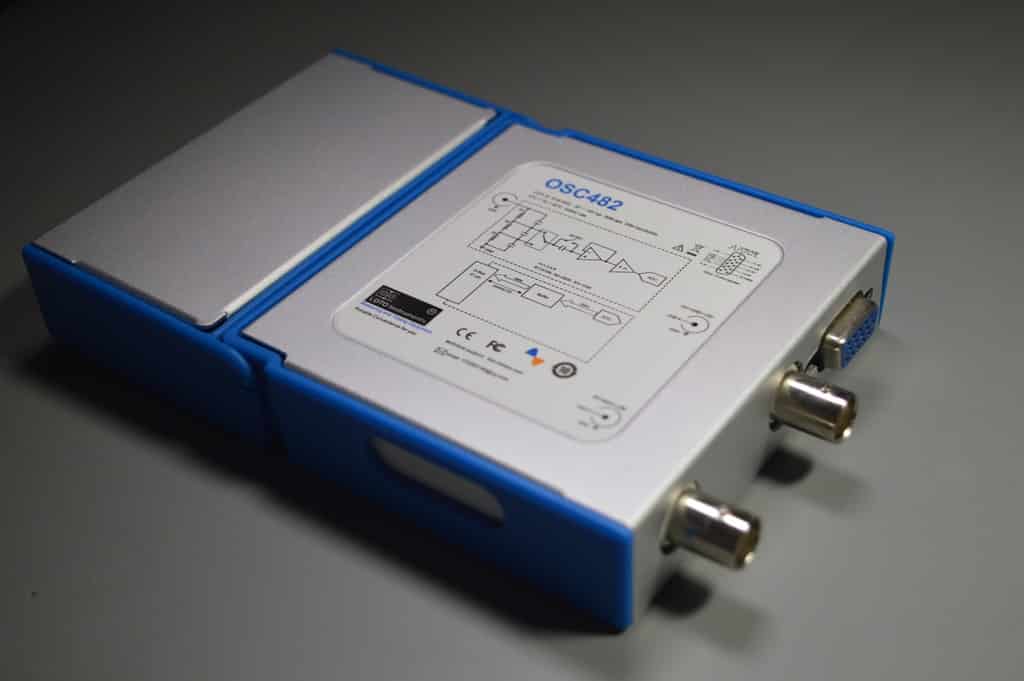
Oscilloscopes For Busy People guide series
What is an oscilloscope?
In this introductory article, I’ll explain what an oscilloscope is, what we use oscilloscopes for, and what kinds of oscilloscopes there are.
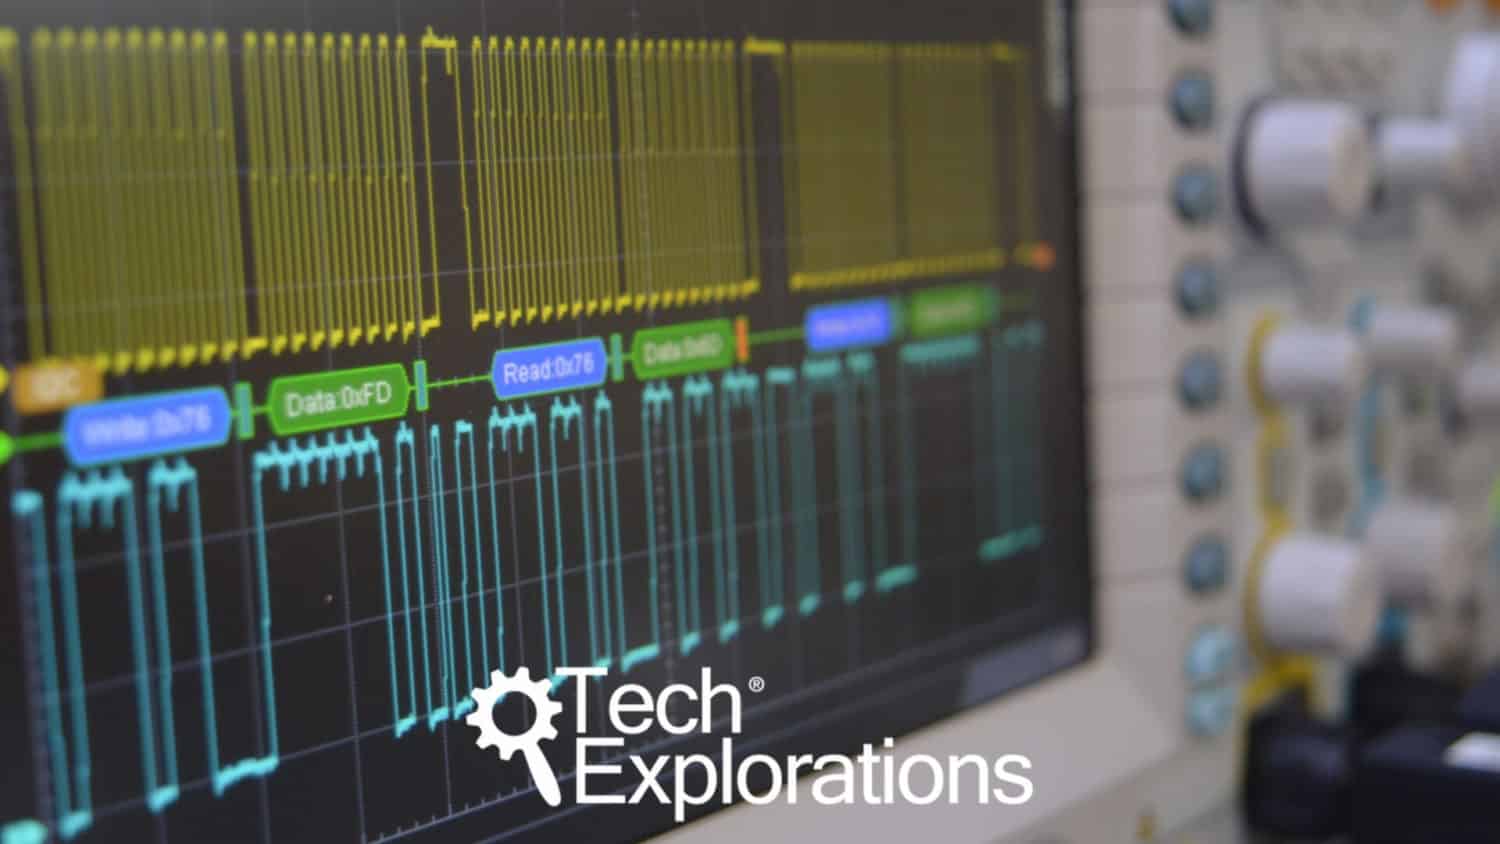
An oscilloscope is a test instrument that displays a waveform of voltage as it changes over time.
After the multimeter, it’s probably the instrument that most people that work with electronic circuits acquire, in one of its various forms.
In this section, I’ll talk about the various aspects of an oscilloscope, such as the most important features, functions, and controls.
But in this introductory article, I’ll explain what an oscilloscope is, what we use oscilloscopes for, and what kinds of oscilloscopes there are.
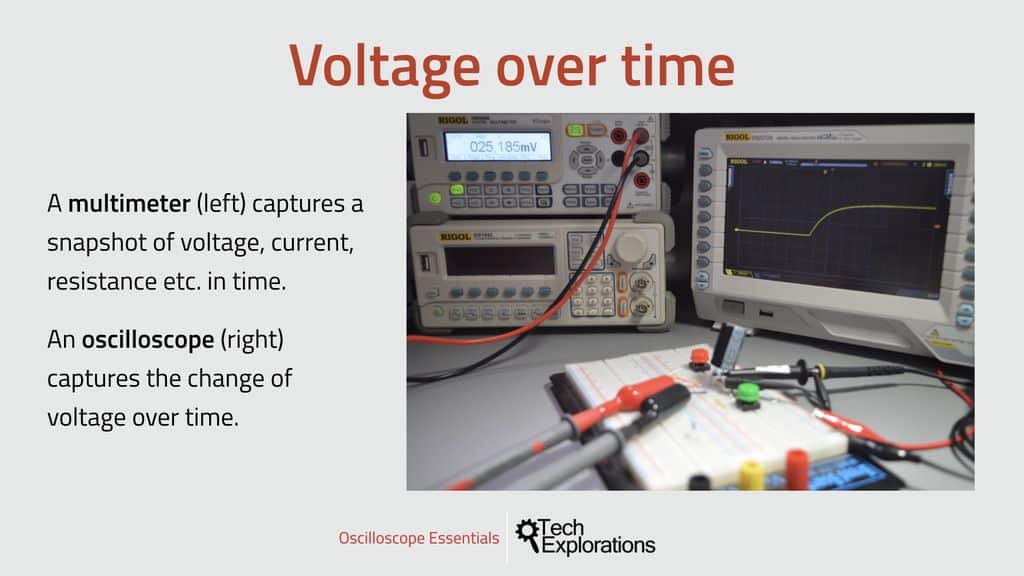
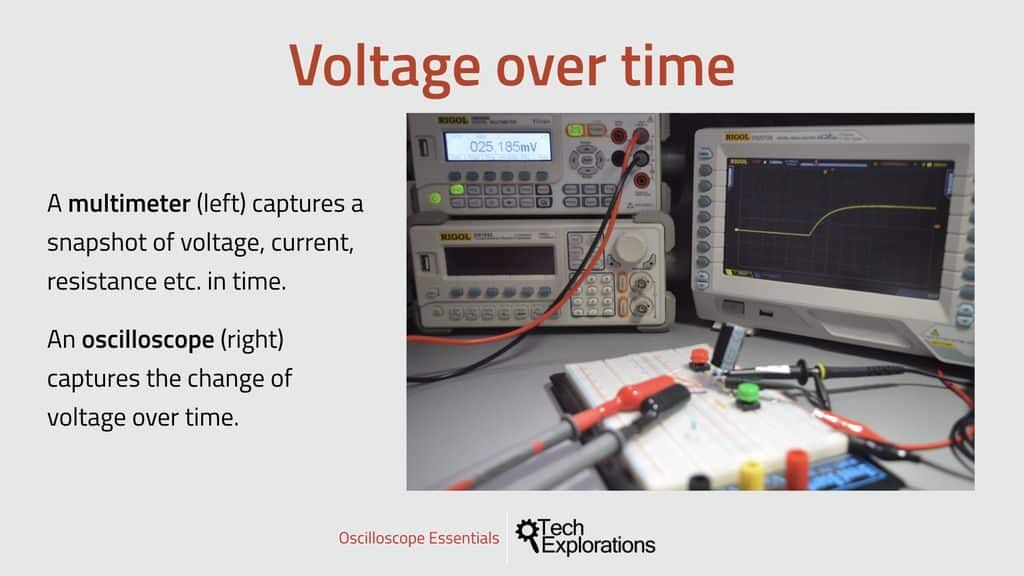 The oscilloscope and the multimeter.
While a multimeter gives you the ability to measure things like voltage, current, resistance and capacitance at a single moment in time, an oscilloscope allows you to capture information about voltage and how it changes over time.
Take the example in the image (above).
I have connected the multimeter (on the left) to measure the voltage across the pins of the capacitor.
I have also connected the oscilloscope to measure the same voltage.
When I press the green button to charge the capacitor, the multimeter will show me the current voltage on the capacitor. As the capacitor charges relatively quickly (at least in human terms), the multimeter will show me a quick jump from close to zero Volts to the 5V input that my power supply provides.
If I only have the multimeter to work with, the transition from 0V to 5V seems to have happened instantaneously.
With the oscilloscope measuring the same thing, however, this experiment teaches us a different lesson. Because the oscilloscope measures and records the voltage on the capacitor over time, it is able to draw a graph.
You can see the graph in the display of the oscilloscope in this photograph. It clearly shows the voltage being close to zero when the capacitor is discharged. It shows exactly when I pressed the green button and what happened immediately after that.
It shows how the voltage increased, edging closer to the supply voltage over time.
And now that I have captured this waveform, I can make very precise measurements to find out the exact rise time, among other things.
This is what I really find amazing about the oscilloscope. It helps me understand electronics because I can literally see them in operation, rather than through a series of “before” and “after” snapshots.
It’s really the difference between still photography and videography. Each has its purpose, but videography allow you to tell a story in a way that photography can’t.
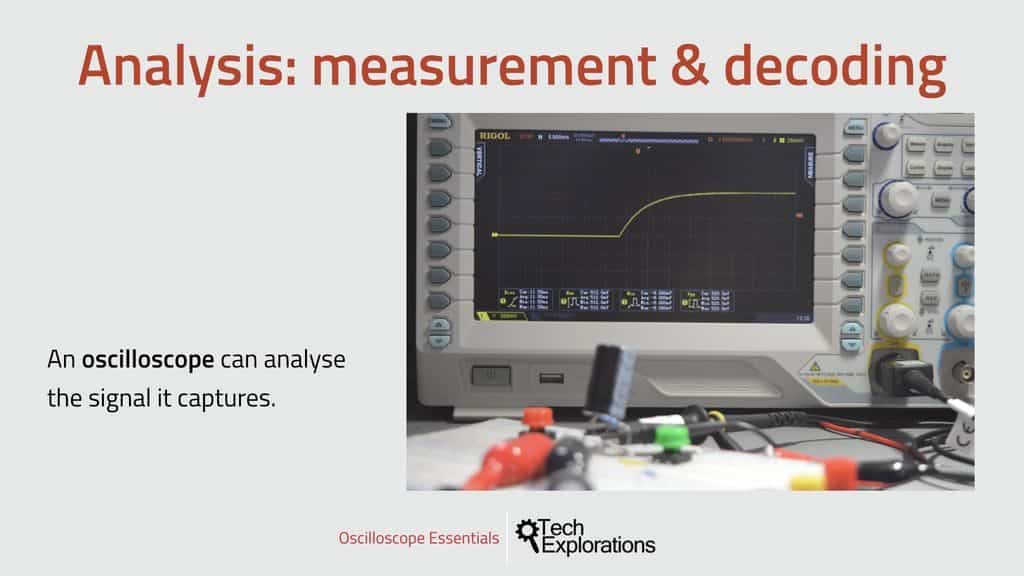 The oscilloscope can show how voltage changes over time.
An oscilloscope stores a lot of data about a signal. For example, my lower-middle of the range oscilloscope can store 2 million samples and capture up to 2 billion samples per second. And this is per channel.
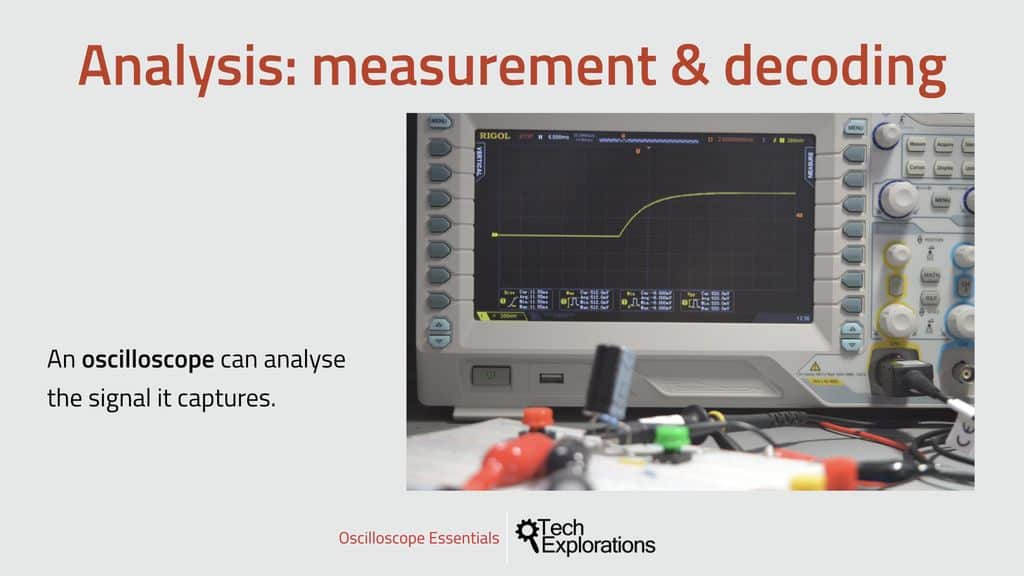
There’s a lot of data there that the oscilloscope and the user can use for signal analysis.
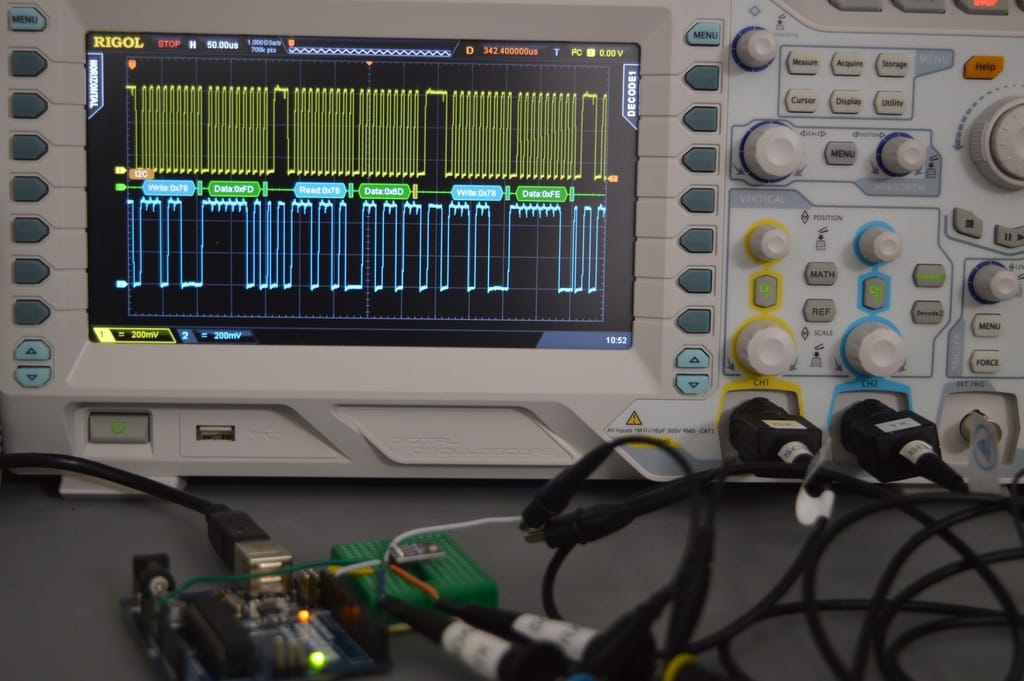
Most modern oscilloscopes can perform automatic measurements and decoding of the information that is encoded in a signal.
I’ll talk more about both capabilities later in this section and throughout the experiments in this course.
Measurement and decoding is the reason why you would want to use an oscilloscope, and again, both depend on the ability of the oscilloscope to capture a lot of data about the signal and how it changes over time.
In the photo in this slide, you see the same signal I captured as the capacitor in my test circuit charged. I asked the oscilloscope to give me the measurements for the rise time, the maximum and minimum voltages, and the peak-to-peak voltage, and it did. The measurements with additional statistics appear below the chart.
When I say “I asked”, I mean that I pressed a few buttons to bring up these measurements. But, these interments are become more clever all the time, so it is not long now before I will be able to talk to my oscilloscope, as I talk to my phone.
How amazing would that be?
At this point, let’s recap:
We use the oscilloscope to capture voltage over time for a signal, and then we use the data about the signal to analyse the signal and learn thing about it. We can measure many characteristics about the signal, and also extract any information that may be encoded in the signal. The later capability is called “decoding.”
Not surprisingly, oscilloscopes come in a few different types. There are many ways to create categories of things, but to keep things simple I have categorised them here based on their underlying technology and form factor.
The form factor controls most other aspects of how the oscilloscope works, so it seems like a reasonable choice.
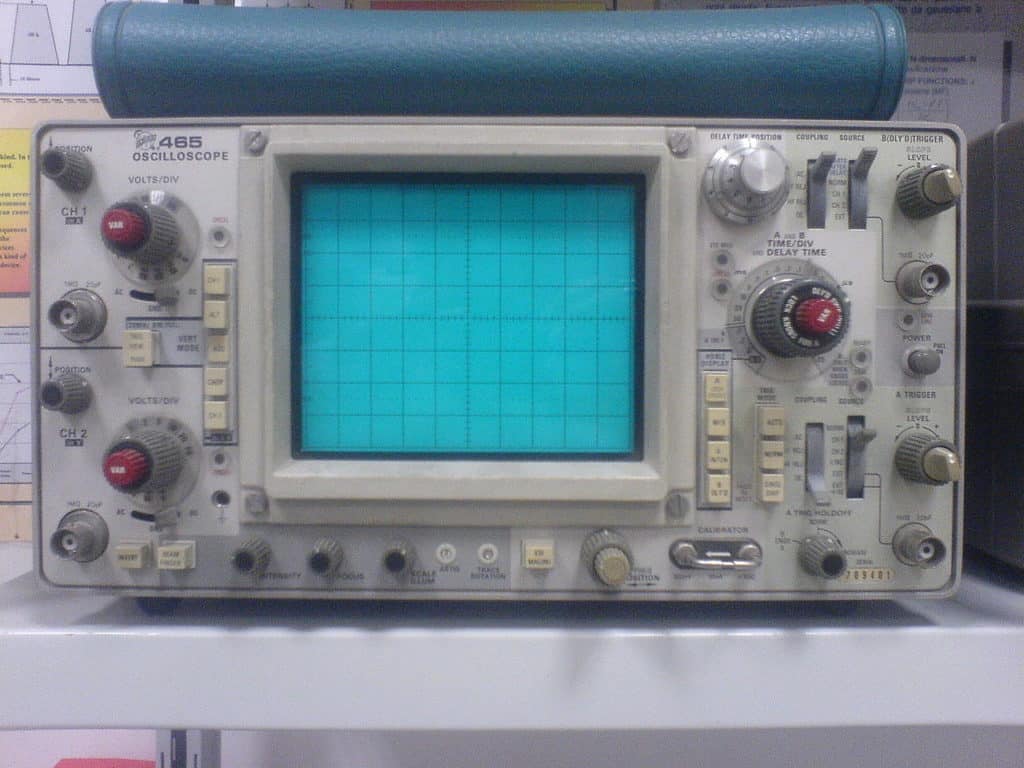
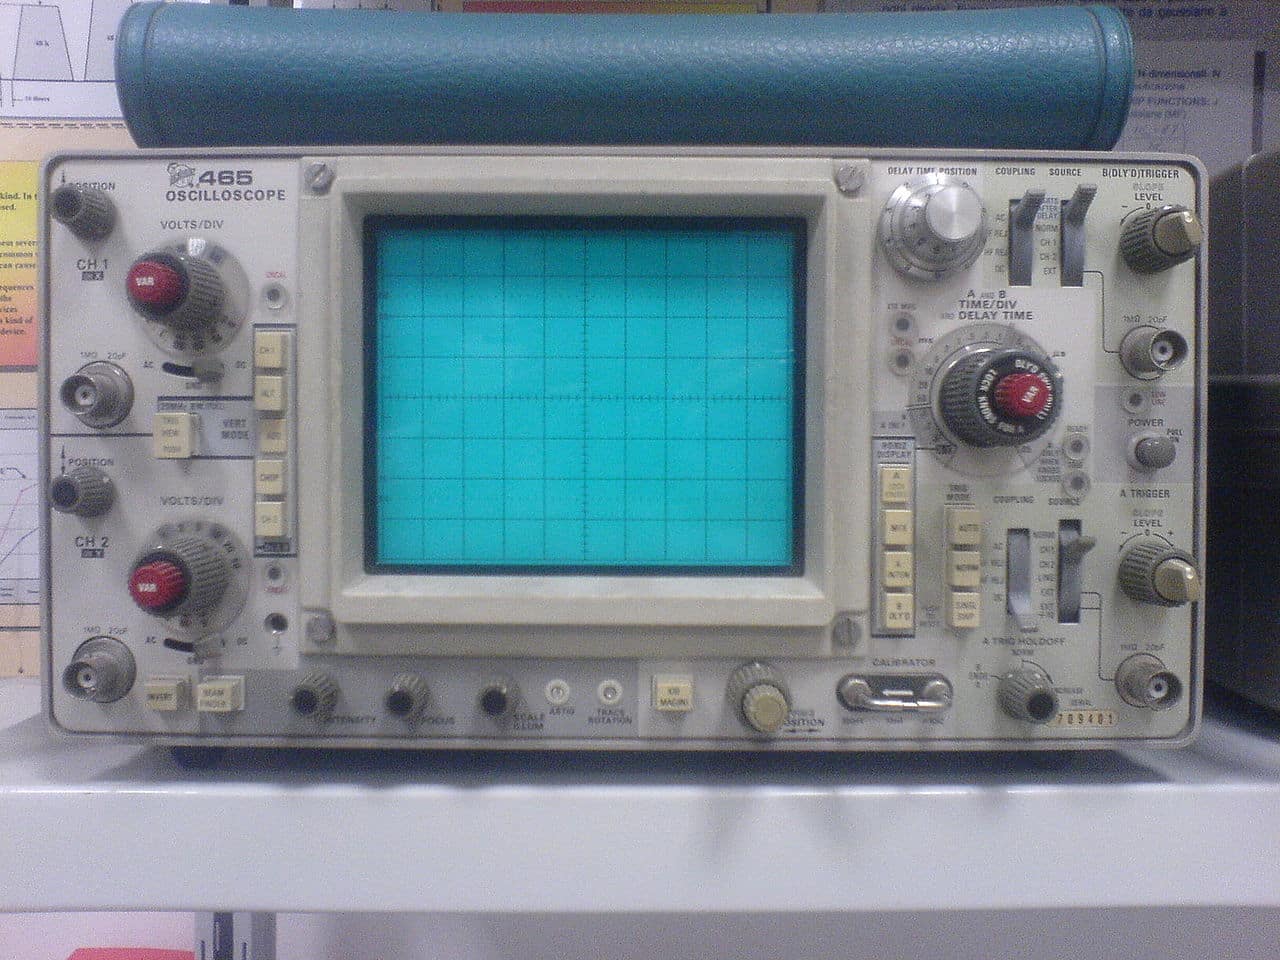
An example of an analog oscilloscope (obsolete). By Elborgo - Own work, CC BY 3.0, https://commons.wikimedia.org/w/index.php?curid=2841283
The first oscilloscopes were analog. The lack of digitisation meant that they could do only very basic signal analysis. Most of the measurements were done manually, using cursors and the display divisions. This is what oscilloscopes looked like when I started using them in engineering school. For all practical purposes, they are obsolete.
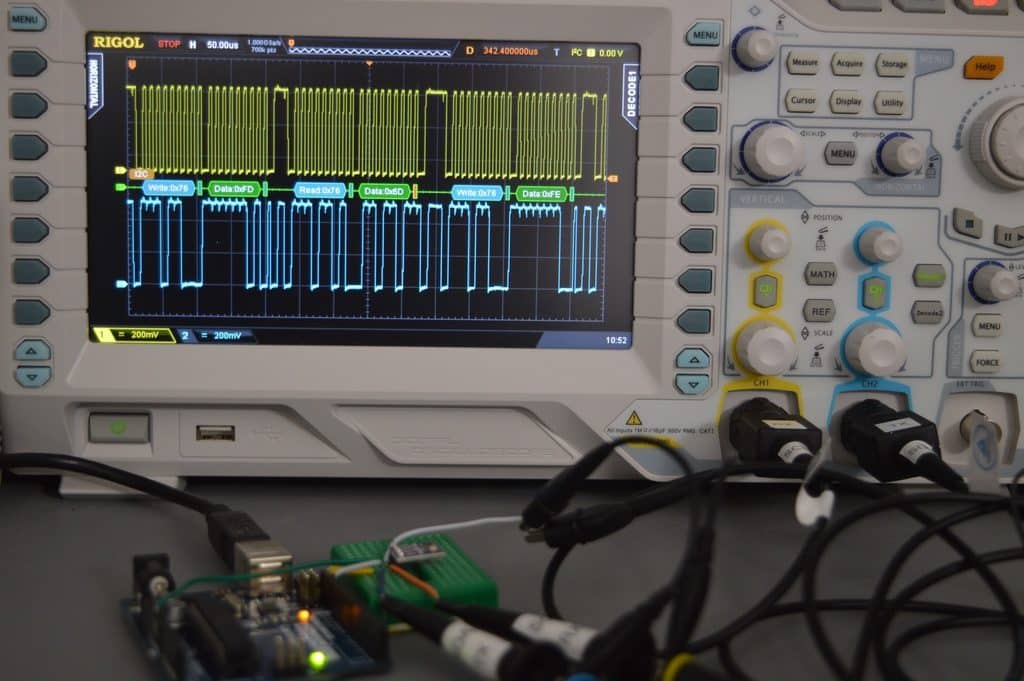
A modern digital bench-top oscilloscope.
Today, oscilloscopes are digital. The come in various form factors. In the middle photo, you can see my bench-top oscilloscope. It has is a fully sized instrument, with a decent size screen and a full array of buttons. It also contains a powerful microprocessor, memory and signal processor. These things combined, make work with this oscilloscope quick and enjoyable. This is an important factor when you are deciding on which tool to get. It has to work well in order to help you get your work done. It makes no sensor to get an instrument that delays you or just doesn’t work as it should.
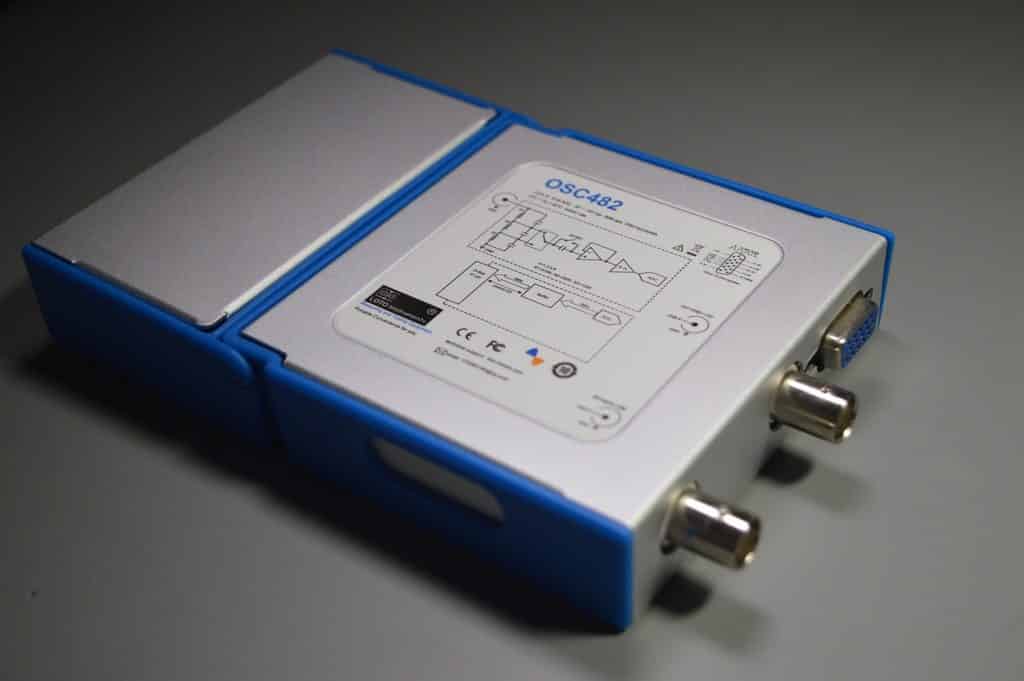
A modern PC/USB oscilloscope.
In the right, you can see another modern digital oscilloscope. This one has no user interface, other then the connectors. This is a PC or USB oscilloscope, and it needs a computer. The USB oscilloscope uses the computer for the display, and the user interface. The cheaper USB oscilloscopes also use the computer for most or all of the processing. Their main function is to capture data from a source and then pass the data to the computer for display and analysis. The great advantage of a USB oscilloscope over other types is the price and the size. They can start at a lot less than $50, and they do provide basic oscilloscope capabilities. For not much more, you can even get decoding. I’ll show you how to use a low-cost USB oscilloscope along side my bench top oscilloscope in this course.
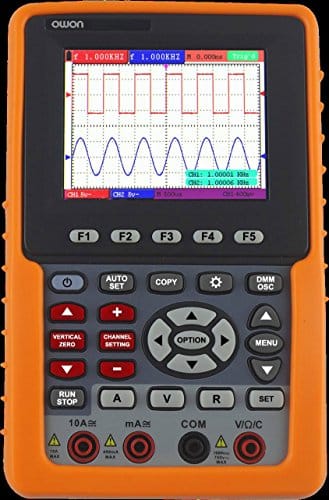
Owon HDS1021M portable oscilloscope
I also want to mention that there are oscilloscopes that are both tiny in size (like a USB oscilloscope) but don’t require a computer. What you are seeing here is an example of a portable oscilloscope. It has a screen to show waveforms, it can do measurements and even decoding, and it even has a few hardware buttons so you can be fairly productive.
People typically use a portable oscilloscope as a complement to a bench top instrument, for example, when they travel.

Ready for some serious learning?
Enrol to
Oscilloscopes for Busy People
Demystify the oscilloscope and learn how to use it in your projects.
This course is perfect for people who have never used an oscilloscope.
Through a series of projects, this course will teach you how to use an oscilloscope to measure and decode signals in your electronics.
Just click on the big red button to learn more.
Last Updated 1 year ago.
We publish fresh content each week. Read how-to's on Arduino, ESP32, KiCad, Node-RED, drones and more. Listen to interviews. Learn about new tech with our comprehensive reviews. Get discount offers for our courses and books. Interact with our community. One email per week, no spam; unsubscribe at any time

