
I ordered a Prusa i3 MK3S 3D printer, as a kit, and after a couple of months of waiting, I finally received the box with the parts. Although I was very excited about playing with my new gadget, I was mindful that the build process is relatively complicated and lengthy.
Prusa Research recommends that people that want to assemble their own printer should put aside one working day, and I have read many posts that suggest that this built generally takes 6 to 8 hours to complete.
It is an assembly that, really, should not be rushed. There are hundreds of parts, screws, nuts, and many possible configurations that all these things can go together (only one of them is correct). If you make a mistake, you will have to disassemble and repeat (best case scenario) or delay the process until a new part arrives.
So, I managed to control my excitement and scheduled the assembly for a Saturday that I could clear from any other responsibility.
In this post, I am sharing:
- a 3.5-minute video of my 8-hour build,
- a write up of my experience,
- a list of suggestions to help make your built as trouble-free as possible.
I will not comment on the print quality or other aspects of this printer since I haven’t done much printing yet. I’ll probably post separately about this if enough people ask (please comment below).
Let’s start with this video:
Overall experience
It was a back-breaking process, but, I dare say, I enjoyed this build. I am glad I purchased the kit instead of the assembled version of the printer.
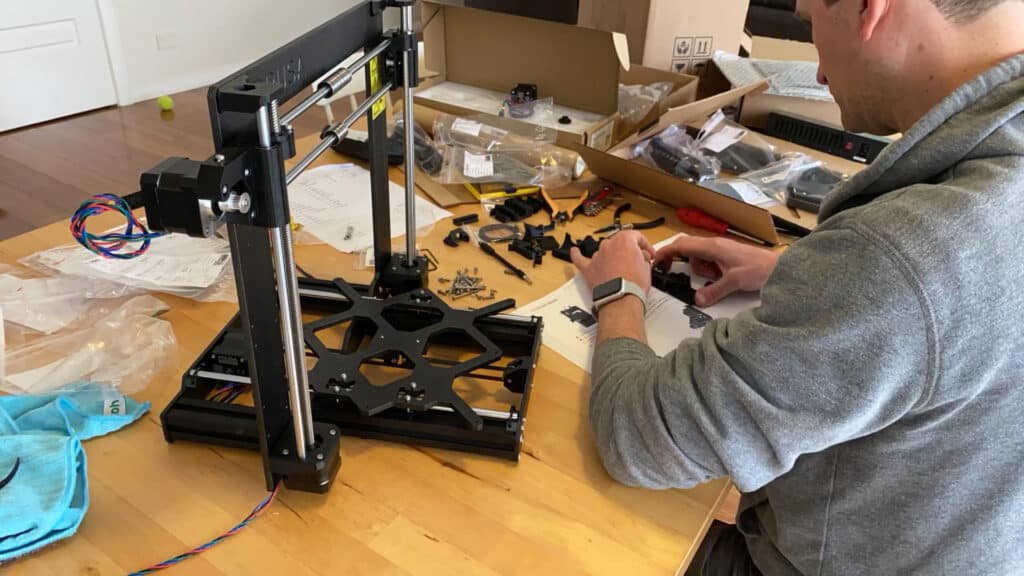
I started at 10am, after clearing a large table and setting up my camera. Because I knew that I would be working on this for the rest of the day, I did not feel that I had to rush.
The kit contained detailed printed assembly instructions booklet (in colour). Before executing an instruction, I triple-checked it to make sure I understood what to do to minimize the risk of error. Nevertheless, I made three mistakes which I have documented below.
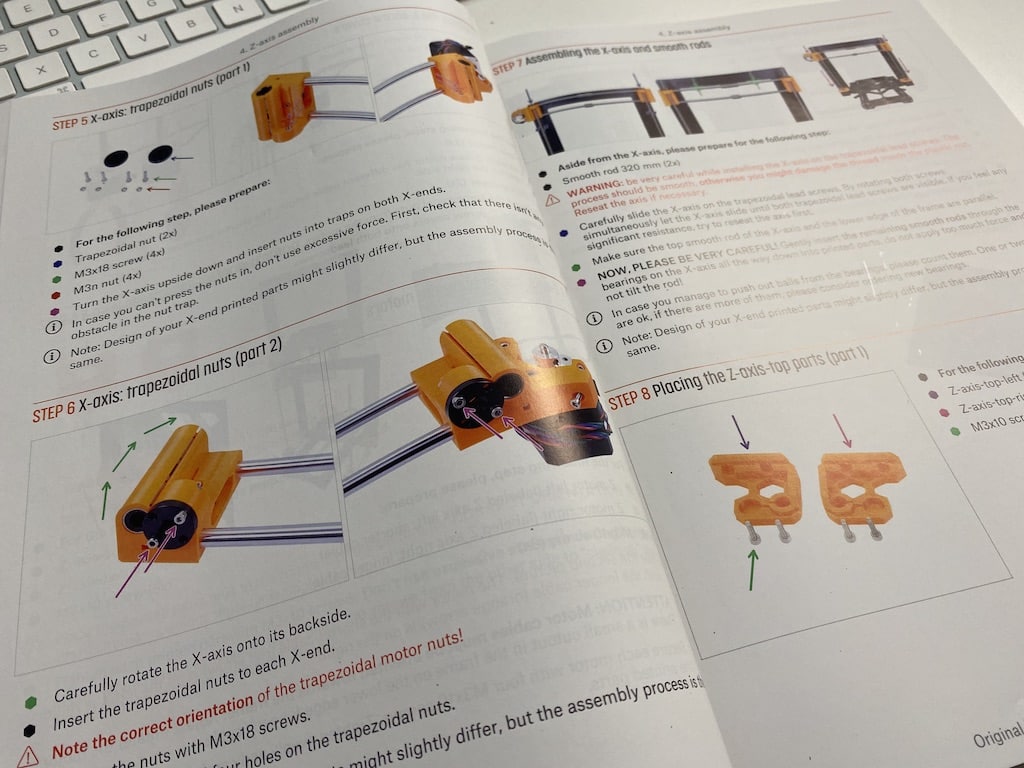
The instructions are excellent. The Prusa people have thought of everything, even the number of Haribo bears that should be eaten, and when. A bag of Haribo Bears is included in the kit, thankfully. I only ate a few of them; my kids ate most.
Assembling a printer like this one looks deceptively simple just by looking at the completed device. It seems small and compact, with very few moving parts. Alas, this is an illusion. Only the printer extruder assembly can easily take 2 or 3 hours if you are not careful.
I was prepared for errors. When I noticed my first error during the assembly of the YZ-frame, I simply dis-assembled the affected part and did it right. Mentally, it is essential to be ready to deal with an error. In a long build like this, if you are not prepared to accept it, fix it, and continue, you will find it harder to keep on the task to completion. It is common for people to give up the assembly half-way through, and then having to start from where they left off, with parts loose on the table, boxes, and (often) on the floor.
The most significant advantage of doing the assembly on your own is the knowledge and skill that you will earn. By the end of the build, you will realize that the 3D printer is not a complicated machine, at least mechanically. Much of its magic is embedded in the software and the electronics.
With this knowledge, you will be well prepared to handle any repair or upgrade down the track. You can find all parts as spares from Prusa or elsewhere. In my opinion, this knowledge future-proofs your investment.
Besides, Prusa has made this printer a joy to assemble. Everything fits, including the 3D-printer parts. This is a well-engineered machine.
Ok, time to get things that I did wrong in the assembly.
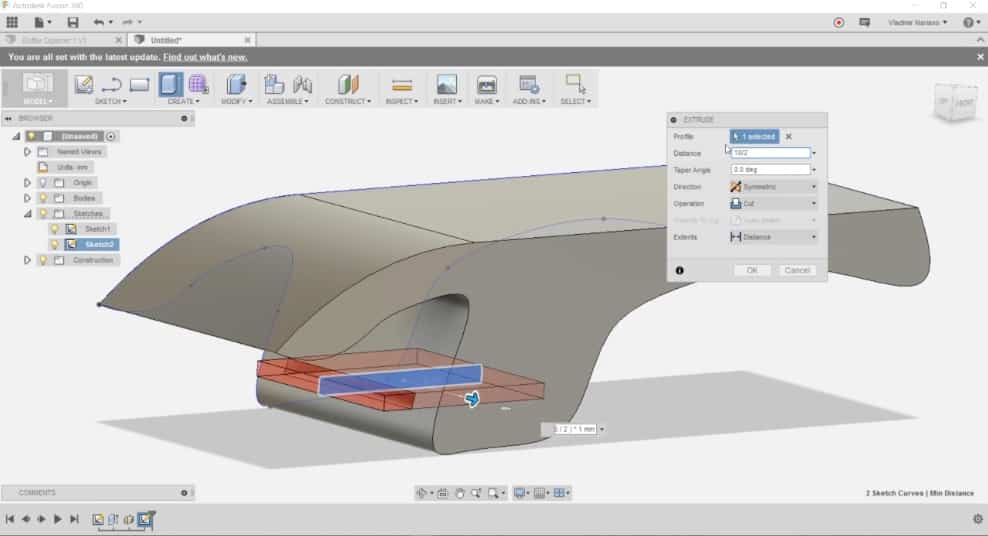
Would you like to learn how to design for 3D printing using Fusion 360?
We have the perfect course for you. 11 projects, no fluff.
Start learning now with our practical video course.
Things I messed up
I’m glad to say I made only two mistakes during the assembly. The first one was easy to fix. The second one required ordering a new part.
#1 I forgot to insert the PSU holders
The printer works with two types of PSUs, the new one (which I got) and the old one.
Depending on which PSU you have, you have to insert the two PSU holder parts either on the outer side of the short section of the YZ frame, or the top side.
Somehow I did not do either (I blame the kids for distracting me), and I finished the assembly of the YZ frame without the PSU holders.
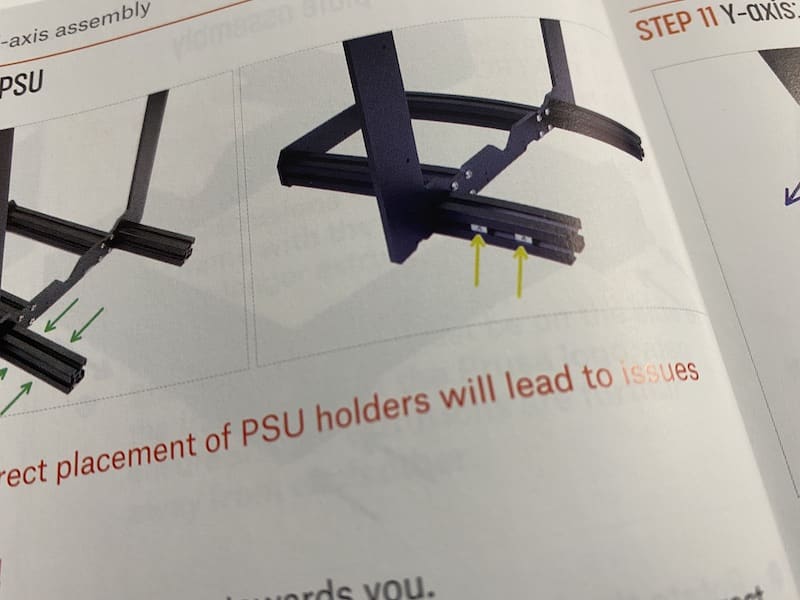
The PSU holders go in the short YZ frame 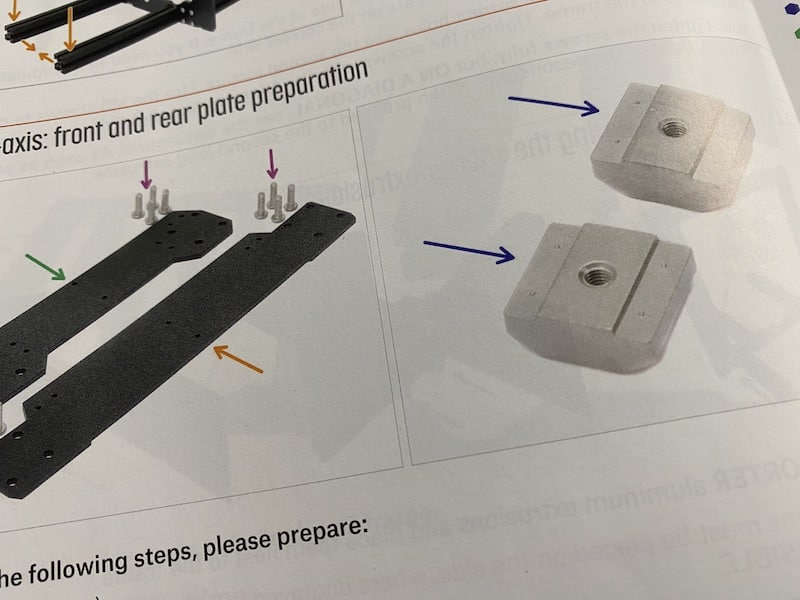
The two PSU holders
Luckily, I did not continue with the assembly. My plan included reviewing each complete segment of instructions to make sure nothing was missing or incorrect before continuing. So, in my review, I discovered that the PSU holders were missing. To fix it, I removed the eight screws of the rear plate and inserted the PSU holder in the left side of short YZ extrusion.
#2 I used the wrong length belt in the Y-axis
My second mistake was a biggie. Although I was able to finish the assembly and turn on the printer, it prevented me from actually using it.
The kit comes with two belts:
- A 650 mm for the Y-axis.
- An 850 mm for the X-axis.
The belts come in bags that are labelled with the correct length. Apart from the length, the belts are identical (2 mm pitch, 6 mm width). Due to a momentary lapse of attention (blame the kids for this too), I compared the two belts (in their bags) visually.
They looked the same, so I took one out of the box.
I continued with the assembly of the Y-axis (which required the 650 mm belt) using the 850 mm belt.
My brain did not click even after I noticed that there was a large segment of the belt left out… Which I proceeded to cut.
At that point, I should have though
“…Hey, Prusa seems to be very careful with the parts to make sure they all fit precisely. This belt seems to be a lot longer then it needs. Proceed with caution and do not use a cutting tool.”
The thought Peter should have had.
Worse of all, even after my segment review, I did not realize the error. In fact, I only realized it when I was assembling the X-axis, in step 46, when I reached out for the 2nd belt and discovered it was short.
At that time, I did a bit of thinking about my next step. Should I continue or stop and wait for the part? I browsed through the remaining steps and decided to continue since there was nothing else that explicitly relied on this belt. I would not be able to use the printer, but I could finish the assembly.
I am now waiting for a new belt in the mail. I purchased 5 meters on eBay. Apart from time, this error cost me $10.
#3 I had a leftover unconnected wire
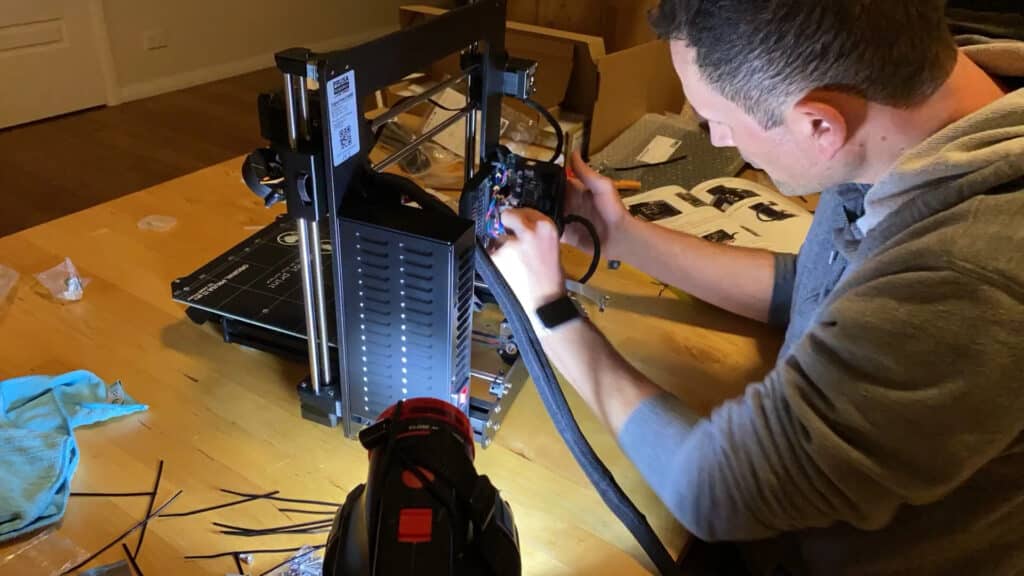
Towards the end of the assembly, I noticed that I had a wire that was not connected to a socket in the EINSY controller board.
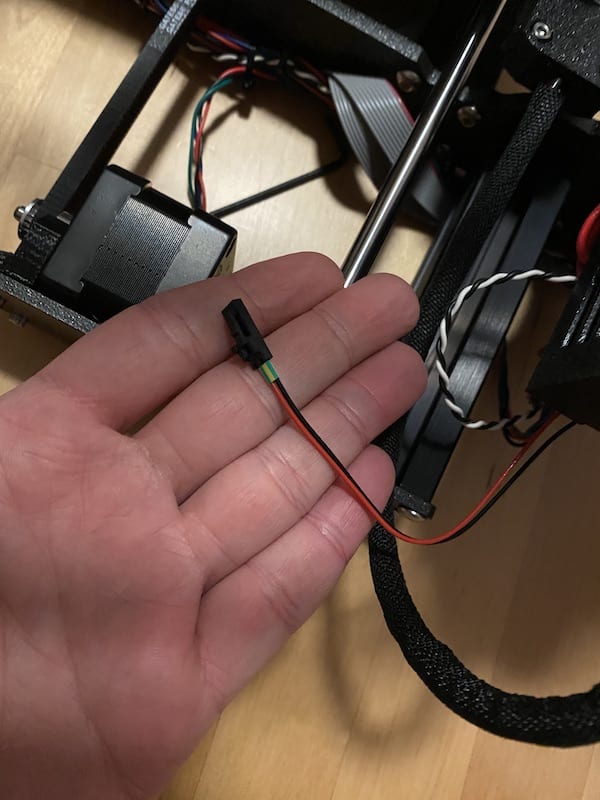
For this, I blame fatigue, not the kids. Point 7 of Step 35/44 indicates that this wire belongs to the extruder thermistor. At that time, natural light from a window was gone, and I was using a flashlight. I was confused by the difference of wiring colour between what I had and what was in the assembly instructions. Still, if I wasn’t tired, I could have identified this cable because of the green-yellow label attached to it.
This cable had to go somewhere in the Prusa EINSY board. At that time, EINSY looked like this:
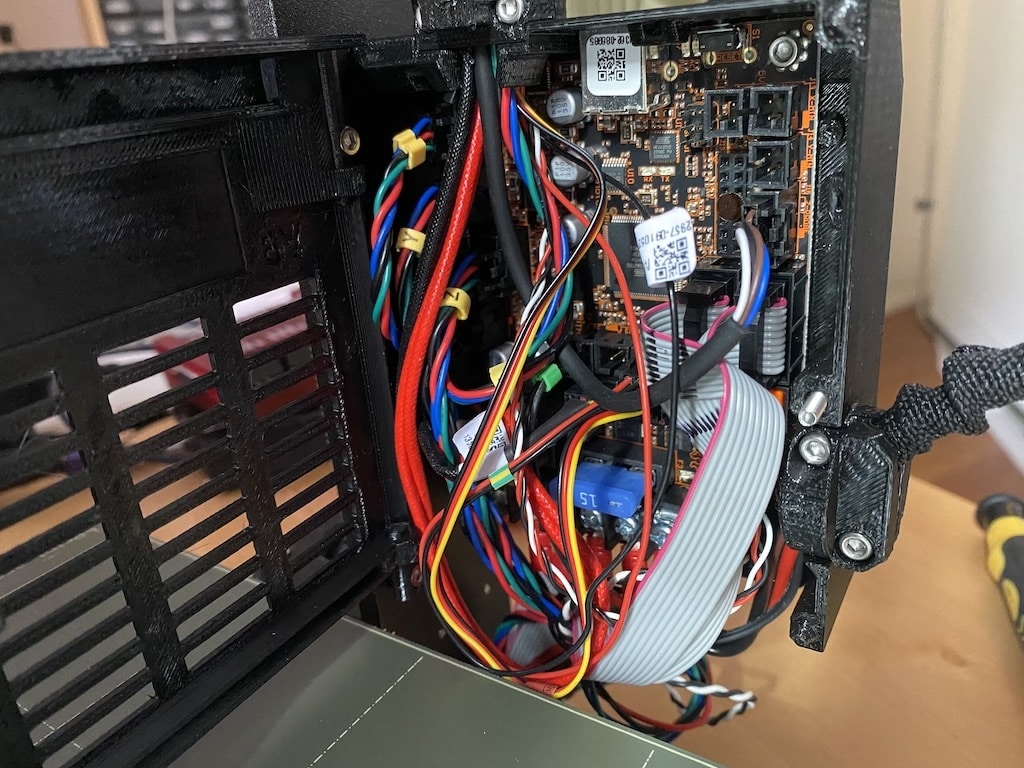
I spent some time to re-trace all wires and confirmed that they were connected to the correct socket. Still mentally blocked, I could not figure out the identity of the leftover cable.
So, I reached out for help from Prusa using their live chat tool. Within 5 minutes, the person at the other end had identified the cable and explained where to connect it. Towards that, the connections guide on this page was very useful.
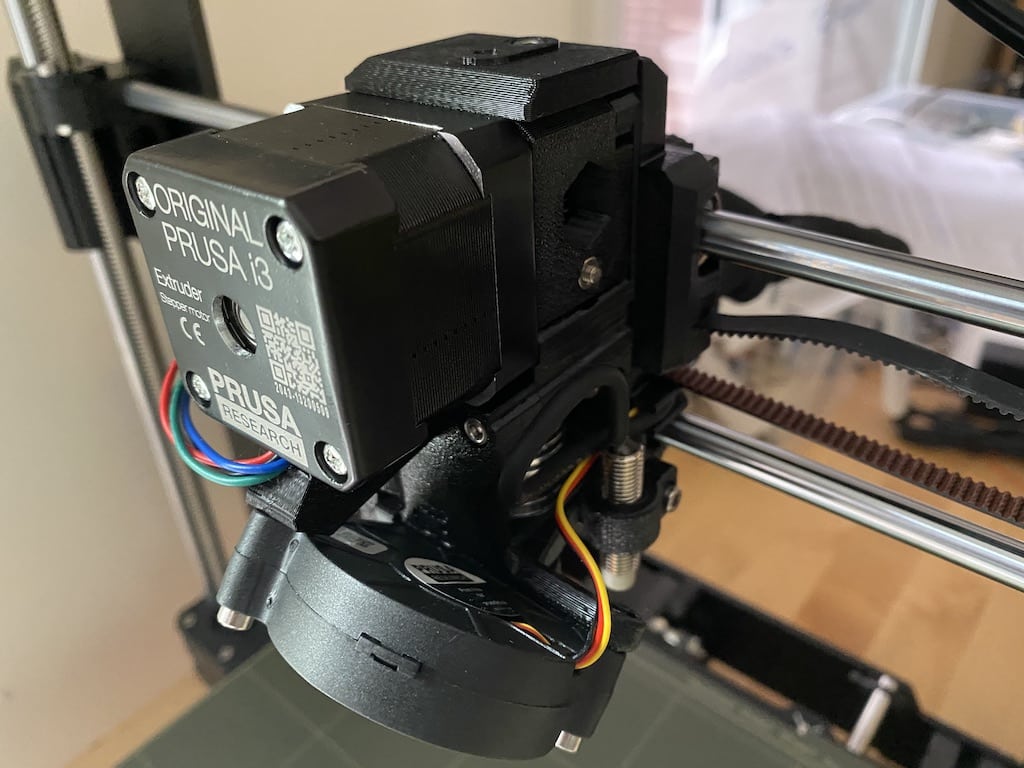
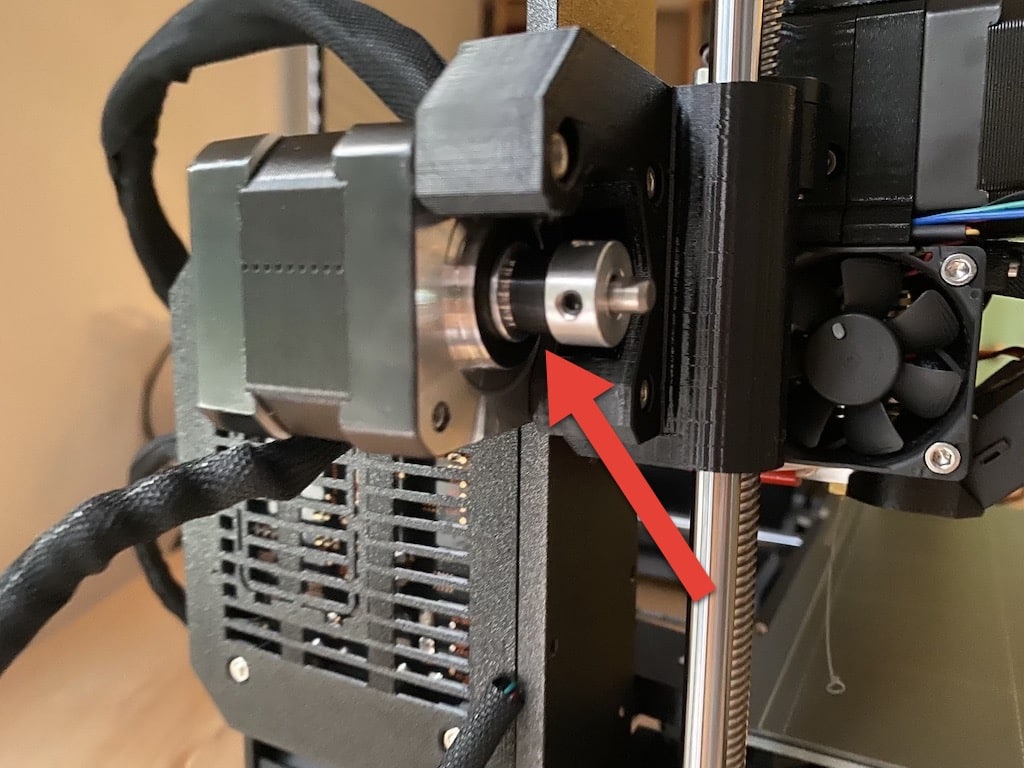
#4 Back-to-front bondtech gear
I installed the x-axis motor bondtech gear back-to-front. The assembly instructions photo shows how to install the gear correctly. It seems that I made this mistake because of how I installed the gear in the Y-axis motor (correctly).
Be carefull: the orientation of the bondtech gear is different in the Y-axis and X-axis motors.
Advice
Use your own set of tools
The kit comes complete with all the tools that you will need.
However, you will have to work with dozens (maybe over one hundred) small screws and nuts. The supplied Allen keys will do the job, but your fingers will hurt.
I found that using a screwdriver with a big rubber grip made it far easier for me to work with.


The kit comes with a needle-nose plier, which is very useful for inserting the square nuts into the special sockets of the 3D printed parts.
Read the labels
I could have avoided my error #2 should I had read the labels of the two belt bags. All labels are correctly printed, you should trust them.
Use a tablet of your computer to show high-resolution assembly images
I found that the colour photos in the instructions booklets are excellent. However, for small details, you need the ability to zoom in. Prusa provides high-resolution photos for every step in the assembly that will make life easier (especially if you are working with poor lighting or your eyesight is not perfect).
Use adequate lighting
Can’t stress that enough. I had plenty of natural light during the day. But as the day ended, I had to use a flashlight.
You will need ample light that you can direct to the area you are working on, which is usually on the side of the printer. Ceiling lights are ok for reading the assembly instructions, but most of the work is done on the sides of the printer.
Use a multimeter for the PSU wiring
I was a bit nervous as I was connecting the PSU to the EINSY board. The connectors on the two sides are not aligned one-to-one. I did not want to burn out the controller board or the PSU. Either one would be a significant set-back.
So, I was extremely conservative.
Although the instructions are clear, I did not want to trust my own eyes, so I used my multi-meter in connectivity mode to make sure that positives were connected to positives, and negatives were connected to negatives.
One thing to remember is that the PSU provides two 24V outputs. This makes it safer to work with. If it had a 24V output and a, say, 5V output then you would also need to be extremely careful to not connect the wrong voltages from the PSU to the controller.
Use a large table
This assembly has a lot of parts. You will need to spread them out on the table so that you can find what you need. Of course, you can keep everything in the box and only take out what you need, but this will slow you down and even frustrate you.
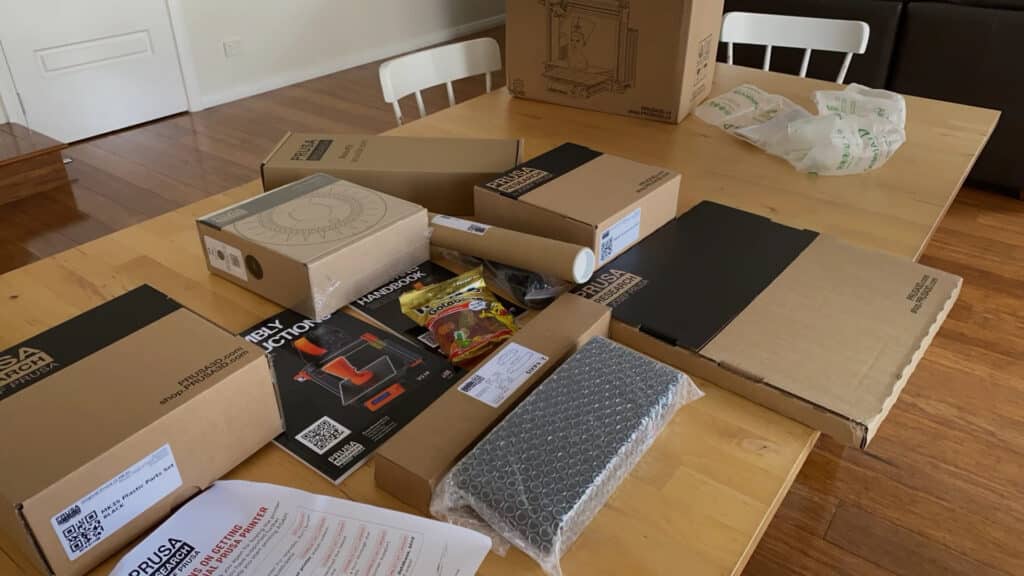
A large table will make your assembly much more comfortable.
Start early and don’t rush
You want to complete the assembly in one sitting, so start early in the day. I started actual work at 10 am and finished at 7pm. I took breaks to walk Einstein, the dog, and have a couple of coffees. I actually started work on the project at 8:30 am.
Between 8:30am and 10am I did things like caffeinate, vacuum the floor (to make it easier to find small items like nuts, should they fall off the table), clear the table, and set up the camera. I also had to protect the Harito bears from the kids, since the instructions say they should only be consumed in specific quantities and specific steps of the process.
The more you rush through the assembly, the higher the risk for mistakes. So, don’t hurry.
I did not rush and still made mistakes.
Before you turn it on, triple check the wiring
I resisted the urge to plug the printer into power and turn it on immediately after plugin in the last (leftover) wire (see error #3 above).
Even though I felt confident that the wiring was correct, and I had spent the last 30 minutes re-checking everything, I realized that there is a small chance that there is an error. Being tired and ready for a good meal, I decided to stop right there. I packed tools, zip ties, and spare parts and the booklets in one of the smaller Prusa boxes, cleaned up the table, and called it a day.
Next day, rested and ready, I did one last check of the wiring and turned on the printer.
It worked!!!
In this video, see my new printer coming to life for the first time.
First prints
A day after publishing this post I received the replacement belt, and installed it. I completed the calibration process without any issues (~30 minutes).
The process was easy, and mostly automated. The most important manual component was to work out the appropriate distance/offset between the print bed and the hot end.
And, amazingly, 100% of my prints so far have been perfect.
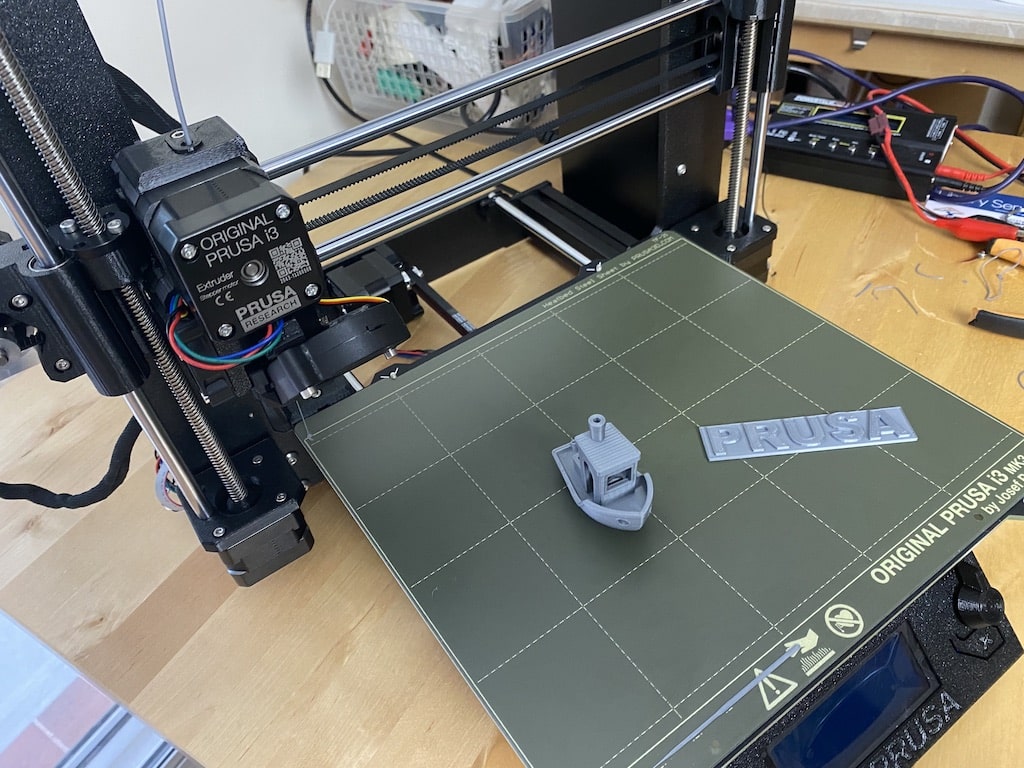
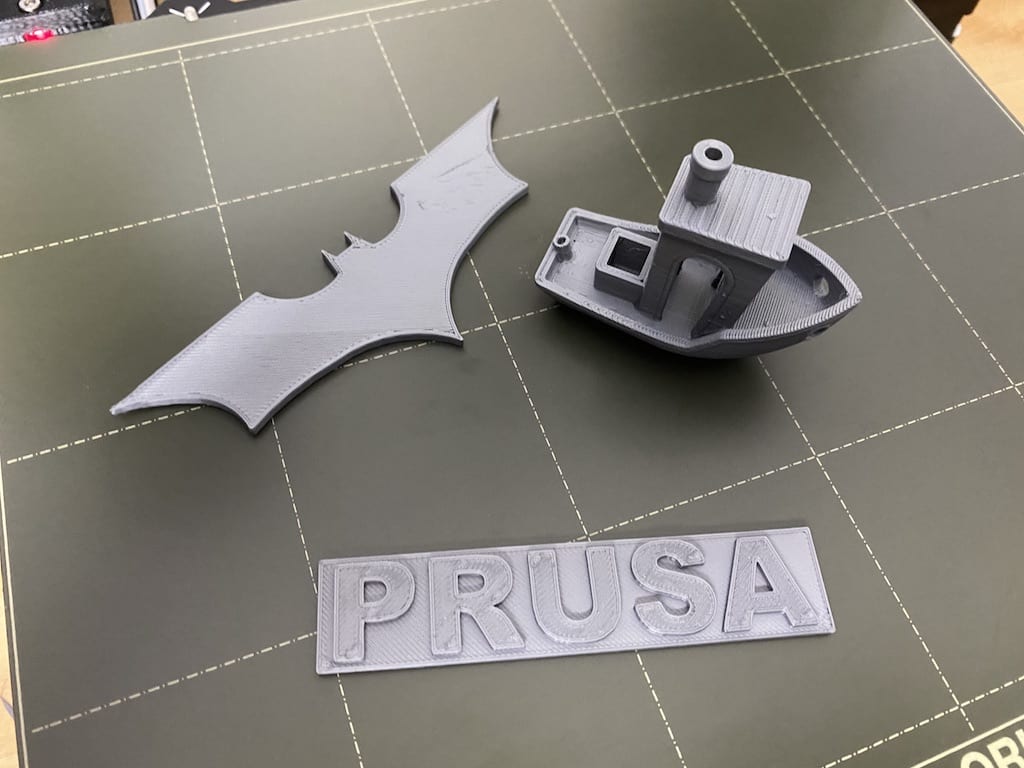
I am very impressed. I did not have to struggle with this printer. It will self-align before every print and it is very quiet during the print. I have not yet tried stealth mode, which is even more quiet.
Now, I’m off to design an enclosure for my terrarium controller.