I became interested in Data Acquisition when I got my first LabJack device, a LabJack T4, in early 2020. I wrote a blog post about my first few experiments with this device.
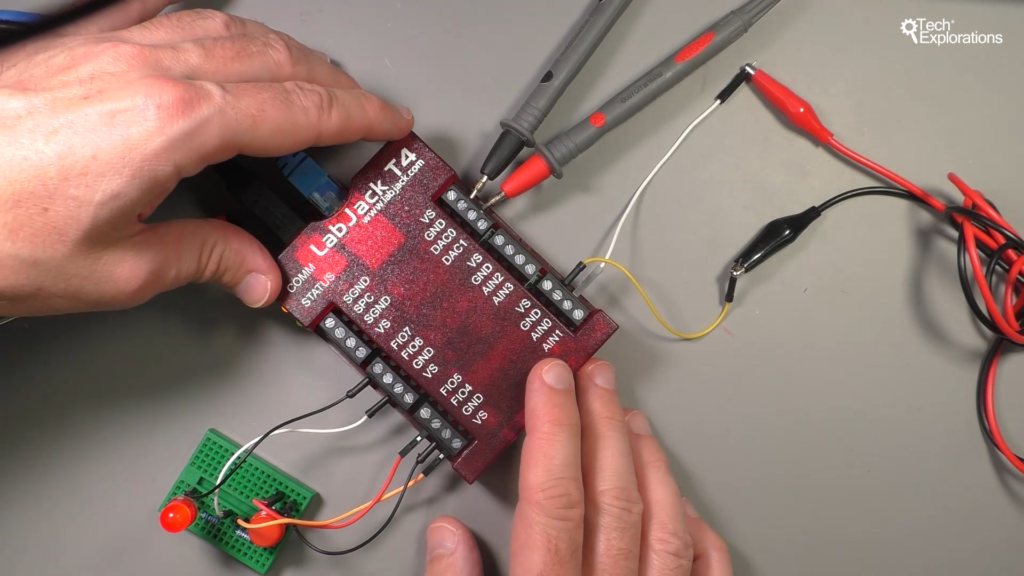
Of course, I was familiar with the concept of collecting sensor data to display them in a dashboard or recording them over long periods of time for later processing. This is something I explore in some of my courses. Raspberry Pi Full Stack and Node-RED and ESP32 are two examples.
With LabJack, I had the opportunity of thinking about data acquisition from a different perspective. The process of data acquisition is critical in many kinds of engineering pursuits, including robotics, rocketry, construction, and automotive.
Data acquisition is also critical in many areas of scientific research, from small lab bench-top experiments to the Large Hadron Collider.
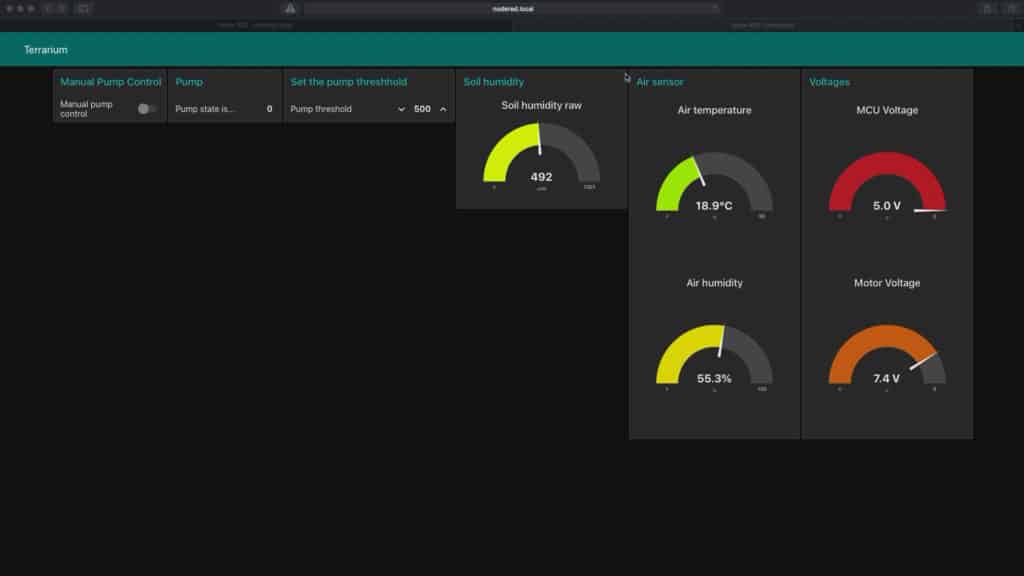
While my Raspberry Pi from my Full Stack course has been collecting data since I published the first version of the course (2016), reliability is not the only requirement of a data acquisition system (DaQ, from now on).
A DaQ system used in industrial and professional settings, must, of course, be reliable.
But it must also be able to:
- Rugged to survive harsh environmental conditions for many years (heat, cold, high/low humidity, lots of electromagnetic noise, dust, and many mechanical stresses).
- Be networkable (Ethernet, Wifi, other wireless or wired options).
- Be programmable, using preferably high-level or even graphical languages, on-site or remotely via a network.
- Be able to connect to a wide variety of industrial sensors and actuators without additional components.
- Be able to operate reliably for many years, often deployed in locations that are not accessible by technicians.

Specialized hardware and software exist to accommodate these requirements. Technologies such as PLCs (Programmable Logic Controller) are of paramount importance for any modern industrial setting, whether it is a factory, warehouse, or skyscraper. PLCs are, essentially, industrial computers designed to survive in factories. They collect data, and they automate part of the industrial process.
Micro-controller-based PLCs, such as the Controllino, brings together the flexibility and affordability of the Arduino and the ruggedness of traditional PLC. I have not used one, but it seems that this is an effective and popular option for any application where a traditional PLC is needed.
Say that you’d like to learn about PLC’s, become familiar with how they work, how they are programmed, and how they connect to industrial sensors and actuators. What do you do?
You start by purchasing an actual PLC.
You can get one of these:
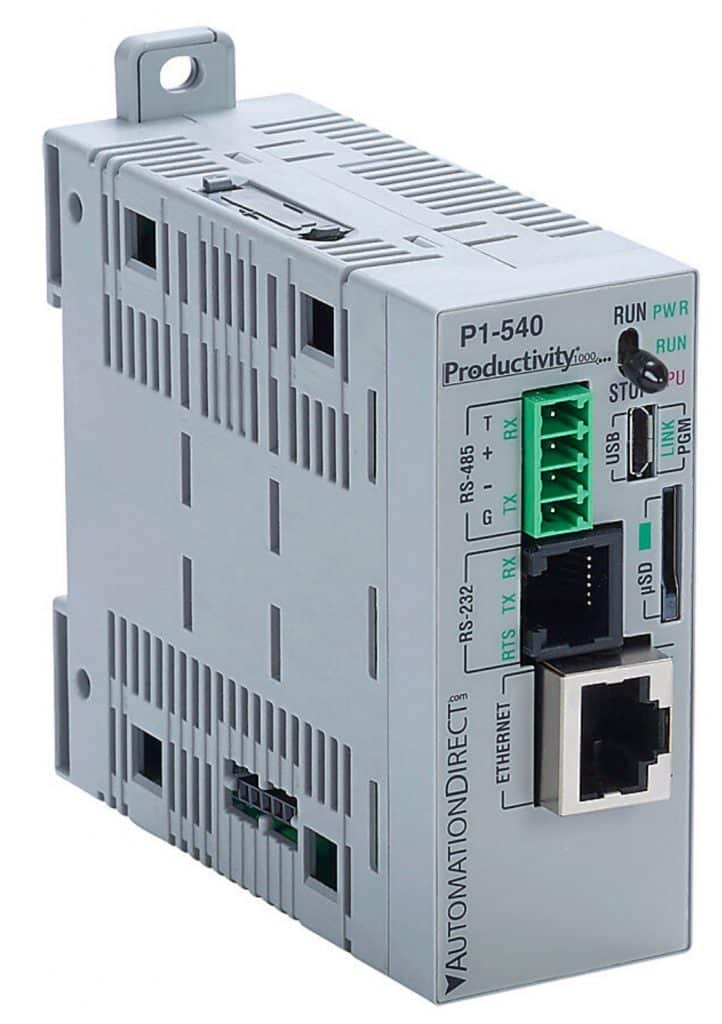
… for around US$180. But this is just the CPU, so you’ll need to add a power supply (~U$40), a PWM module (US$75), one or more analog input modules (~$72 each), one or more analog output modules (~$102 each). Do you want to measure temperature? That’s another $129 (per thermocouple). These are the lowest budget prices I was able to find.
Then, you will need to learn this:
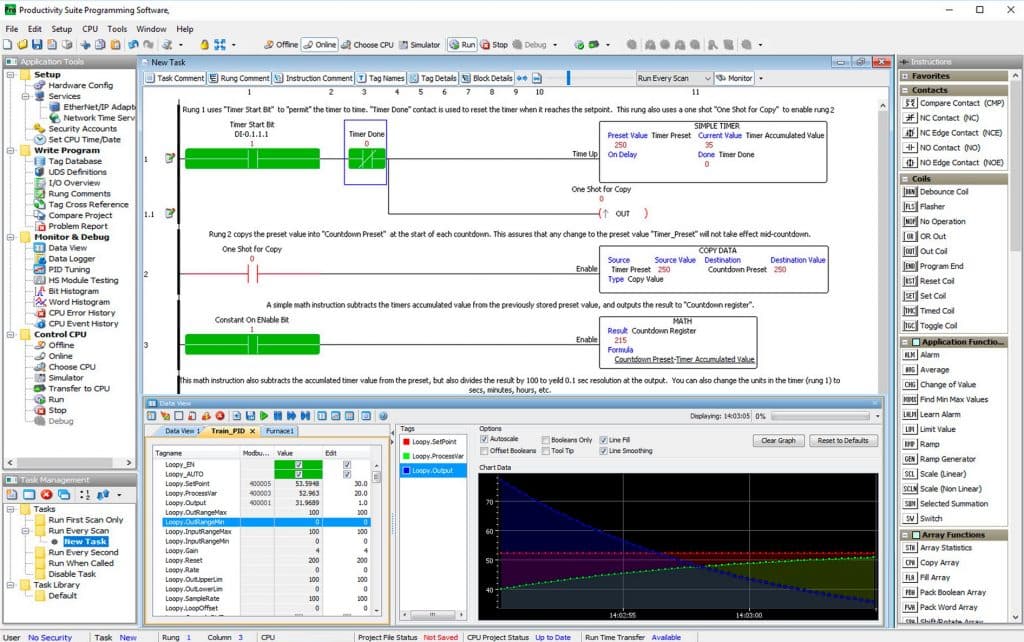
I am not implying that PLC hardware is overpriced or that its matching software not worth learning. This hardware is specifically designed for a purpose (industrial DaQ), and its software is built on drawing on a tradition of decades in this space.
However, unless you can get hardware and training resources from an institution like a company, university, or technical college, the barrier to learning is relatively high.
This is why I believe that the LabJack device is an excellent choice for learners, not just automation and industrial engineers.
LabJack (like my T4) sits below traditional PLCs in terms of costs. But this does not mean that it is less capable. LabJacks can be found in factories, alongside PLCs, but in many other settings where PLCs could be used but can’t be used because of their cost and inherent complexity.
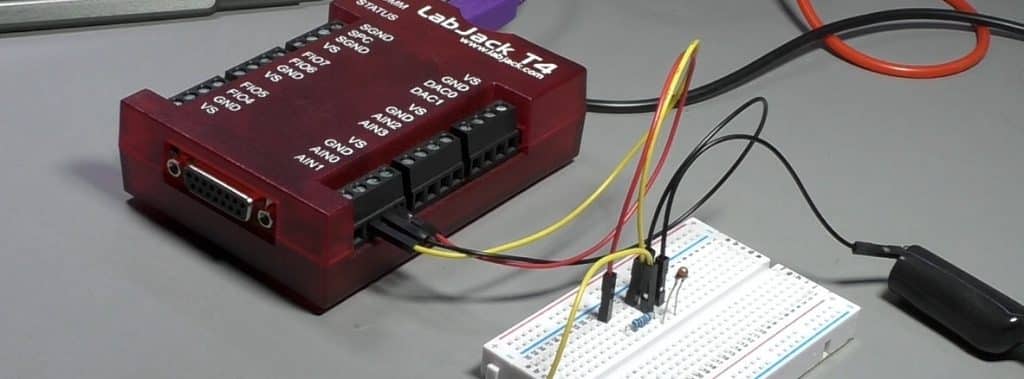
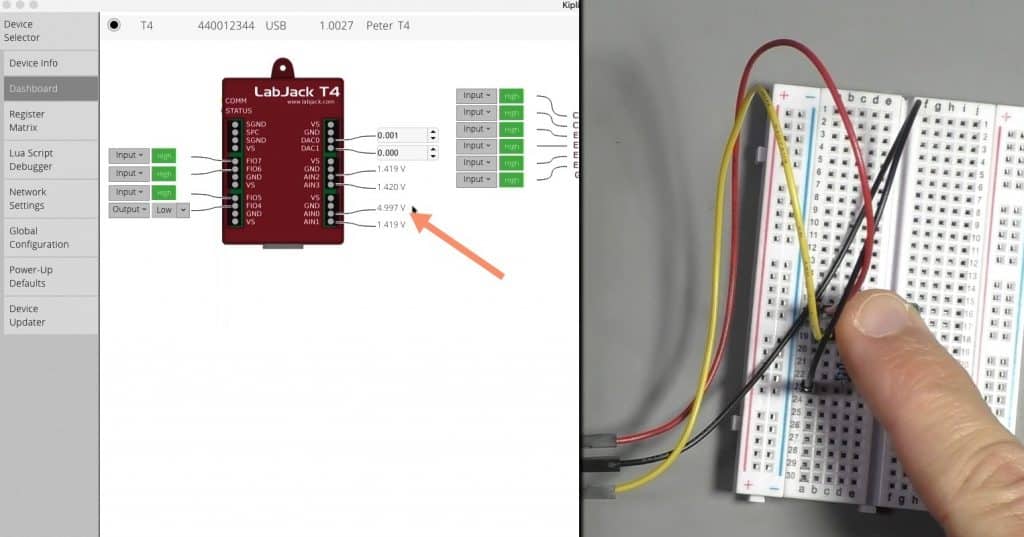
LabJack fulfills the requirements of a PLC that I listed earlier, but it is much easier to learn. In the two screenshots below, you can see two examples of the flexibility that LabJack brings. On the left side is an example of how you can use LabJack outside the box without any programming. You can use the graphical Dashboard to configure each port and to see their state.
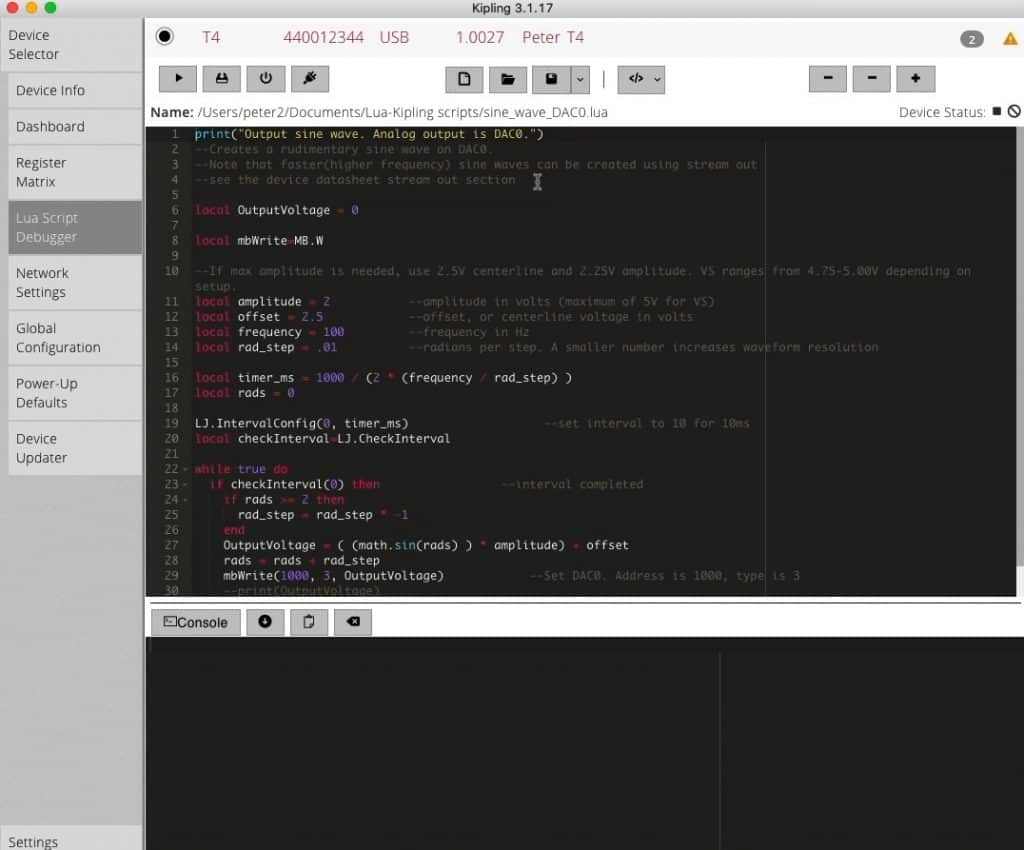
On the right side, you can see the on-board Lua editor. You can write Lua scripts to automate DaQ and control functions.
It is also possible to access and program the LabJack remotely. There is an extensive API with wrappers in many programming languages (like Python, Java, Matlab, etc.) that you can use to program the LabJack remotely (Ethernet, Wifi) or locally (USB).
As an educator, I am cautious about the technologies I adopt and use as learning tools. I’m always looking for technologies that are good both for learning and for doing. There’s not much point in investing time to learn something, only to have to learn something else when the time comes to apply what you have learned.
The Arduino fits these criteria. Once you learn it, you can build a product based on this knowledge. You will need to extend the edges, but the basics are there. It’s the same with the Raspberry Pi.
With the LabJack, I found that once you understand its operation and apply it to a few simple projects, you’ll be able to use what you learned in other settings, including industrial automation, where traditional PLCs are found.
With this in mind, I have created a new course where I teach Data Acquisition and Control with the LabJack.
This course is ideal for you if you are interested in recording real-world data for later analysis or building applications to control the environment based on the data collected from sensors.
The course will teach you how to use the LabJack device to perform data acquisition and control (DaQ) operations. You will go through many hands-on experiments with the LabJack T4 and explore basic and advanced port features, onboard Lua scripting, networked Python scripting, and logging.
There’s no need for any prior knowledge of DaQ, Lua, or anything else other than a basic working knowledge of the kind of sensors and actuators you find in Arduino circuits (thermistors, LEDs, buttons, etc.) and interest in DaQ.
Click the button below if you’d like to learn more about this course.

