INTRODUCTION TO THE ESP32 GUIDE SERIES
From the Arduino Uno to the ESP32: Maker transformation
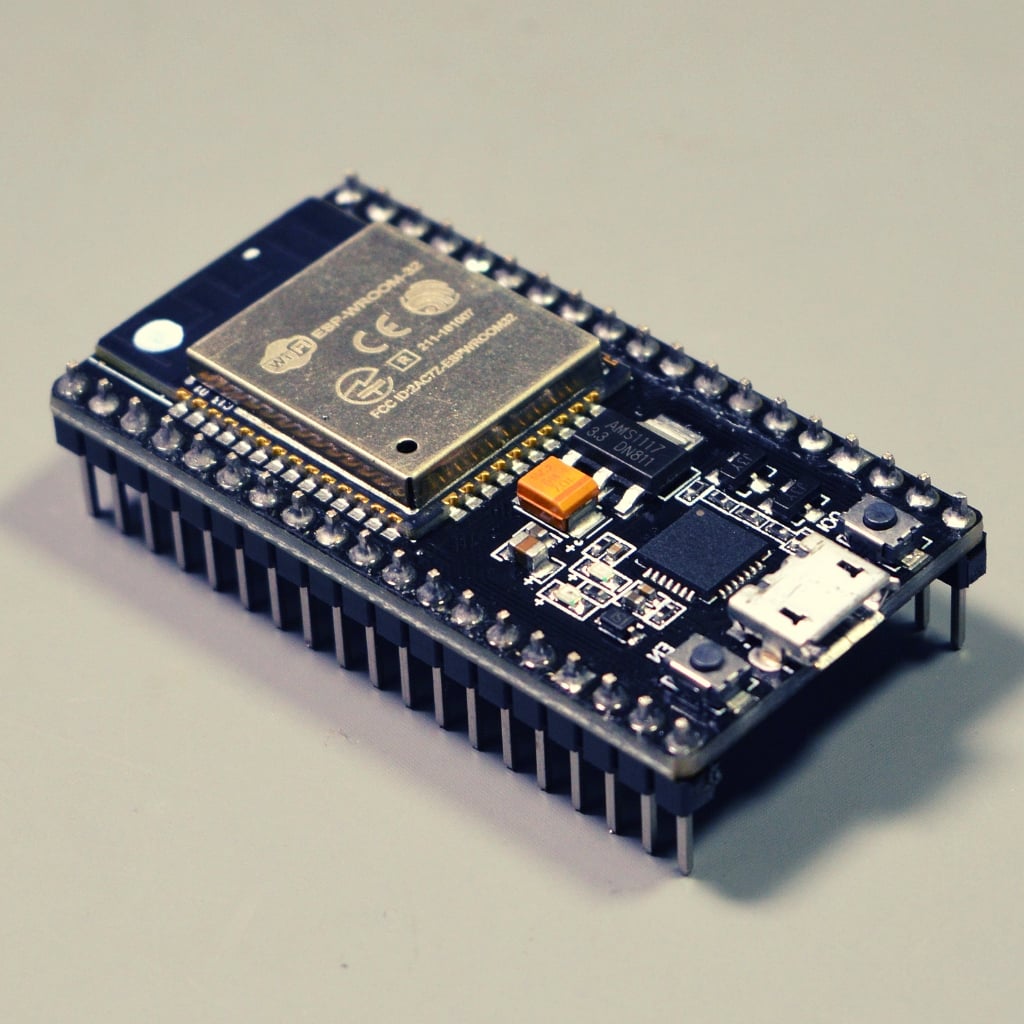
In this article, I'll go over the differences and similarities between the Arduino and the ESP32, as well as show you an example of something cool you can do with the ESP32 and how simple it is to do it almost straight away.

In the previous article, I wrote about the ESP32 and how impressed I am with what I have been able to do with it since I started using it in my projects a few months ago.
I wrote about how the ESP32, the successor of the ground-breaking ESP8266, did everything right for Arduino Makers: processing power, communications options, form factor, compatibility with the Arduino ecosystem and the Arduino IDE, and, of course, the price.
In the previous article, I promised to discuss the differences and similarities between the Arduino and the ESP32. I will give a summary of this in this article (see below).
I also promised that I’d give you another example of something cool you can do with the ESP32, and how easy it is to do that almost out of the box. And, yes, I’ll do that in this article too (see below).
Before I get to the technical stuff, I want to say this: soon after I started working with the ESP32, I started feeling liberated from the shackles of the Arduino Uno. While the Uno is the perfect board for the beginner, its limitations are apparent as soon as you decide to build an IoT application or something that combines displays, sensors, communications, and a basic user interface.
Yes, there are many other boards that I could use instead of the ESP32. But none of those I played with seemed right. Their price was too high, or something important was missing from their hardware, or they were too different from the familiar Arduino sketching paradigm, or I had to use its manufacturer’s infrastructure to make it work.
This ESP32 opened up my project horizons.
I believe that after your first steps with the ESP32, you will also feel liberated. Your project horizons will also open.
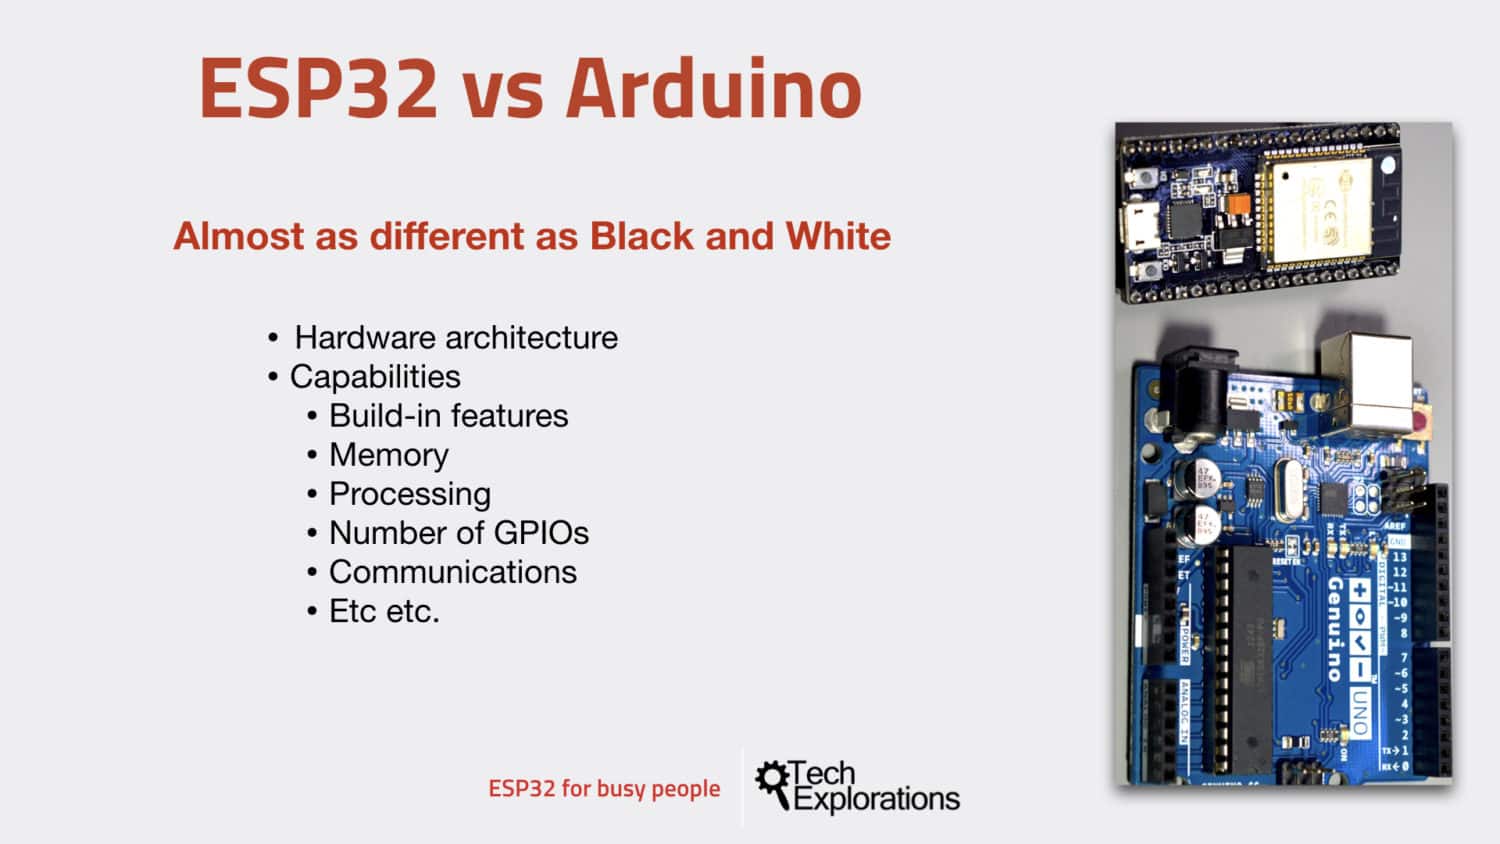
Now, I’d like to make a quick comparison between the Arduino and the ESP32. Since more Arduino Makers are familiar with the Arduino Uno, I will focus on Arduino Uno VS ESP32, but this comparison holds true for most Arduino boards.

These two don't have much in common.
Here’s the thing: These two are totally different.
Not only they look different, but their architecture is also totally different, and they have a different hardware architecture.
Their built-in capabilities are very different.
Memory and storage, the processing capacity, the number of GPIOs that they expose, the communications features and much more; these are very different microcontrollers.
In terms of features, the closest Arduino boards that are comparable to the ESP32 are probably the Arduino MKR1010, the Arduino 101 or the Arduino Zero. At least, these Arduinos have integrated Wi-Fi and Bluetooth, and comparable computational capacity.
Because the Arduino Uno and the ESP32 are so different in terms of hardware, it doesn’t make sense to compare them that way. It makes more sense to write about the use cases of each one.
Here’s what I think:
Is the ESP32 right for you?
Well, it's definitely not for beginners. If you are not familiar with the Arduino, the ESP32 will be a complex board to learn. I don’t recommend it.
The ESP32 provides a perfect opportunity for Arduino Makers to extend and expand on their skills. The hardware that the ESP32 contains means that you can work on more exciting projects and that alone is very desirable.
I find that the ESP32 is better value than comparable Arduino boards, like the MKR1000/1020 and the Arduino Zero.
Who is the Arduino Uno for?
I think that the Arduino is a much better choice for new makers.
It's simple.
It's more forgiving, as well, to problems in wiring and mistakes in wiring.
It's easier to set up.
In summary, if you are a new Maker, learn using the Arduino Uno. Then move on to the ESP32.
Now, I want to show you something really cool. As you probably know, the Arduino Uno doesn’t have the ability to generate a true analog signal. It can create the effect of an analog signal via Pulse Width Modulation.
The ESP32 can generate PWM output, of course. Almost all of its pins are PWM-capable. And it can do that with far more programmable control of the PWM signal parameters than what is possible to do with the Arduino.
But the ESP32 can also generate true analog output because it contains two 8-bit DACs: Digital to Analog Converter. You can access those two DACs (channels) via two of the GPIOs (25 and 26).
Let’s see how easy it is to create a true analog signal.
Example 1: Let’s create a flat waveform on GPIO 25 (this is DAC channel 1). The DAC resolution is 8 bits, so let's “write” decimal 127 to GPIO25.
It’s this easy:
dacWrite(25,127);
Value 127 is in the middle of the range of possible values 0..255, so the result of “dacWrite(25,127);” is around 1.65V measured on GPIO25 (assuming that the supply voltage is 3.3V).
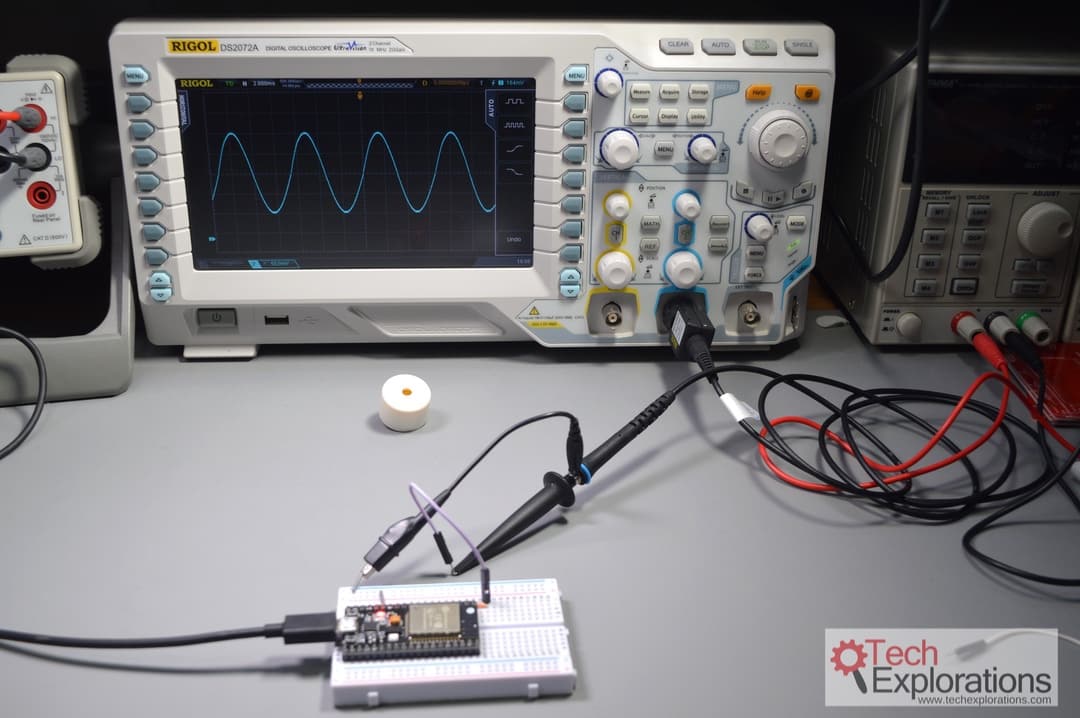
We can take this one step further and create an actual sine wave:
for (int deg = 0; deg < 360; deg++)
    dacWrite(25, int(128 + 80 * (sin(deg*PI/180)))); // Sine wave
This example will generate a sine wave on GPIO25. If you connect an oscilloscope on that pin, you will see this visualization of the signal:

A sine wave, calculated during run-time on the ESP32.
The ESP32 is fast enough to be able to calculate the waveform in runtime, so you don’t have to create lookup tables in memory. And if you enjoy math, you can develop mathematical expressions to generate arbitrary waveforms.
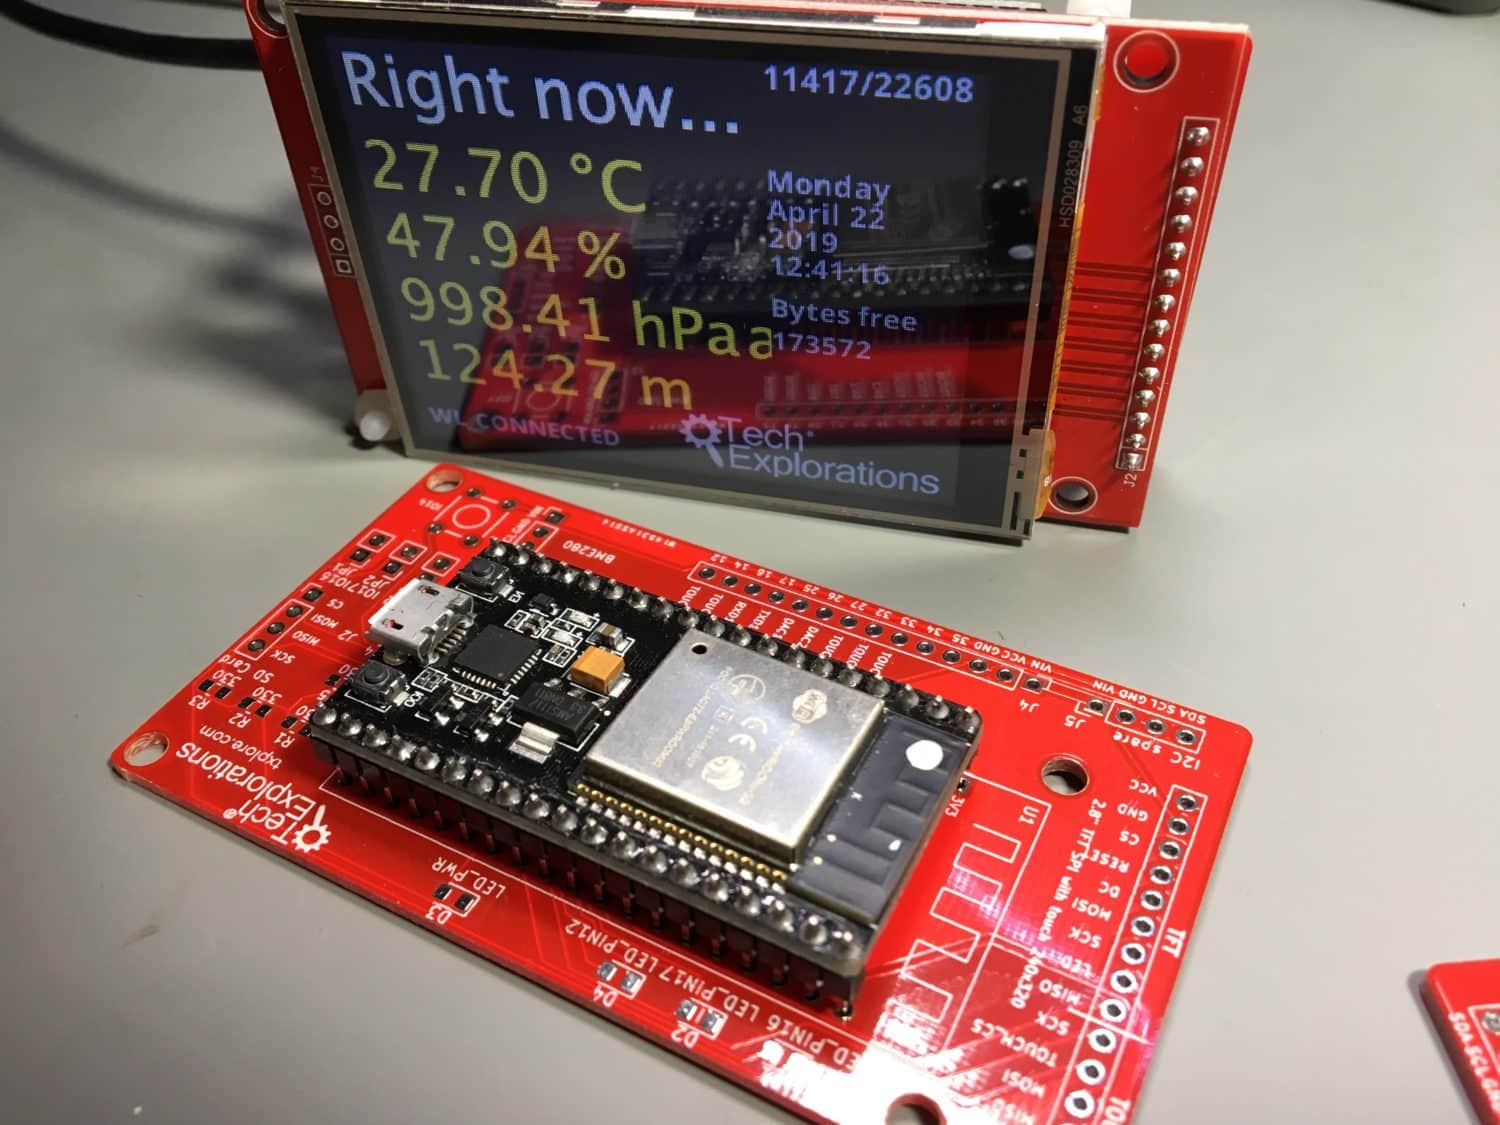
In the next article in this series, I will write about my experience of using the ESP32 to make this gadget:

Something I made to help me learn the ESP32.
My motivation for working on this gadget was to learn the ESP32 in a real-world setting. I wanted something to help me explore as many elements of hardware as possible.
This project helped me learn how to build a system around the ESP32 that integrates environment sensing, an Internet clock, appliance voice control via IFTTT and Google Assist, a touch TFT display for the user interface, and the use of many of the ESP32 features such as the SPI File System, Wifi, timer, and more, with an efficient program design.
Checkout the next article in this series with more information about my pet project 🙂
Peter
PS. In the meantime, do you have any questions about the ESP32 that you’d like to ask me? Just post them below.
Ready for some serious learning?
Enrol to
ESP32 for Busy People
This is our comprehensive ESP32 course for Arduino Makers.
It's packed with high-quality video, mini-projects, and everything you need to learn Arduino from the ground up.
Just click on the big red button to learn more.
Jump to another article
Lessons
1: The ESP32 module
2: The ESP32 Devkit
3: The ESP32 vs Arduino
4: The ESP32 GPIOs
5: The ESP32 communications
6: The ESP32 devkit power supply
7: Setting up ESP32 in the Arduino IDE on Mac OS
8: Setting up ESP32 in the Arduino IDE on Windows 10
9: Install the drivers CP2102 for the USB bridge chip
10: Digital output LED
11: Digital output PWM
Last Updated 2 years ago.
We publish fresh content each week. Read how-to's on Arduino, ESP32, KiCad, Node-RED, drones and more. Listen to interviews. Learn about new tech with our comprehensive reviews. Get discount offers for our courses and books. Interact with our community. One email per week, no spam; unsubscribe at any time
