INTRODUCTION TO THE ESP32 GUIDE SERIES
It feels and works like an Arduino, but... WOW
My New Favourite Microcontroller
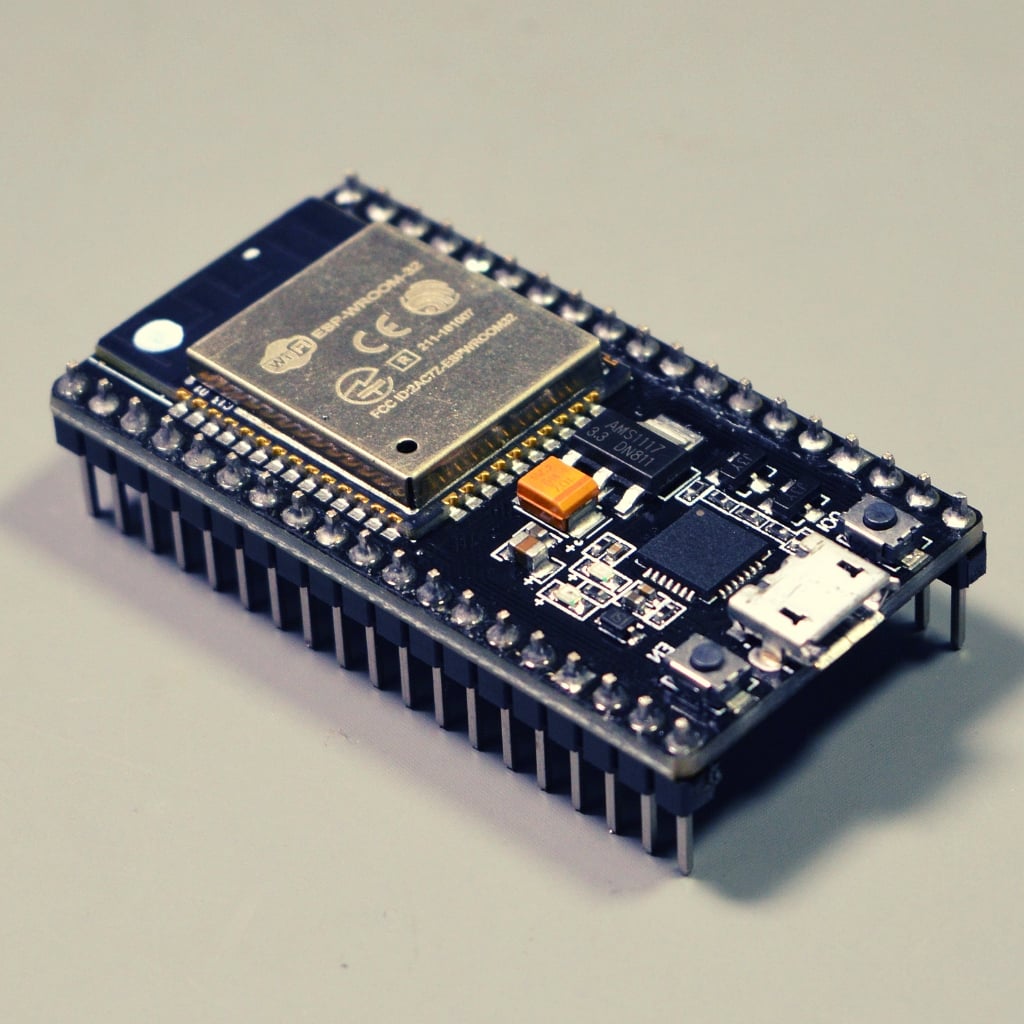
Imagine an Arduino that fits snugly on a breadboard, has more memory, more pins, more speed, more communications (including WiFi, Bluetooth Classic, and BLE), but costs less than an Arduino Uno.

Imagine an Arduino that fits snugly on a breadboard, has more memory, more pins, more speed, more communications (including WiFi, Bluetooth Classic, and BLE), but costs less than an Arduino Uno.
Because it is an Arduino, you can program like you would program an Arduino Uno.
Cool?
You can use the familiar and simple Arduino IDE. You old sketches will work, and so will your favourite libraries.
Only, this is not an Arduino...

The ESP32 is my new favourite microcontroller. It features an excellent balance of performance and price.
It’s the ESP32, from Espresif.
ESP32 is the successor to the ESP8266. The ESP8266 is a board that introduced the idea that a microcontroller with ample processing power and wireless connectivity at an insanely low cost is possible.
The ESP32 took all the awesome features of the ESP8266, improved on them, and added many more (like Bluetooth).
What I really like about the ESP32 though, is that its a mature product.
While the ESP8266 was, infamously, painful to work with for most people familiar with the Arduino, the ESP32 is a pleasure with which to work.
In addition, while the ESP8266 was plagued, in my experience, with reliability issues and felt experimental, the ESP32 is rock solid.
Espressif has done a remarkable job in implementing ESP32 support within the Arduino IDE.
And the hardware itself is super-reliable. I have one of my IoT prototypes working flawlessly for over two months now, without losing a beat.
What this means for you is simple: If you know how to use an Arduino Uno, you can use an ESP32.
Why would you want to use an ESP32? Because it can transform the scope of your projects while actually spending less money on hardware.
I have been using the ESP8266 for a few years now, but I never actually committed to it. I found it clunky, and I did not have the time to deal with its frequent problems.
The ESP32 changed this.
I started using it as my exclusive prototyping board in January 2019. I was blown away by how easy it was to transition to this board from the Arduino Uno.
Make no mistake: I still love the Arduino Uno and it is my go-to board for teaching electronics and programming.
But as a Maker, the ESP32 is my new favorite.
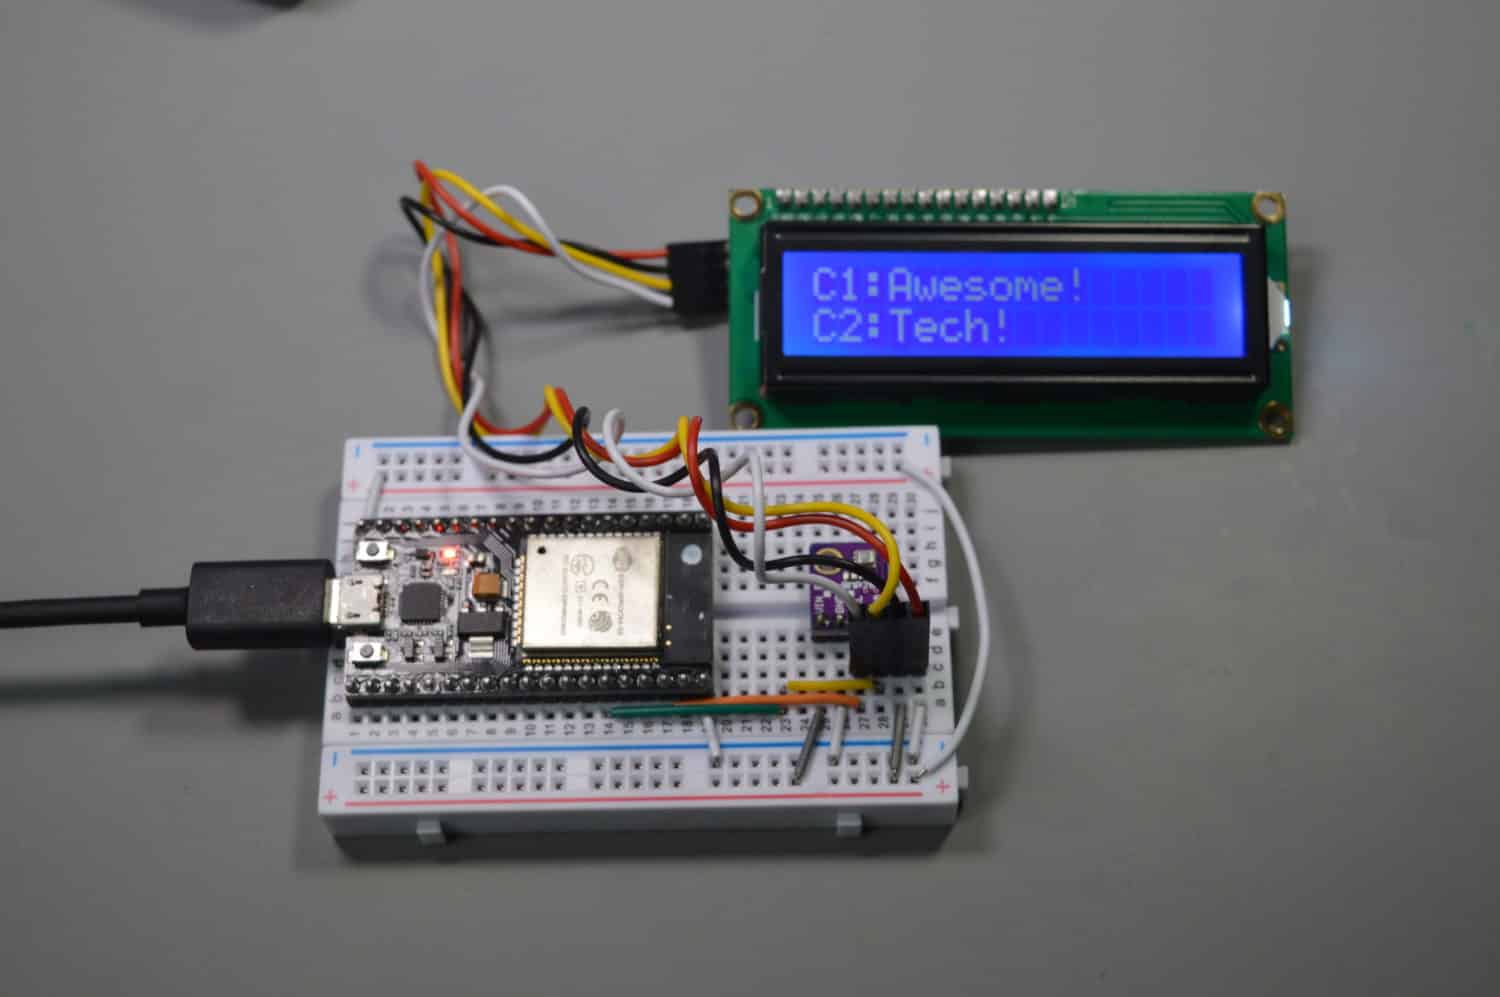
Since I focused on the ESP32, I have used it for several projects, including a heart rate monitor, and an Internet of Things gadget that can respond to my voice.
A couple of things impressed me during this time:
- How quick it was for me to start working with the ESP32.
- How quick prototyping was, once I got started.
- How I felt liberated from the Arduino Uno limitation; this liberation opened up my project horizons.
Let me show you what I mean with a quick example. Say that you want to connect your project to the Internet, and send out some sensor data. Here’s how to do this in an ESP32, using the Arduino IDE.
Oh, and we’ll use secure communications, because it is 2019.
You can see the full sketch here, but below I provide the highlights.
At the header, include the secure Wifi client library. This library ships with the ESP32-Arduino core for the Arduino IDE:
#include <WiFiClientSecure.h>
Provide the credentials to your Wifi network:
const char* ssid     = "<your wifi network name>";
const char* password = "<your wifi network password>";
Provide the target site root certificate (I only show the first three lines here, and extracting this certificate from your target website is very easy):
const char* test_root_ca= \
"-----BEGIN CERTIFICATE-----\n" \
"MIIDdzCCAl+gAwIBAgIEAgAAuTANBgkqhkiG9w0BAQUFADBaMQswCQYDVQQGEwJJ\n" \
"RTESMBAGA1UEChMJQmFsdGltb3JlMRMwEQYDVQQLEwpDeWJlclRydXN0MSIwIAYD\n" \
"VQQDExlCYWx0aW1vcmUgQ3liZXJUcnVzdCBSb290MB4XDTAwMDUxMjE4NDYwMFoX\n" \
"DTI1MDUxMjIzNTkwMFowWjELMAkGA1UEBhMCSUUxEjAQBgNVBAoTCUJhbHRpbW9y\n" \
"ZTETMBEGA1UECxMKQ3liZXJUcnVzdDEiMCAGA1UEAxMZQmFsdGltb3JlIEN5YmVy\n" \
"VHJ1c3QgUm9vdDCCASIwDQYJKoZIhvcNAQEBBQADggEPADCCAQoCggEBAKMEuyKr\n" \
"mD1X6CZymrV51Cni4eiVgLGw41uOKymaZN+hXe2wCQVt2yguzmKiYv60iNoS6zjr\n" \
"IZ3AQSsBUnuId9Mcj8e6uYi1agnnc+gRQKfRzMpijS3ljwumUNKoUMMo6vWrJYeK\n" \
"mpYcqWe4PwzV9/lSEy/CG9VwcPCPwBLKBsua4dnKM3p31vjsufFoREJIE9LAwqSu\n" \
"XmD+tqYF/LTdB1kC1FkYmGP1pWPgkAx9XbIGevOF6uvUA65ehD5f/xXtabz5OTZy\n" \
"dc93Uk3zyZAsuT3lySNTPx8kmCFcB5kpvcY67Oduhjprl3RjM71oGDHweI12v/ye\n" \
"jl0qhqdNkNwnGjkCAwEAAaNFMEMwHQYDVR0OBBYEFOWdWTCCR1jMrPoIVDaGezq1\n" \
"BE3wMBIGA1UdEwEB/wQIMAYBAf8CAQMwDgYDVR0PAQH/BAQDAgEGMA0GCSqGSIb3\n" \
"DQEBBQUAA4IBAQCFDF2O5G9RaEIFoN27TyclhAO992T9Ldcw46QQF+vaKSm2eT92\n" \
"9hkTI7gQCvlYpNRhcL0EYWoSihfVCr3FvDB81ukMJY2GQE/szKN+OMY3EU/t3Wgx\n" \
"jkzSswF07r51XgdIGn9w/xZchMB5hbgF/X++ZRGjD8ACtPhSNzkE1akxehi/oCr0\n" \
"Epn3o0WC4zxe9Z2etciefC7IpJ5OCBRLbf1wbWsaY71k5h+3zvDyny67G7fyUIhz\n" \
"ksLi4xaNmjICq44Y3ekQEe5+NauQrz4wlHrQMz2nZQ/1/I6eYs9HRCwBXbsdtTLS\n" \
"R9I4LtD+gdwyah617jzV/OeBHRnDJELqYzmp\n" \
"-----END CERTIFICATE-----\n";
Create a secure client object:
WiFiClientSecure client;
In setup() , connect to your Wifi network:
WiFi.begin(ssid, password);
And in loop(), first set the root certificate for the connection to the remote server:
client.setCACert(test_root_ca);
… and connect:
client.connect(server, 443)
You are now connected, and you can transmit data securely using client.println(), or receive using client.read().
Because the ESP32 dedicates a full core to running the radio components and has cryptographic hardware acceleration, the Wifi and secure web functions happen seamlessly for your sketch. Your sketch is running in its own full-speed core, at full speed, not losing a beat.
That is one less thing for me to worry about.
At this point, you might be thinking “That’s cool, I want to jump right in and use the ESP32 in my project NOW!”.
Well, that was my approach 🙂
I did learn that there are several similarities, but also differences between the ESP32 and my familiar Arduino Uno. I discovered that knowing what those are upfront would have made my work with the ESP32 easier, and my prototyping faster.
I am going to discuss those differences and similarities in the next article.
In the next article I also want to show you another cool thing that you can do with the ESP32, that is a stretch for the Arduino Uno.
In the meantime, do you have any questions about the ESP32 that you’d like to ask me? Just post it below.
Ready for some serious learning?
Enrol to
ESP32 for Busy People
This is our comprehensive ESP32 course for Arduino Makers.
It's packed with high-quality video, mini-projects, and everything you need to learn Arduino from the ground up.
Just click on the big red button to learn more.
Jump to another article
Lessons
1: The ESP32 module
2: The ESP32 Devkit
3: The ESP32 vs Arduino
4: The ESP32 GPIOs
5: The ESP32 communications
6: The ESP32 devkit power supply
7: Setting up ESP32 in the Arduino IDE on Mac OS
8: Setting up ESP32 in the Arduino IDE on Windows 10
9: Install the drivers CP2102 for the USB bridge chip
10: Digital output LED
11: Digital output PWM
Last Updated 2 years ago.
We publish fresh content each week. Read how-to's on Arduino, ESP32, KiCad, Node-RED, drones and more. Listen to interviews. Learn about new tech with our comprehensive reviews. Get discount offers for our courses and books. Interact with our community. One email per week, no spam; unsubscribe at any time
