Blynk guide series
A primer on the Arduino Nano 33 IoT
Learn a few things about the Arduino Nano 33 IoT that we'll be using throughout this guide series.
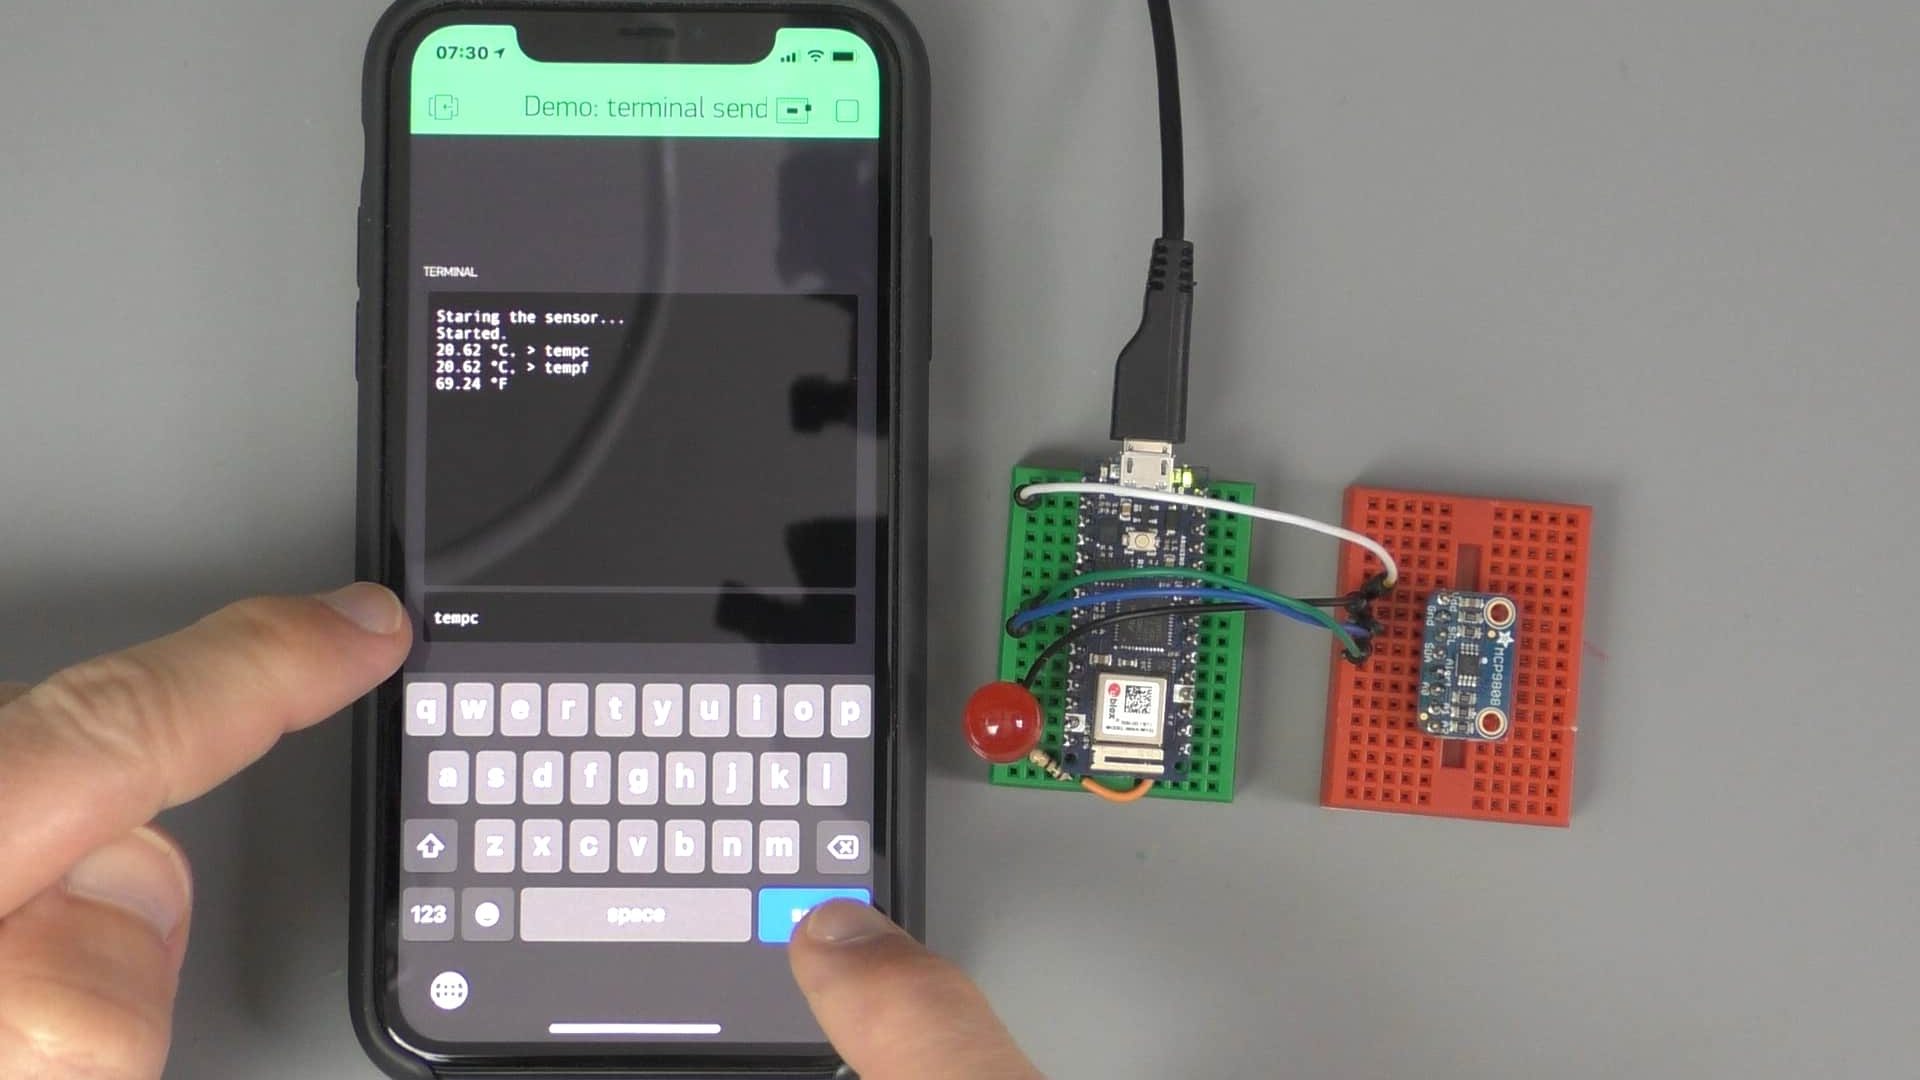
Would you rather watch than read? Here's the video version of this article.
In this article, I will show you a few of the capabilities of Arduino Nano 33 IoT, especially when it comes to its inbuilt sensor and its WiFi capabilities because WiFi is what we're using to connect to Blynk and our network.
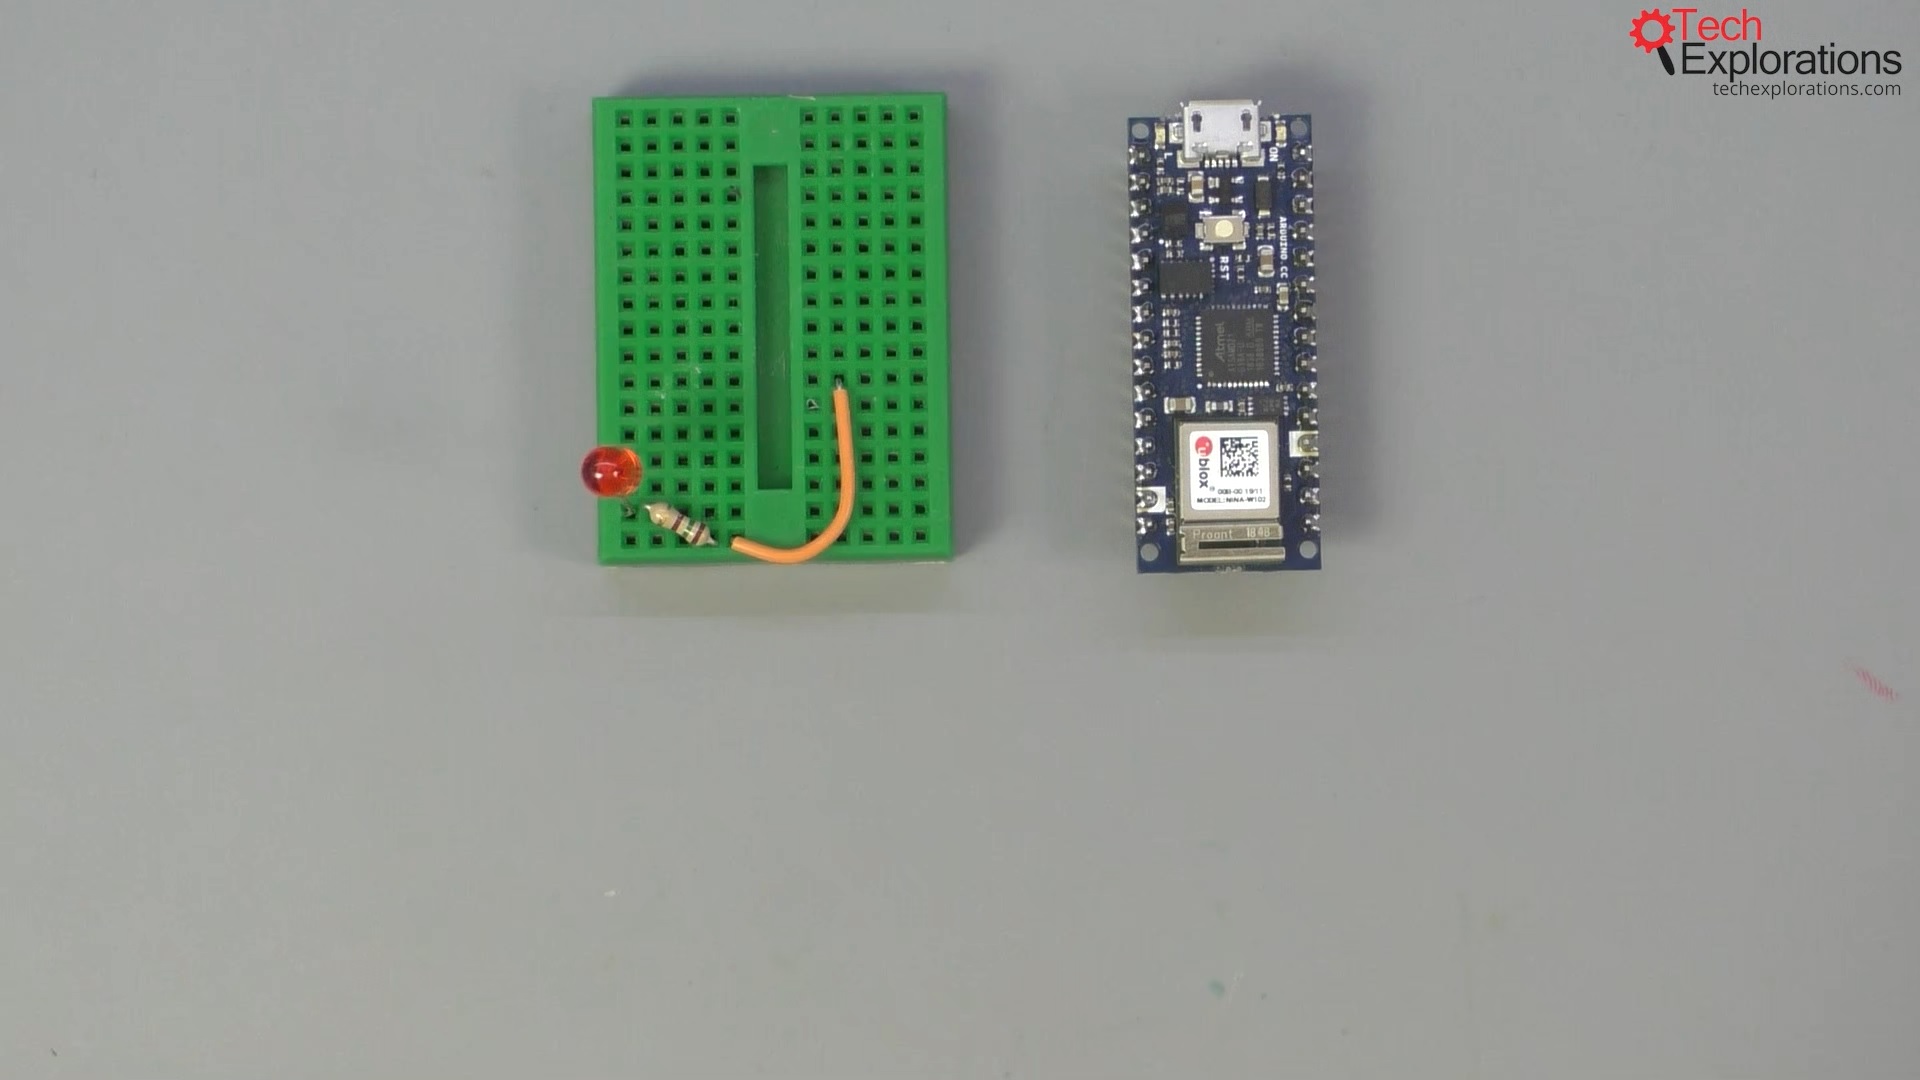
The Arduino Nano 33 IoT
In the pictures above and below, you can see an Arduino Nano 33 IoT.
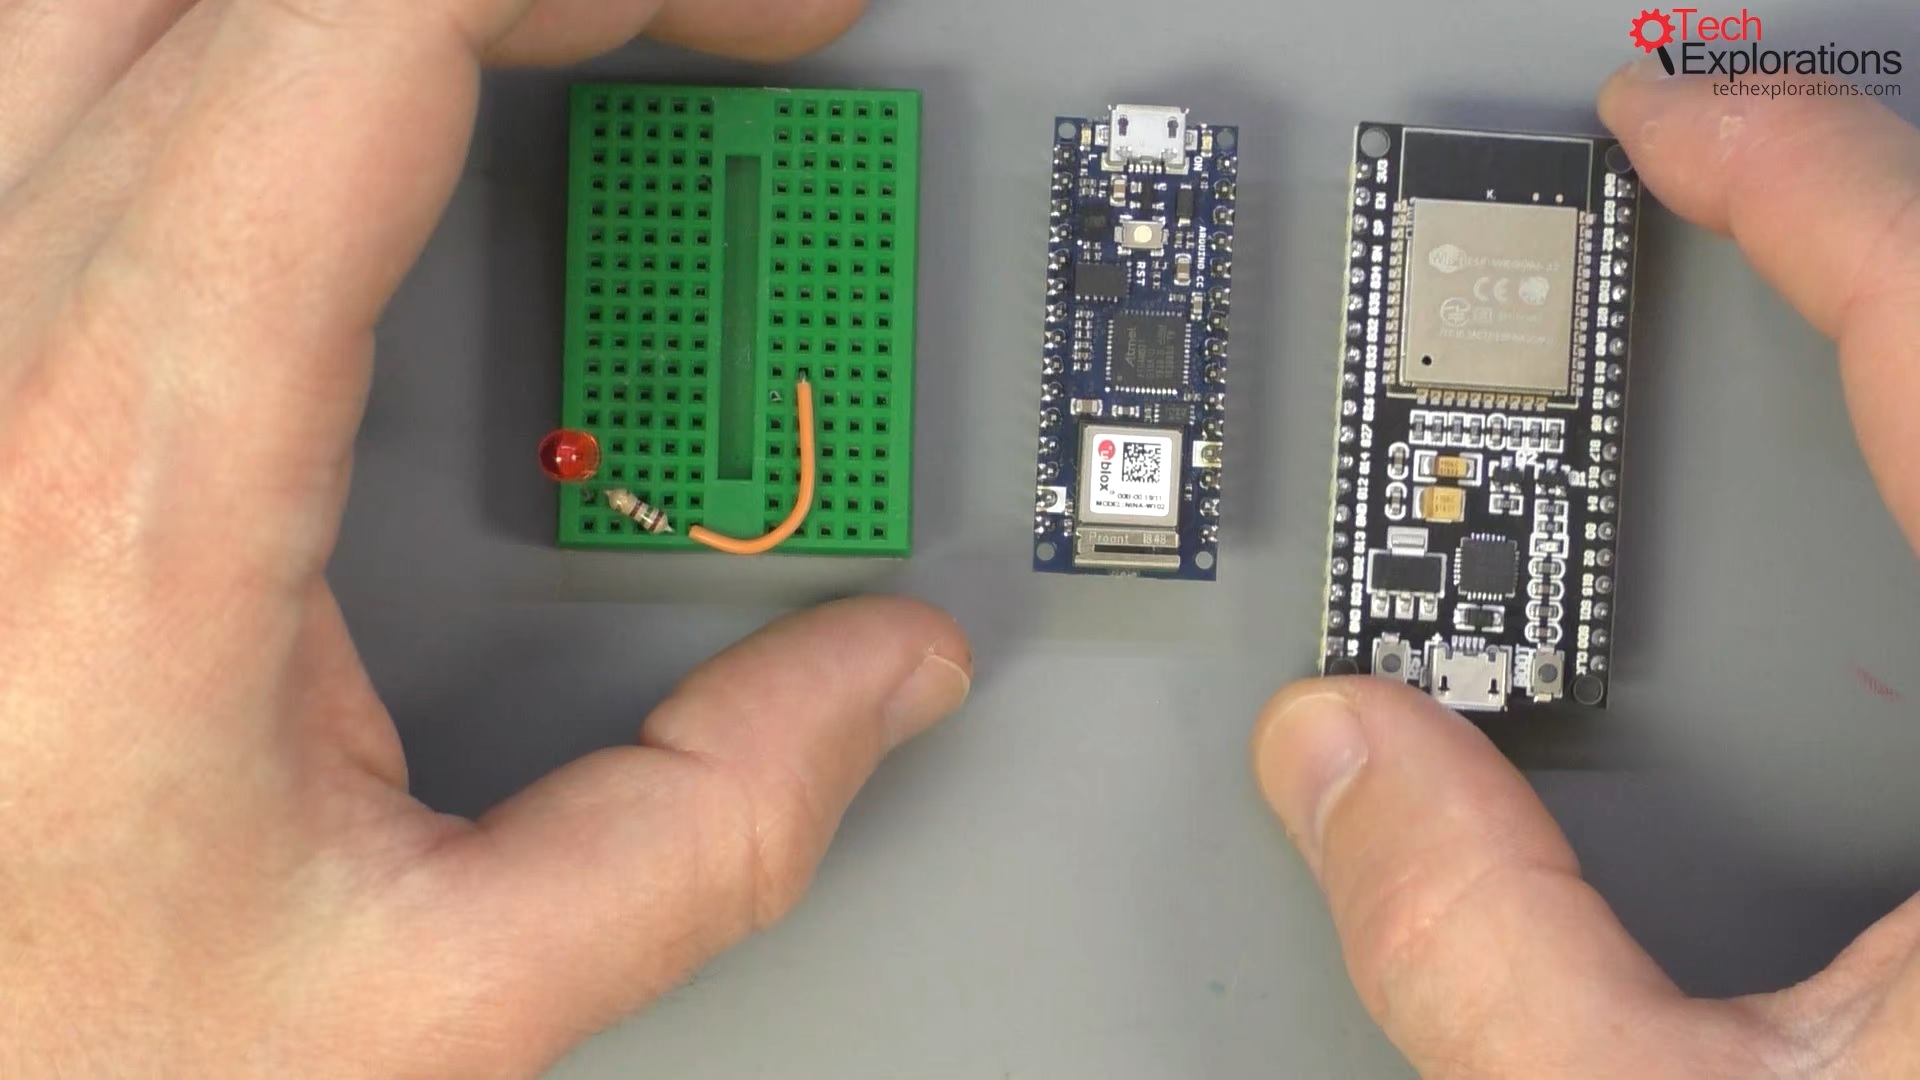
The Arduino Nano 33 IoT compared to an ESP32
As you can see, it's a very small form factor device, especially when you compare to an ESP32 or, of course, to an old Arduino Uno. In the form factor of the Arduino Uno, things seem to be shrinking.
The Arduino Nano 33 IoT has an accelerometer integrated into the device, which is another plus, another reason why I'm using it in this demonstration. We'll be taking data from the accelerometer in subsequent guide pages and using them in our Blynk application.
It also has a built-in controllable LED, which is connected to digital pin 13. Also, very importantly, it's got a very efficient and fast WiFi module.
The Arduino Nano 33 IoT Documentation
Take a look at the documentation because that part is very important. So, here is the product page for the Arduino Nano 33 IoT. Scroll down under Technical Specifications, and you'll see that the radio module used on this device is the u-blox NINA-W102.
It's interesting to know that the Arduino MKR WiFi 1010 also uses the same radio module. This is great because, as you'll find out in the next page of this guide, where we'll put together the first Blynk sketch, Blynk does not have support, at least by name, for the Arduino Nano 33 IoT.
However, it does have support for the Arduino MKR WiFi 1010. So, because these two devices use the same radio module, we can use the Arduino MKR WiFi 1010 examples in order to work with the Arduino Nano 33 IoT. So, this is important to note.
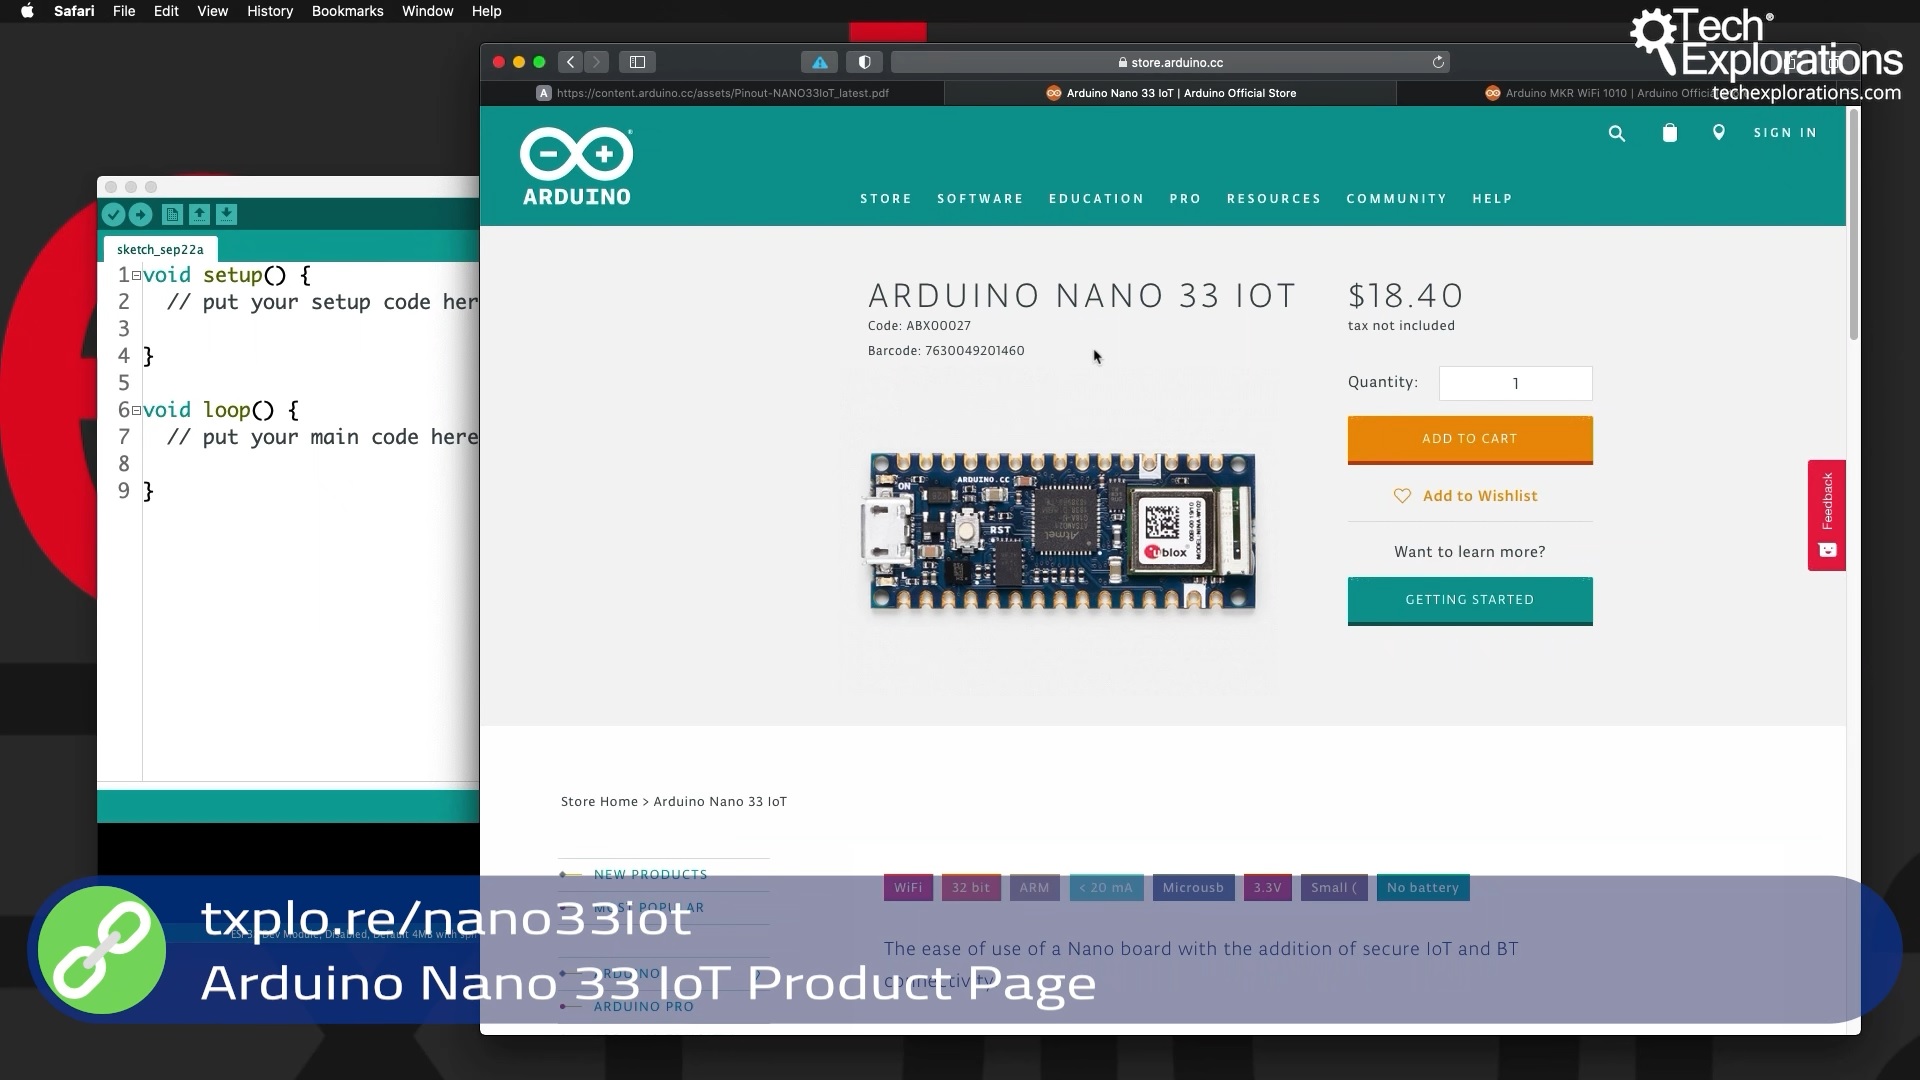
The Arduino Nano 33 IoT Product Page
The Arduino Nano 33 IoT Pin Layout
Another thing that I want to show you is the pin layout for the Arduino Nano. You can see in the image below that the built-in LED is connected to digital pin 13.
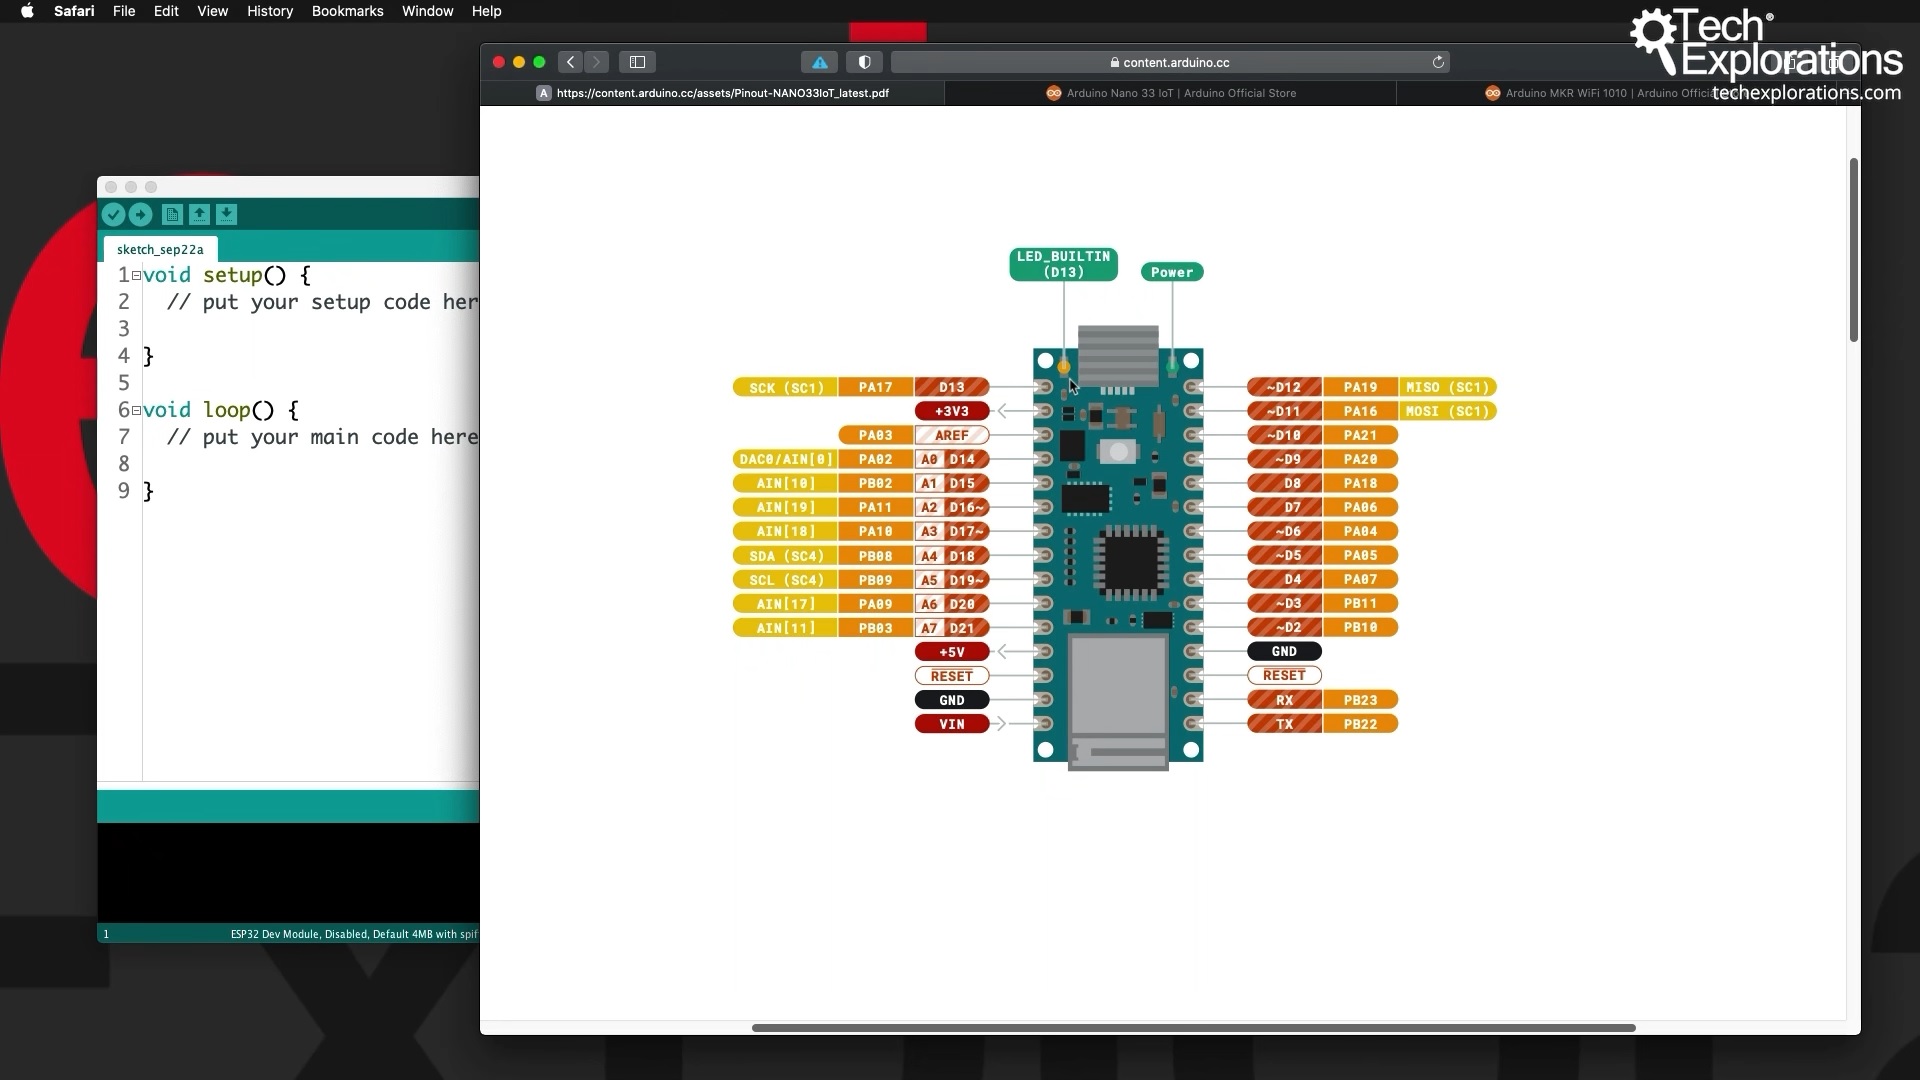
The Arduino Nano 33 IoT pin layout (click to enlarge image)
I've also got a tiny breadboard with another LED, just to give us a few additional control options. I have connected this LED to digital pin 2.
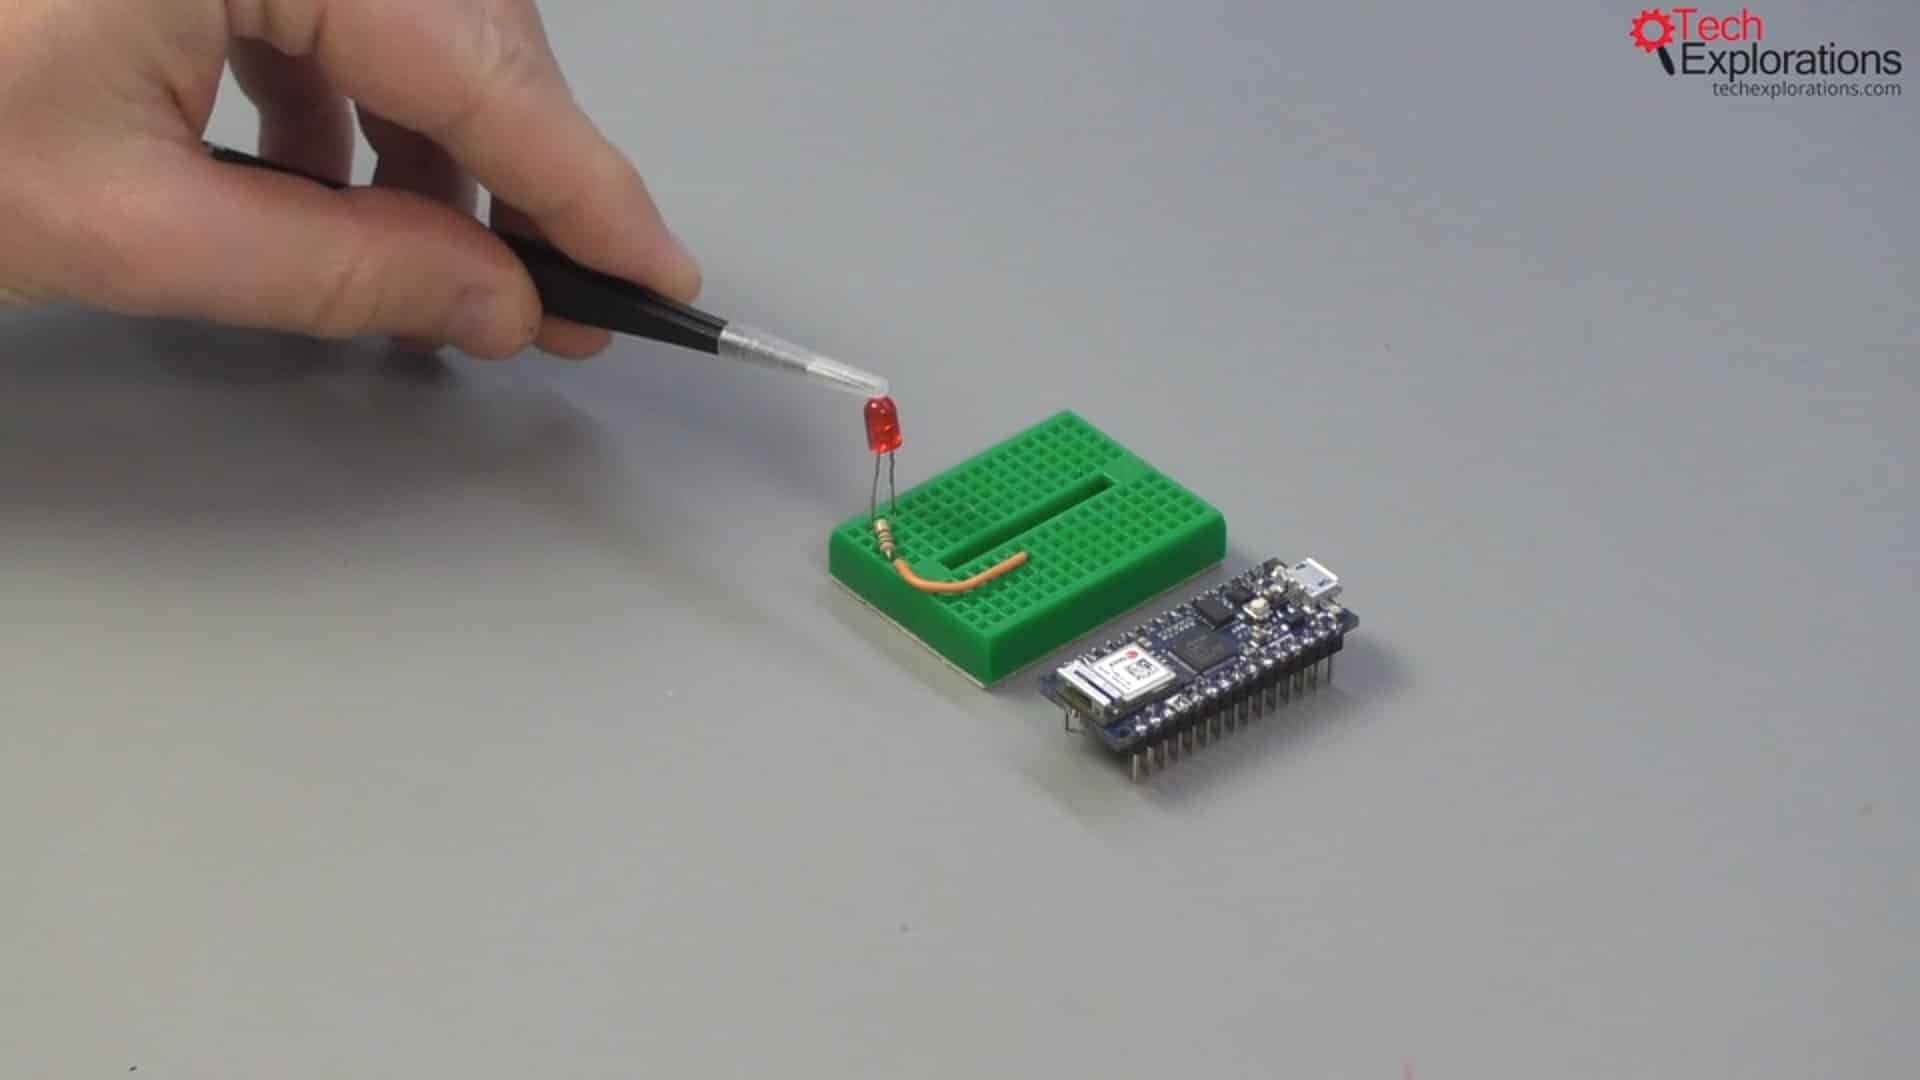
This LED is connected to digital pin 2
Next, I'm going to attach my Arduino to my breadboard and get it ready for the next guide page, where we will do a little bit of programming.
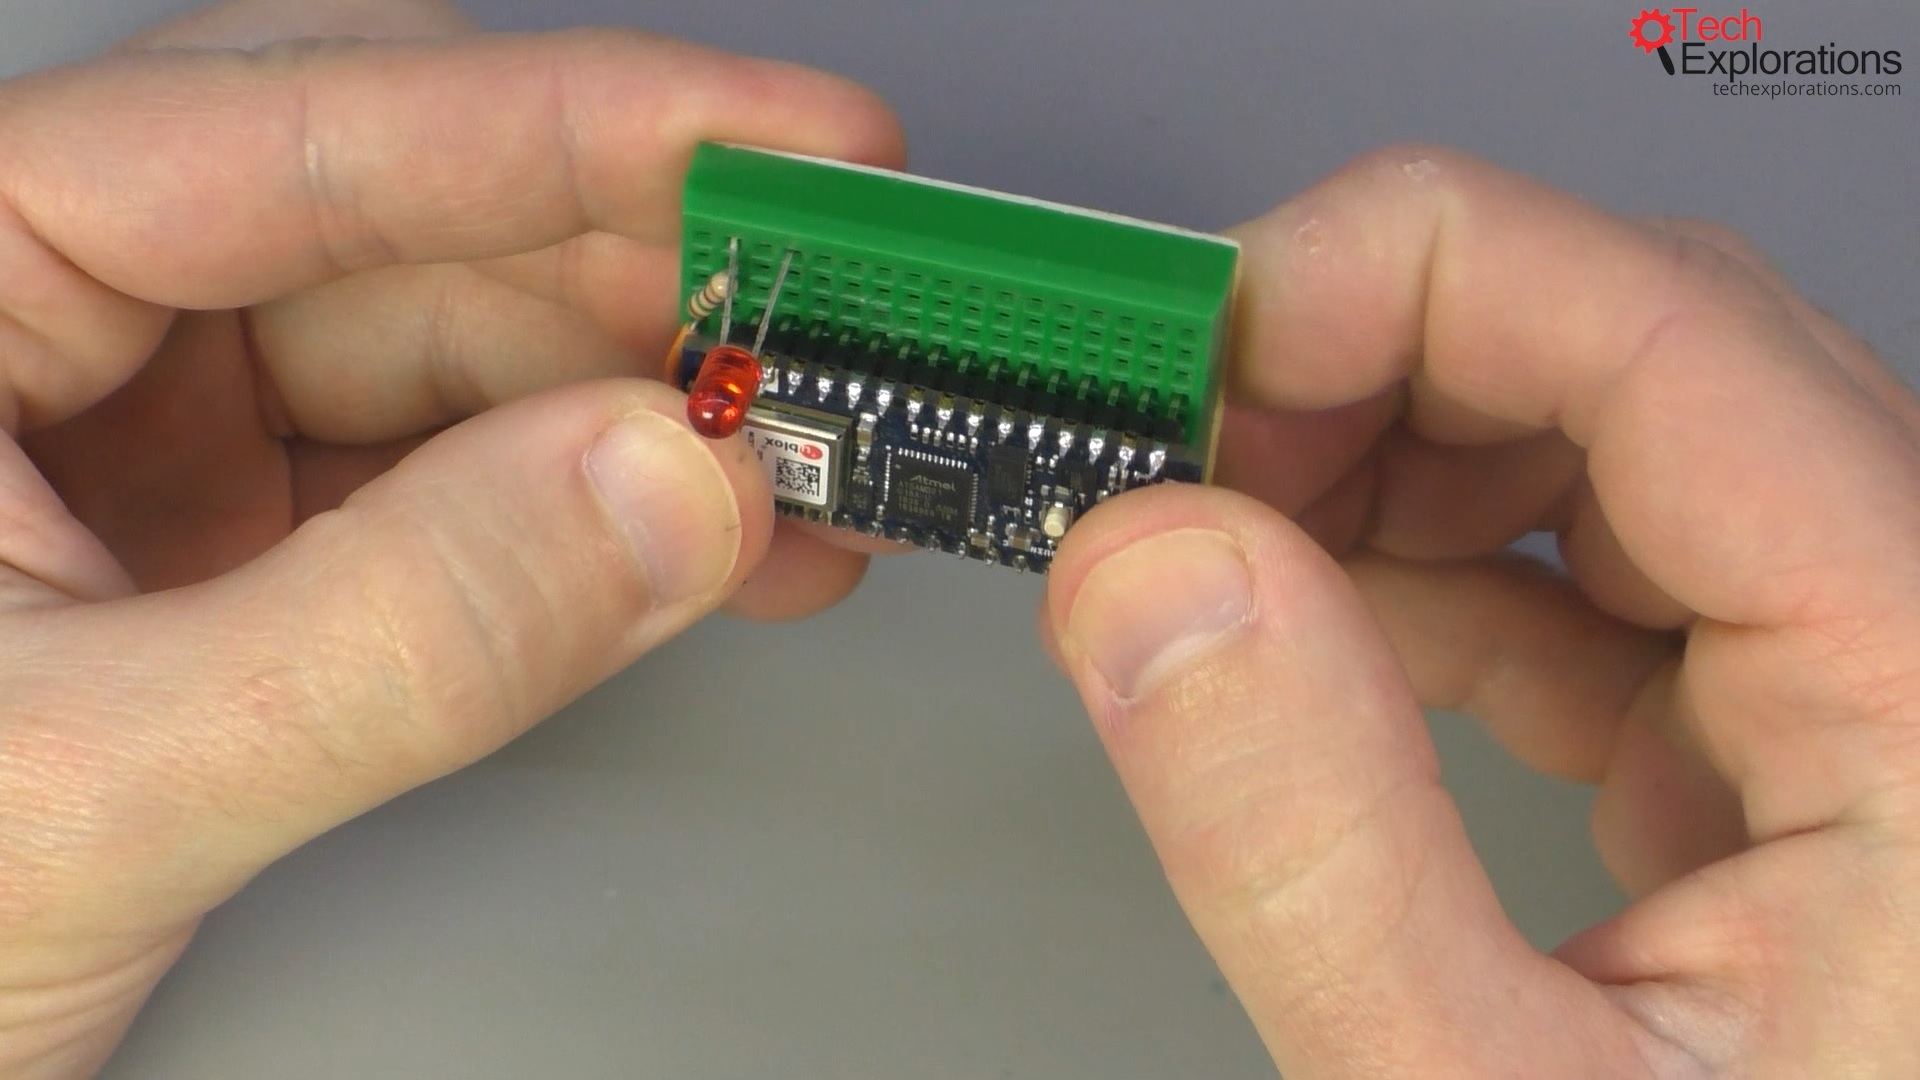
The Arduino Nano 33 IoT is now attached to the breadboard
Install support for the Arduino Nano 33 IoT and Blynk
Next, I will go to the Arduino IDE and install support both for the Arduino Nano 33 IoT and for Blynk. To do that, first, go onto Tools, then under Board, and under Arduino SAMD category, you'll find your Arduino Nano 33 IoT, and select it.
If it's not there, then you'll need to install support for this board. The Arduino IDE does not come with built-in support for the Arduino Nano.
Go under Tools --> Board --> Boards Manager, and search for Arduino Nano 33.
Then, the Arduino SAMD boards, a collection of libraries, will come up. One of those in here is the Arduino Nano 33 IoT. Go ahead and install it. I've already got my support for this hardware installed.
After the installation is done, you can close the window.
Install the Blynk libraries
The next thing to do is to install the Blynk libraries.
With "Arduino Nano" already selected, go under Sketch, then Include Library, and Manage Libraries. There, search for Blynk. Select the latest available version and install it. You will do that as well for the ESP32, but we'll do that later, so, we'll have support for Blynk for both devices.
You can close the window.
Now, you go under File, and you can see that you've got a new set of examples for Blynk. We are going to be using, at least the WiFi example, in the next articles.
In the next guide page, I'll show you how to install and set up your Blynk application on your phone.
Learn Blynk with our video course
Start right now with Arduino Mobile Development with Blynk
This is our comprehensive video course, packed with high-quality video, hands-on mini-projects, and our friendly and supporting community.
Jump to another article
1. What is Blynk?
2. Demo of a simple Blynk project
3. The Arduino Nano 33 IoT
4. Install the Blynk app, create an account
5. Create a new Blynk project
6. How to use a virtual pin
7. Replace the Arduino Nano 33 IoT with an ESP32
8. Button and styled button
9. Hardware button LED
10. Hardware potentiometer LED
11. Vertical and horizontal slider
Last Updated 3 years ago.
We publish fresh content each week. Read how-to's on Arduino, ESP32, KiCad, Node-RED, drones and more. Listen to interviews. Learn about new tech with our comprehensive reviews. Get discount offers for our courses and books. Interact with our community. One email per week, no spam; unsubscribe at any time
