Blynk guide series
Create a new Blynk project
Learn how to create your first Blynk project. Control the built-in LED and the external LED on an Arduino Nano 33 IoT.
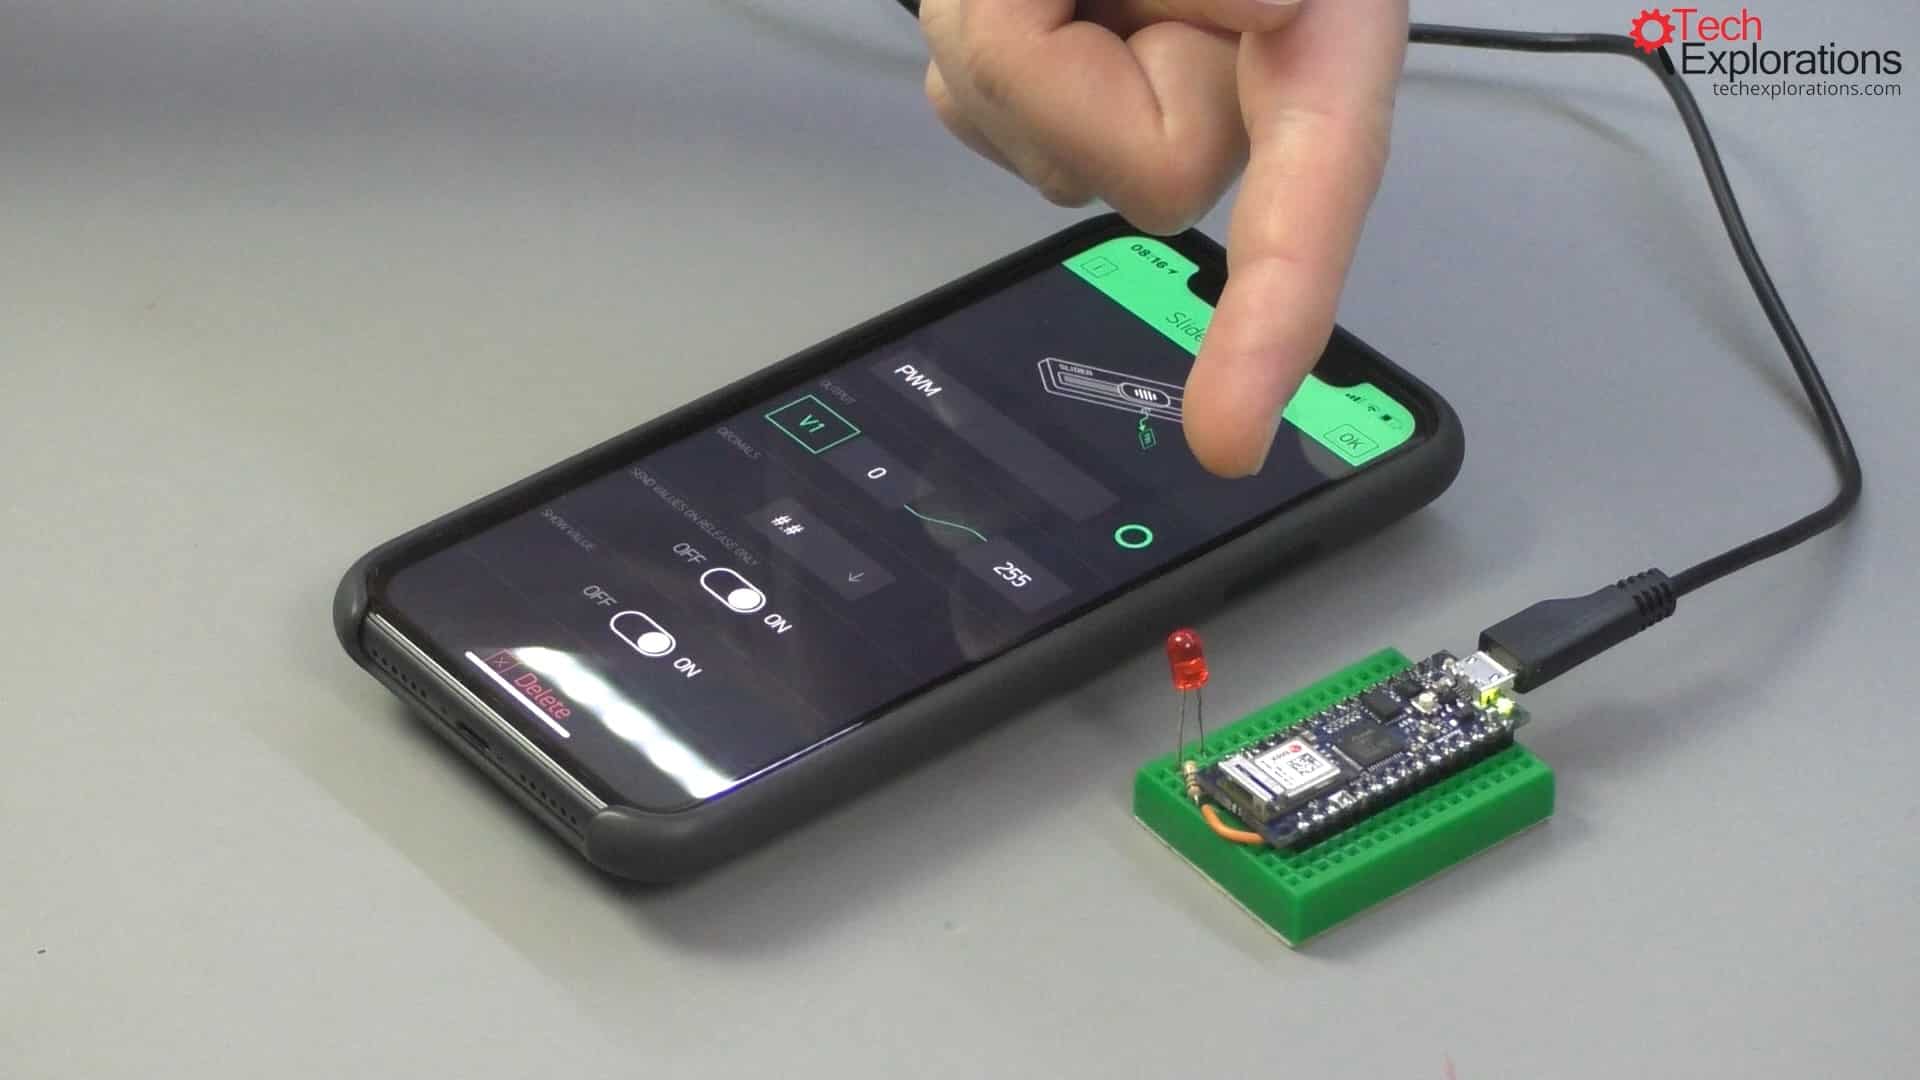
Would you rather watch than read? Here's the video version of this article.
Let's continue where we left off in the previous article, where you created a Blynk account after installing the Blynk app on your phone, and you logged in for the first time.
In your case, you are probably greeted with just a blank screen that would look as in the picture below. This screen allows you to create a new project.
In my case, the app presents me with two existing projects that I had created earlier. I can browse through them and pick the application that I'd like to play with now.
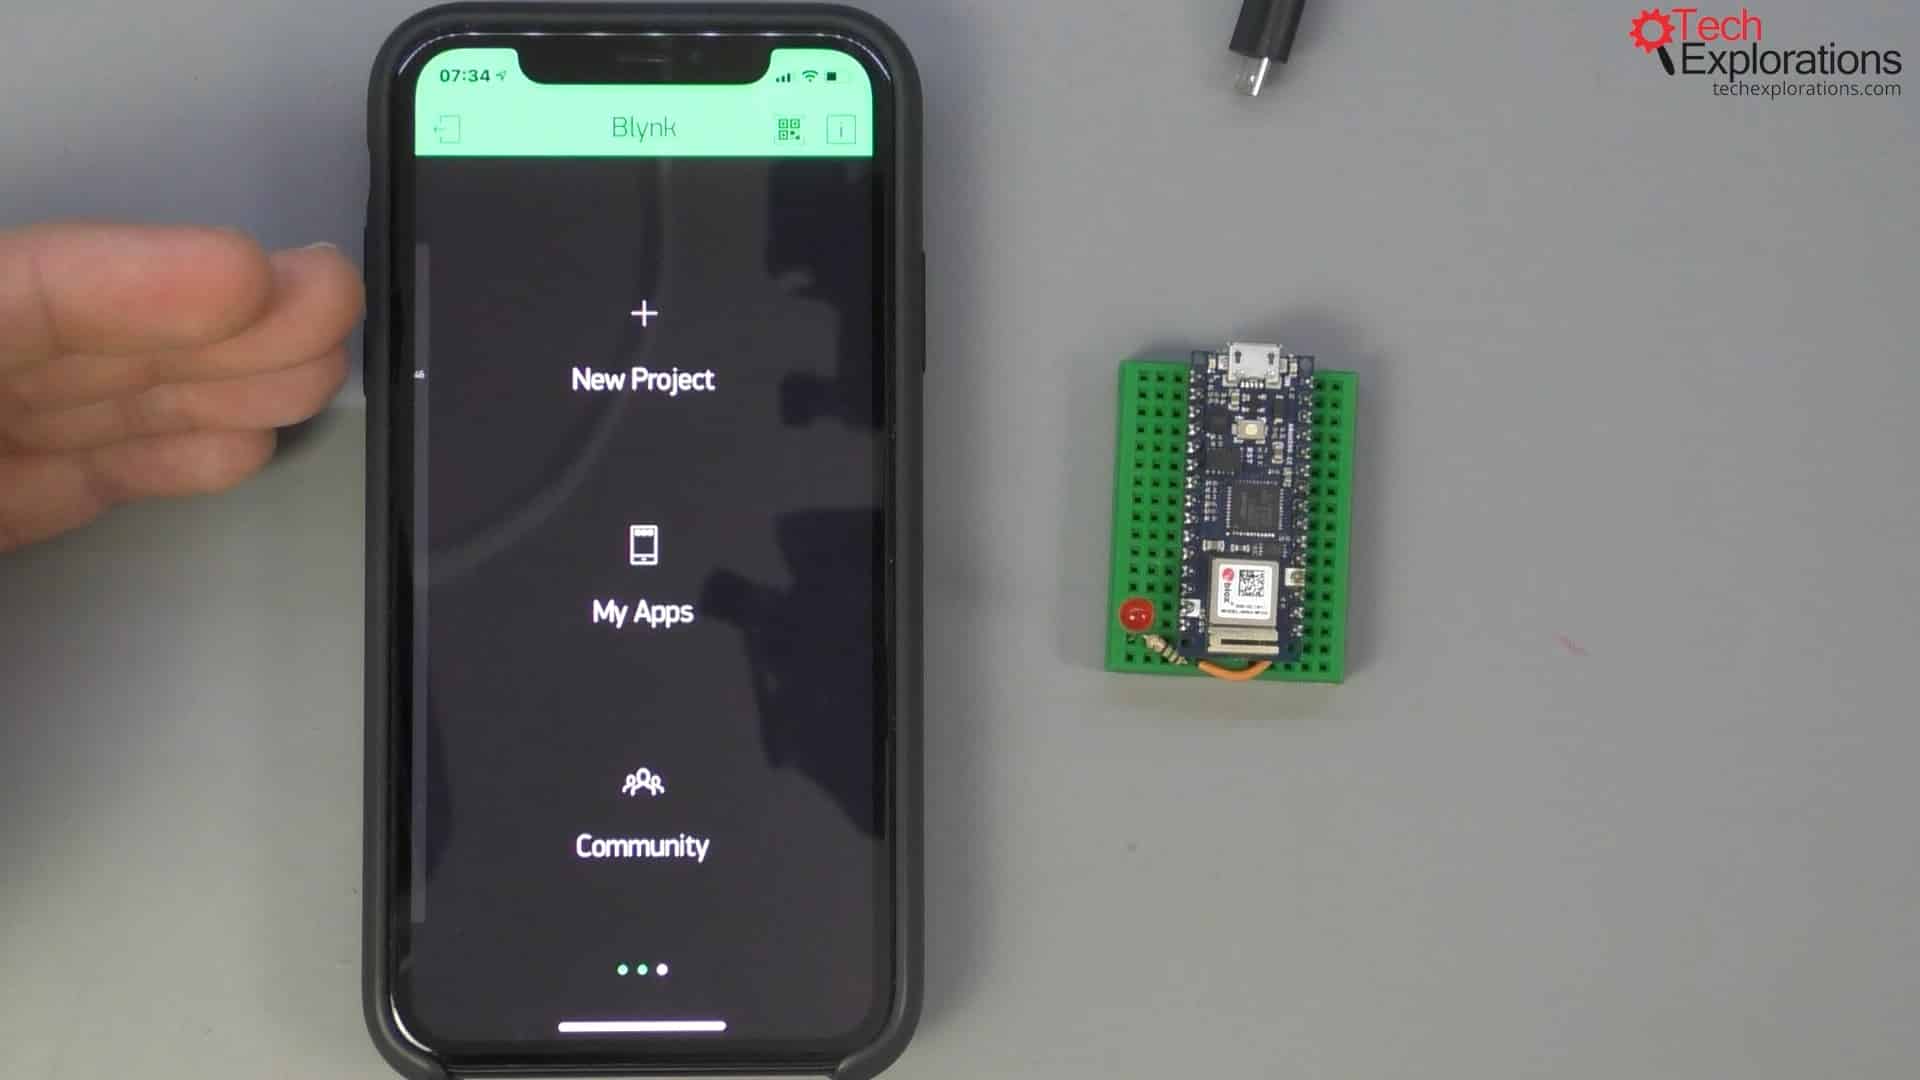
The screen you are greeted with when you log into Blynk
Below is the application that I demonstrated in this guide's second article. I will delete it by going into the settings so that I can start from scratch.
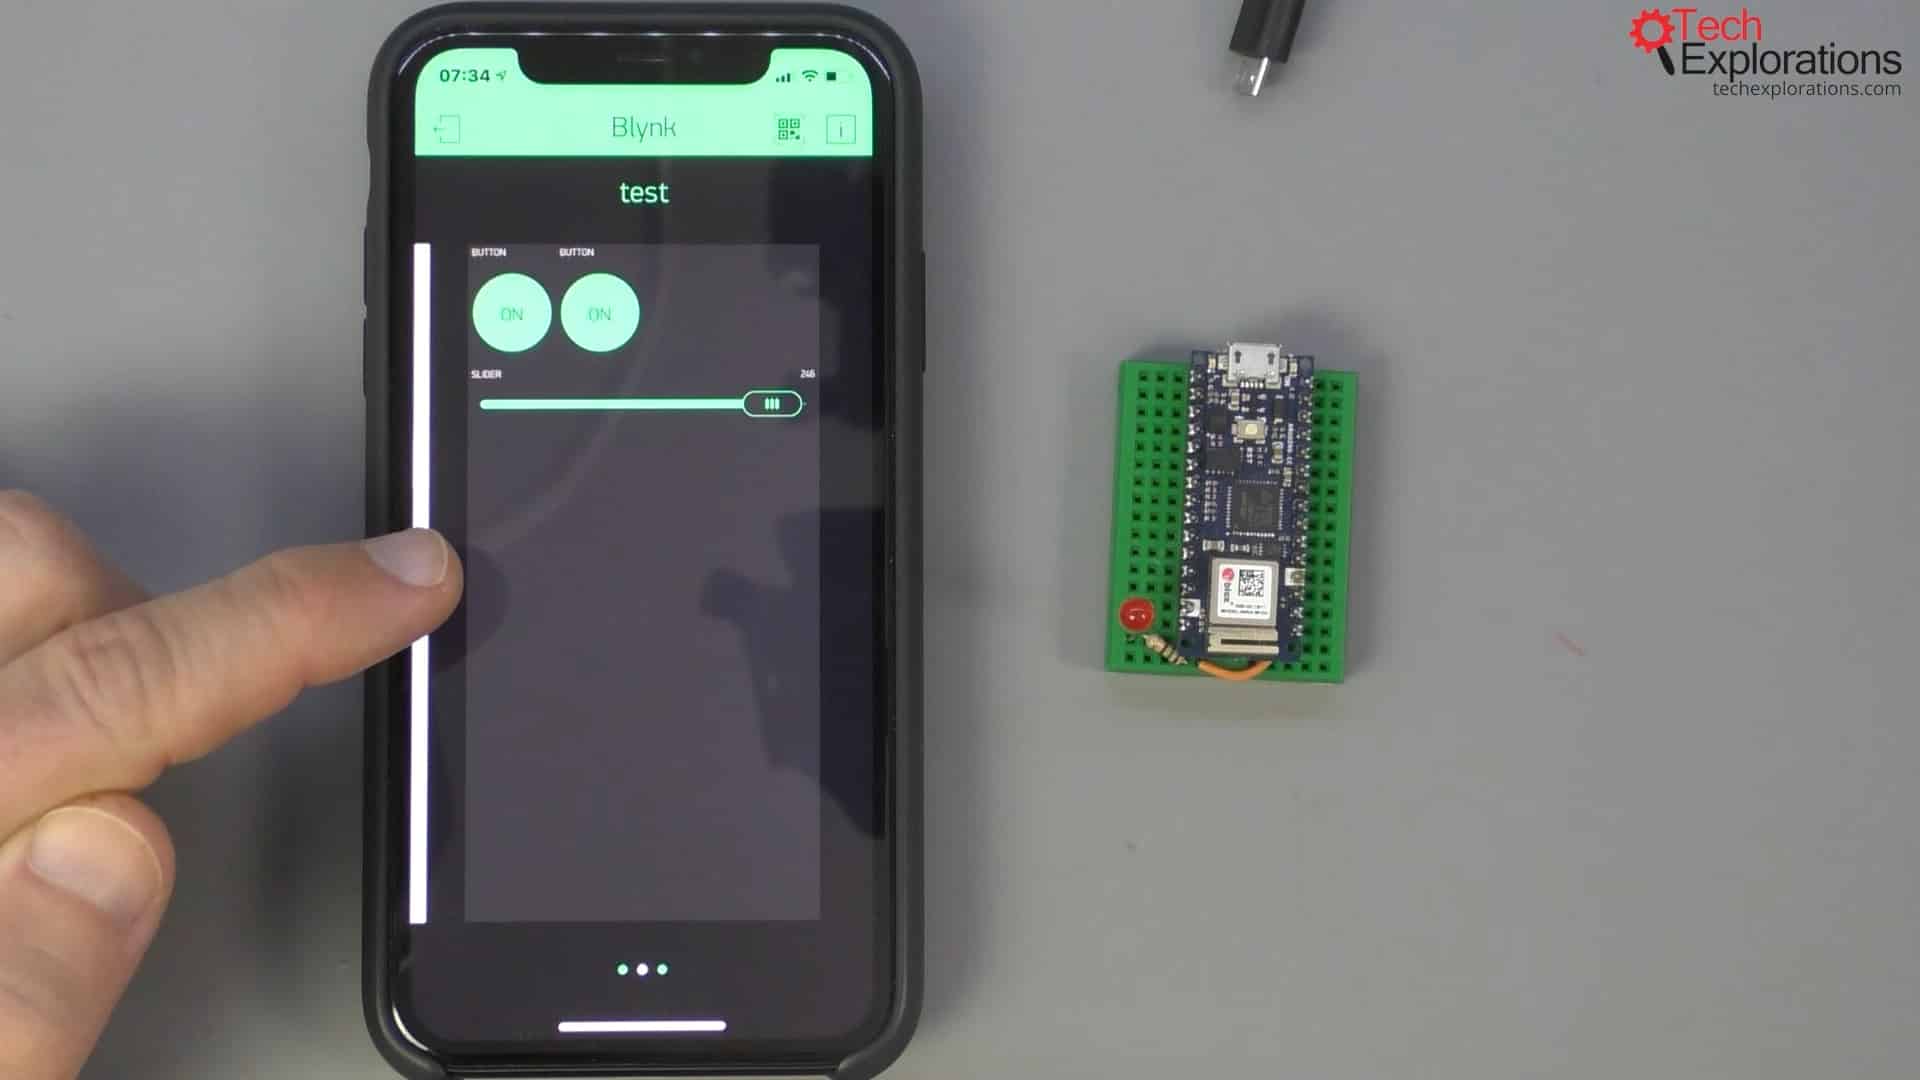
The application that I demonstrated in this guide's second article
One more thing that I wish to demonstrate in this article before we get into the app development step is the "i" button. This is the "information" button.
The information button takes you to the info screen which lists useful information. The information includes the identity of the Blynk server that the app is connected to.
Notice that the server to which I am connected in this example is the Blynk Cloud server.
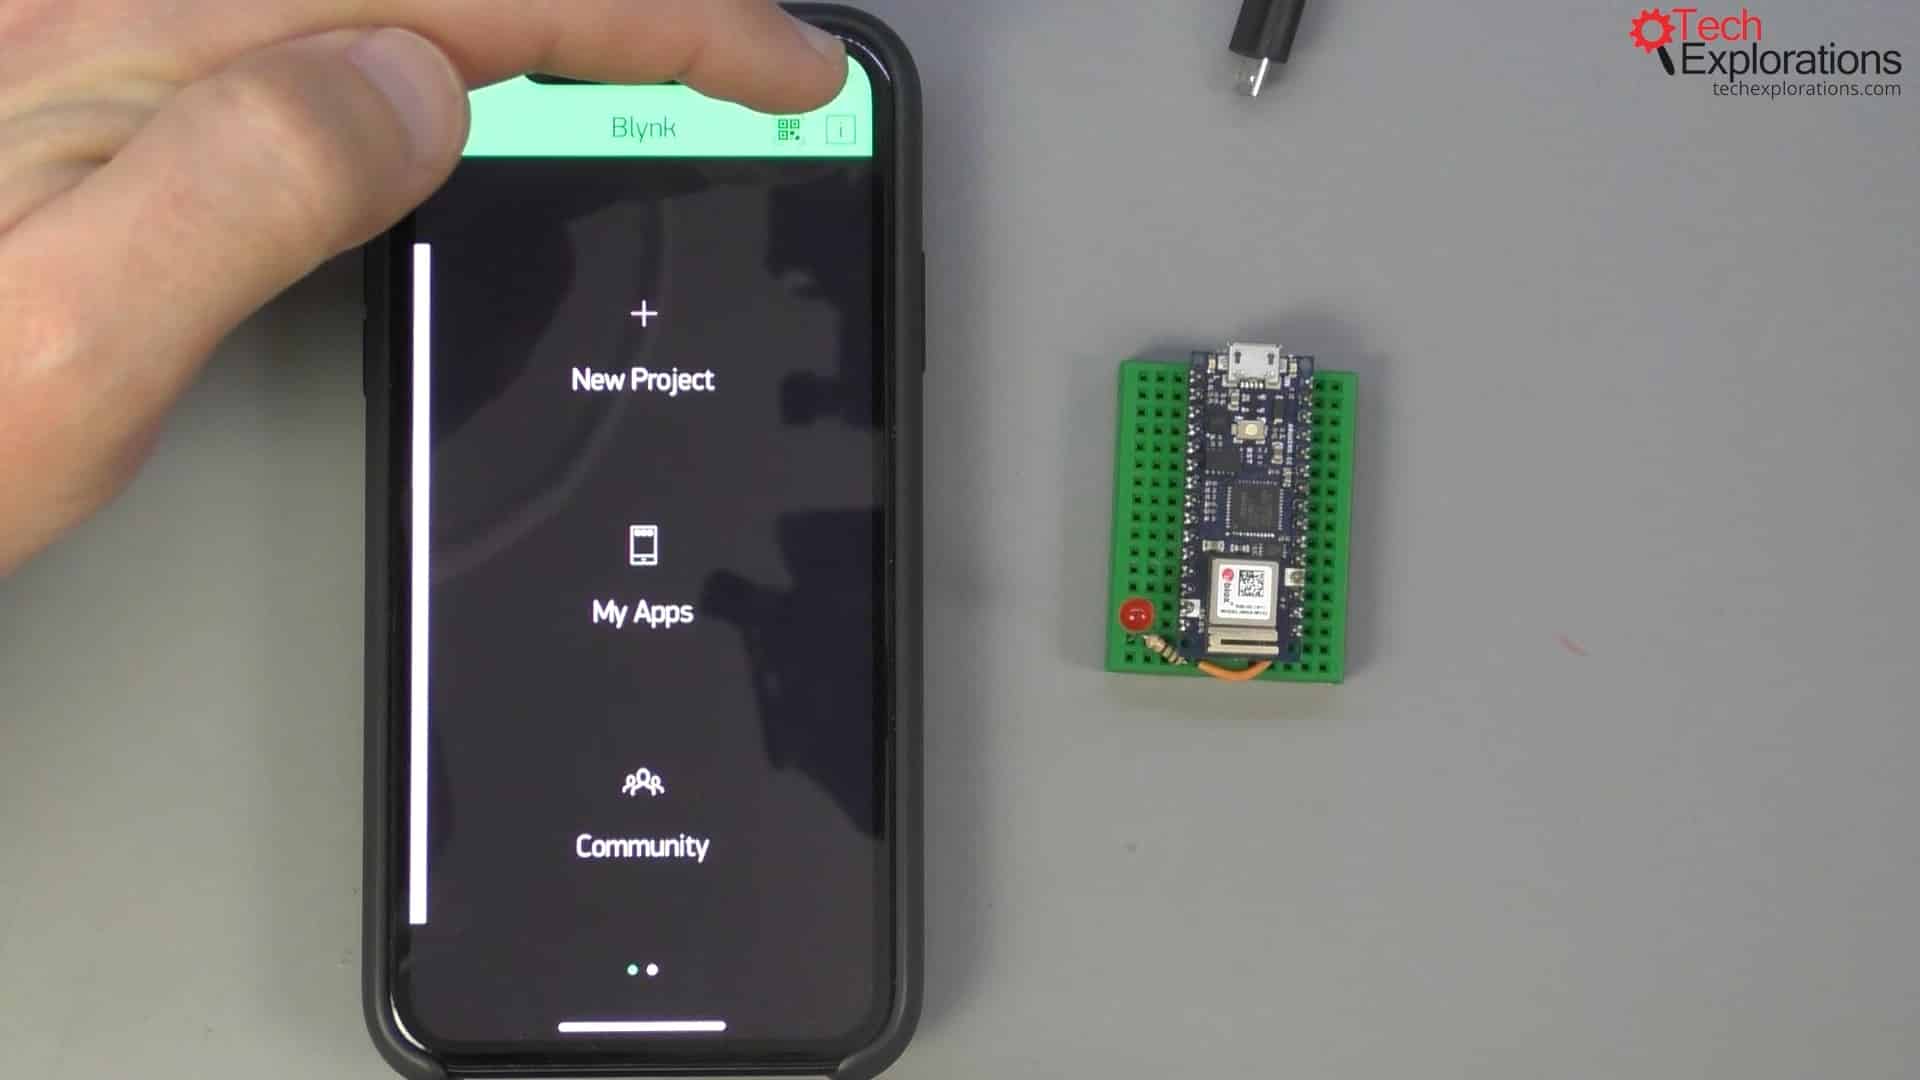
The "i" or information button is on the top right
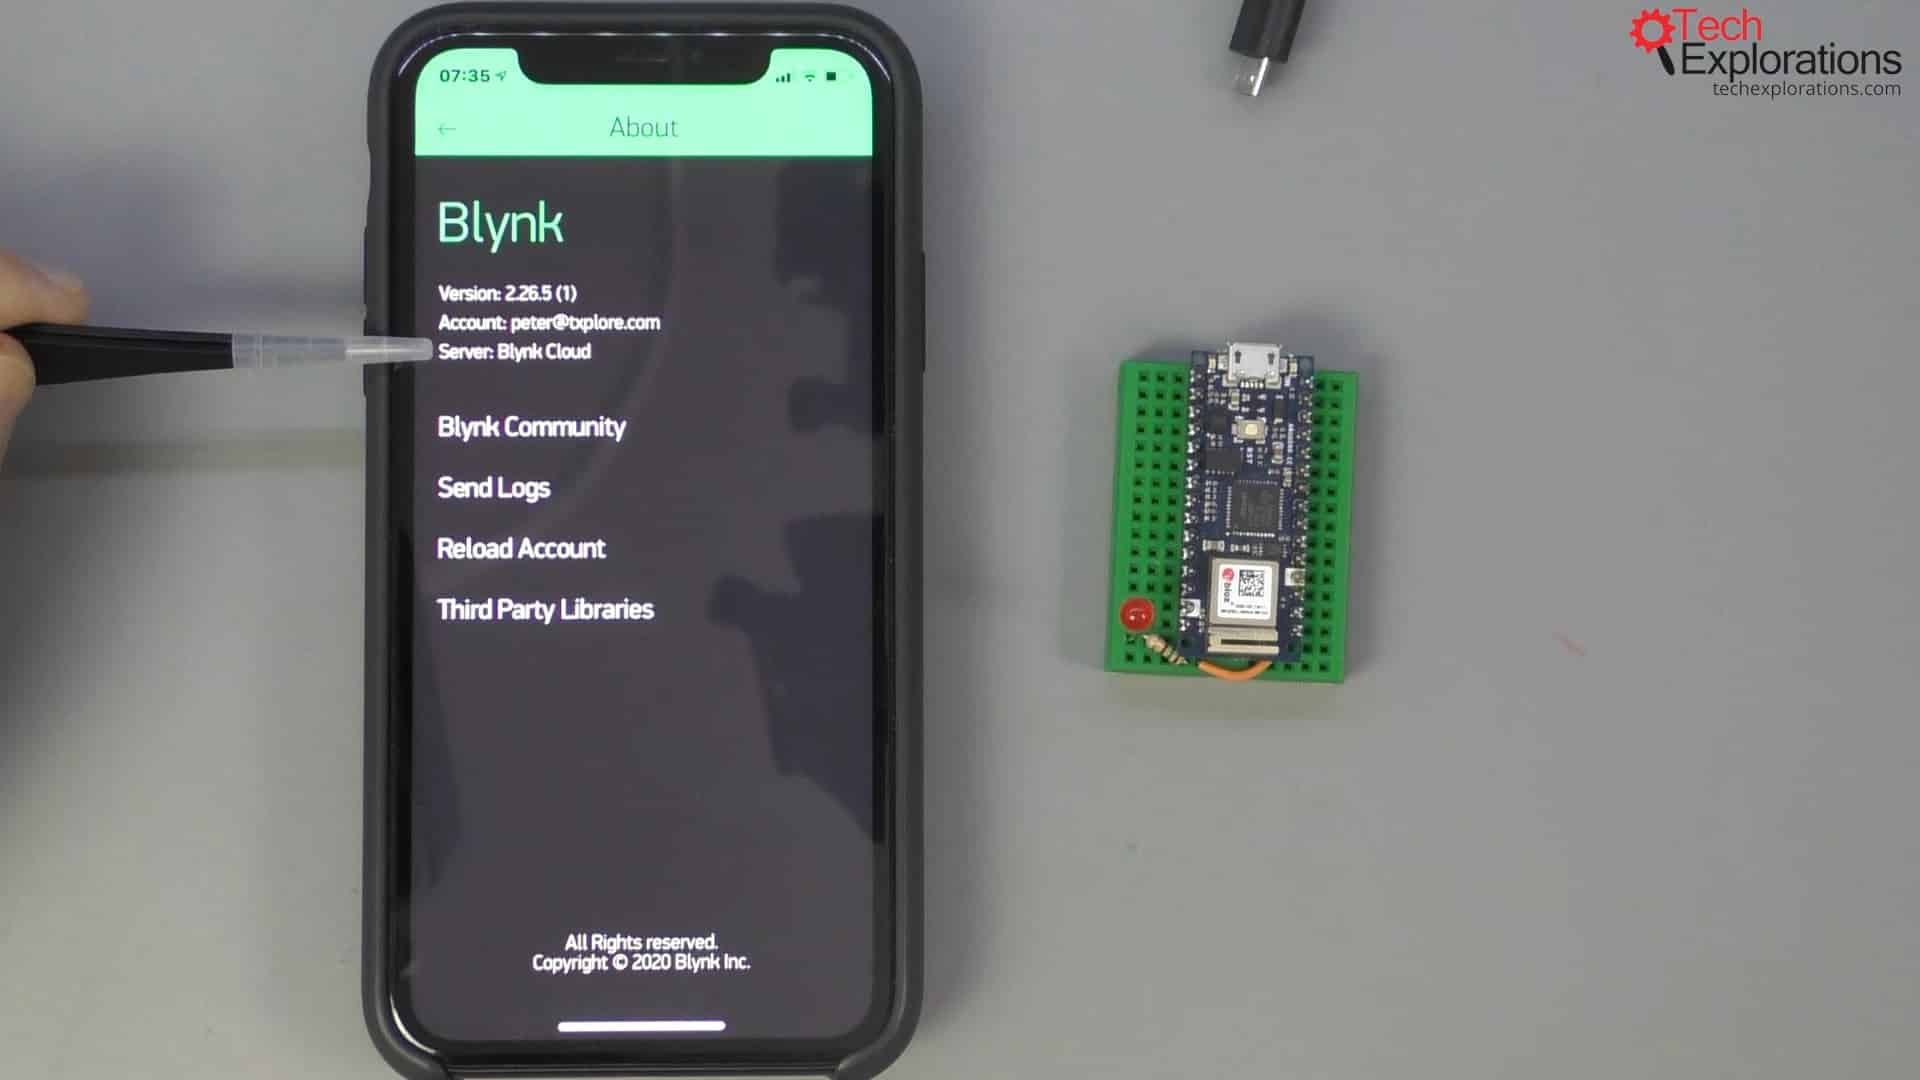
We are connected to the Blynk Cloud server
Create a new Blynk project
Next, I will return to the blank screen to create a new project that I will call "demo 1" (for lack of a more imaginative name) and select the device.
We have access to a wide range of possible devices; however, there is no mention of the Arduino Nano 33 IoT.
Let's see if we can select a similar device.
The Arduino MKR1000 is the closest available to the Arduino Nano 33 IoT, so I will select that. It's important to choose a device that is as close as possible to your actual target device because that is how Blynk knows which particular pins to provide to you in its user interface.
I'm going to come back to that shortly.
For the connection type, choose WiFi.
Next, tap on "Create Project". The app will email you the application token.
This token is important.
Think of it as a password that allows my Arduino app (the sketch running on the Arduino) to talk to your Blynk application on your phone via the Blynk Cloud server. Allow a minute or so, and check your inbox for an e-mail from Blynk.
Tap the "OK" button.
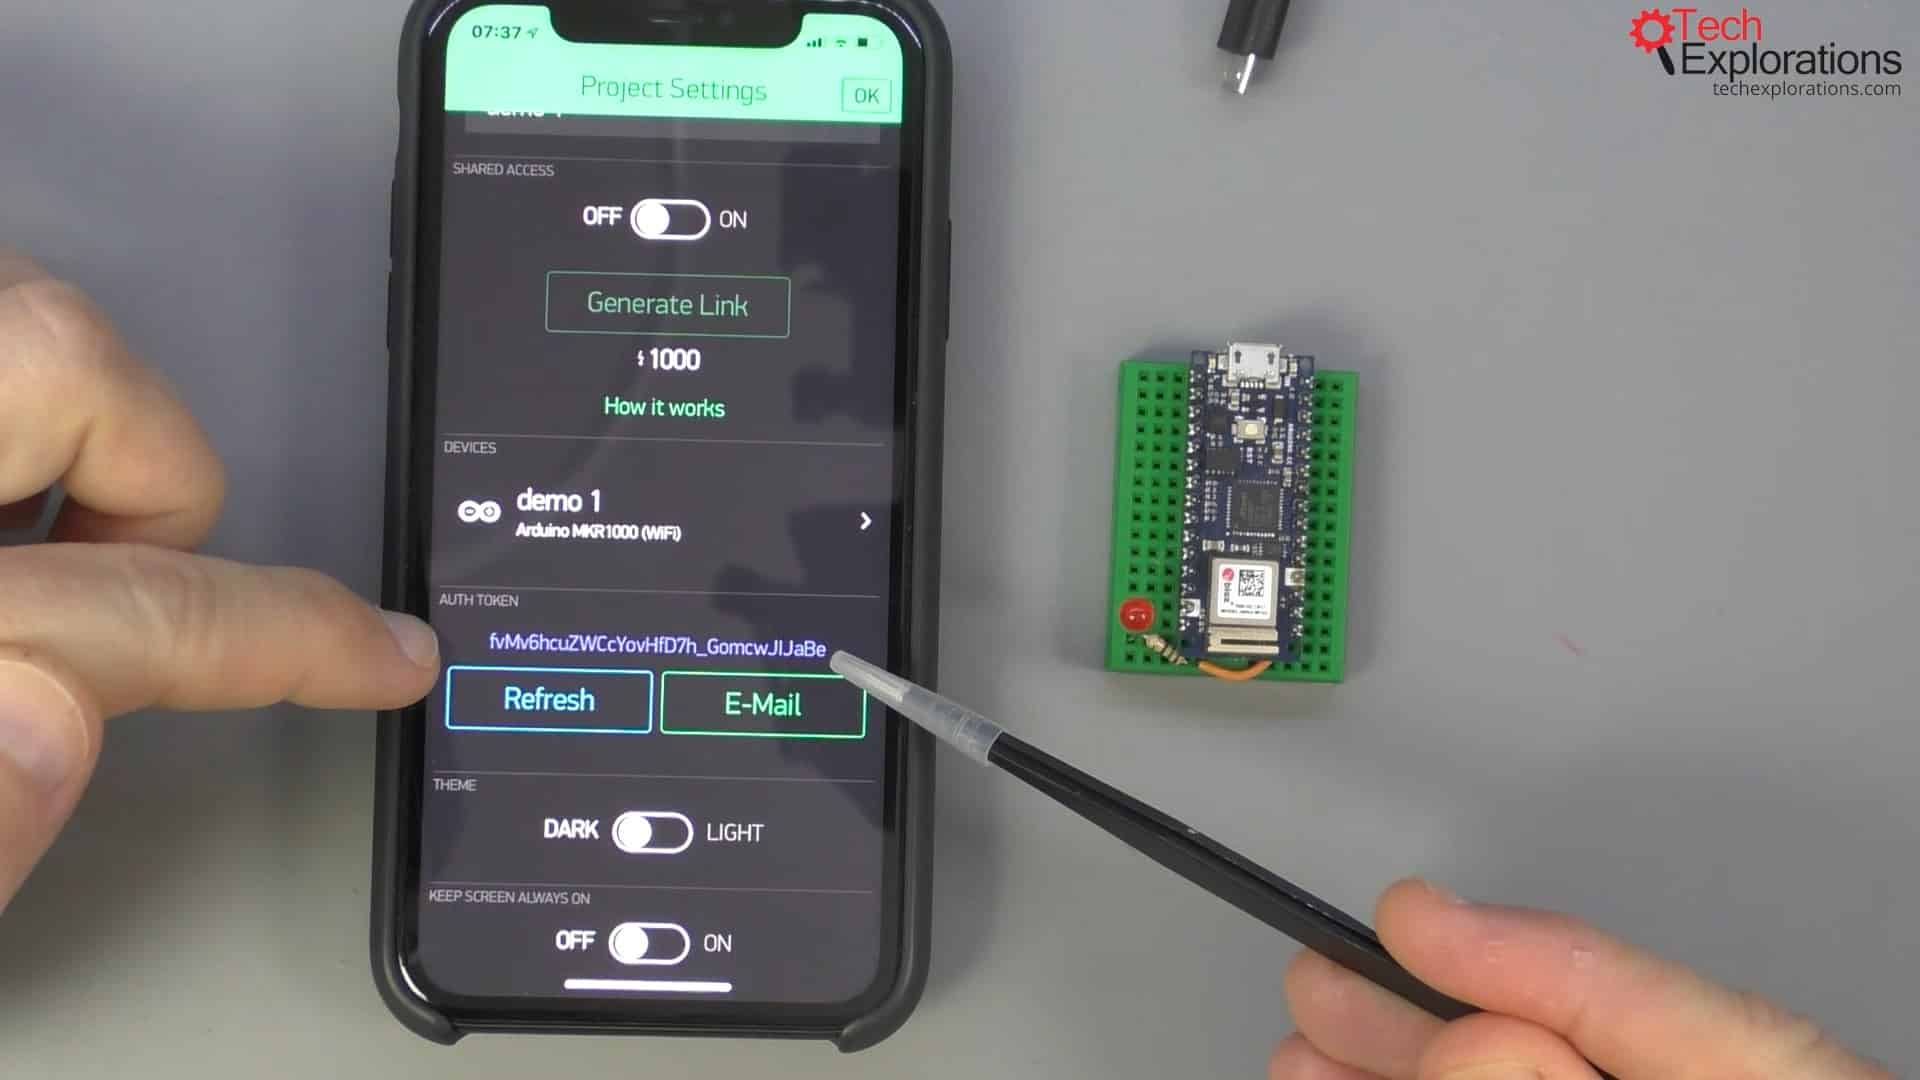
The application or authentication token
If you can't find the token e-mail or you want it to be sent again, or for whatever reason, you made a mistake somewhere, and you want to recreate that token, go back into the settings.
Here you'll see the authentication token that was generated looking like the one in the picture below. You can change the token by tapping "Refresh," or you can tap "E-Mail" to send this large alphanumeric token to your e-mail address.
The Digital and Analog pins
Within the Blynk app, your choice of device has an impact on the number of digital, analog, and virtual pins that you will be able to use.
To illustrate, tap anywhere in the canvas to expose the widget library. From the library, choose the "Button" and then tap on the button itself to configure it.
You will see that there is a list of digital, analog, and virtual pins that you can connect to the button widget.
The number of available Digital and Analog pins depend on the type of device that you have selected. As I have selected the MKR1000 as the target device, Blynk has given me six analog pins.
Now, let's check the digital pins. Notice that there are 14 digital pins available.
As you can see in the pinout documentation, the Arduino Nano 33 IoT has a total of 21 digital pins. Many of them double as analog pins as well. The Arduino Nano 33 IoT and the Arduino MKR1000 are very similar when it comes to analog pins. So, by selecting the MKR1000 as our target device, we can access all of the analog pins on our Nano 33 IoT (which is our actual target).
On the other hand, the Arduino MKR1000 has 14 digital pins available, whereas the Arduino Nano itself has 21. This means that by selecting the MKR1000 as our target, we are unable to directly access 7 digital pins.
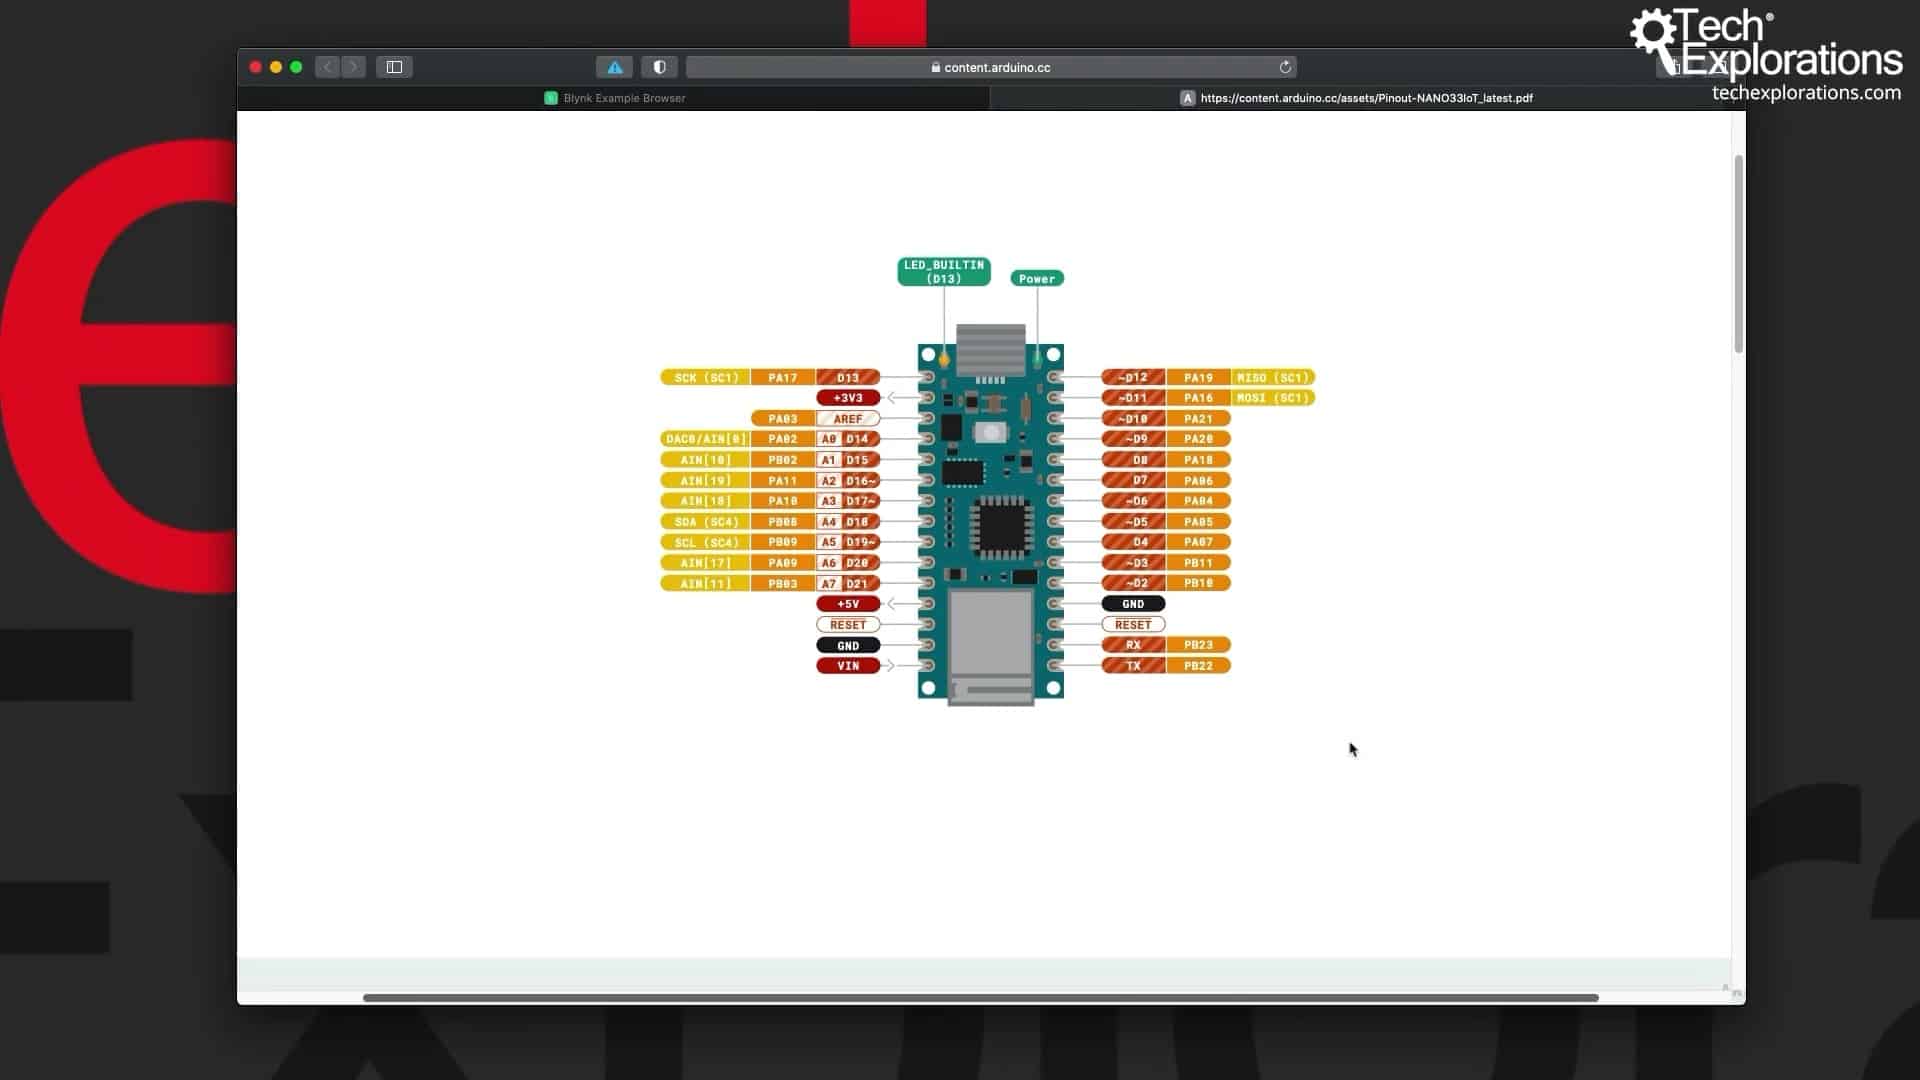
The Arduino Nano 33 IoT documentation
That does not mean that you cannot address all of the pins on your Arduino just because the MKR1000 device gives us 14.
Remember the virtual pins?
The Blynk app provides you with dozens of virtual pins. I have written a detailed guide about virtual pins, where I also demonstrate how to use them.
For now, just know that you can map virtual pins to any functionality you wish. That may be a pin, or a custom function. Anything at all.
Therefore, you can tap onto any functionality you wish to through the abundant virtual pins rather than digital or analog pins.
The advantage of digital or analog pins is that you can control your device pins without custom coding. You can simply use the Blynk driver, which is essentially a firmware that connects the Blynk application with your tagged device, and without any programming, you'll be able to target digital pins.
I will show you how to do that below.
The above was a parenthesis concerning the pins and the type of device you use and set in your Blynk application. I will remind you again that we've got the MKR1000 set up with WiFi, even though we're using an Arduino Nano 33 IoT.
Blynk templates in examples.blynk.cc
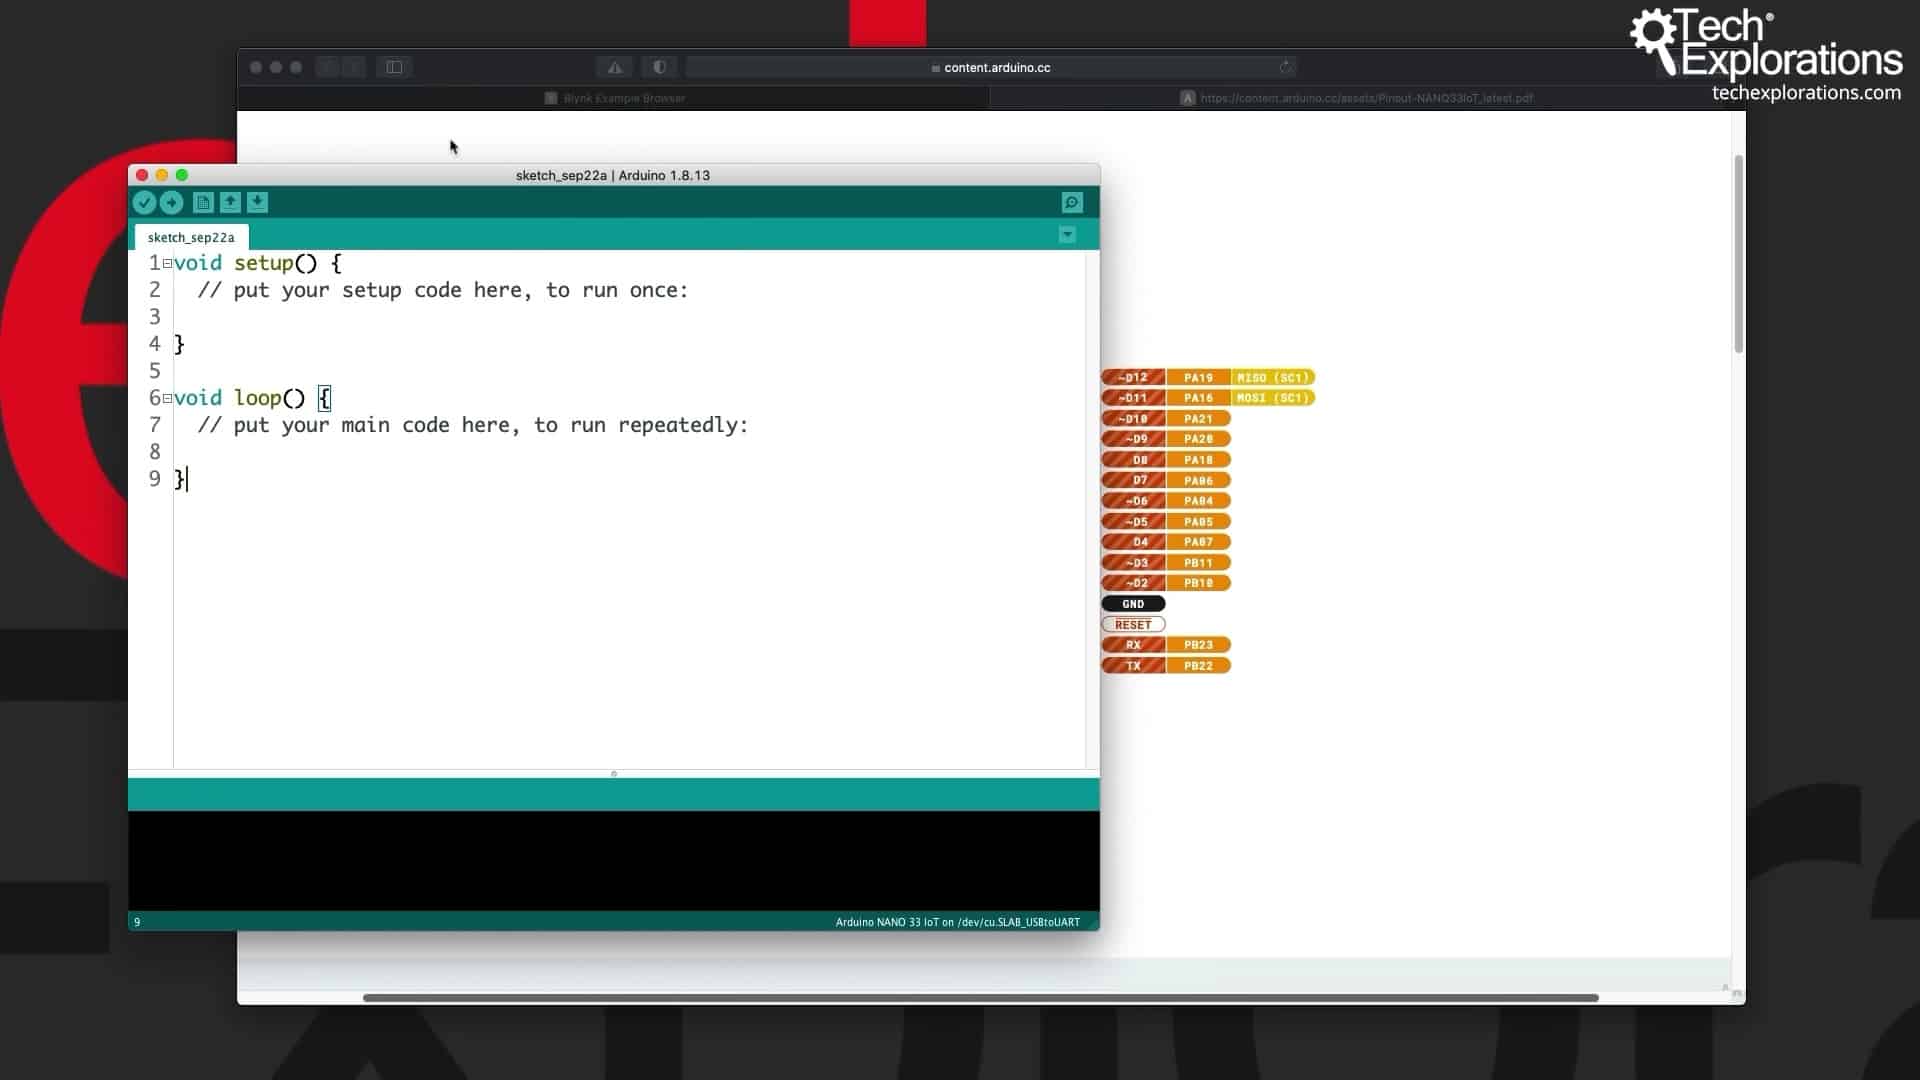
A blank Arduino sketch
I will now delete the "OFF" button so that we can do the development later on, and I will go over to the Arduino sketch on my computer.
I start with a blank sketch.
The easiest way to begin is to use templates and then modify them as needed.
There are two sources of templates that are managed by the Blynk developers. The first one is called the examples.blynk.cc or the Blynk example browser that you can see in the picture below.
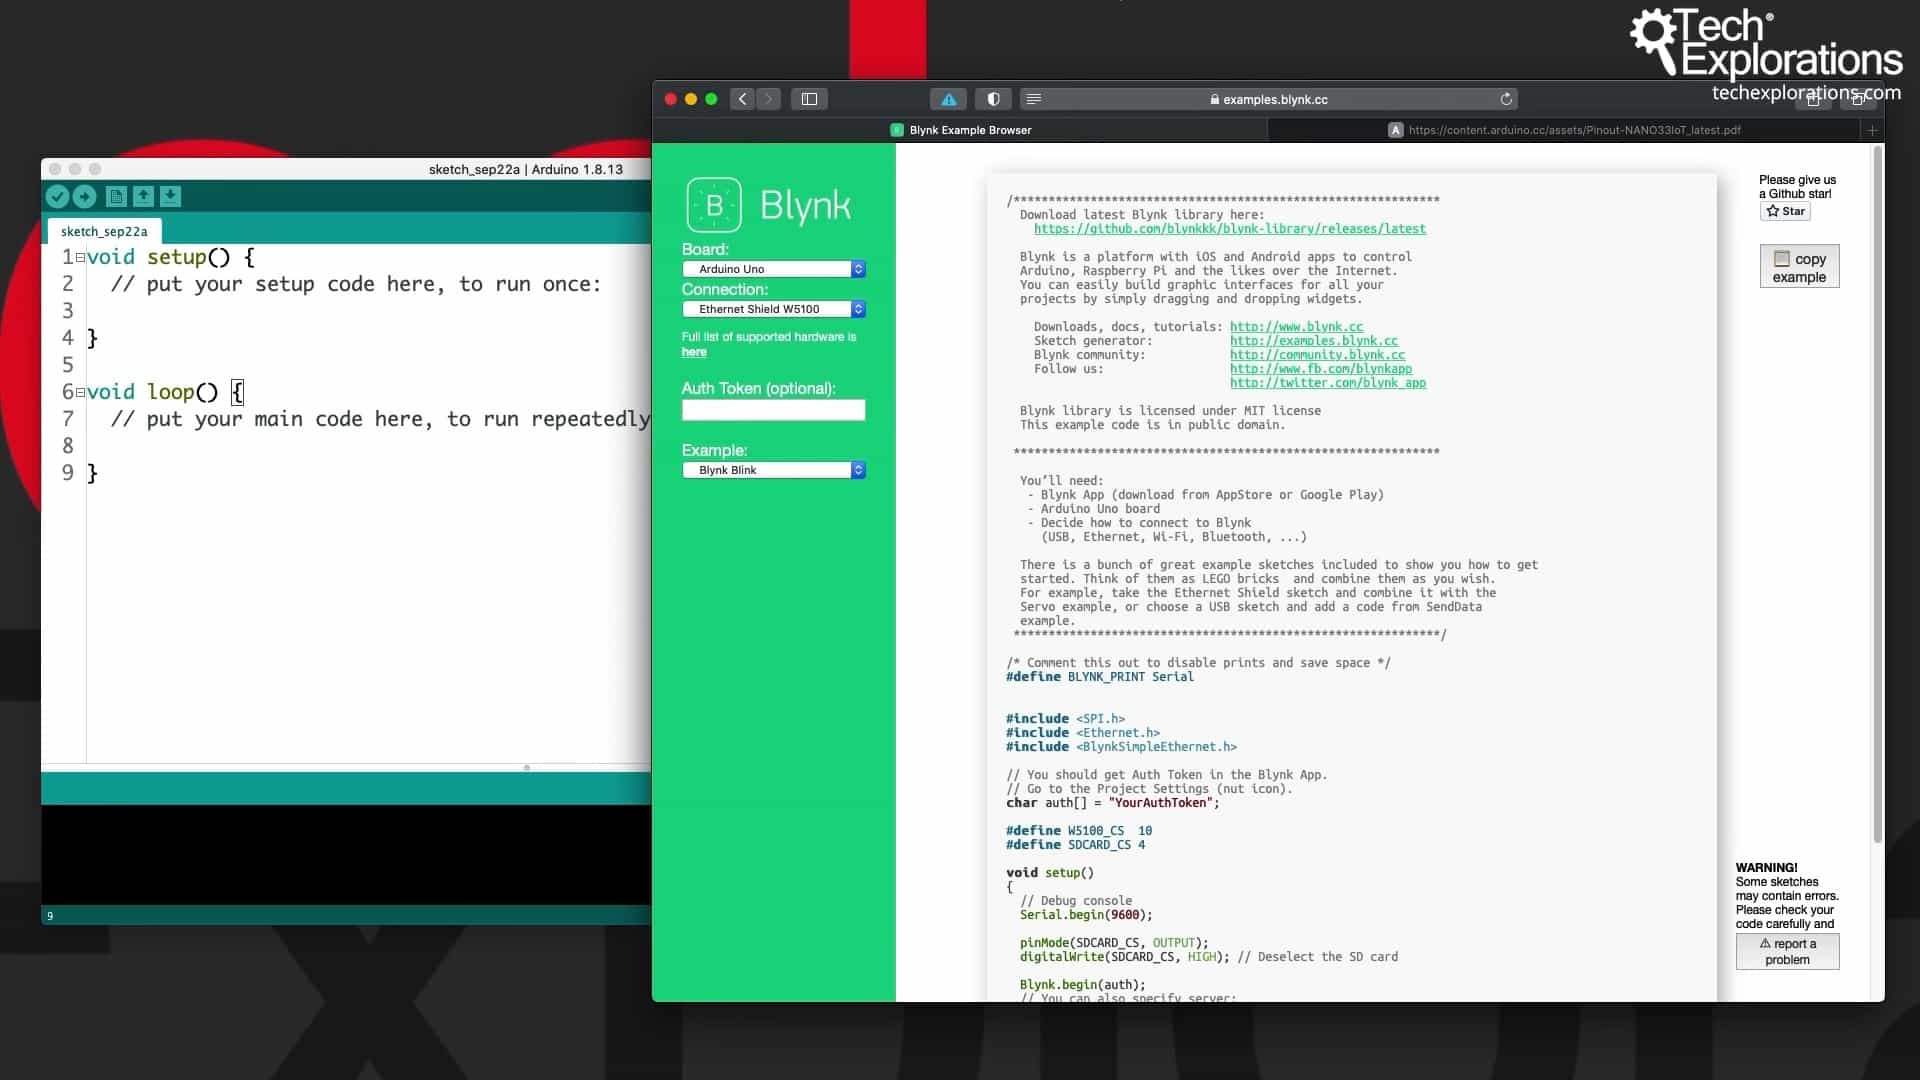
The Blynk example browser at examples.blynk.cc
This website gives you access to many valid combinations of boards and the connection type that they're using.
For example, if you're using an Arduino Uno with your Blynk application and you plug in an Ethernet Shield W5100, then website will give you a template that you can use and build on.
You can do the same thing with the ESP32, for example, and the built-in WiFi. So, we've got the ESP32 built-in WiFi template.
If you go for an Arduino Zero (not the 033, just an Arduino Zero), it's got other options. Here's the template for the Arduino Zero + Wifi Shield 101.
Blynk examples in the Arduino IDE
My preferred way to find templates for Blynk is to look at the Blynk examples that come with a Blynk Library in the Arduino IDE.
Start the Arduino IDE and go to File --> Examples --> Blynk --> Boards_WiFi.
Here, you will find a bunch of examples, including the ESP32 and the Arduino_MKR1010.
Notice that this example does not exist in the Blynk examples browser web page.
Open the WiFiNINA example.
The example imports the WiFiNINA library. WiFiNINA is the WiFi chip that the Arduino Nano 33 IoT uses.
You need to provide is the authentication token e-mailed to you a bit earlier when you created the app on the Blynk application and the credentials for your network.
Below that, you'll see the "setup()" function. In "setup()" notice the call to "Blynk.begin()".
This function will use your the authentication token and the credentials for your network to connect your Arduino to the public Blynk server.
Inside the loop is the minimal version of a Blynk sketch. All you've got to do is call the "Blynk.run()" function of the Blynk object, at least once per loop, and that will manage all of the various Blynk operations.
The authentication token
If you haven't done so already, check your inbox for the email with the authentication token for your project.
So, copy the token and paste it inside your sketch file, insert the authentication character array like this.
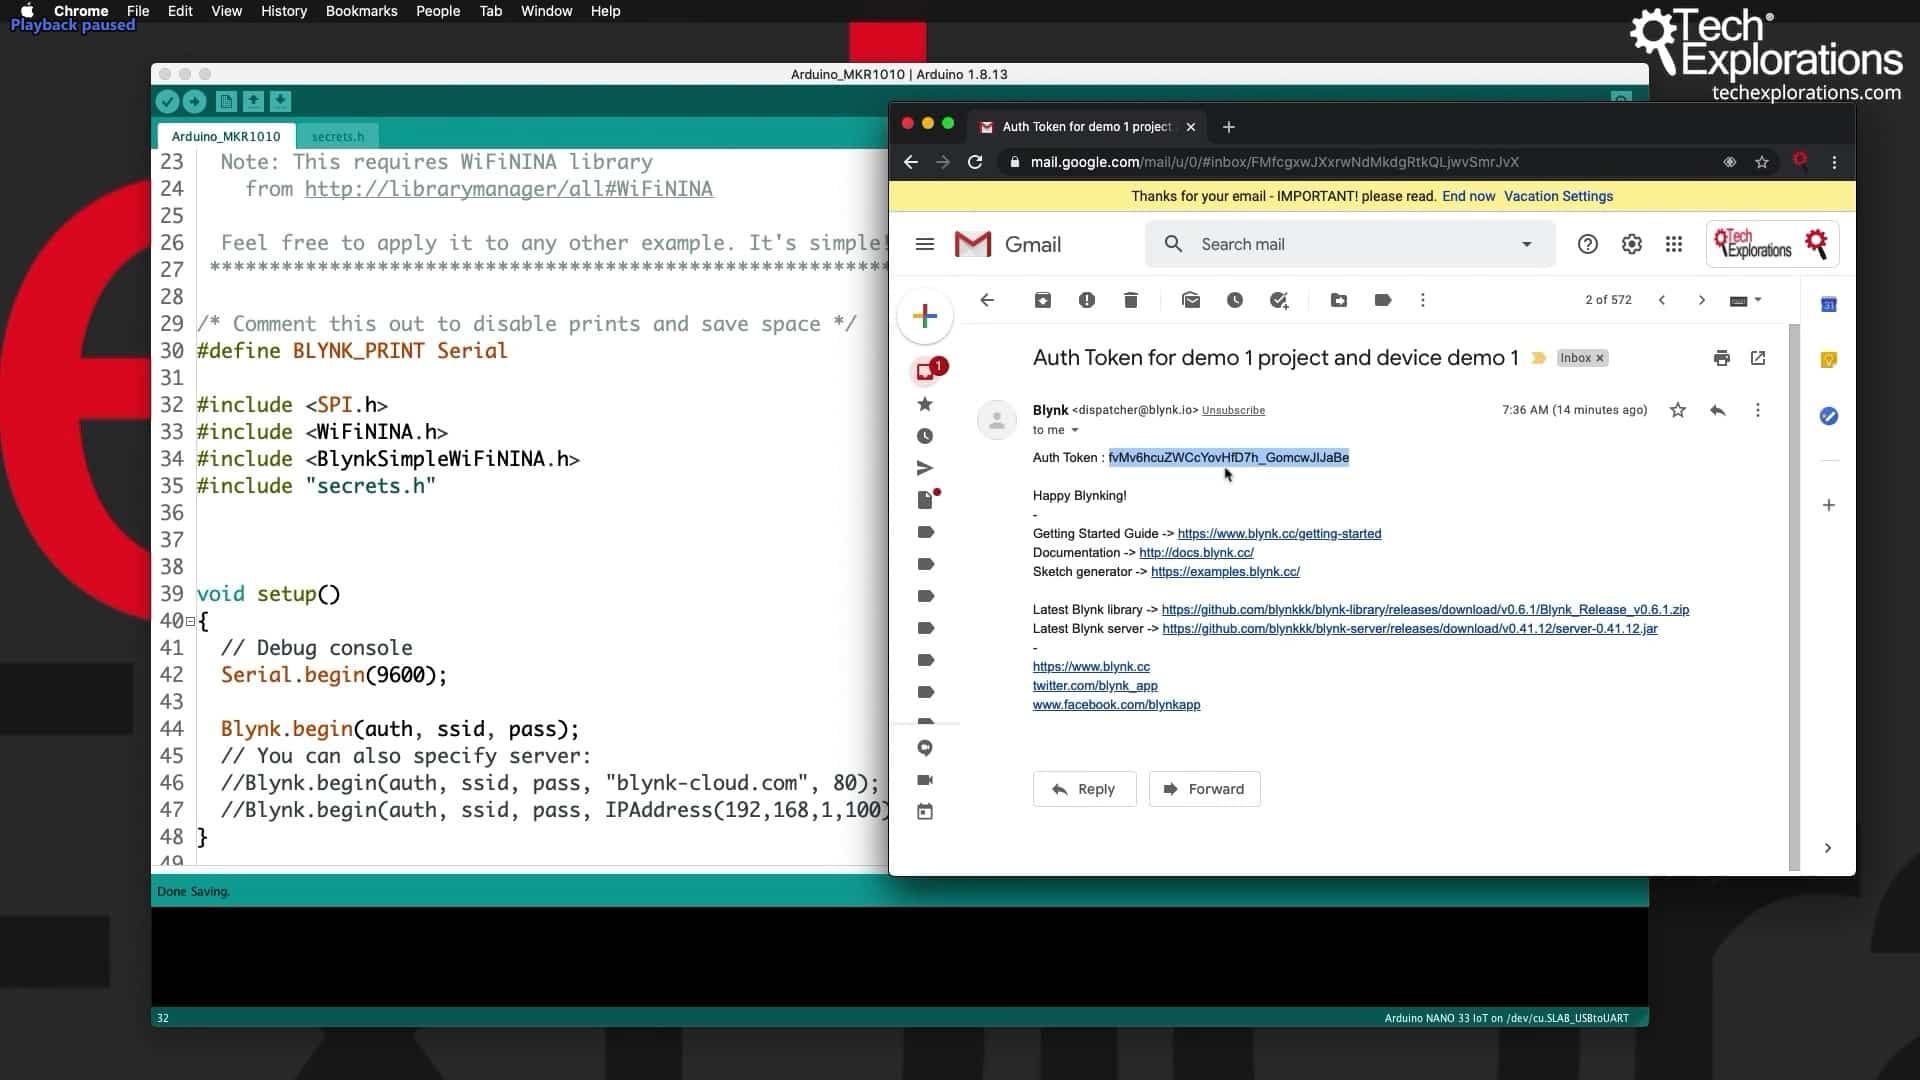
I keep my network credentials and authentication token in a seperate file titled "secret.h".
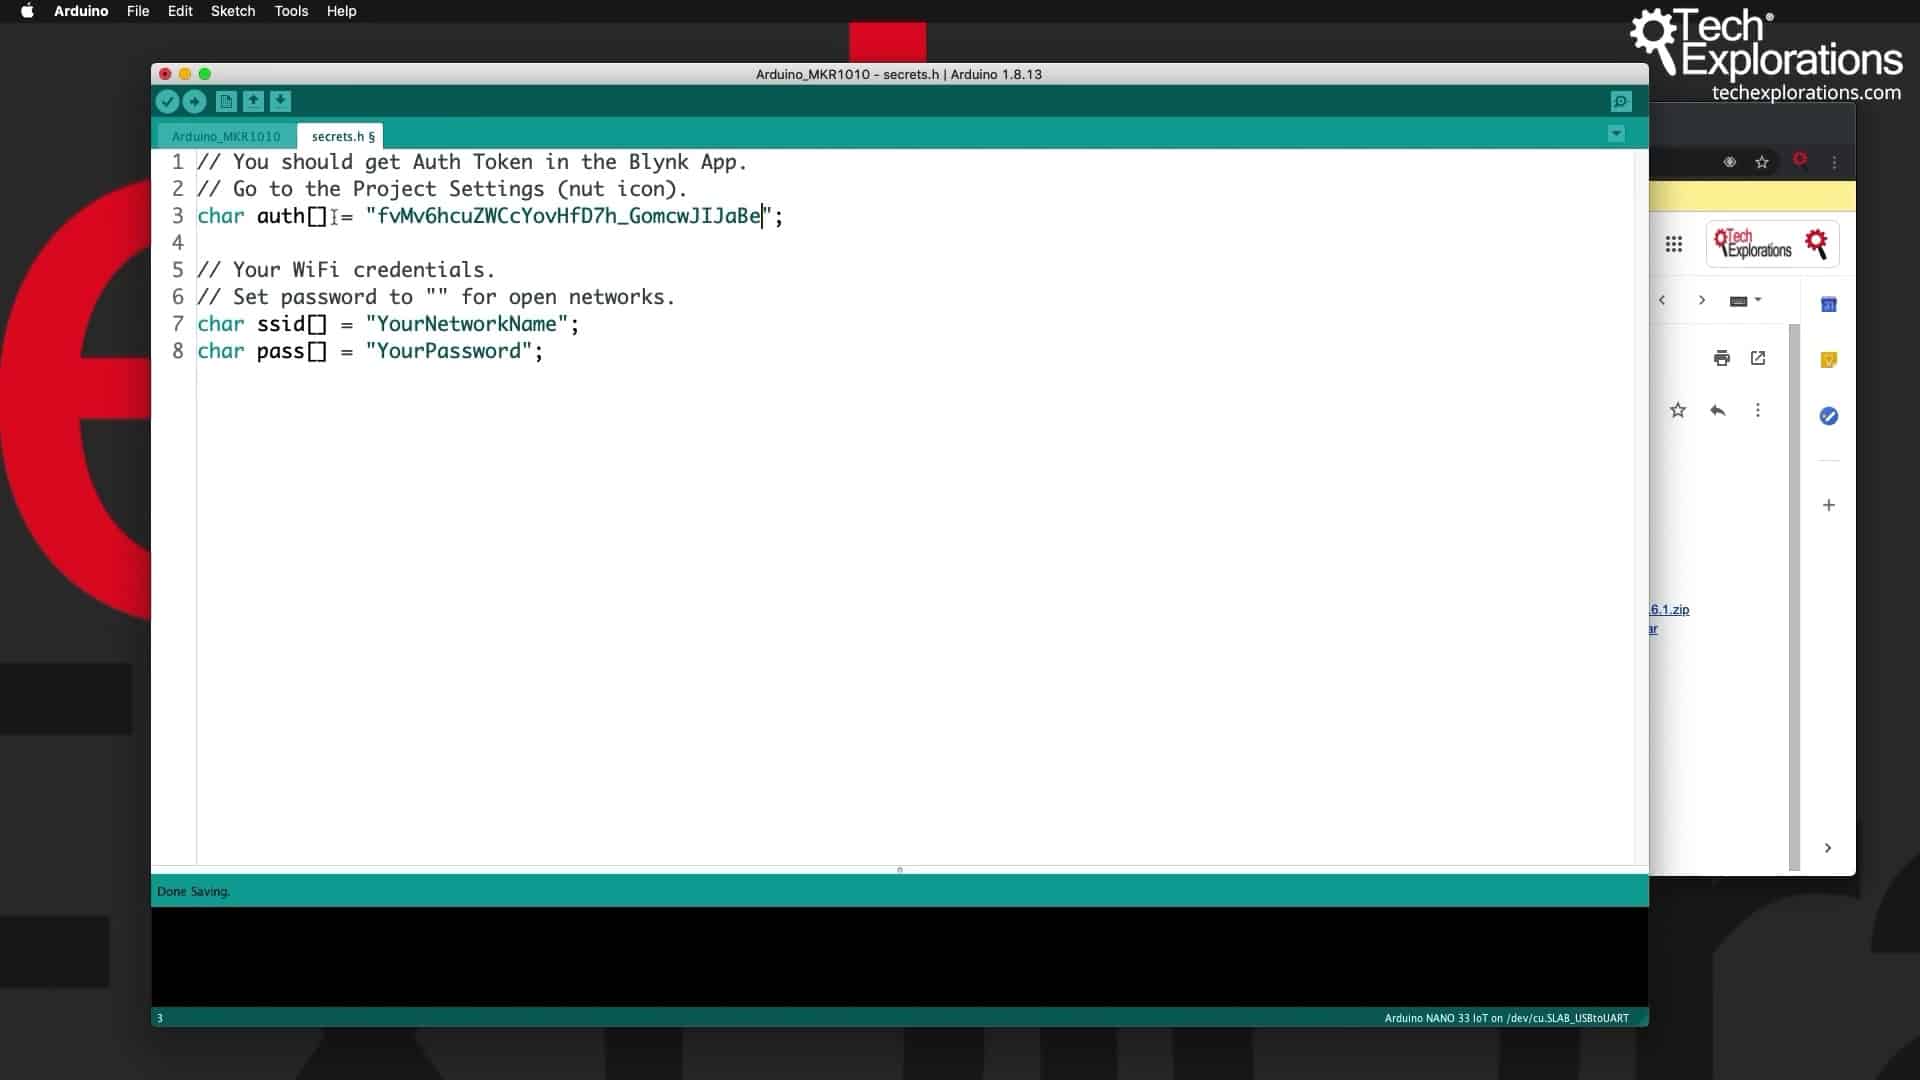
Set your authentication token and the credentials for your network
With that done, go ahead and upload the sketch to the Arduino.
If you get a warning that WiFiNINA.h is missing you will need to install the missing library.
Go to Sketch --> Include Library --> Manage Libraries... and install the WiFiNINA Library.
Upload the sketch and test
Try again to compile and upload the sketch.
Let's do a little experiment.
Add a button widget to your Blynk project.
Tap on the button to see its configuration, and select the built-in digital pin 13. Press OK (top right corner of the screen) to commit your changes.
Press the play button on the top of the screen.
And finally press on the round button widget (and hold). You can see that the built-in LED on pin 13 turns on and off.
Perfect.
Next, let's also control the external LED.
Stop the application, and tap anywhere on the screen where you want to insert a second button widget.
This time choose the Styled Button widget, and tap on it to configure it.
The LED on my breadboard is connected to digital pin 2. So, I will choose digital pin 2 (D2) in my Blynk project. I will change the button type to a switch so that it stays pressed when I tap it.
Now, play the app again and tap on the big button.
You can see that the external LED turns on, and it stays on and the same thing when I turn it off.
Conclusion
As you can see out of the box, the Blynk library allows me to control pins and turn them on and off.
But if we want to do anything more interesting, like work with sensors, for example, or write PWM values to the pins, we will actually need to write a little bit of code.
In the next article, I will show you how to do something very simple, such as to control the external LED via PWM.
This will allow us to work with virtual pins as well.
Learn Blynk with our video course
Start right now with Arduino Mobile Development with Blynk
This is our comprehensive video course, packed with high-quality video, hands-on mini-projects, and our friendly and supporting community.
Jump to another article
1. What is Blynk?
2. Demo of a simple Blynk project
3. The Arduino Nano 33 IoT
4. Install the Blynk app, create an account
5. Create a new Blynk project
6. How to use a virtual pin
7. Replace the Arduino Nano 33 IoT with an ESP32
8. Button and styled button
9. Hardware button LED
10. Hardware potentiometer LED
11. Vertical and horizontal slider
Last Updated 3 years ago.
We publish fresh content each week. Read how-to's on Arduino, ESP32, KiCad, Node-RED, drones and more. Listen to interviews. Learn about new tech with our comprehensive reviews. Get discount offers for our courses and books. Interact with our community. One email per week, no spam; unsubscribe at any time
