Blynk guide series
Vertical and horizontal slider
Learn how to use the slider widgets.
Would you rather watch than read? Here's the video version of this article.
The Blynk widget library contains two slider widgets, one horizontal and one vertical.
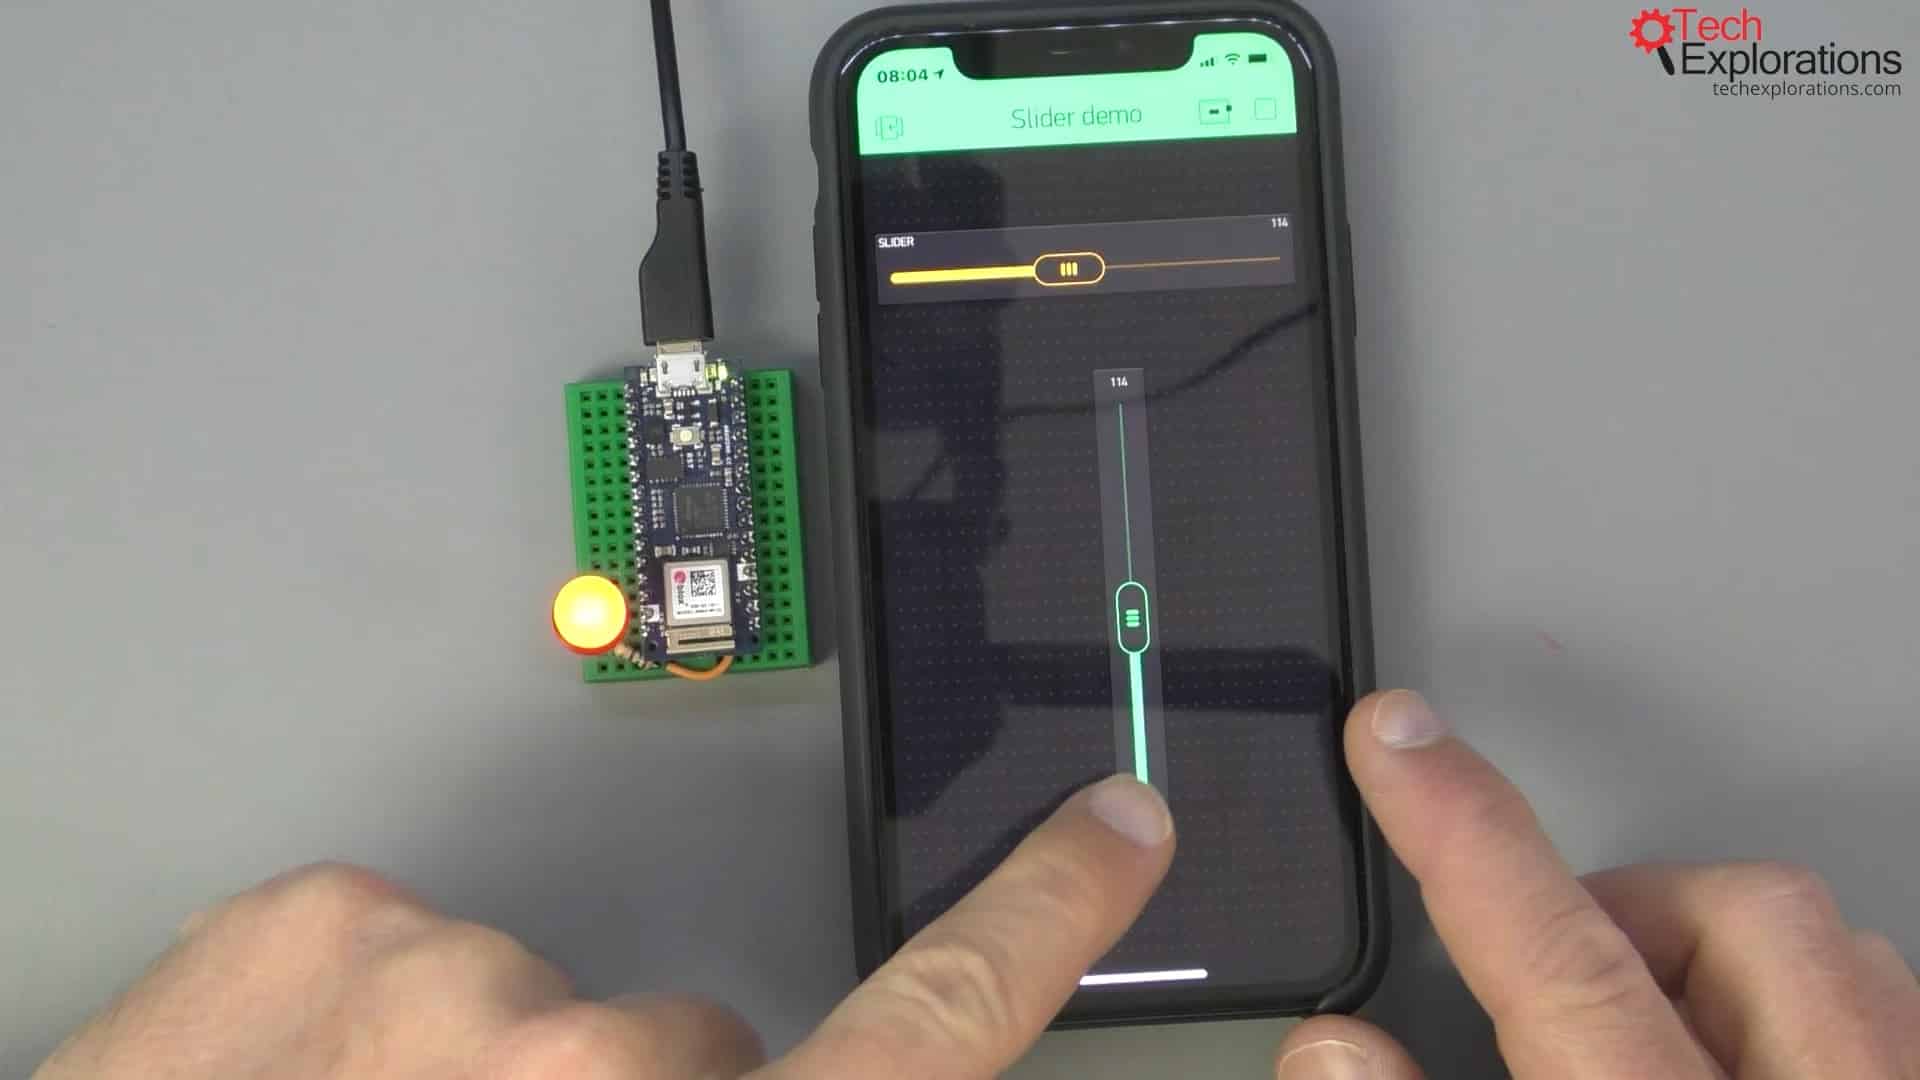
I've got both of them connected to digital pin 2 on the Arduino.
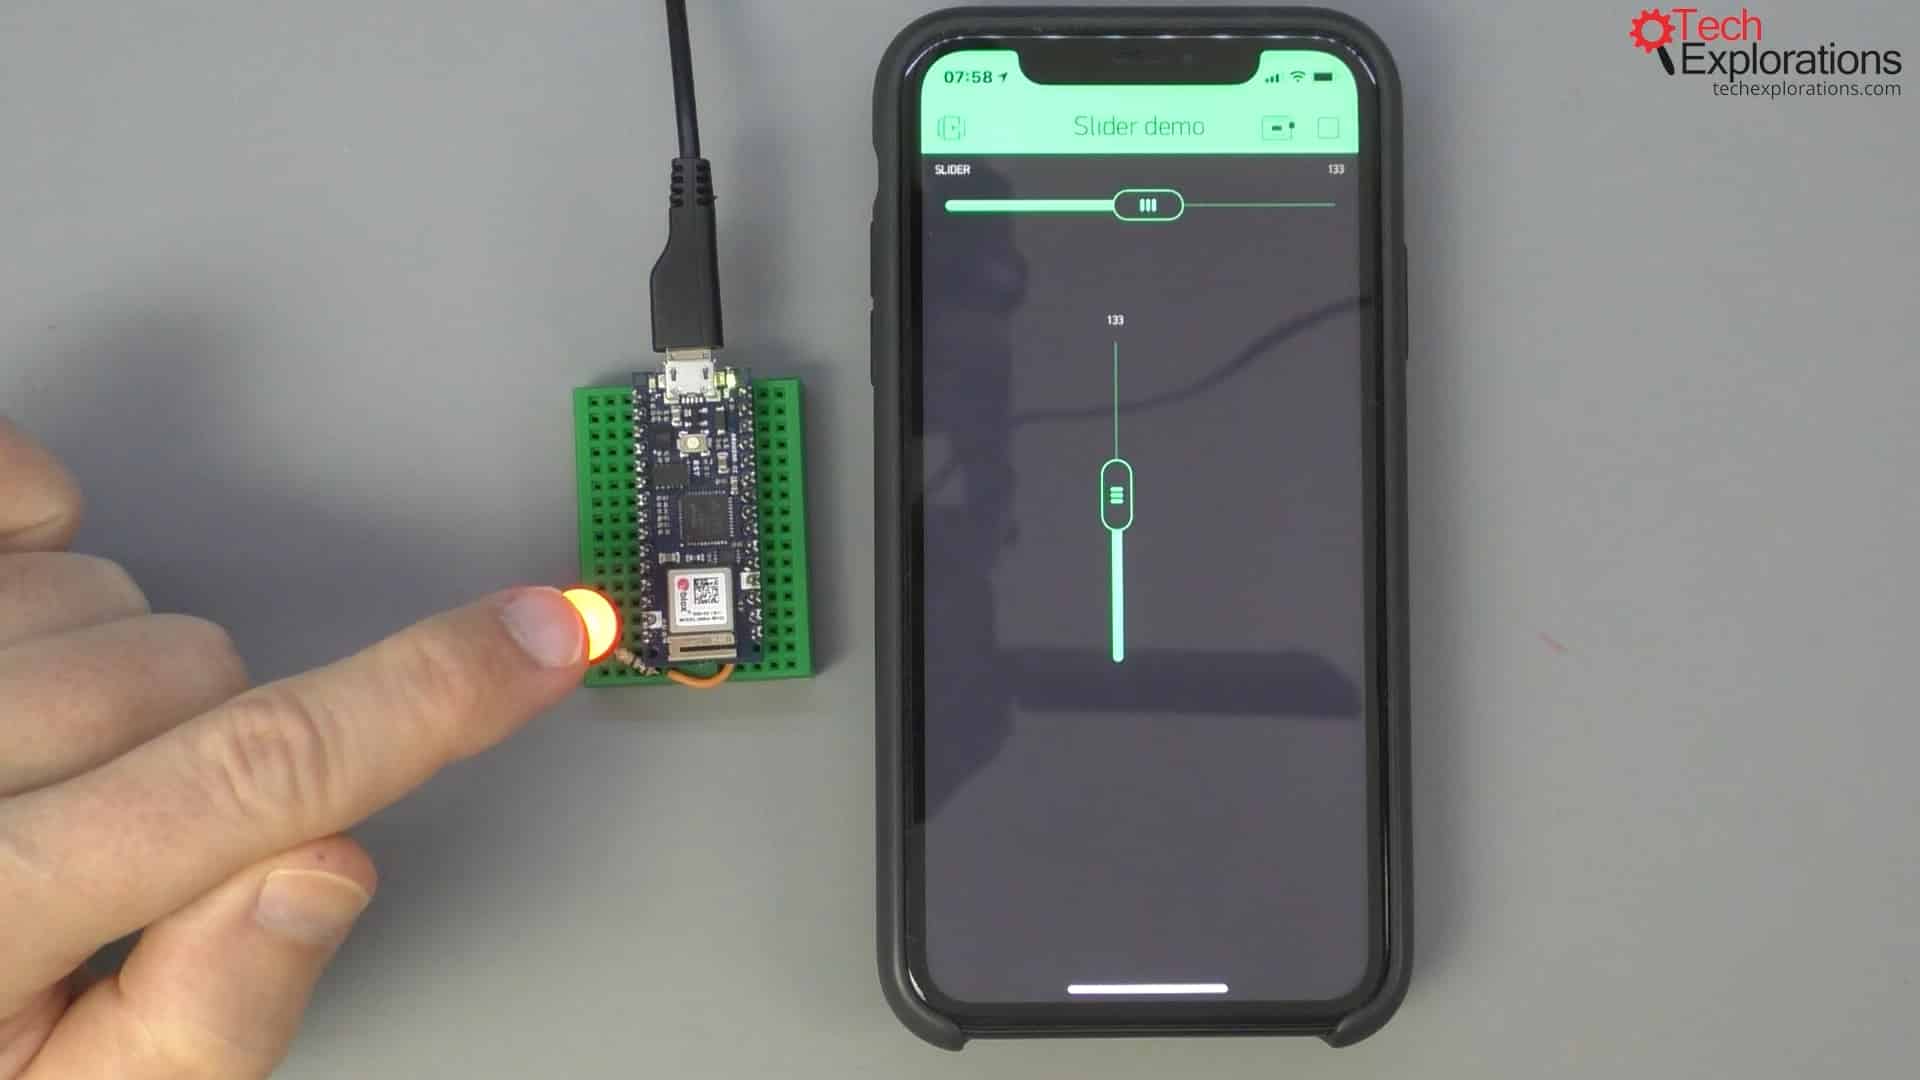
A vertical and a horizontal slider connected to digital pin 2
I can simply move them in an appropriate direction, and this sends a PWM value to my LED. It goes off on one edge of the range of numbers that it's sending, and its brightest value is on the other edge.
Because these two widgets are connected to the same digital pin, they read each other's values, and then they graphically update each other so that they are in the correct position along their path of movement.
The Slider sketch
Let's have a look at the sketch.
Because I am manipulating a digital pin directly, I do not need any code to process the widget values and control the external LED.
I don't have anything related to digital pin or any other kind of processing. Everything is happening directly between the Blynk application on my phone and the Blynk firmware on the Arduino.
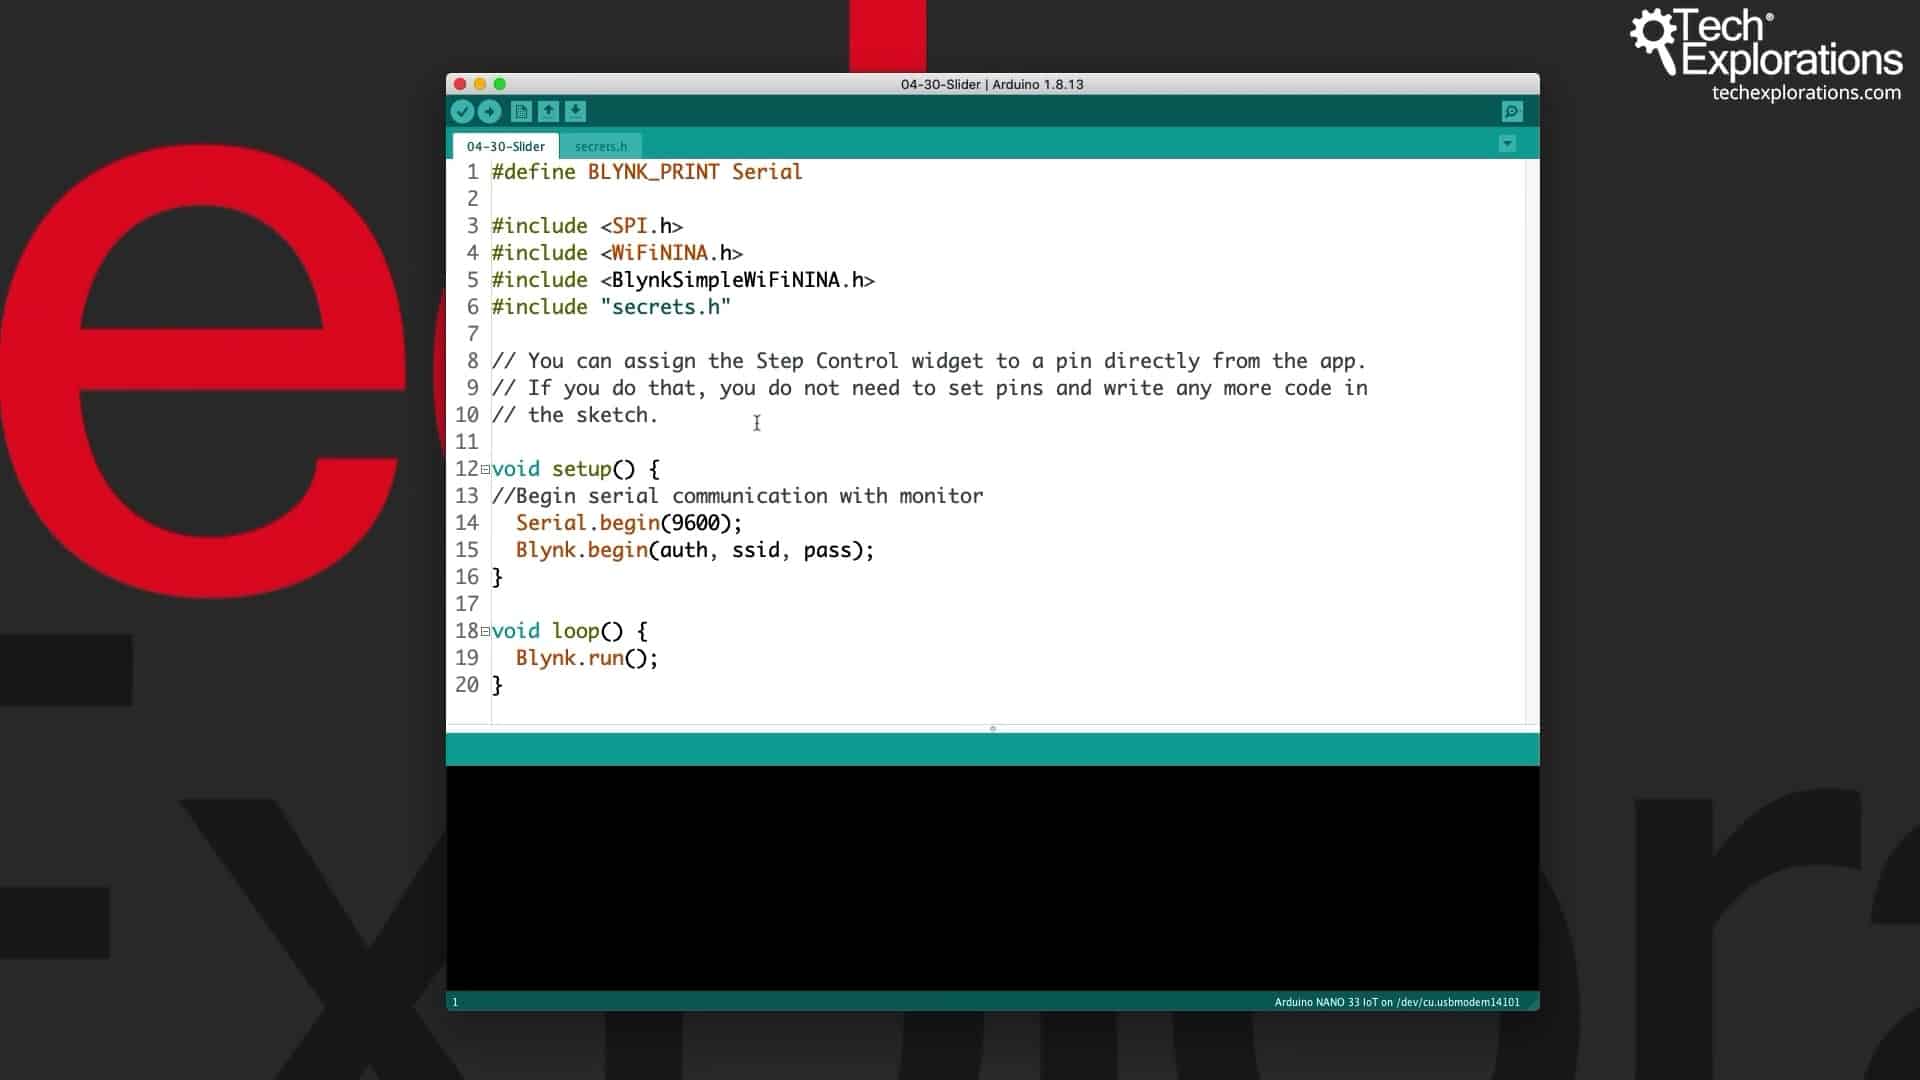
The Slider sketch
The Slider settings
I will stop the application, delete the widgets, and start from scratch to show you a few available options. I now have a blank slate, and I will select the horizontal slider. I will position it and extend it horizontally, and tap on it to go to the slider settings.
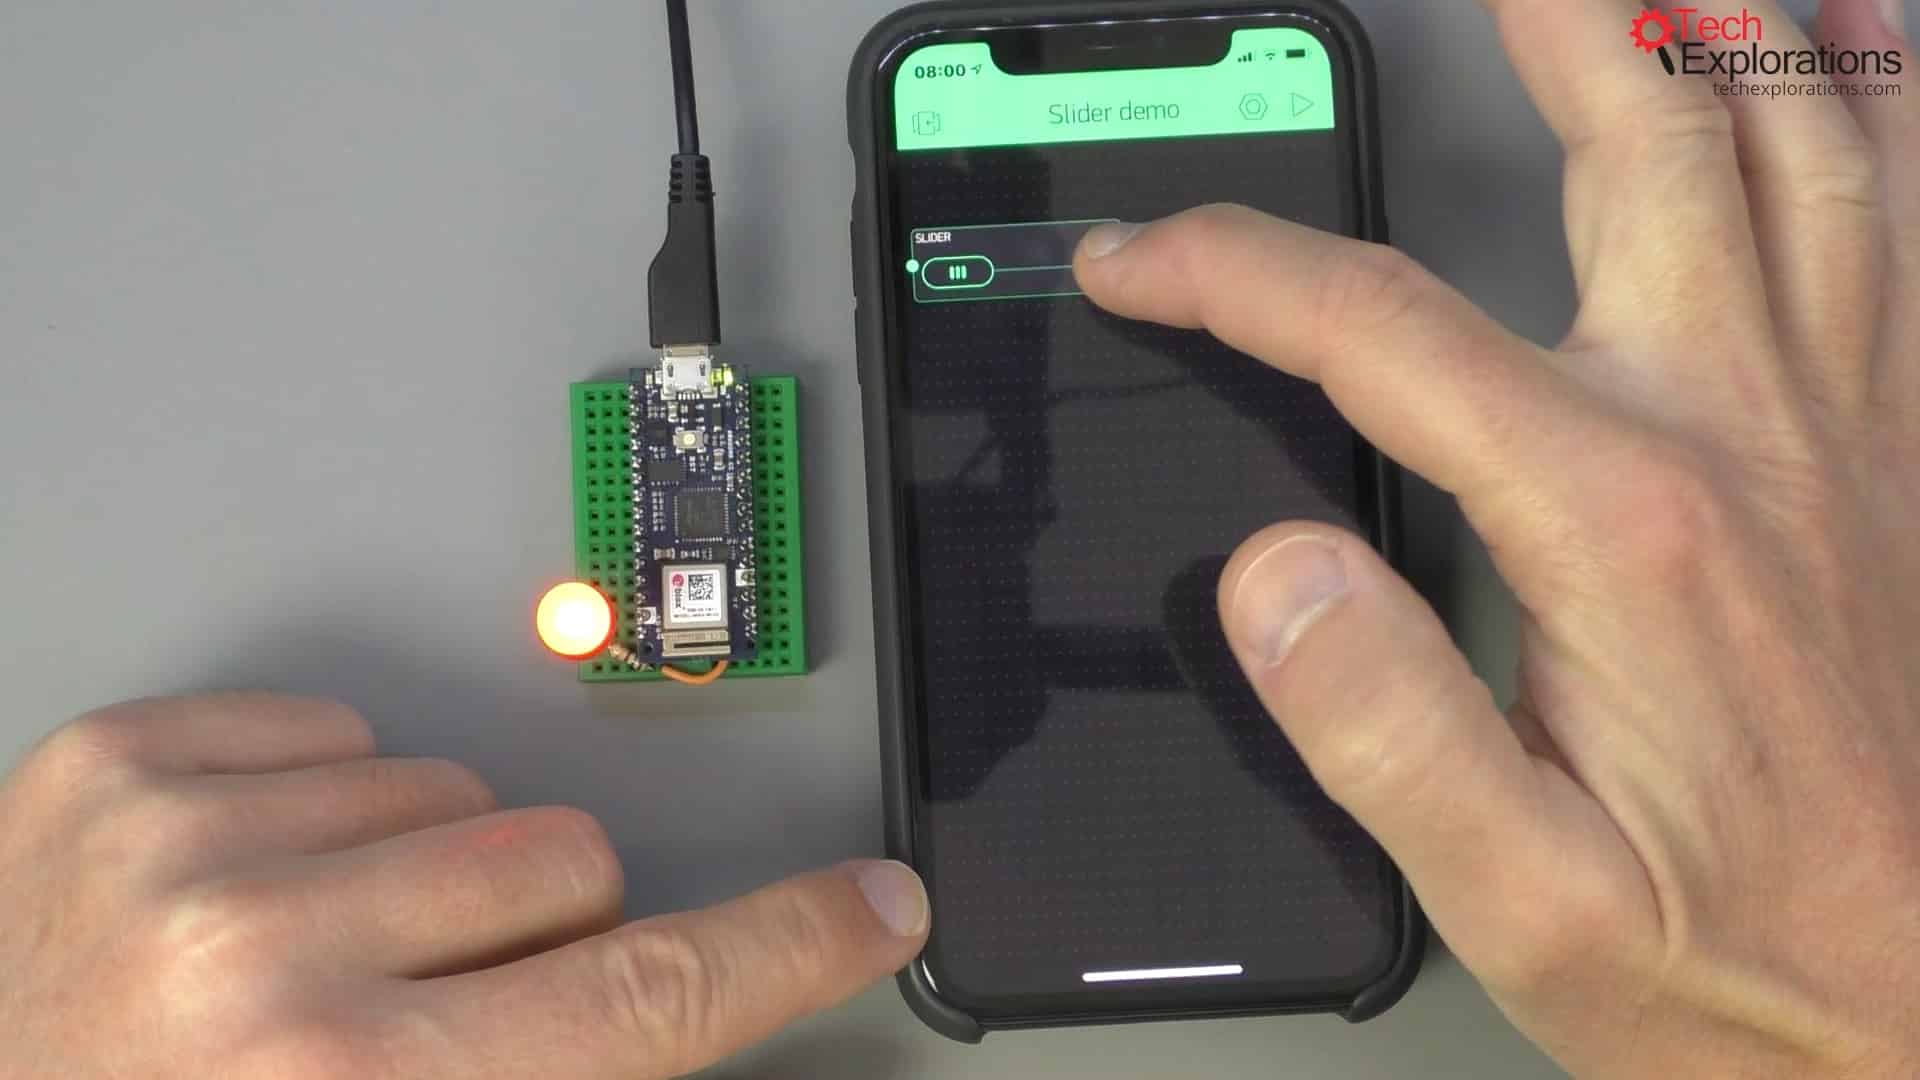
Positioning a slider from scratch
You can give it a name; I will leave it blank. I'll select a color and make it orange. For output, I will choose digital pin 2 because that is where my LED is connected to. The range of numbers for my PWM 8-bit is correct.
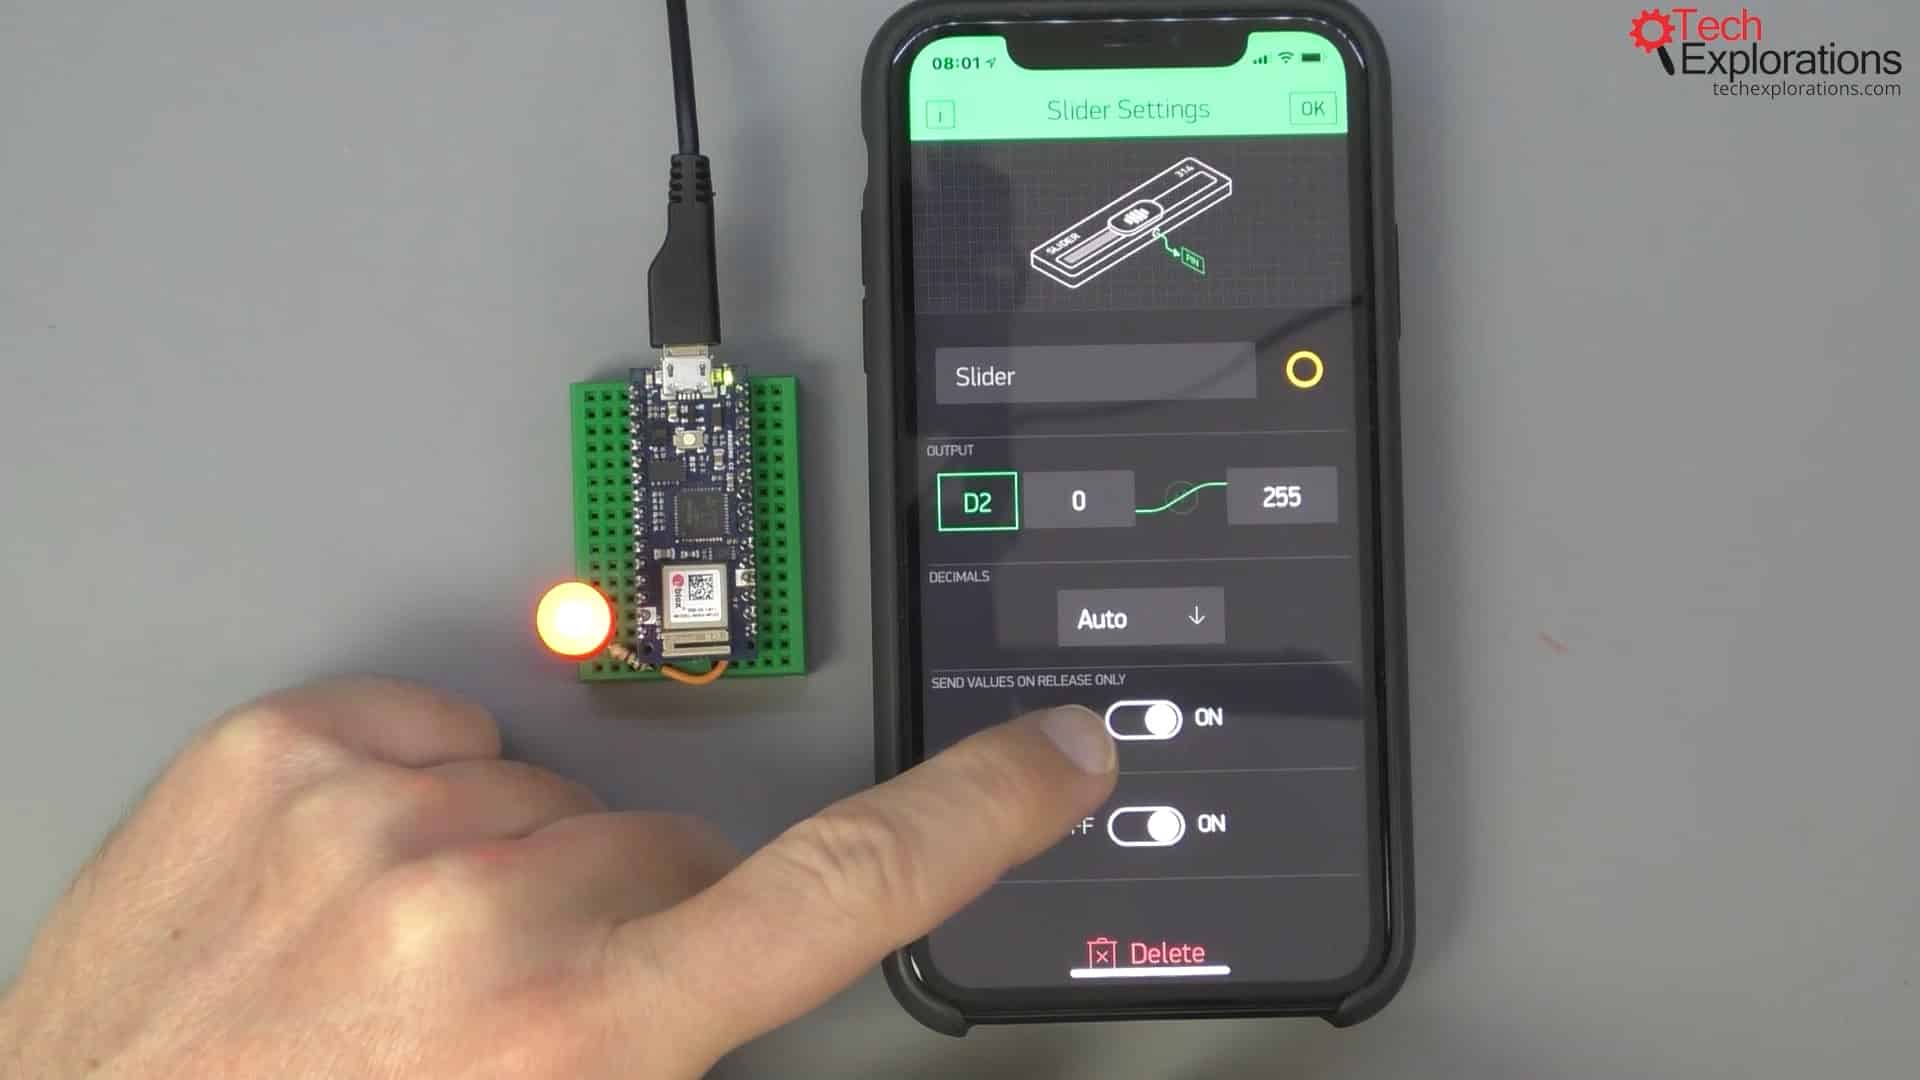
The Slider Settings
For the decimals for the output, I will choose zero decimals, so I'm just going to go for option #, which means just a number with no decimals. If you had decimals, you could choose one of the other options.
Send Values On Release Only switch on
The "Send Values On Release Only" switch shown above allows you to send values during the slider's release only or as you're moving the slider up and down. I've set it at the off state for the time being to show you what happens. I will come back to it and switch it back to on.
I want to show the value next to the slide as I'm moving it. I click "OK," start the application and move the slider. I can see that somehow decimals are showing. I've got two decimal points, so I'm going to switch it off. I think this happened because I set it to automatic.
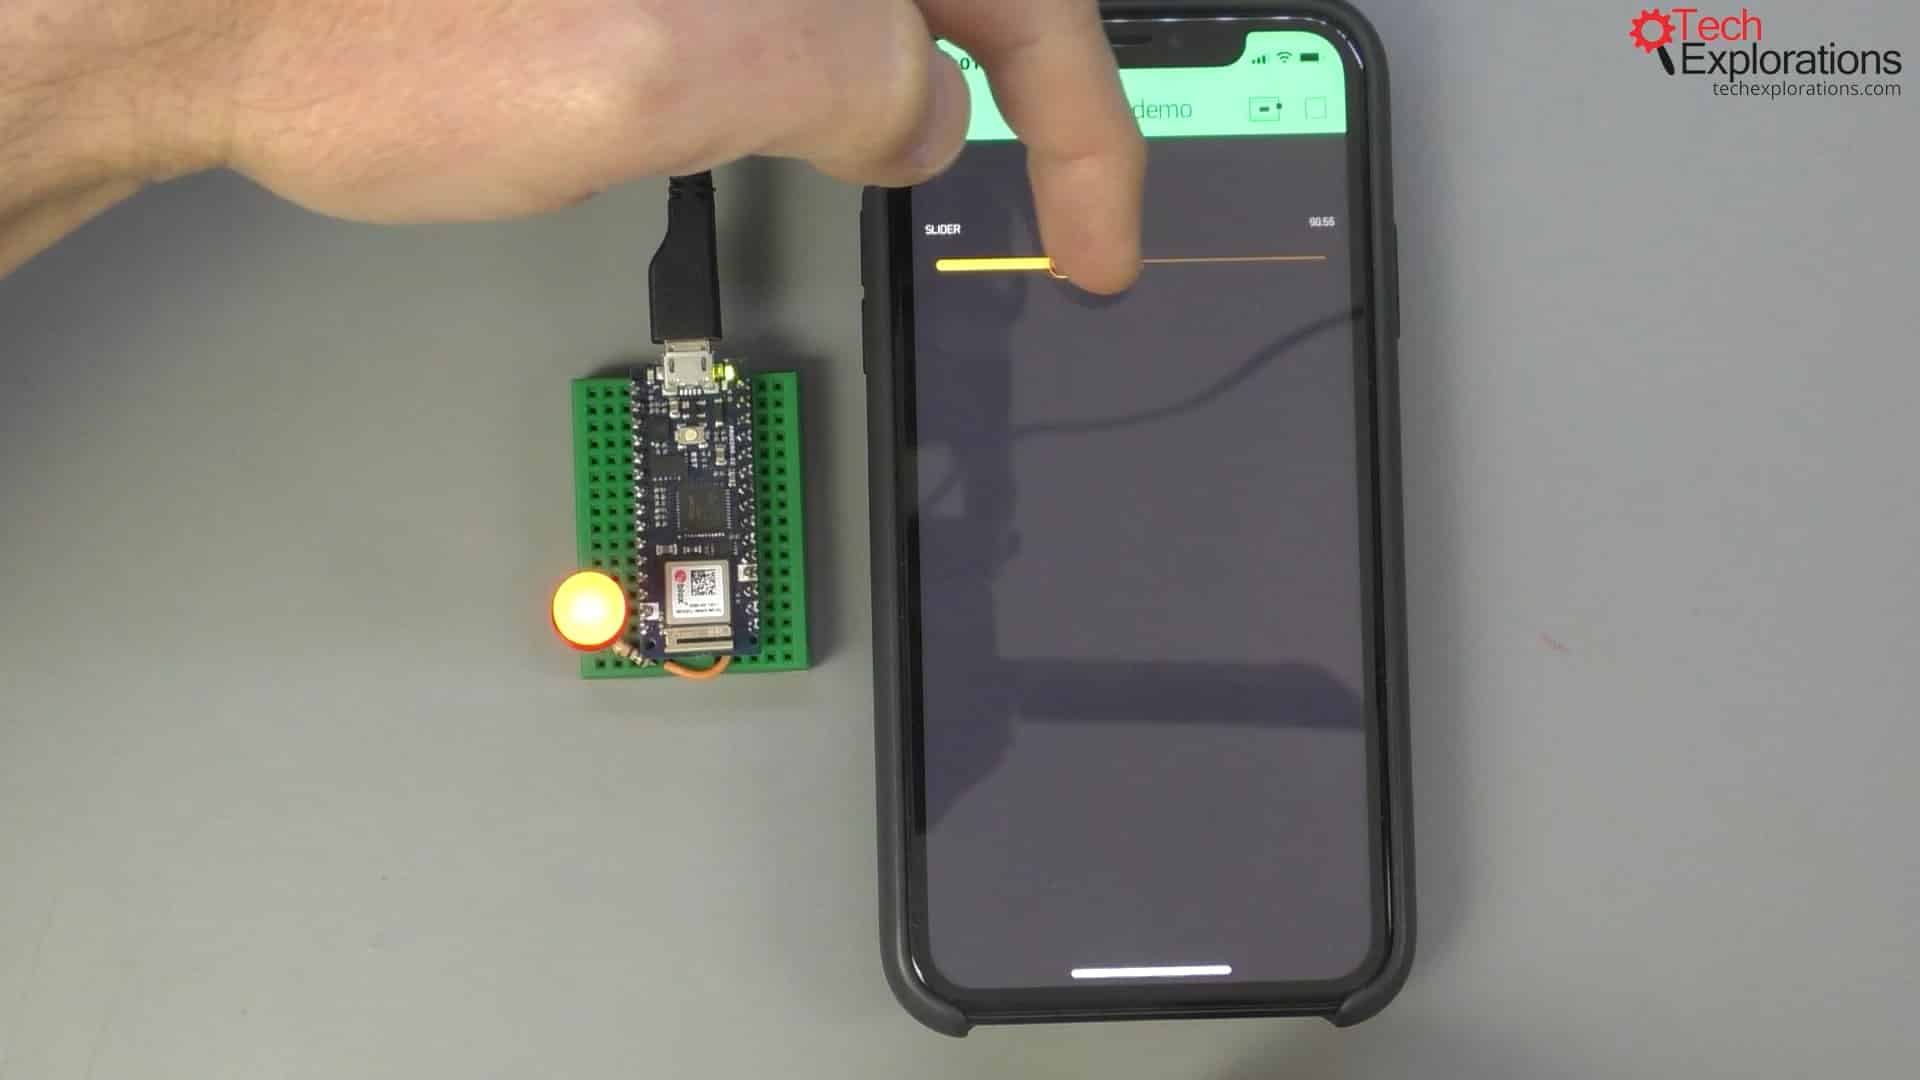
Moving the slider
I can make changes. It seems the slider is sending values to my hardware - intermediate values. I will stop that, go back into the Slider Settings and turn the Send Values setting to on. Let's see what happens now.
This time, as I'm moving the slider up, you notice that the LED is still turned off. I go all the way up and let it go, and then the value is sent. I go back down again towards the bottom; the LED is still falling on. I let the slider go, and then the PWM value is sent through. So, I'd rather have the Send Values setting off.
Send Values On Release Only switch off
Another change I'm going to make is to change the automatic number of decimal places to no decimal places and see the effect of this. I press Play, and this time it's much better.

There are no decimal places now. I'm just getting the integer for the PWM value and then, the value from the slider is sent to the hardware as I am changing its value without me having to release the slider first.
I can also add another vertical slider widget. I position it, extend it, and connect it to digital pin 2. It says that it's busy, but it's okay; both of the sliders can be connected to the same hardware digital pin. I set the Send Values setting to off, and we're good. I try these settings out, and it works.
That's how you can use the two types of sliders in the Blynk application.
Learn Blynk with our video course
Start right now with Arduino Mobile Development with Blynk
This is our comprehensive video course, packed with high-quality video, hands-on mini-projects, and our friendly and supporting community.
Jump to another article
1. What is Blynk?
2. Demo of a simple Blynk project
3. The Arduino Nano 33 IoT
4. Install the Blynk app, create an account
5. Create a new Blynk project
6. How to use a virtual pin
7. Replace the Arduino Nano 33 IoT with an ESP32
8. Button and styled button
9. Hardware button LED
10. Hardware potentiometer LED
11. Vertical and horizontal slider
Last Updated 3 years ago.
We publish fresh content each week. Read how-to's on Arduino, ESP32, KiCad, Node-RED, drones and more. Listen to interviews. Learn about new tech with our comprehensive reviews. Get discount offers for our courses and books. Interact with our community. One email per week, no spam; unsubscribe at any time
