Blynk guide series
How to use a virtual pin
Learn how to use the virtual pins feature in the Blynk application to call any function you want or to add a lot more functionality to your sketch.
Would you rather watch than read? Here's the video version of this article.
Virtual pins
To learn the basics of Blynk's virtual pins, let's work on a small project.
We will use a virtual pin in Blynk to send a PWM value to the LED connected to digital pin 2 (D2) on the Arduino Nano. This pin is PWM capable.
First, let's look at the relevant documentation. Blynk publishes its documentation at docs.blynk.cc. Keep this site open for quick reference.
On the left side is the table of contents.
Scroll down to "Blynk Main Operations" and click on "Virtual Pins".
That will take you to the relevant section in this documentation, which is recommended reading.
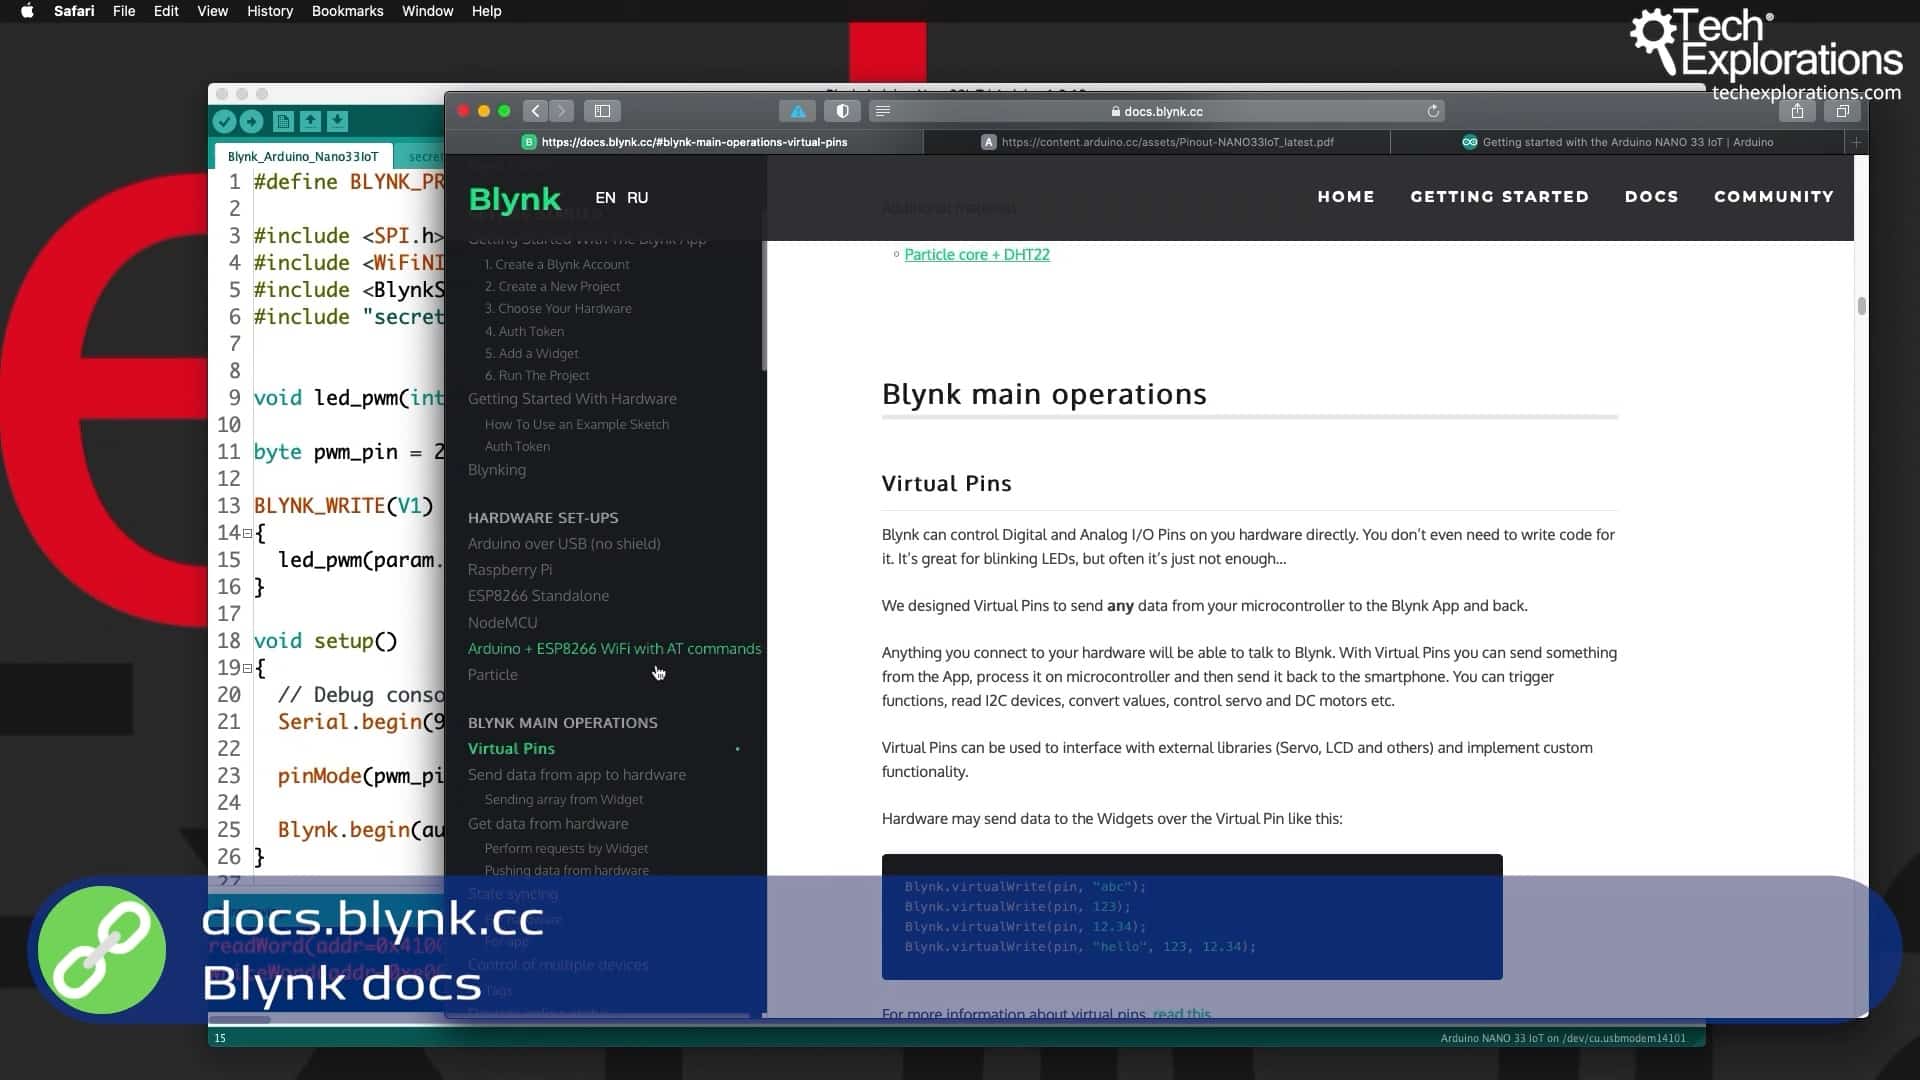
The Blynk documentation at docs.blynk.cc
The BLYNK_WRITE function
To get a virtual pin in Blynk to do anything you want it to do, first, you need to add the BLYNK_WRITE block in your sketch and assign it to the virtual pin you want to use to control this segment.
Then, inside that block, you can put whatever code you want.
The BLYNK_WRITE function can pass a value (such as a number) sent from the application on your phone to your sketch as a parameter. You can get that value using the param variable. Once you have the value, you can convert it into an integer, and then store it in a local or global variable.
From that point, you can do whatever you want with this information - with this number, in this case.
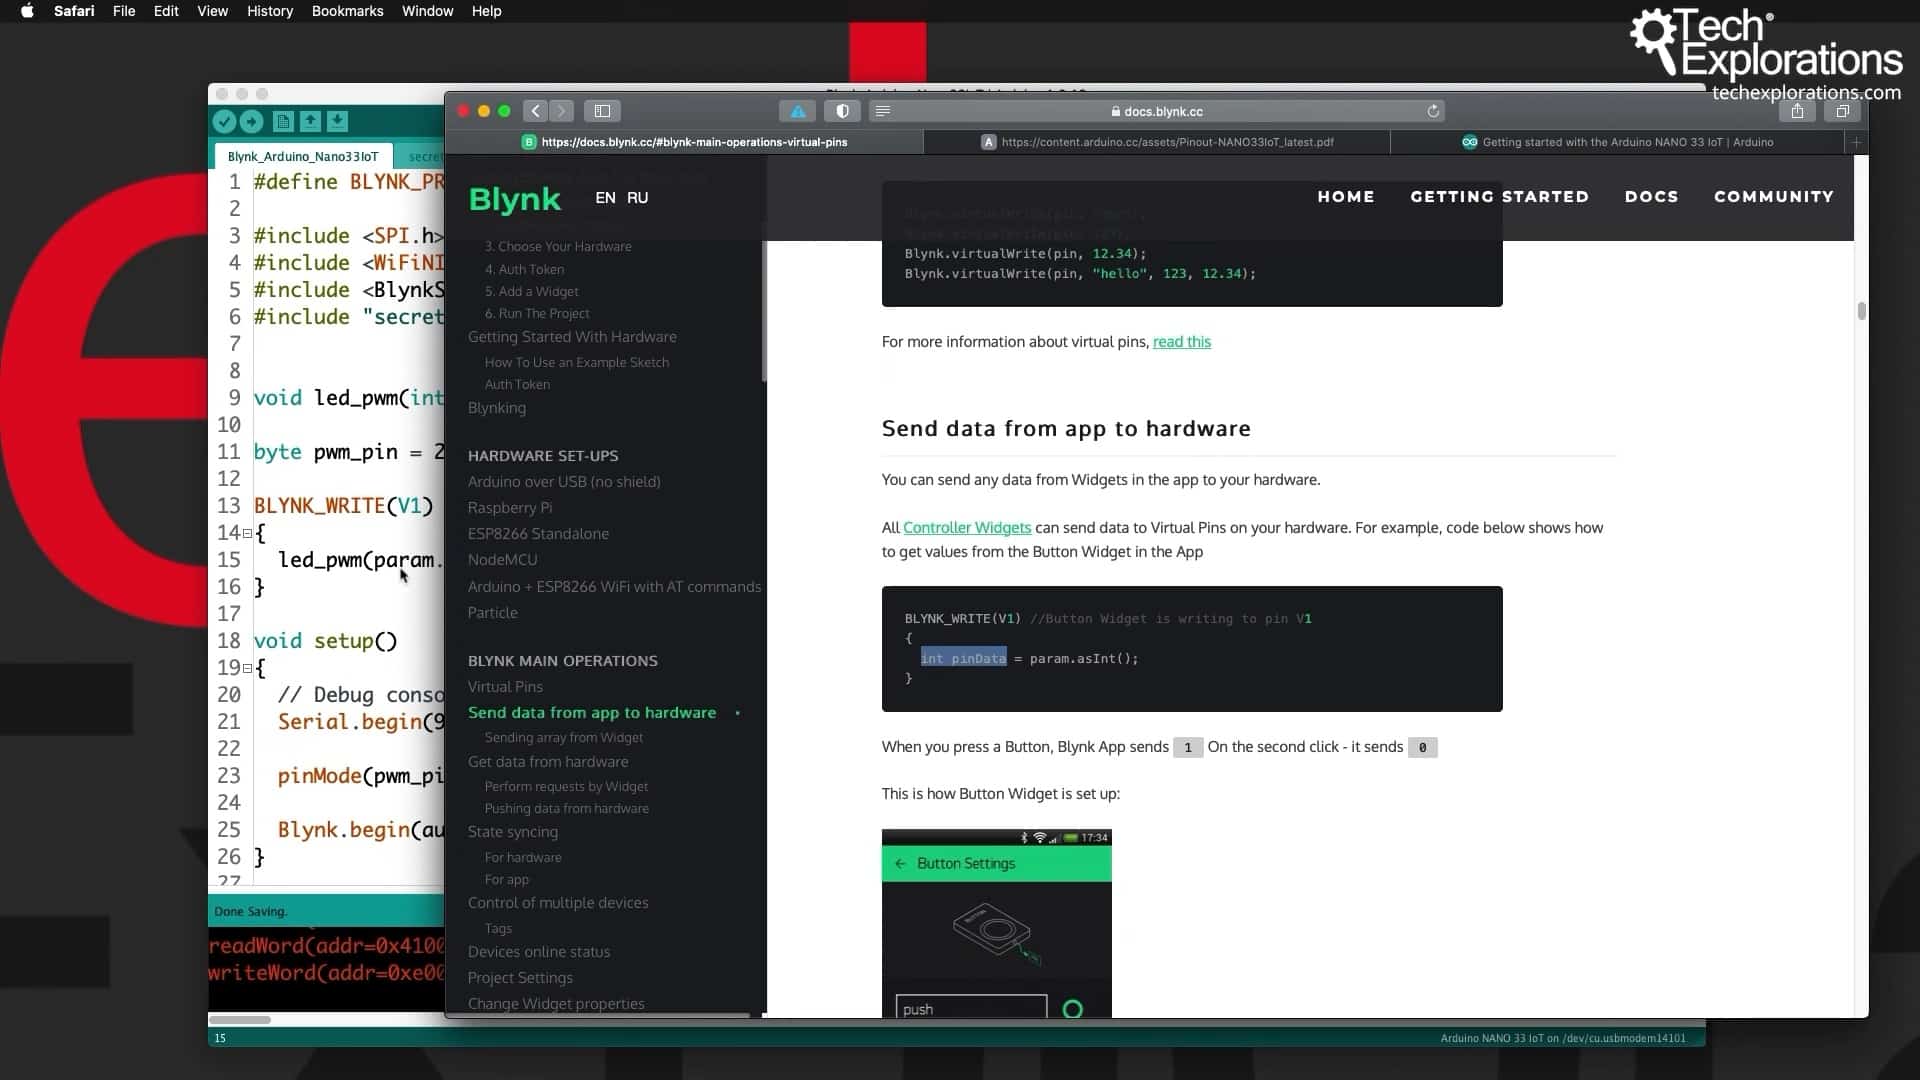
The BLYNK_WRITE block
The led_pwm function
You can see my sketch in the image below.
You can also see it in the course's Github repository.
The way that I have implemented this in my sketch is to take the sketch as we left it in the previous article (I have simply changed its name; I call it "Blynk_Arduino_Nano33IoT.ino" so that it's easy for me to identify it), and I have added a new function called led_pwm, which receives a pwm_value, an integer.
The function uses analogWrite to write that value to digital pin 2 (stored in the pwm_pin variable).
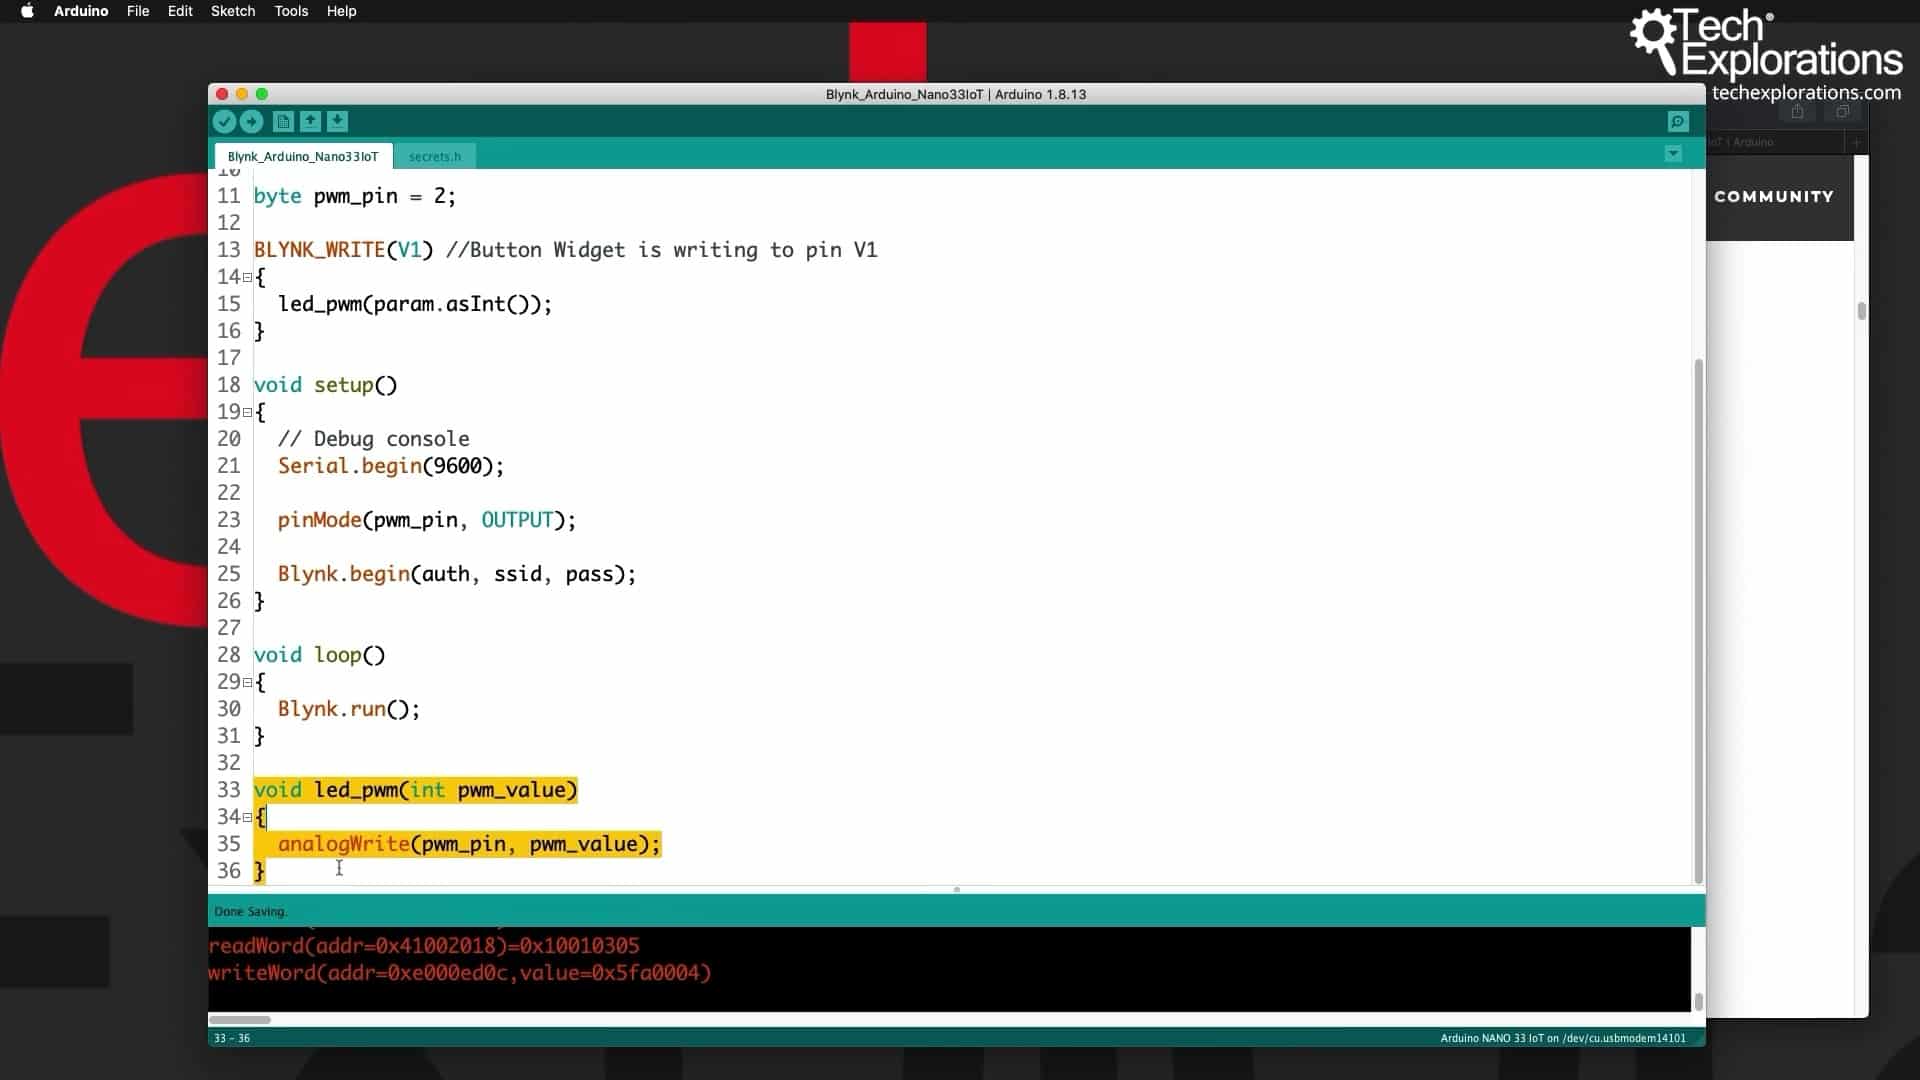
The implementation of the led_pwm function
The picture below is showing how I have implemented the virtual pin functionality.
I used the BLYNK_WRITE function.
I pass the virtual pin that I want to use to control the segment in this part of the code. The Blynk application will send a value, which I capture using the param variable, converted it into an integer, and then pass it on to the led_pwm function.
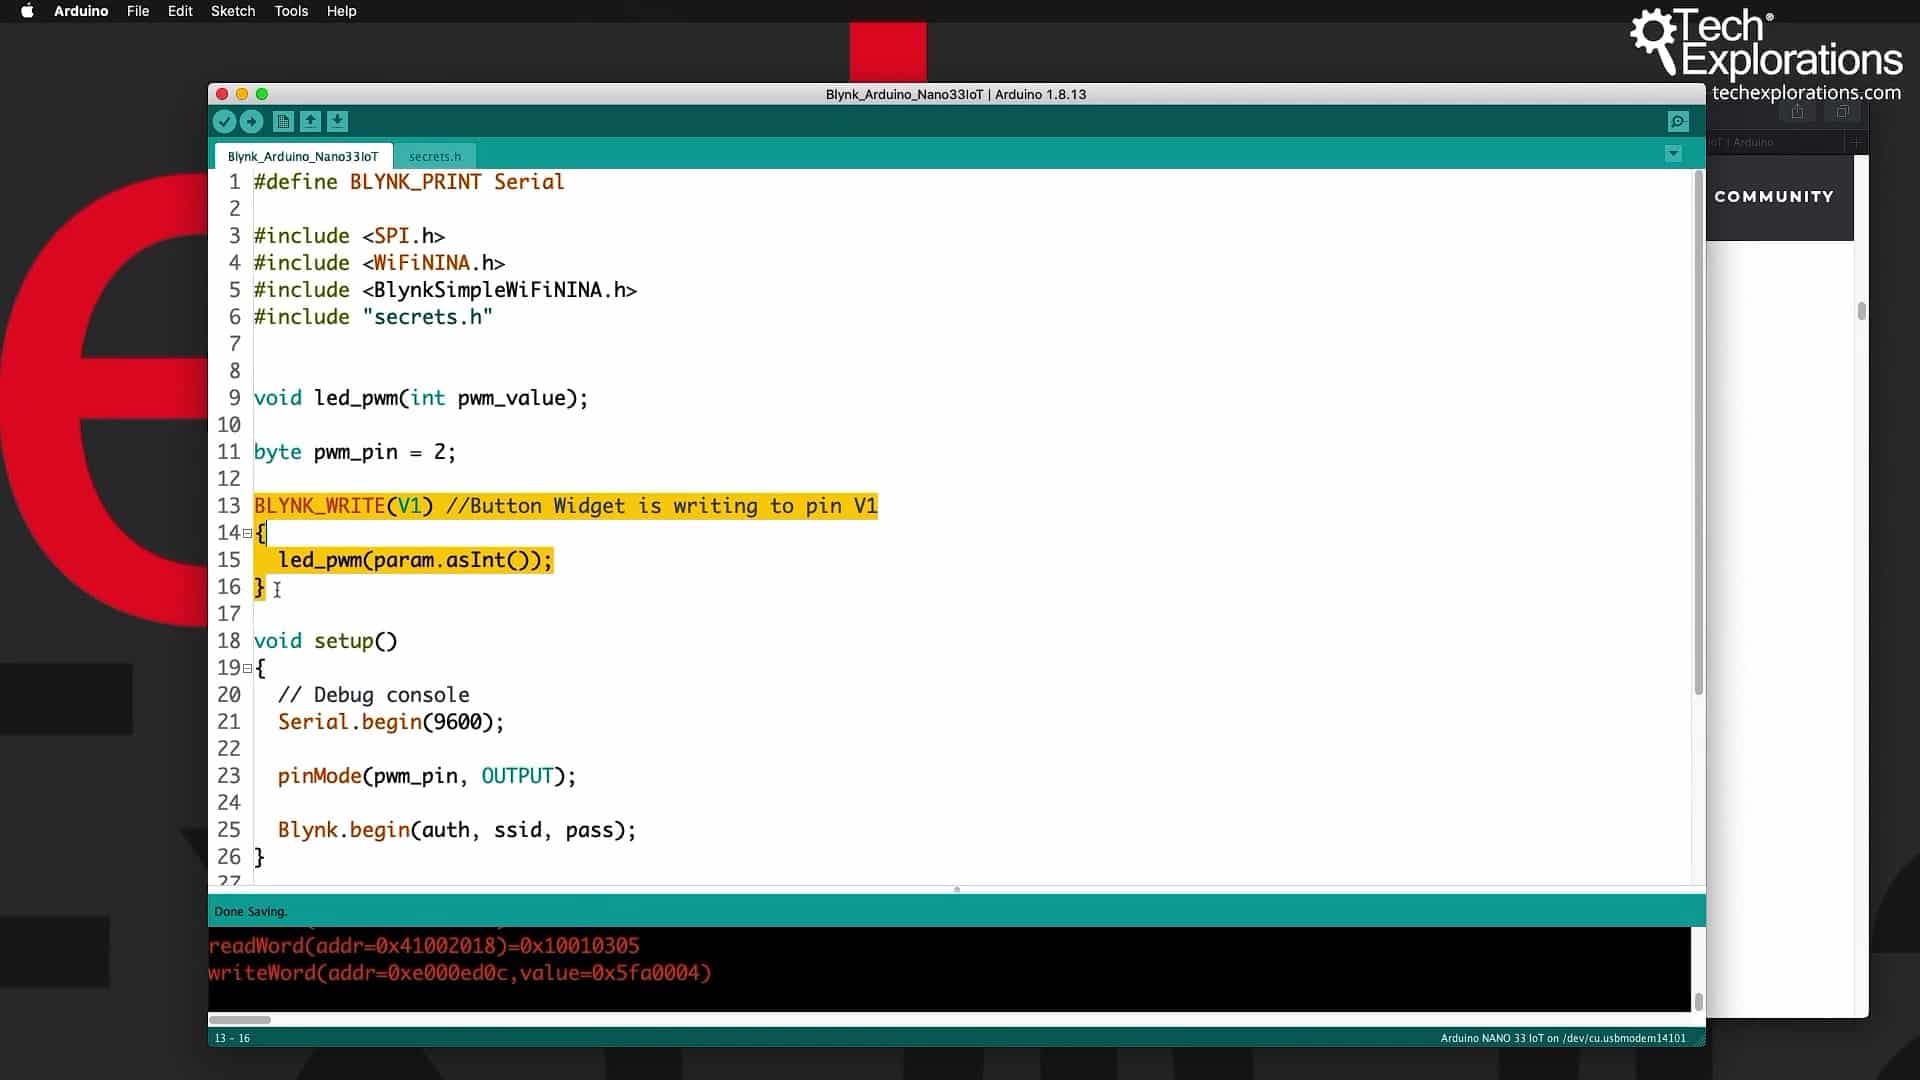
The BLYNK_WRITE function
The Slider
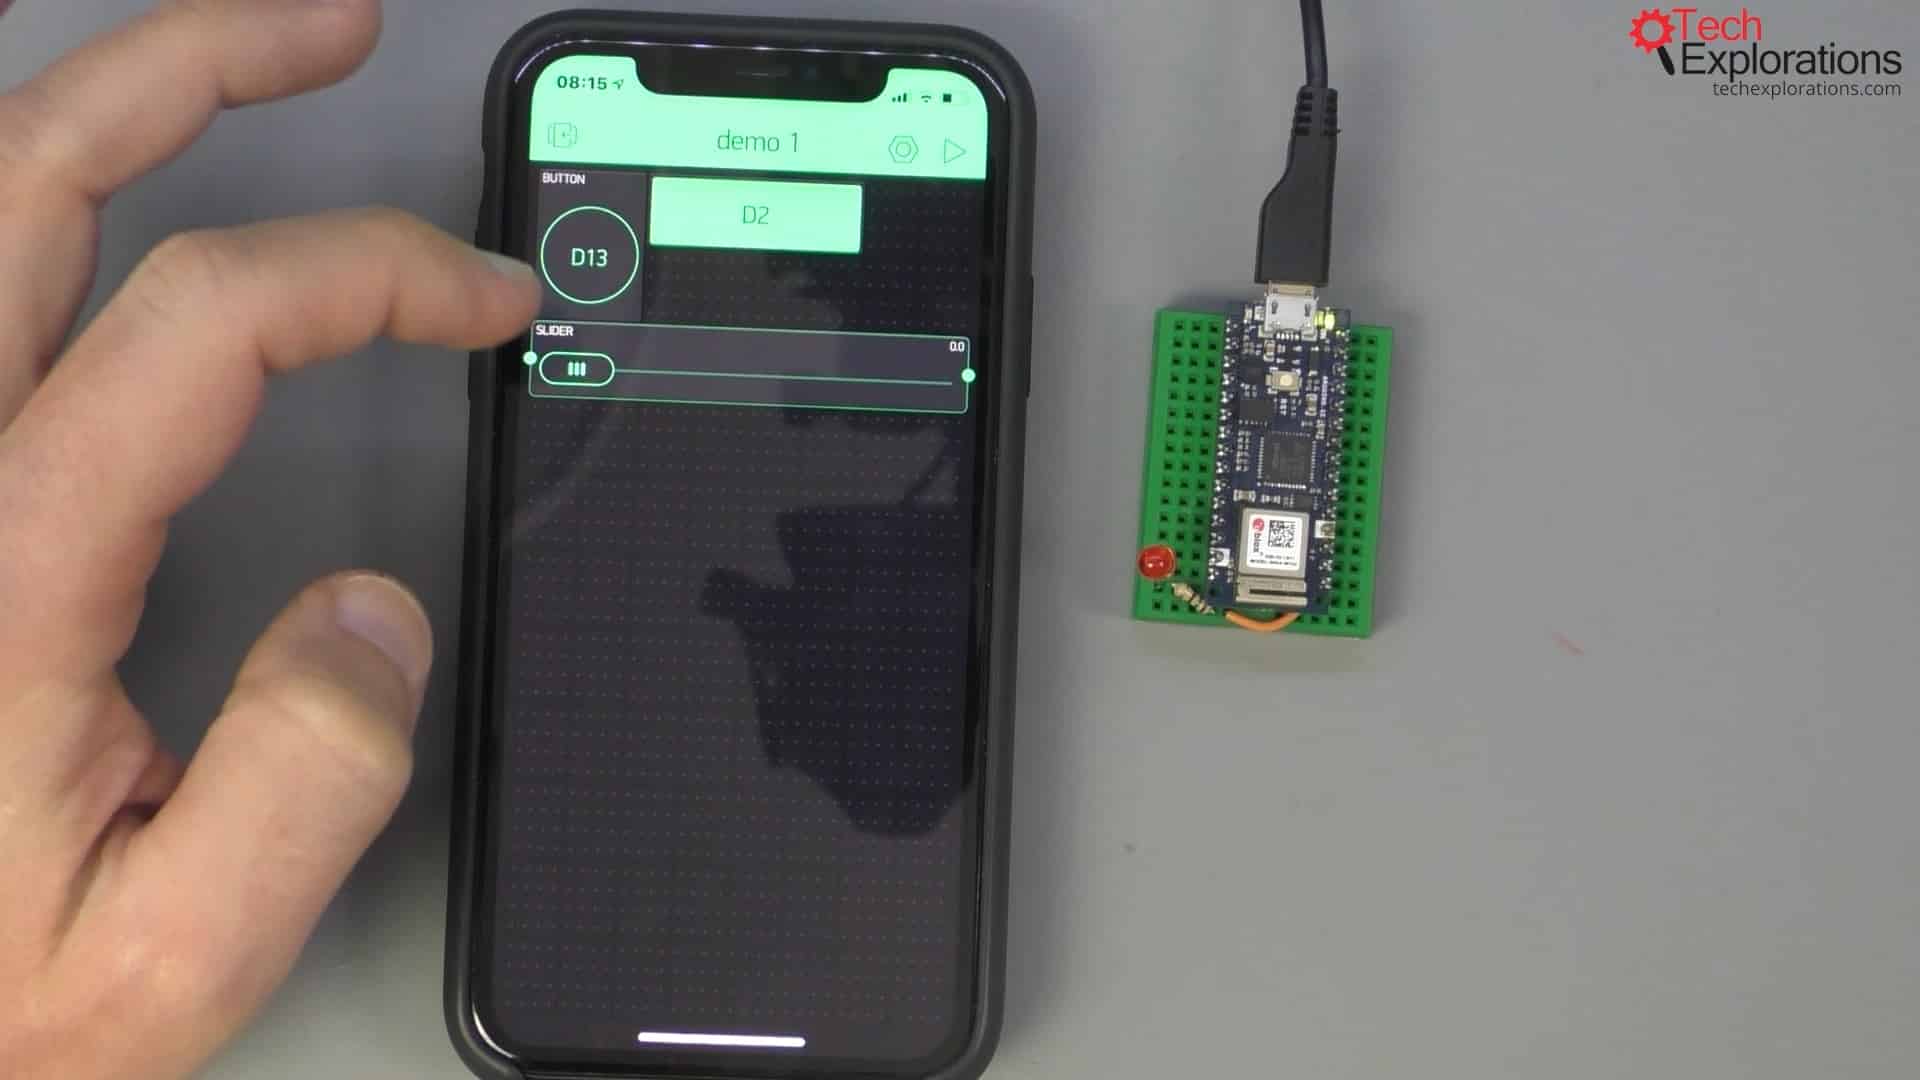
Adding a new widget, the Slider
Upload the sketch, and while that is happening, go over to my Blynk application, stop it, and add a new widget, the slider.
Place it a bit further down and extend it to the full width.
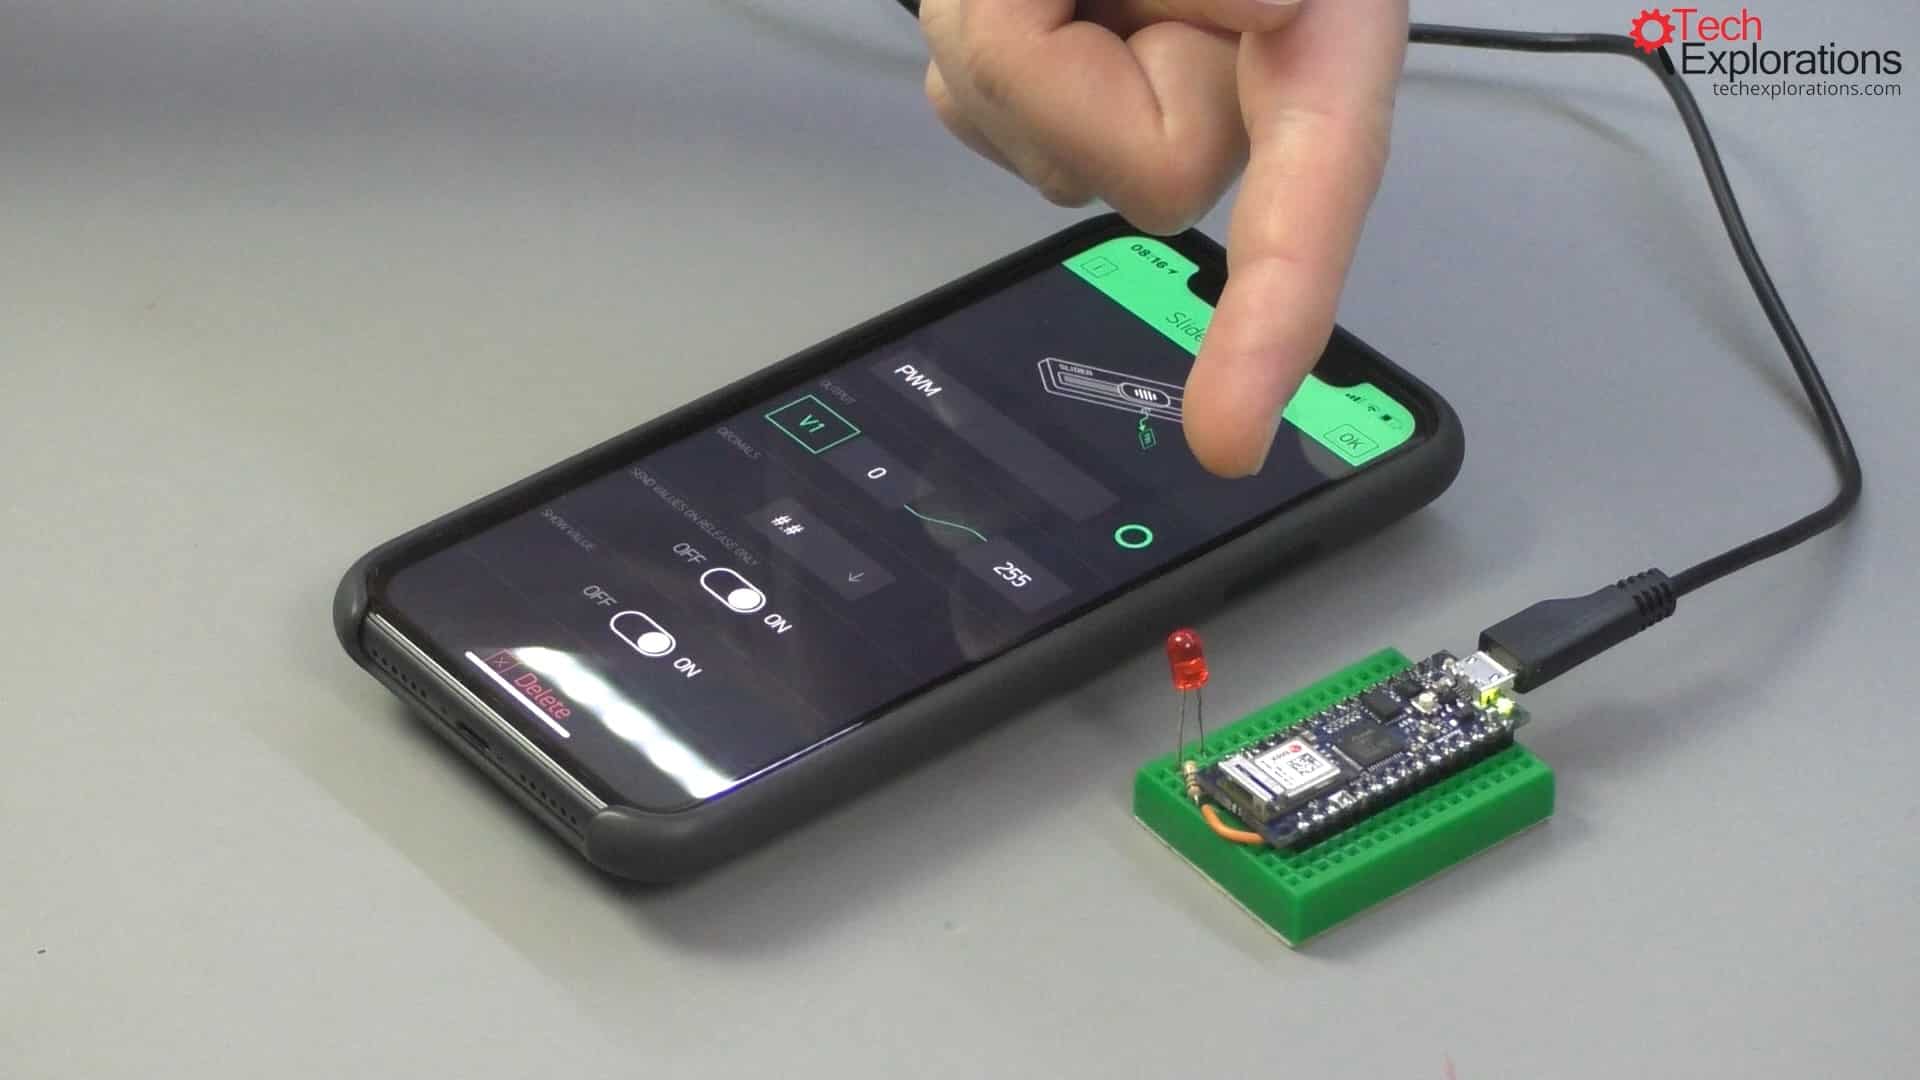
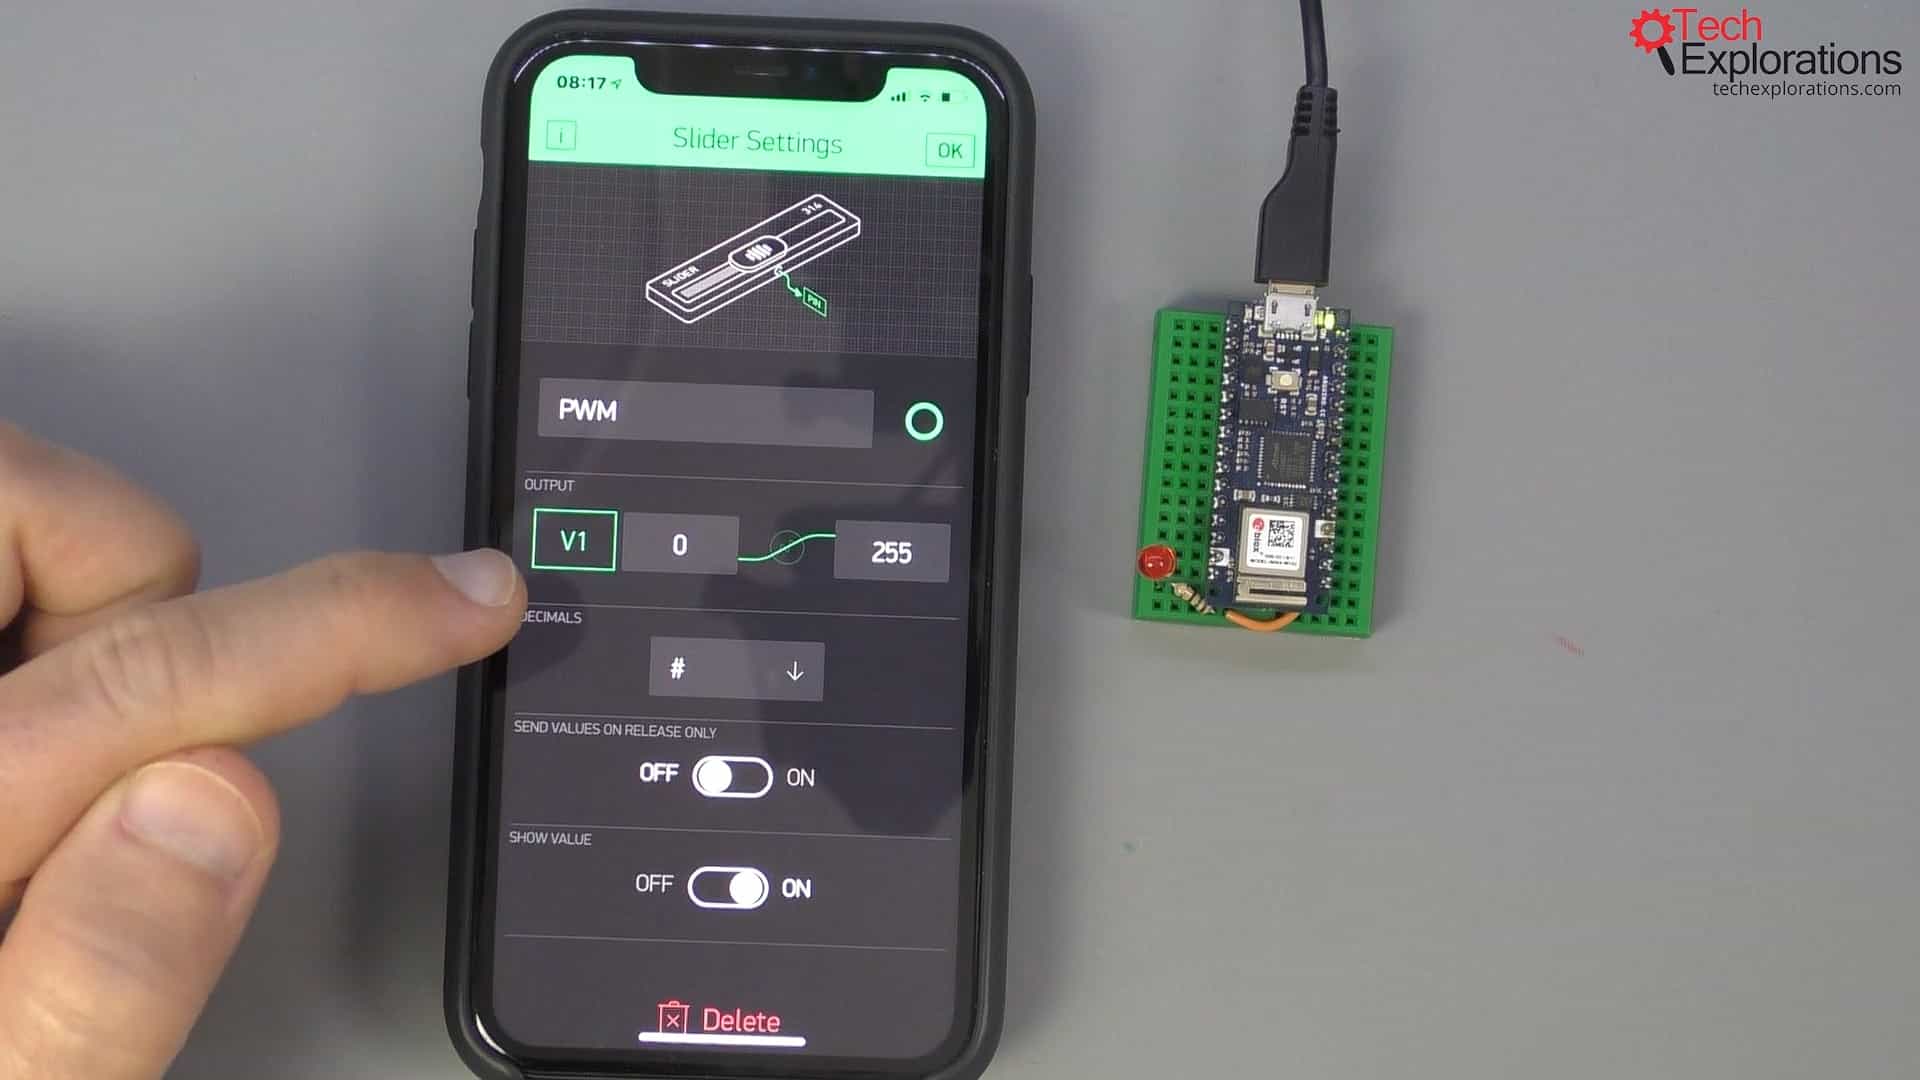
The slider's settings
Now, tap the slider to go into its settings.
For the pin setting, use Virtual 1 (V1) since you set the BLYNK_WRITE function to receive data from Virtual pin 1 (V1) earlier.
You can give the widget a name if you want; say "PWM".
You can keep the default configuration for the PWM function on the Arduino Nano 33 IoT, which is 8 bits.
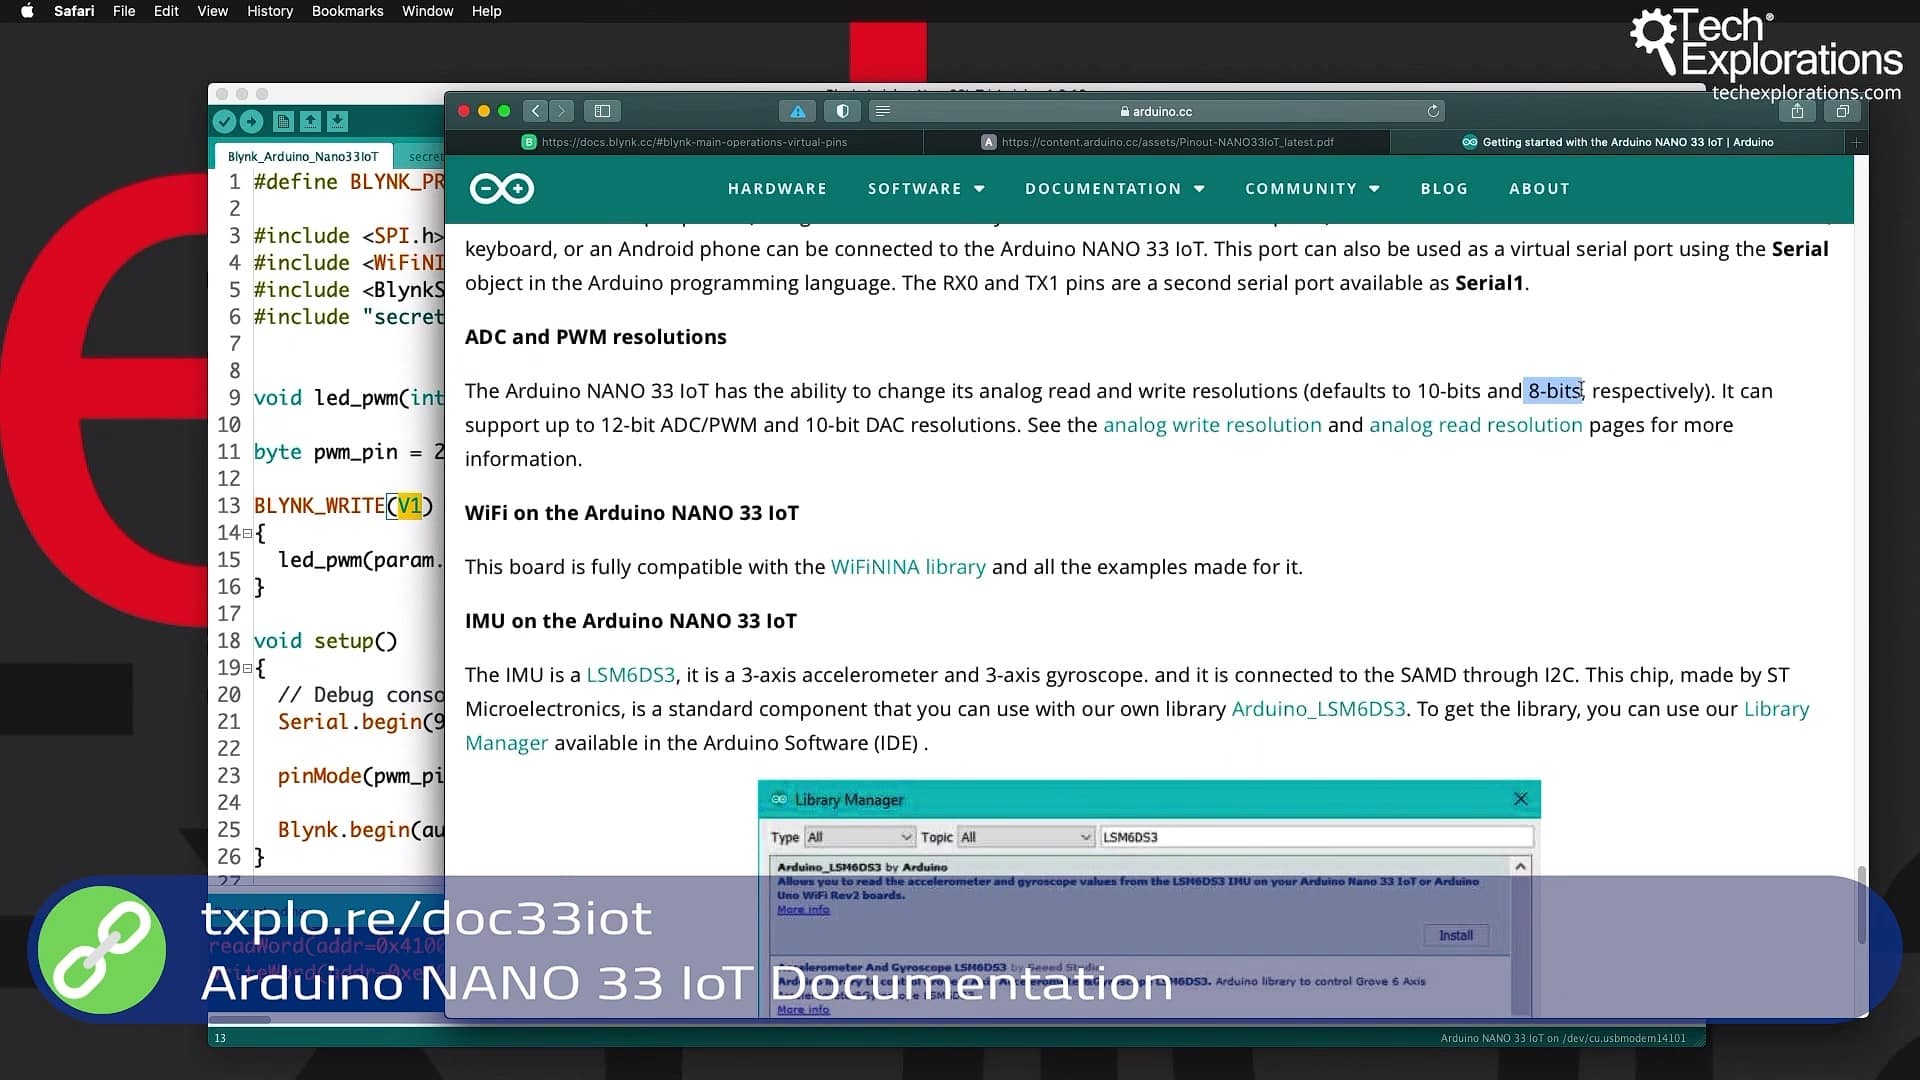
The Arduino Nano 33 IoT documentation showing that the PWM resolution is 8-bit

The PWM value has a range from 0 to 255 and the Send Values On Release Only is switched off
An 8-bit PWM value has a range from 0 to 255.
I also want to be able to see the value changing as I am sliding the slider left and right, so, I'm will switch off the "Send Values On Release Only" toggle switch. I want values to be sent constantly, as I'm changing them.
Next, tap "OK" and tap on the play button.
We can now try this out.
Slide the PWM widget handle up. You can see that the LED is becoming brighter
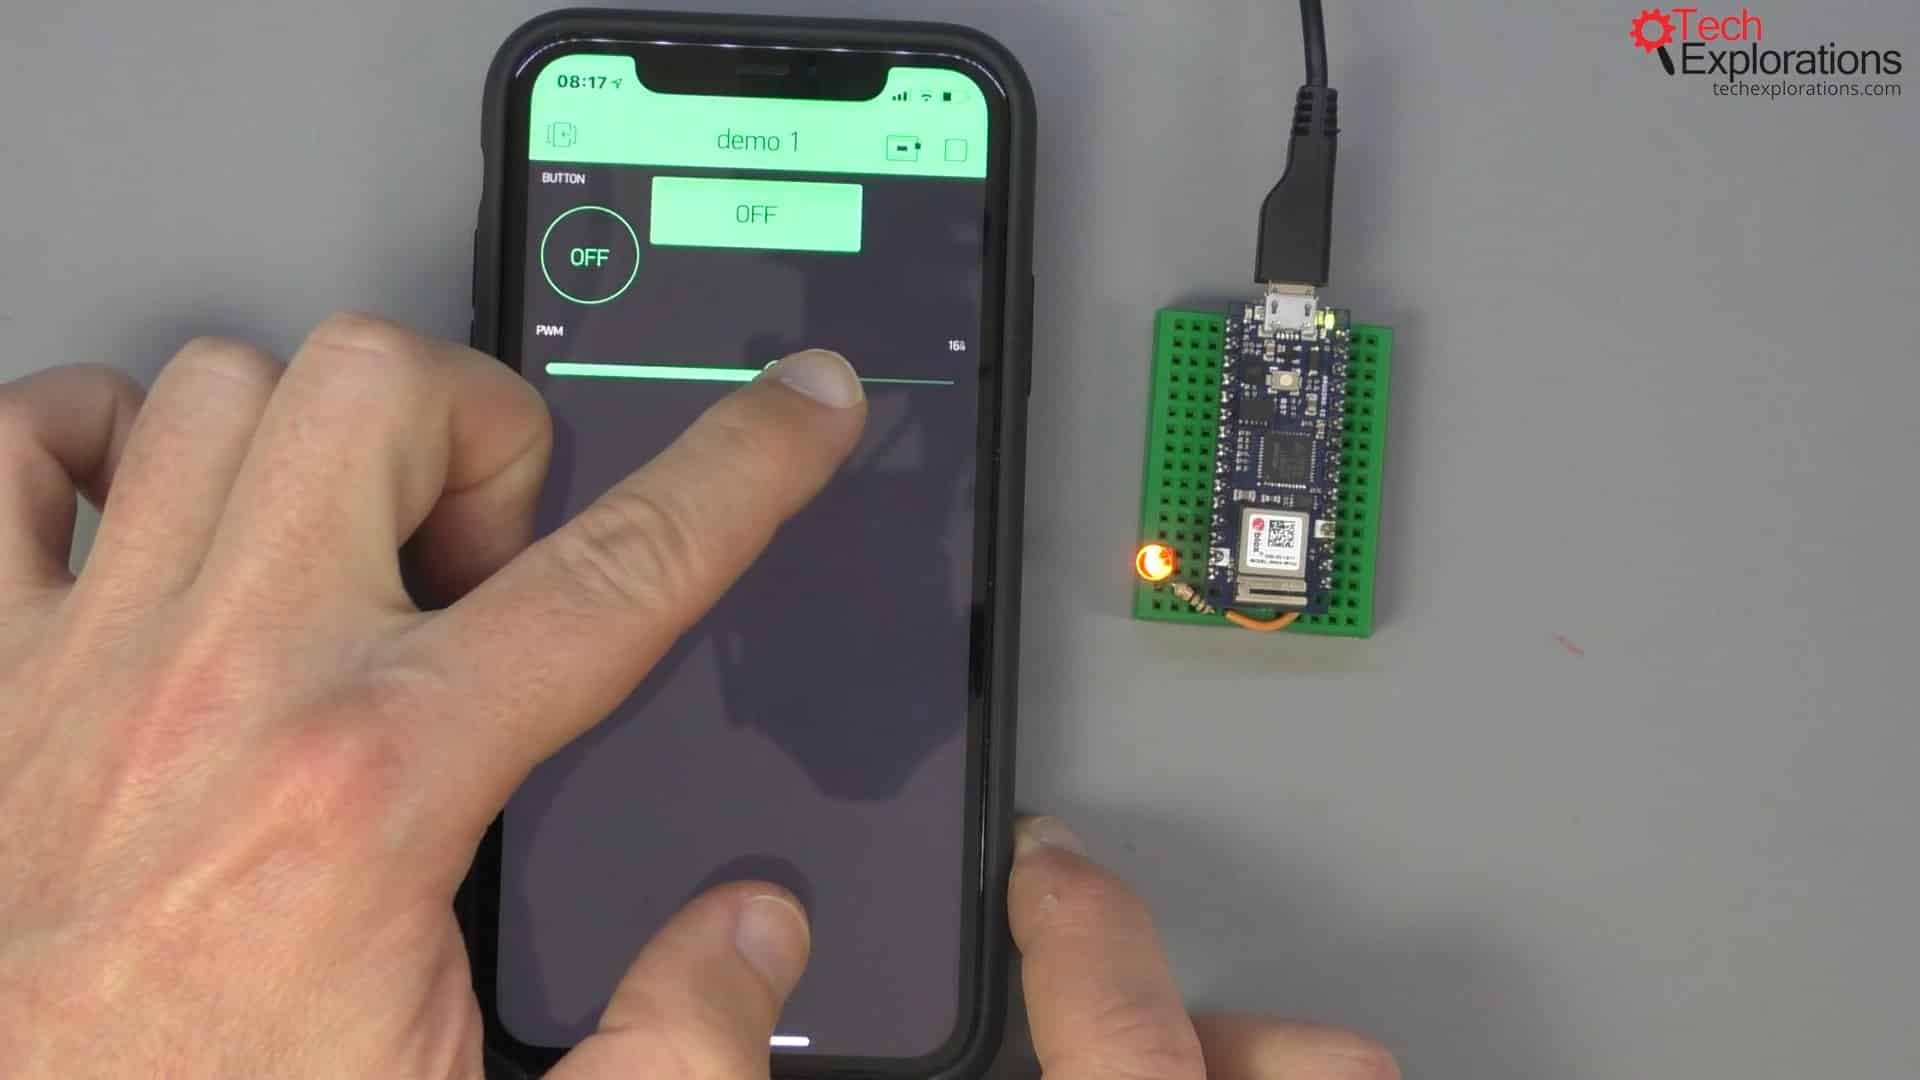
Trying out the slider and noticing the LED become gradually brighter
Even though I have connected two widgets to the same physical pin, both widgets still work.
There's some delay between the time I press on the button or move the slider and when the LED reacts because I am using the Blynk cloud server. It takes a bit of time for the update to reach the public server and come back. One of the main advantages of having a local private server is that the lag is minimal.
As you can see with virtual pins, you can do anything you want without having to worry about the physical limitations of whichever model device you have chosen.
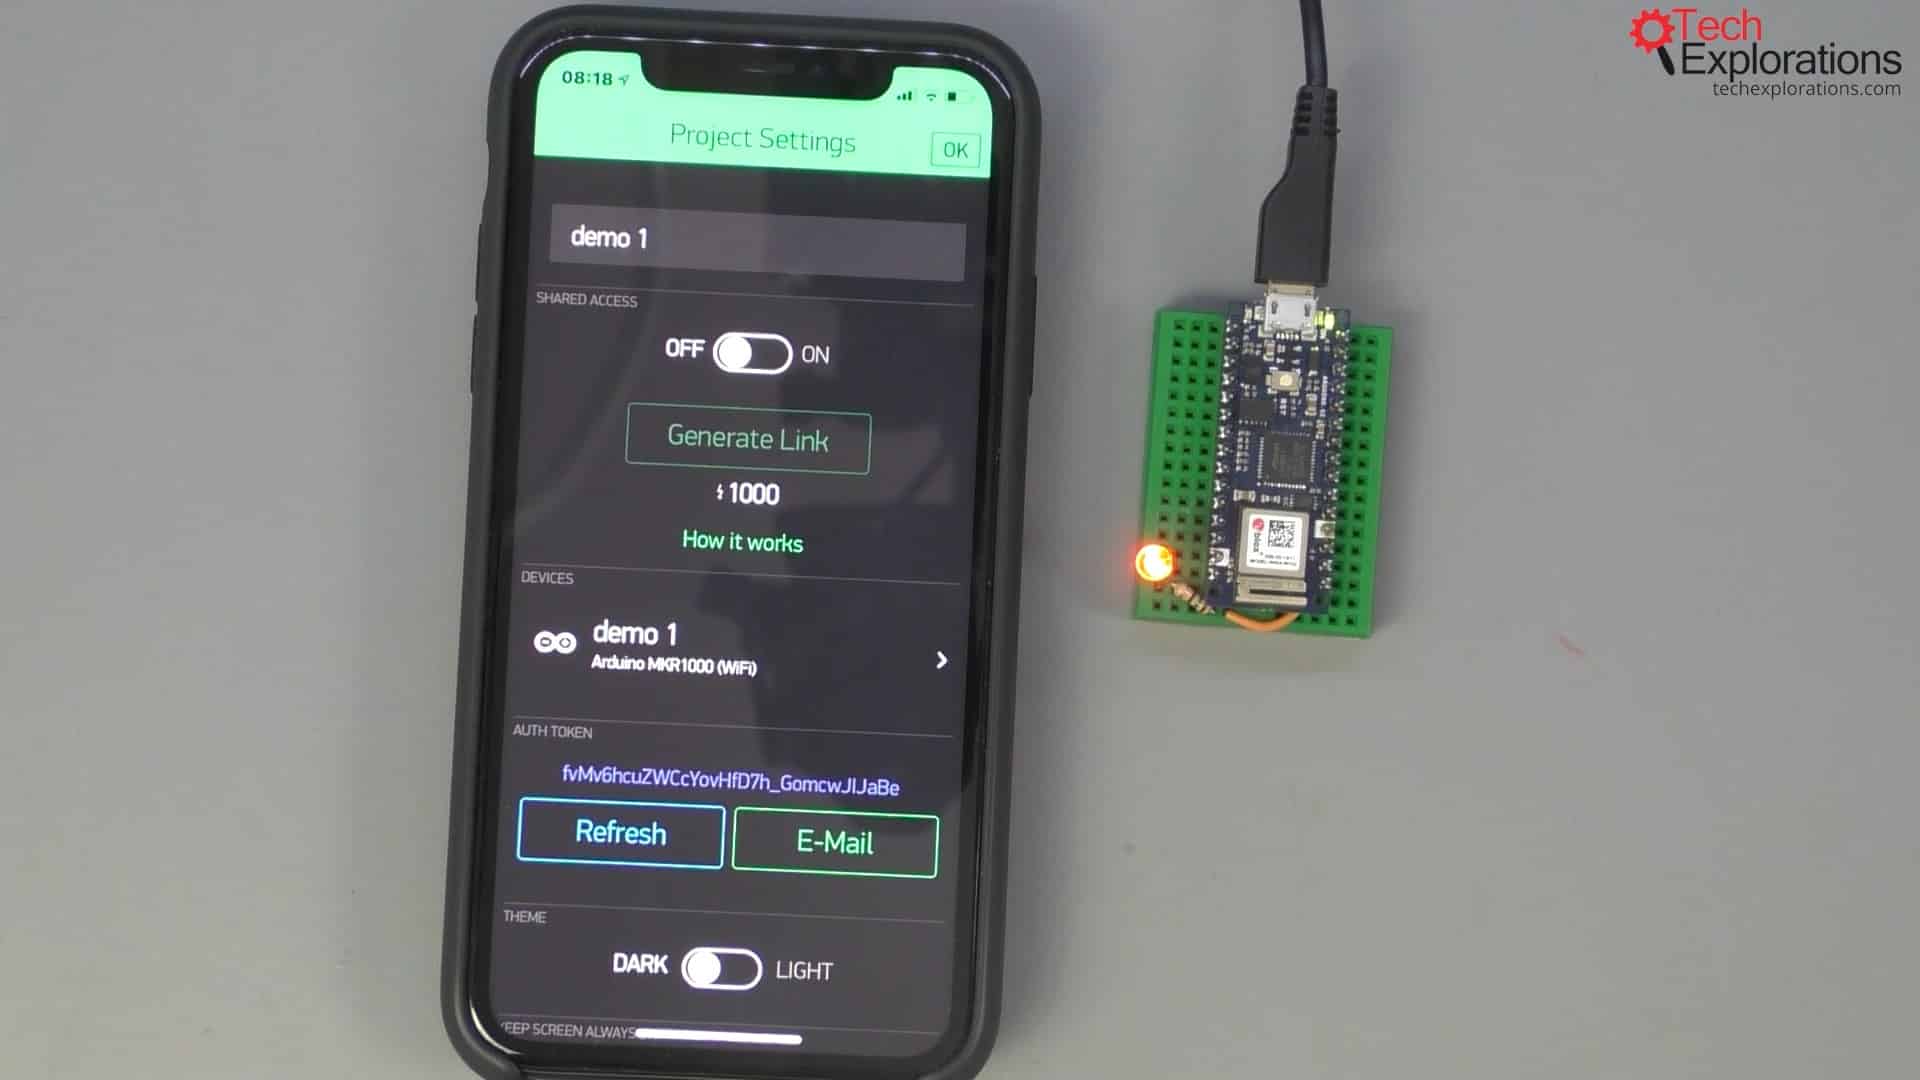
You don't have to worry about the physical limitations of whichever model of device you have chosen
Conclusion
In the next guide article, I will show you how to reuse the simple Blynk project we built and replace the Arduino Nano 33 IoT with an ESP32.
You will do that by making a few very simple changes to the Blynk project itself. And, of course, we have to upload the appropriate sketch of the ESP32.
Go ahead and read the next page.
Learn Blynk with our video course
Start right now with Arduino Mobile Development with Blynk
This is our comprehensive video course, packed with high-quality video, hands-on mini-projects, and our friendly and supporting community.
Jump to another article
1. What is Blynk?
2. Demo of a simple Blynk project
3. The Arduino Nano 33 IoT
4. Install the Blynk app, create an account
5. Create a new Blynk project
6. How to use a virtual pin
7. Replace the Arduino Nano 33 IoT with an ESP32
8. Button and styled button
9. Hardware button LED
10. Hardware potentiometer LED
11. Vertical and horizontal slider
Last Updated 3 years ago.
We publish fresh content each week. Read how-to's on Arduino, ESP32, KiCad, Node-RED, drones and more. Listen to interviews. Learn about new tech with our comprehensive reviews. Get discount offers for our courses and books. Interact with our community. One email per week, no spam; unsubscribe at any time
