Would you rather watch than read? Here's the video version of this article.
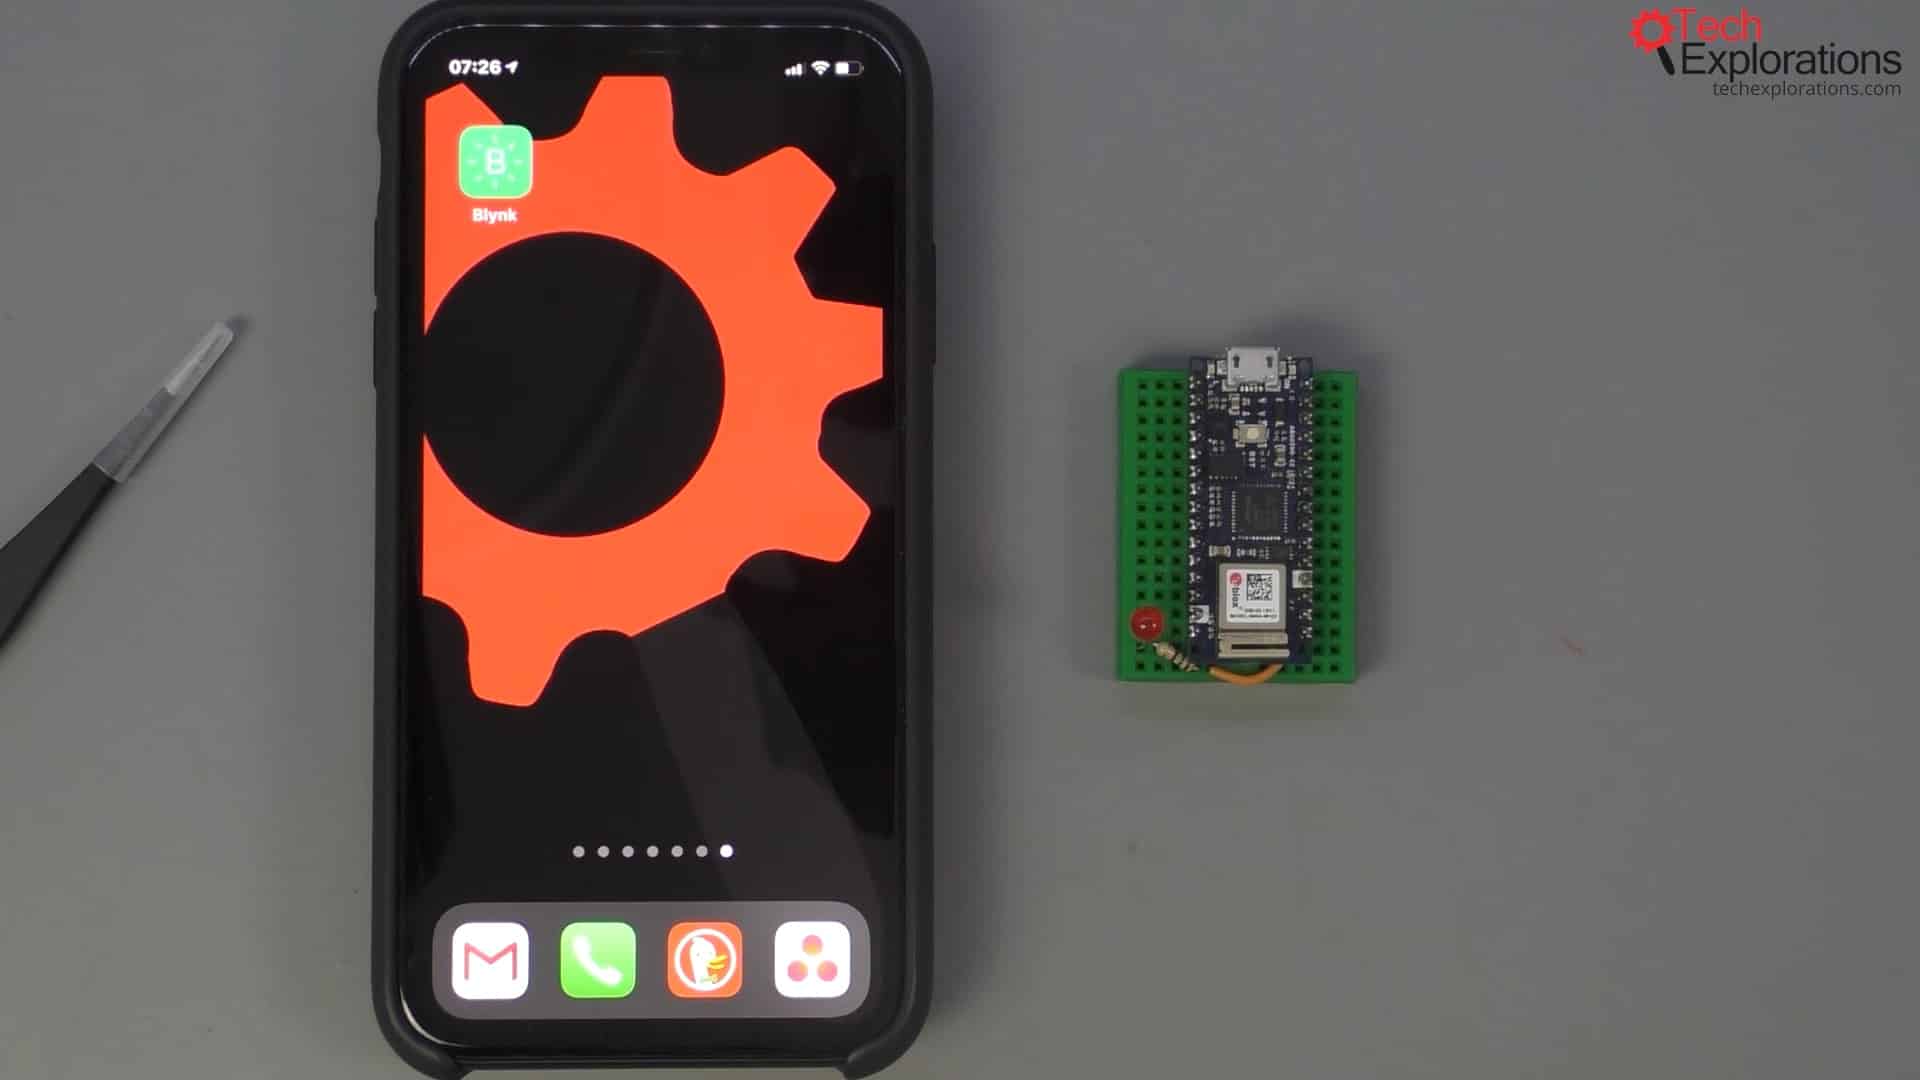
Start by installing the Blynk app.
Go to blynk.io and scroll towards the bottom of the homepage. You will see that the Blynk app is available for Android and iOS phones. You can get them from the Google Play Store or the App Store. Depending on what device you are using, visit the App Store or Google Play Store, search for and install the Blynk app.
Eventually, you will have it installed on your phone, and it will look as in the image below.
To create an account, you need to use start the Blynk app on your phone.
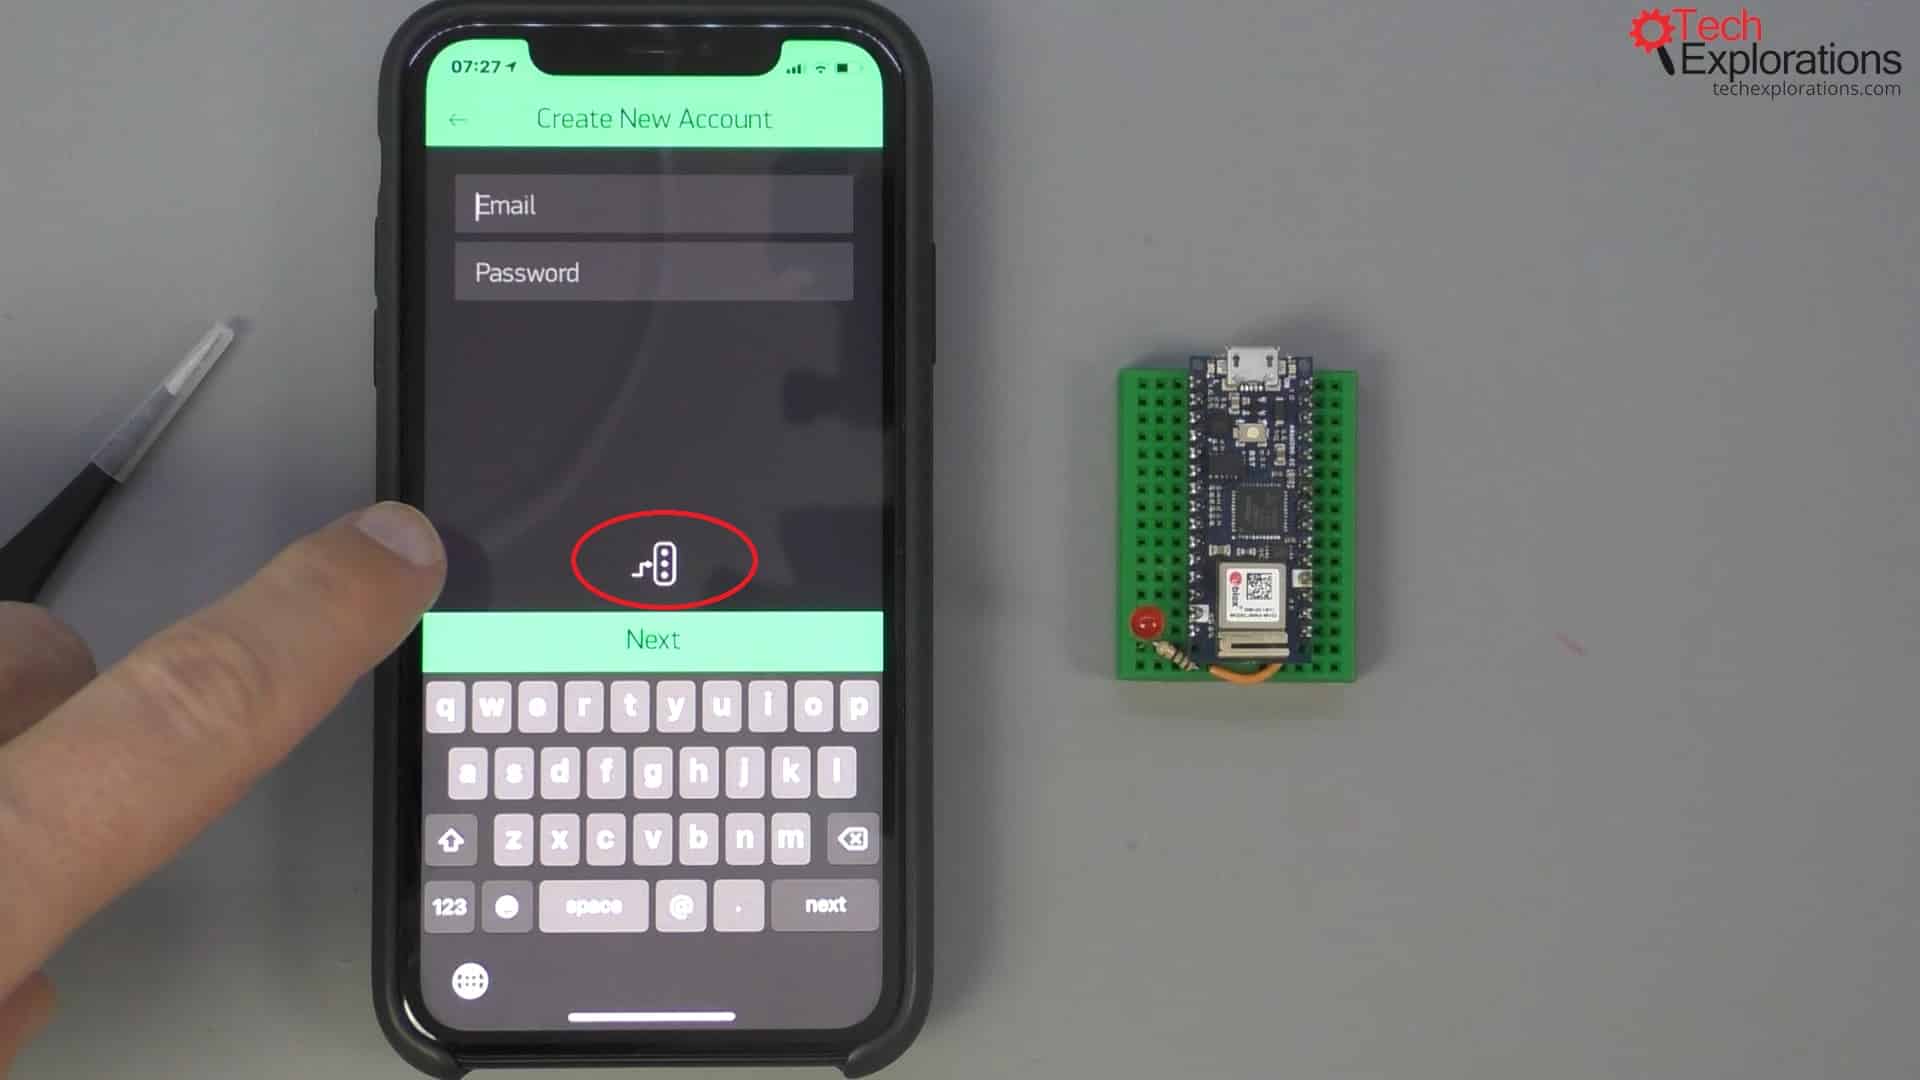
After you install the application open it and you will be greeted by the "Login" screen or "Create New Account" screen.
If you have created a Blynk account before, you can go ahead and log in. If, however, you don't have an account, tap on "Create New Account" and put in your email and password.
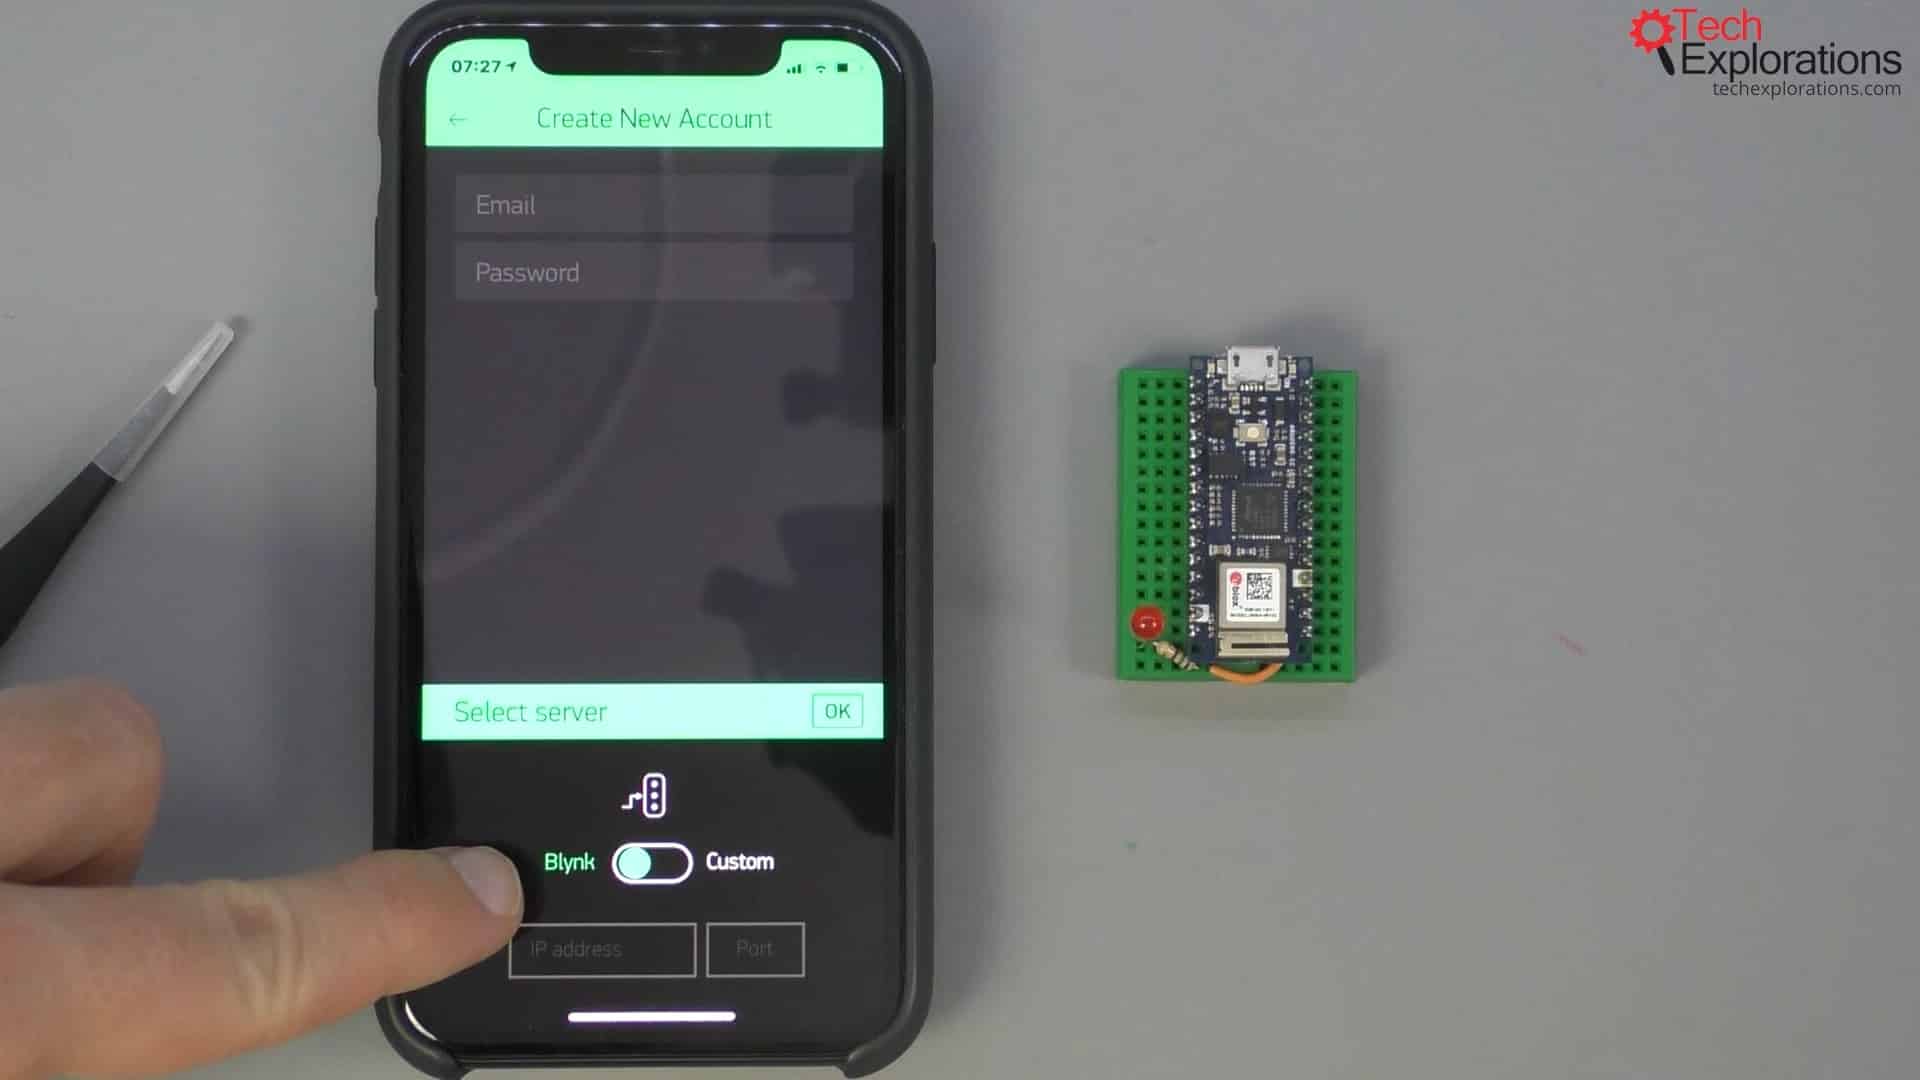
When pressing on the icon shown in the image below, ensure that you've got the choice for the public Blynk server or a Custom nonpublic private server.
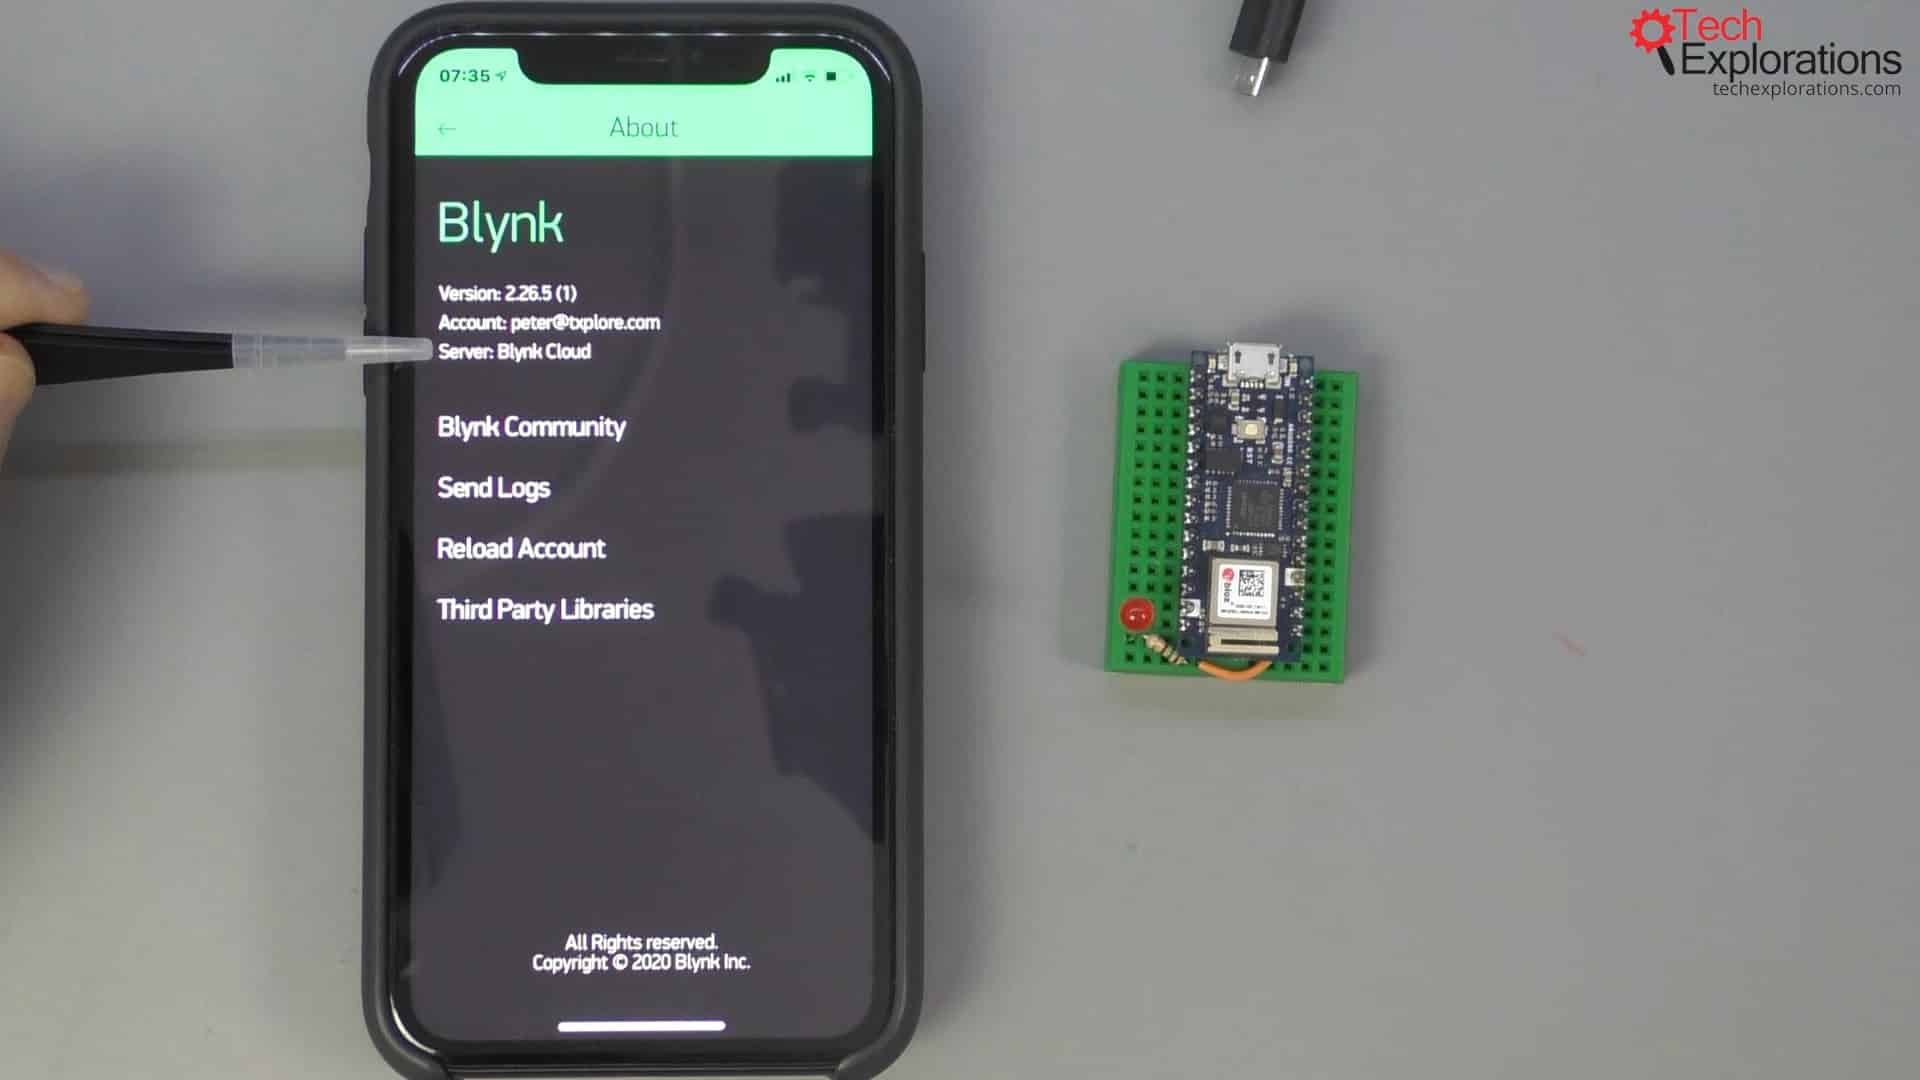
For the time being, we're going to select the public Blynk server. In the second part of the course, I will show you how to install and then set this option to your own private server. So, ensure that Blynk is selected on the screen and hit okay.
Then, type in your preferred email and password. In my case, I already have a login, so I will type in my password.
I am now logged-in to my account.
The nice thing about Blynk accounts is that all of your applications are stored on the server, not your phone. Therefore, it is possible to move on to a new phone, login to Blynk, and have your applications right there without having to migrate any data from one device to the other.
Brilliant.
Now, that you have your application on your phone and you've logged in with your new account, you can go ahead to the next page in this guide where you will learn how to create our first Blynk application running on an Arduino Nano 33 IoT.


