In the previous article, I showed you how to create a new PlatformIO project, configure it, and add some simple working code.
In this article, I’ll show you how to upload it to your ESP32 board and test it.
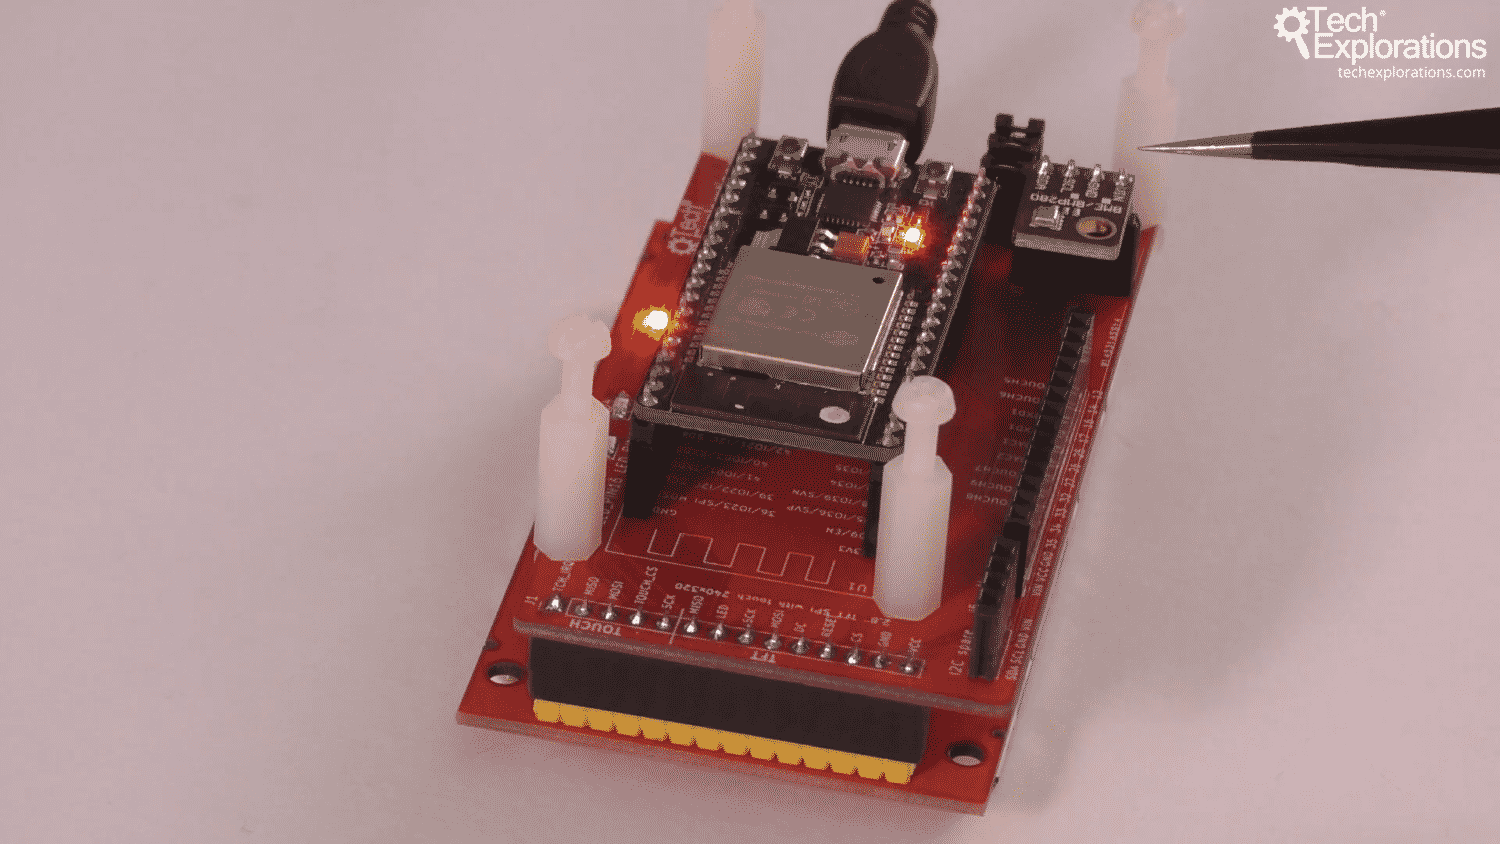
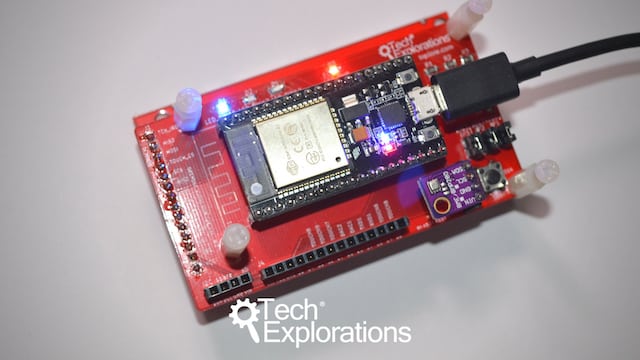
Now is a good time to connect the ESP32 board to the computer.
I'm using my custom ESP32 dev kit breakout board here to make things easier and avoid jumper wires.
I have connected the BME280 via one of the I2C headers.
I am not using the TFT screen in this experiment, so I've placed my gadget with the TFT screen down.
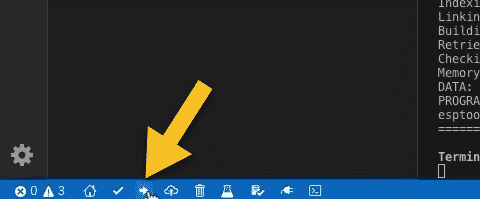
Click on the upload button (the one with the right arrow), to do the upload.
You may need to press and hold the button marked “BOOT” or “OOI” on your ESP32 board if you are having trouble starting the upload.
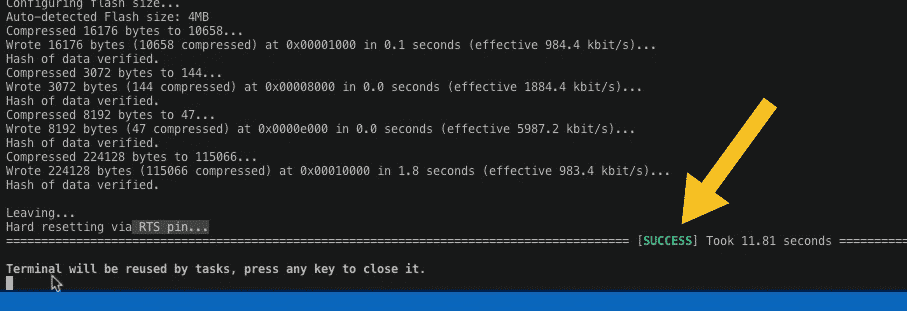
The firmware should upload without any issues. When the process is complete, you will see the “SUCCESS” message in the monitor.
The board will reset automatically after the upload is complete. successful
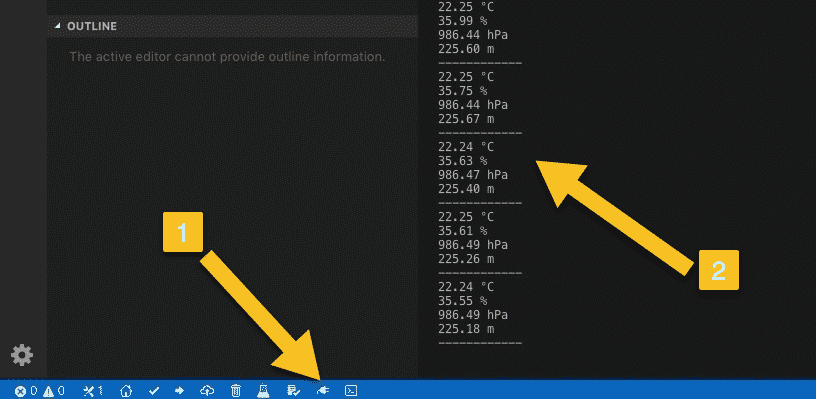
To see the output from the sensor, turn on the Serial monitor. Click on this power plug button (1).
You can see the text, coming from the program running on the gadget, scrolling in the serial monitor.
This concludes successfully this first iteration of our process to convert the project from Arduino IDE to PlatformIO.
What we have now is a project that is configured, and contains two simple functions on which we will build on in the remainder of this project.
This project consists of code in a single file.
In the next couple of articles, I’ll show you how to set up the Git repository, and how to split our program into multiple files.
