Getting Started with Grove guide series
The Grove Starter Kit for Arduino
The best way to get started with Grove for the Arduino is by purchasing the Grove Arduino Starter Kit. In this article, we'll take a look at the components that come with the kit.
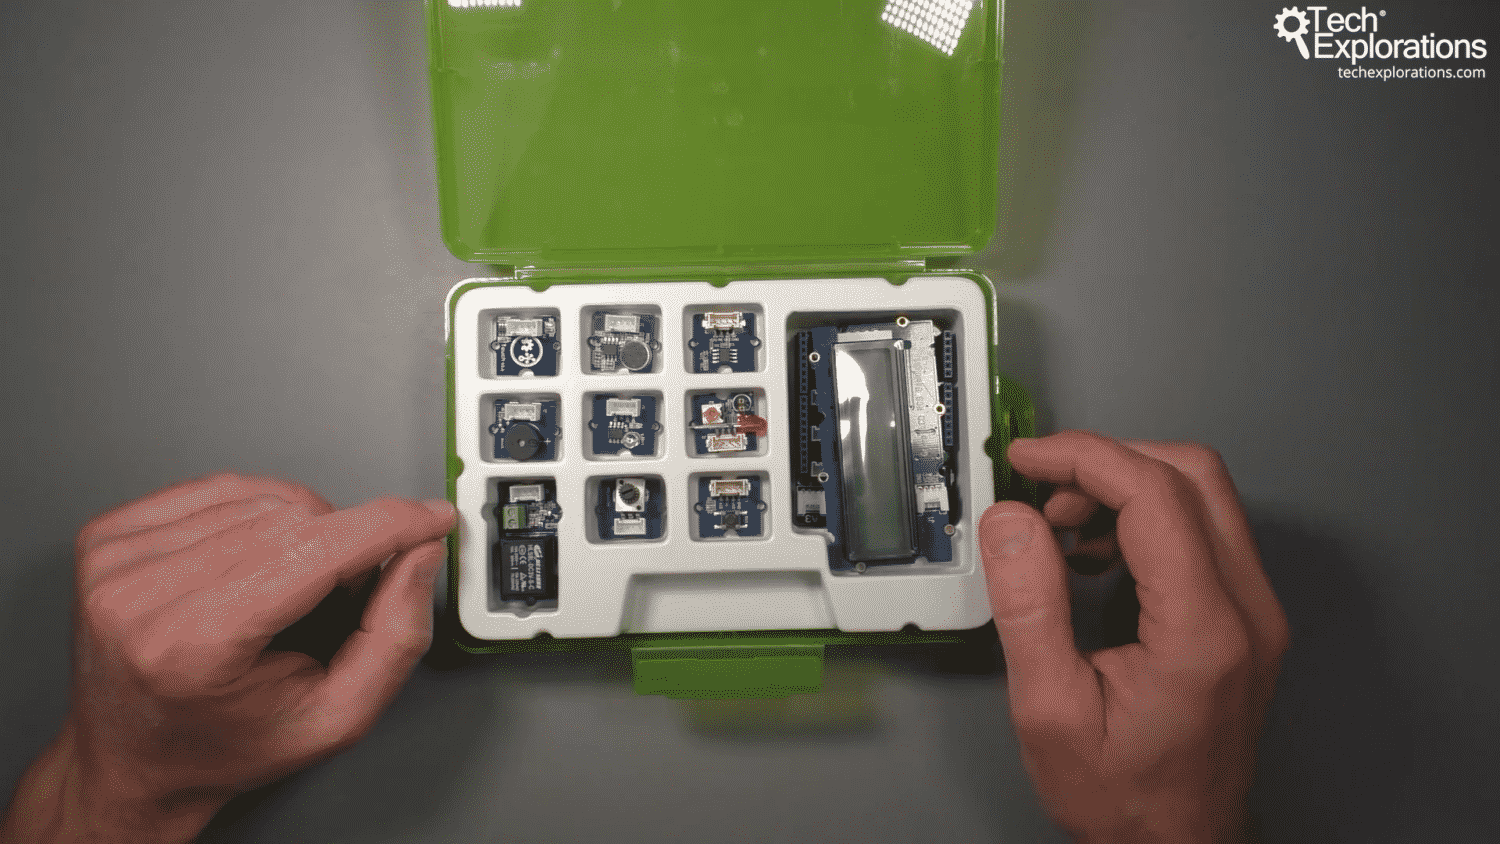
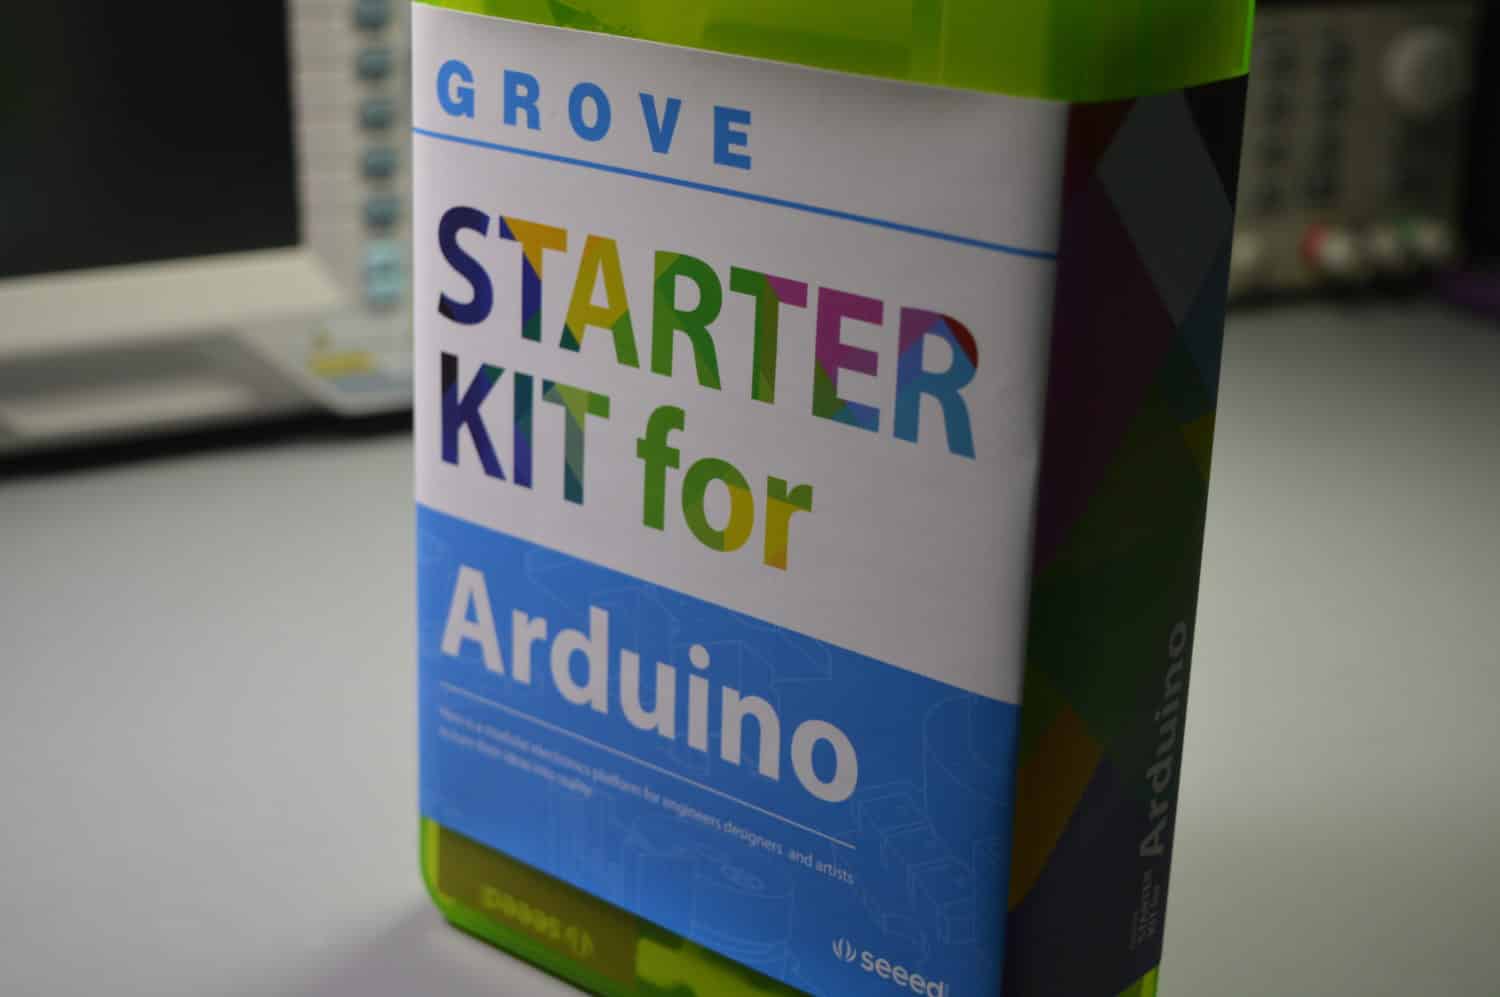
The best way to get started with Grove for the Arduino is by purchasing the Grove Arduino Starter Kit. This is the kit that I also use in my course Grove For Busy People.
In this article, we'll take a look at the components that come with the kit. I will briefly look at the components, and later in this series of articles (and in the course), I'll show you how they work.
If you prefer to watch a video, go ahead.
Purchase the Grove Starter Kit for Arduino
This is a Seeed product. When you click on the red button, you will be taken to the Seeed website to complete your purchase.
Main components
Inside the box, the components are place in two layers. On the top layer, you'll find the main components (including the Grove Base Shield and the LCD screen), and in the bottom layer the connecting cables and the mini servo motor.

The top layer contains the main modules, including the Base Shield and the LCD screen.
The Base Shield
The Base Shield is the most important component in the kit. I will explain how to use it in the next article.
The Base Shield contains an array of plugs into which you can connect Grove components. Plug the shield on an Arduino Uno, and you are ready to start programming. With the Base Shield, you do not need to connect components to the Arduino's headers using jumper wires.
The Grove connectors are secure and don't disconnect when you move them around.
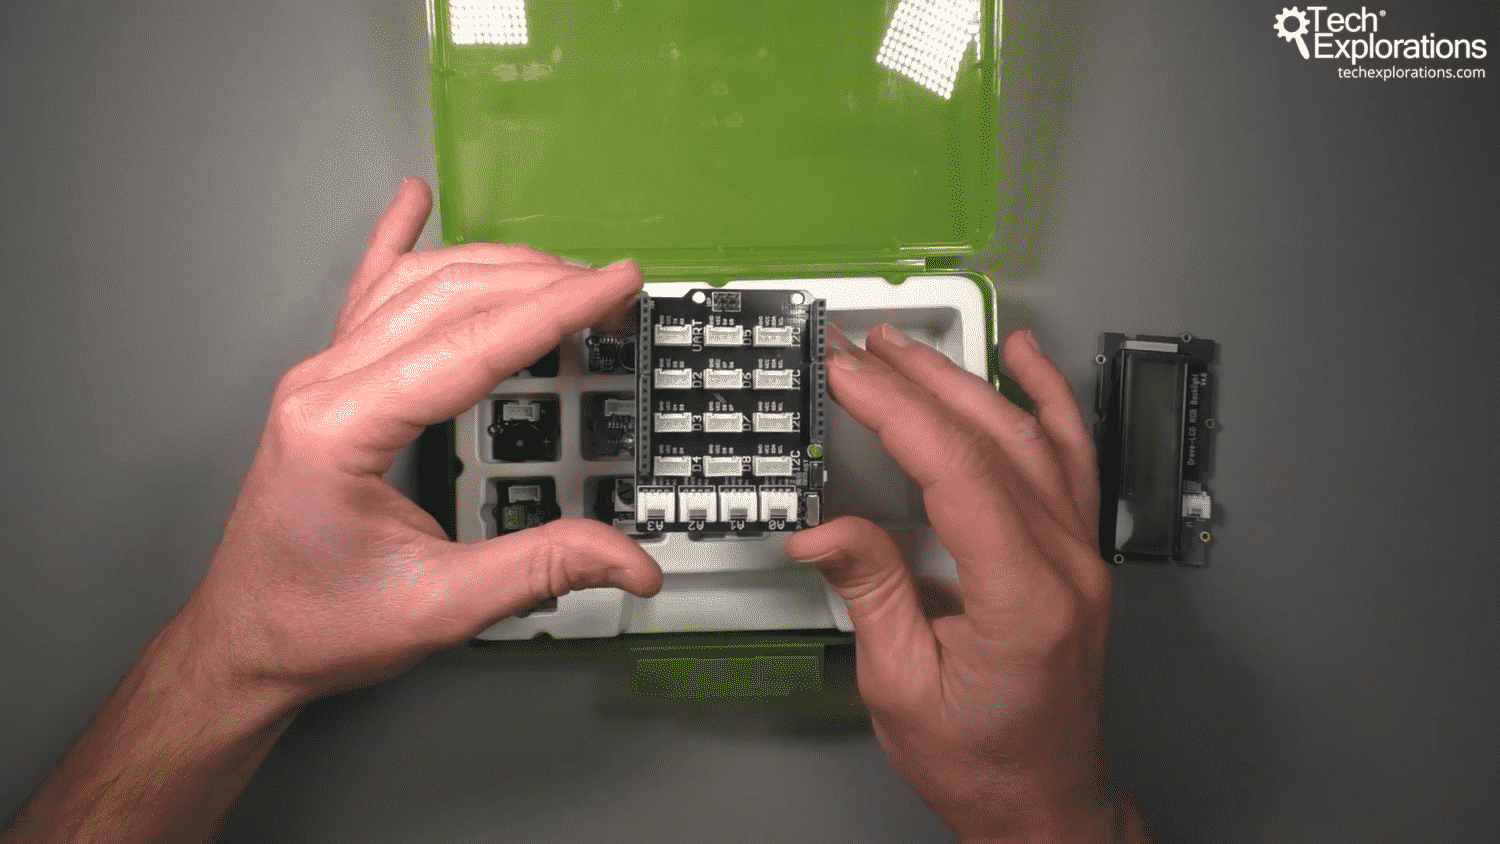
The Base Shield contains Grove plugs that make it easy to connect Grove components to the Arduino.
Other modules
Apart from the base shield, the top layer of the kit these modules:
- An I2C LCD RGB with Backlight (2 x 16 characters, capable of simple graphics).
- A Smart Relay to drive large external loads, like motors, LED strips, pumps etc.
- A Buzzer, to make noise, and simple music.
- A Sound Sensor, that can detect loud noises like clapping hands.
- A Touch Sensor, that you can use as an alternative to the momentary button.
- A Rotary Angle Sensor (potentiometer).
- A Temperature Sensor.
- An LED module with a socket where you can connect an LED (also included in the kit).
- A Light Sensor.
- A momentary button.
- A Mini Servo (this is found in the bottom layer in the kit, but I'll mention it here as it is a main module).
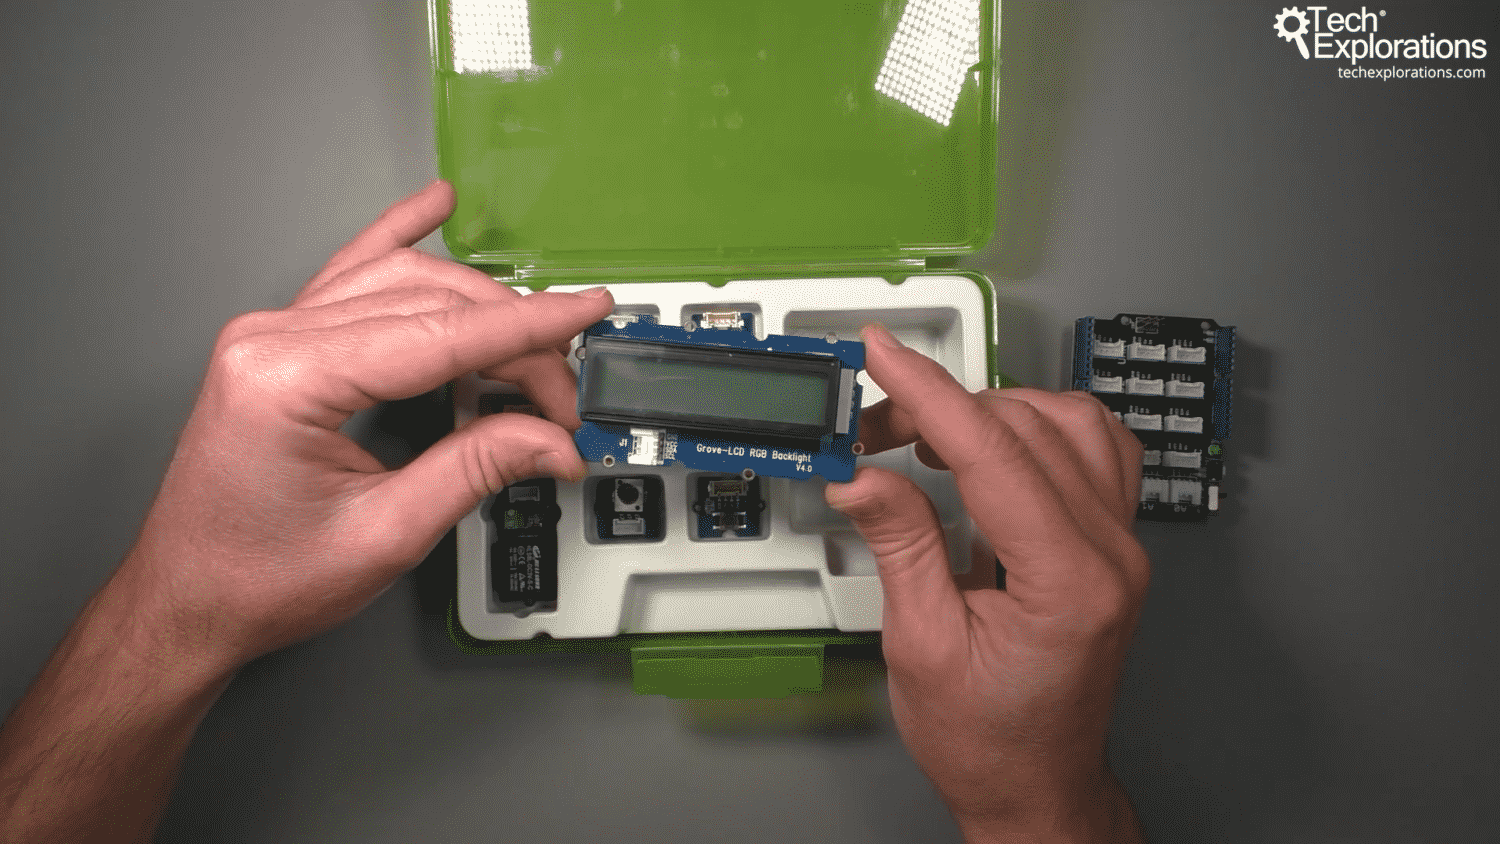
The contents of the top layer, showing of the I2C RGB LED module.
In Grove for Busy People, I show how to use all of these module in 5 fun projects. For example, in one project I'll show you how to make an electronic dice using the LCD screen, the touch sensor and the buzzer. In another project I'll show you how to make an environment monitor using the LCD screen, the temperature sensor, the light sensor, and the relay to control an LED strip.
Bottom layer
In the bottom layer of the kit you'll find various auxiliary components, like cables and LED.
Here's a list:
- DIP Blue LED, 5mm (plug this in the LED module)
- DIP Green LED, 5mm (plug this in the LED module)
- A red LED, 5mm (plug this in the LED module)
- 10 Grove Cables
- A 9V to Barrel Jack Adapter
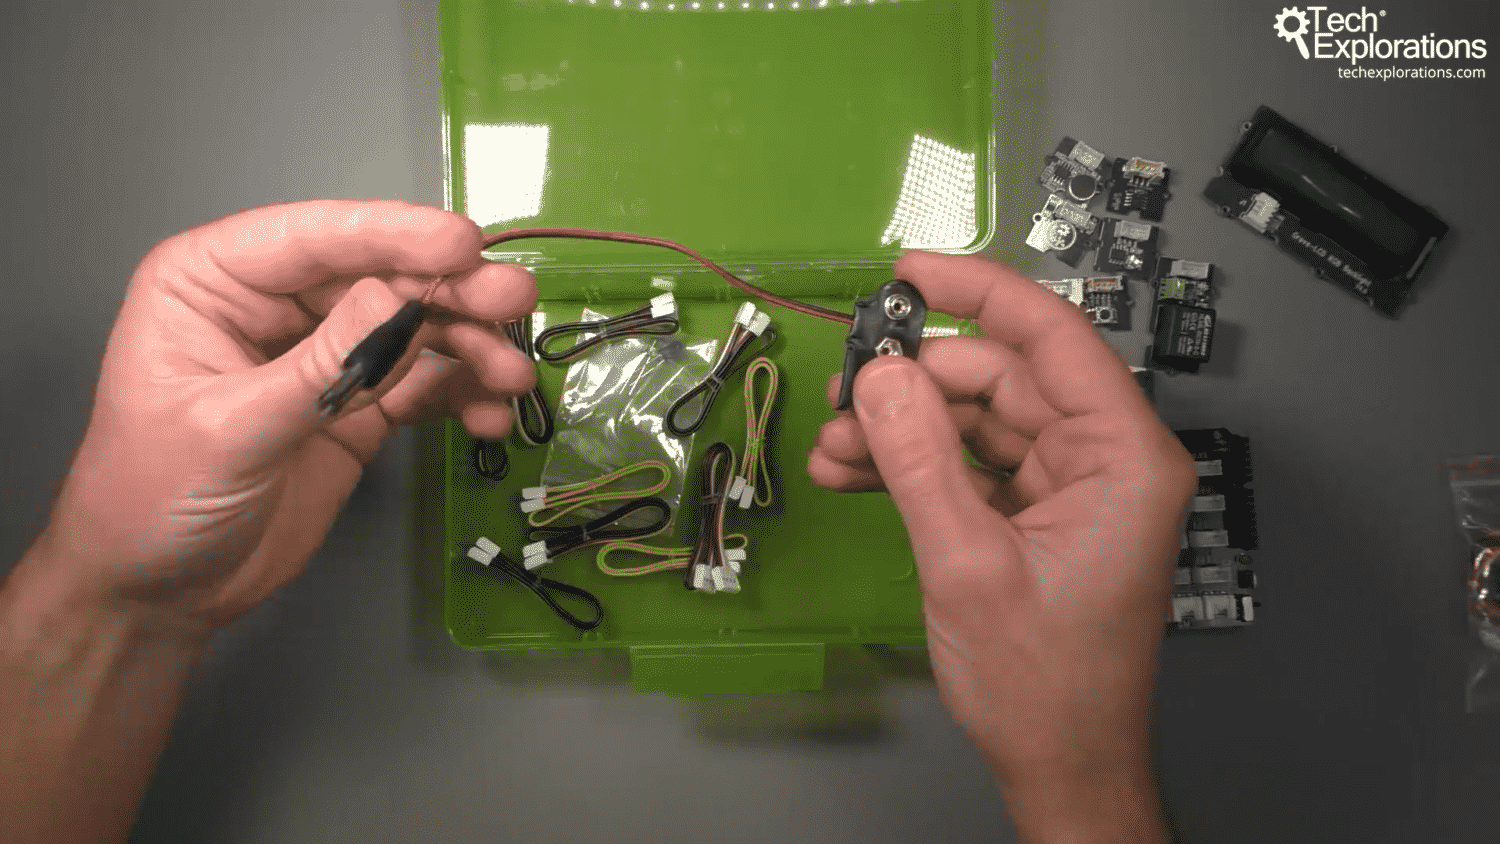
The auxiliary components of the Grove kit.
Let's continue to the next lecture where I will explain how to use these components with the Grove Base Shield.
Ready for some serious learning?
Enrol to
Grove For Busy People
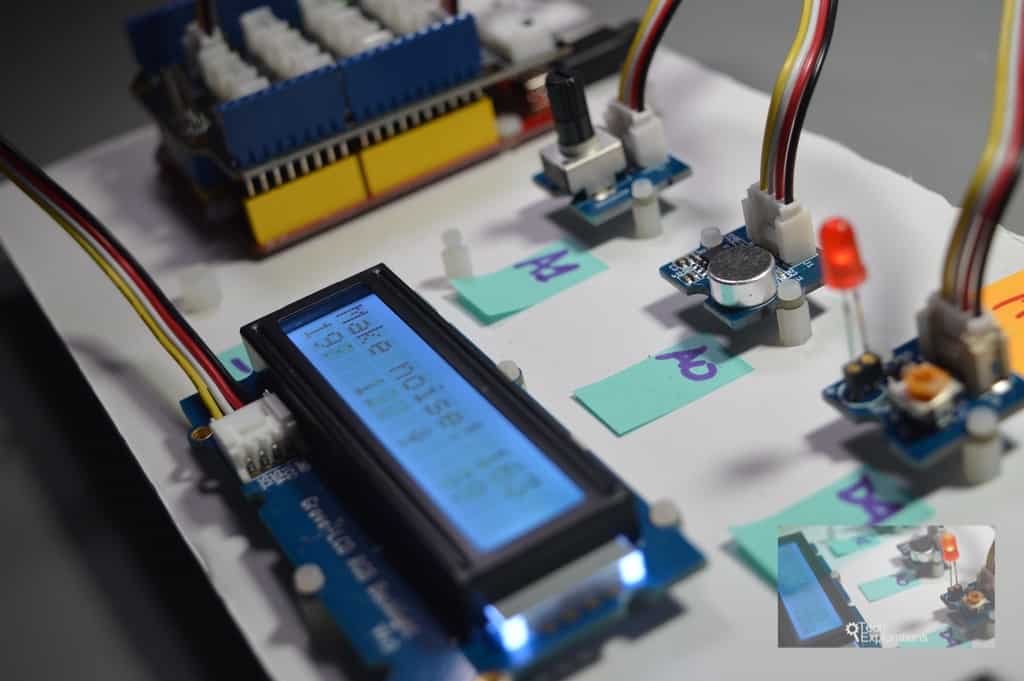
In this course, I’m going to show you how to use the Grove system for the Arduino.
It is a course for people who know the basics of the Arduino. If you have never used an Arduino before, consider enrolling to Arduino Step by Step Getting Started first.
Just click on the big red button to learn more.
Last Updated 2 years ago.
We publish fresh content each week. Read how-to's on Arduino, ESP32, KiCad, Node-RED, drones and more. Listen to interviews. Learn about new tech with our comprehensive reviews. Get discount offers for our courses and books. Interact with our community. One email per week, no spam; unsubscribe at any time
