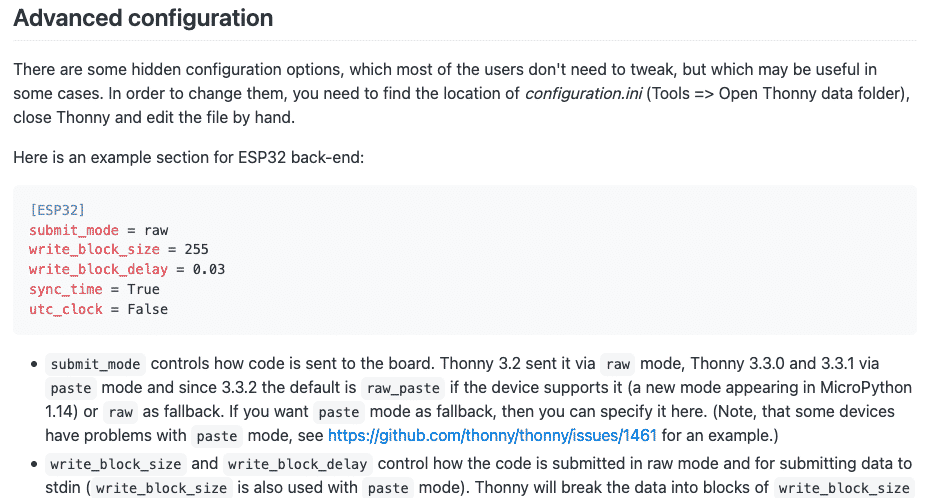
Thonny has an advanced configuration file titled "configuration.ini", found in the Thonny application folder. In this file, you can change settings that control things such as how code is send to the target board, the size of a block, and whether to update the target device RTC (reat time clock) every time Thonny connects to the device.
To begin with, go to the Thonny project on GitHub.
Then, scroll down to find the link for the wiki and click on it. Look for "MicroPython" in the table of contents and click on it. Once you reach the MicroPython page, scroll down to the advanced configuration section. This provides information about the advanced configuration options available for the ESP32.
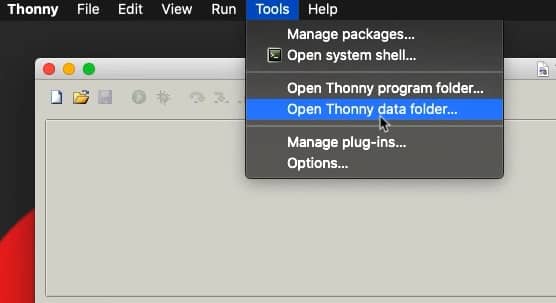
The easiest way to find the advanced configurations file is to use the Thonny shortcut under the Tools menu. Select "Tools", "Open Thonny data folder...".
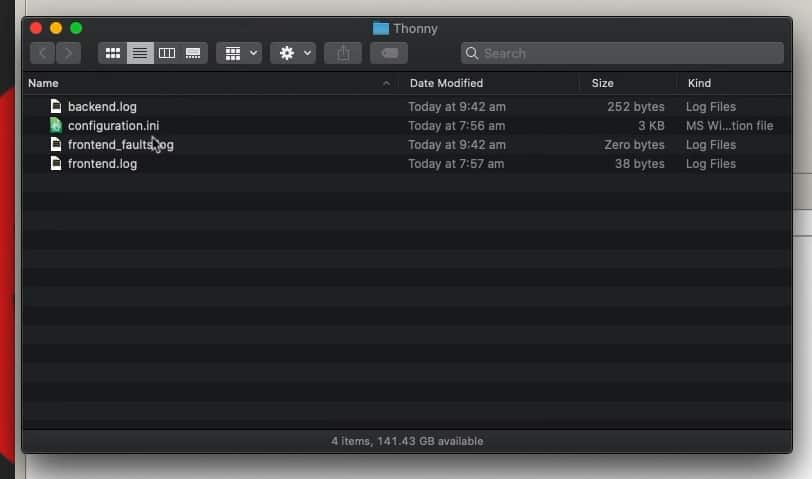
This will bring up the folder that contains the "configuration.ini" file.
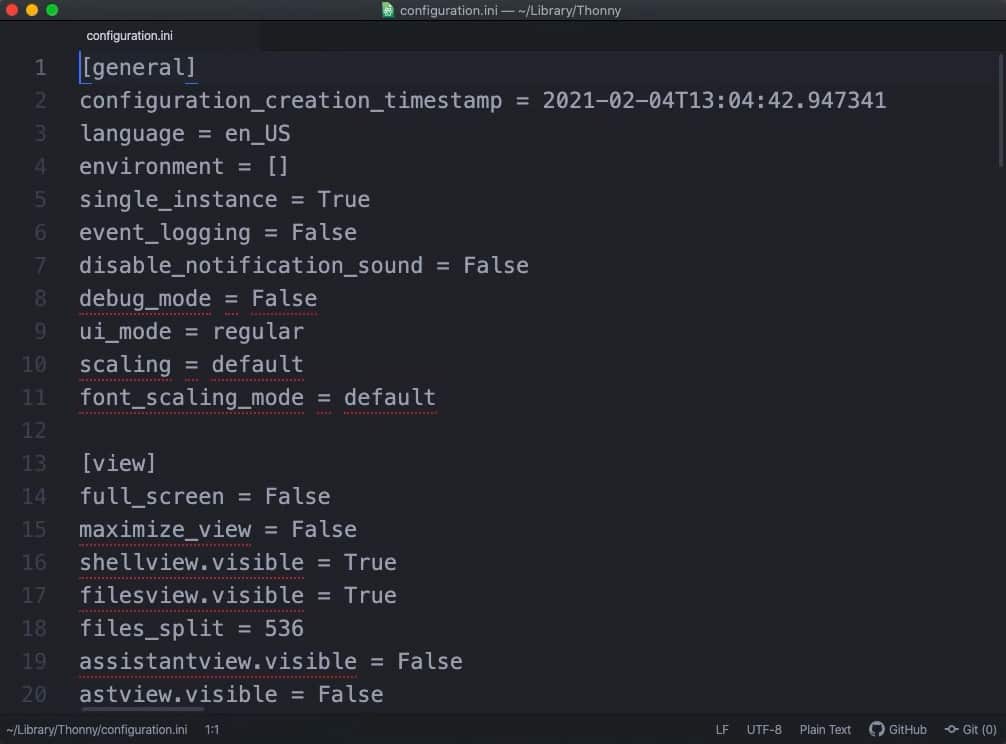
Open this file with a text editor. It looks like this:
The settings that I'm more interested at the moment are the sync time and the UTC clock time.
As you may know, the ESP32 has a real time clock integrated into the chip. When you use Thonny to upload a program, it is possible for Thonny to reset the clock to the correct system time and date.
To make that work, you make sure that the sync time keyword is set to true.
Another thing that you can consider doing, whether you want the real time clock to be set to UTC time or to your local system time, then you can control that via the UTC clock keyword. When you say false, then the RTC of your ESP32 will be synchronised to your computer's local time.
In Section 12 of the MicroPython course, I have a couple of lectures where I show you how to set the time in the RTC of your ESP32 programmatically, both manually and by getting accurate time and date from an internet atomic clock.


