Oscilloscopes For Busy People guide series
Basic controls
In this article, I write about the basic controls that you find on any oscilloscope and show a few examples of how these controls work on my oscilloscope.

At first glance, the oscilloscope looks like a very complicated instrument. Rest assured, there is a lot of logic and reason behind its design, and once this logic is exposed, you’ll really enjoy working with it.
In this lecture, I’ll talk about the basic controls that you’ll find on any oscilloscope. I will also show you a few examples of how these controls work on my oscilloscope. Don’t worry too much about the specifics of which knob and button does what, but pay attention to what the do. The specifics of “how” differ between oscilloscopes made by different manufacturers, but the “what” they do does not.

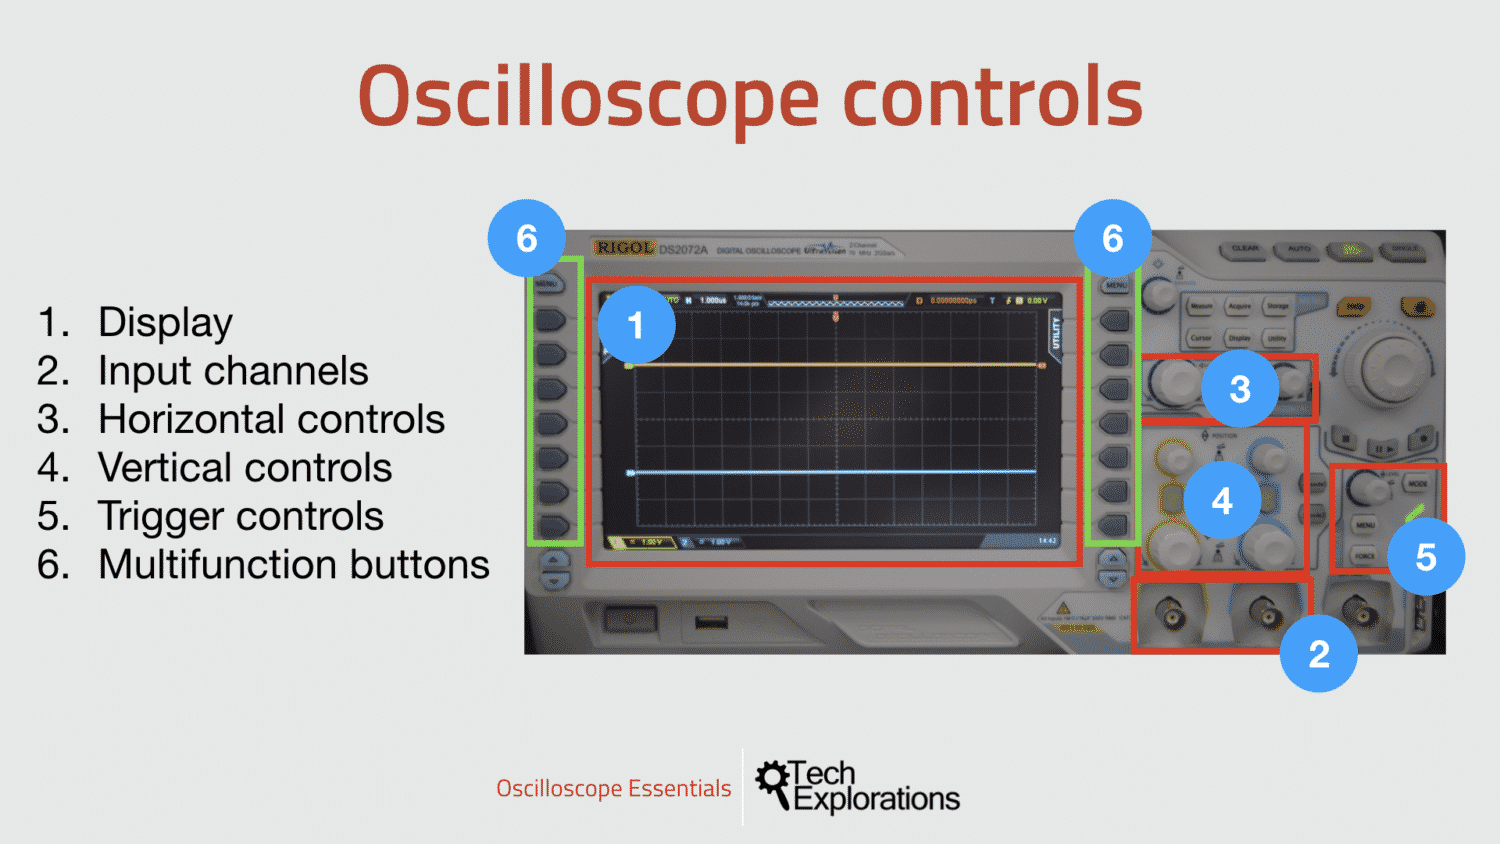
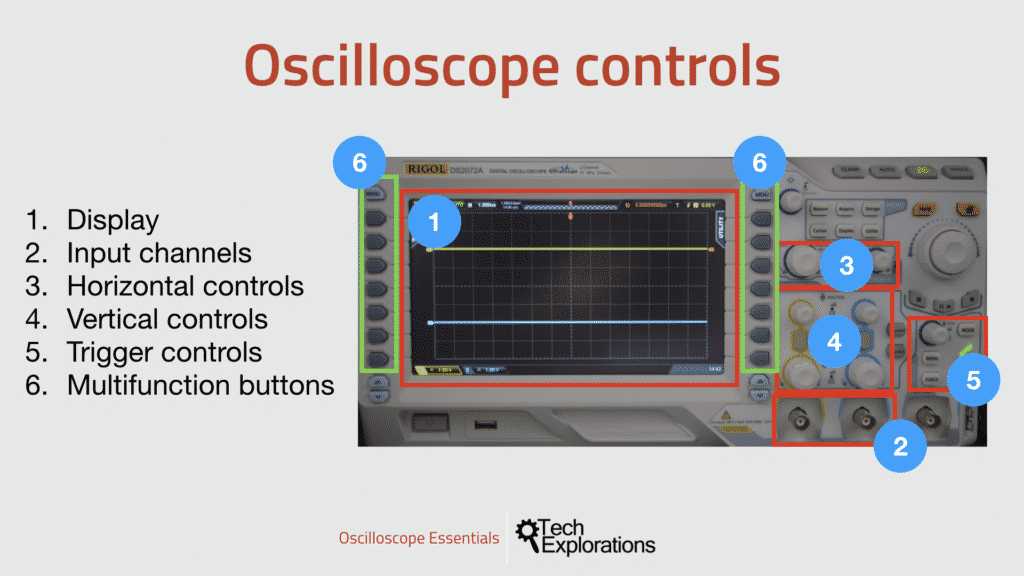
The basic controls of an oscilloscope.
The display
The display is where everything happens.
At the very least, it shows the signal waveform.
Virtual all modern oscilloscopes will also show the time (horizontal) scale, voltage (vertical) scale and trigger settings. They will also show automatic or manual measurements, any cursors you may have activated, and the position of the part of the waveform you are able to see in the display in the memory buffer.
Inputs
All oscilloscopes offer at least two inputs, where you can connect the probes that convey the signal from the test circuit. Once you connect the probe, and attach its tip and ground lead to the test circuit, you can setup your oscilloscope to receive the signal. Each input has its own independent set of parameters that you can set.
In this video, I’m browsing through some of the options available for Channel 1. I can set the the coupling to DC, AC, or Ground, the probe ratio, the probe input impedance, the polarity of the signal, and a few other parameters. Don’t worry about what each of these parameters do, for now. You will learn about them later in this course.
Horizontal controls
The horizontal controls allow you to play around in the time domain.
This means that you can control two things that belong to the horizontal axis in the display.
First, you can set how much time is represented by each horizontal division. You can turn the scale knob to increase or decrease the amount of time captured in each division. My oscilloscope, has a total of 14 horizontal divisions, so once you have set the time scale you can multiply it by 14 to work out how much time the screen contains.
Second, you can set the horizontal position of the waveform. Turn the position knob to move the waveform left or right.
Vertical controls
The vertical controls allow you to play around in the vertical (voltage) domain.
Just like with the horizontal controls, in the vertical dimension you can control two things:
First, you can set the voltage differential that is represented by each vertical division. You can turn the scale knob to increase or decrease the voltage per division. My oscilloscope, has a total of 8 vertical divisions, so once you have set the voltage scale you can multiply it by 8 to work out the voltage differential between the top and the bottom edge of the screen.
Second, you can set the vertical position of the waveform. Turn the position knob to move the waveform up or down.
Trigger controls
The trigger controls allow you to set the oscilloscope to be able to recognise the signal that you want to capture and measure.
Without a set trigger, the oscilloscope will not know what to do. Triggering depends on a change in the signal that can be treated like a signature. When the oscilloscope detects this change, it knows that this is the part of the signal that you want it to capture, so it starts recording immediately.
Let’s stop here with the discussion of oscilloscope controls. In the experiments that follow in this course, you will get a lot of practice on how to use each and every one of them, and quickly develop an intuitive sense of what they do.
Let’s move over to the next lecture where I will talk about probes.

Ready for some serious learning?
Enrol to
Oscilloscopes for Busy People
Demystify the oscilloscope and learn how to use it in your projects.
This course is perfect for people who have never used an oscilloscope.
Through a series of projects, this course will teach you how to use an oscilloscope to measure and decode signals in your electronics.
Just click on the big red button to learn more.
Last Updated 1 year ago.
We publish fresh content each week. Read how-to's on Arduino, ESP32, KiCad, Node-RED, drones and more. Listen to interviews. Learn about new tech with our comprehensive reviews. Get discount offers for our courses and books. Interact with our community. One email per week, no spam; unsubscribe at any time
