ESP32 tutorials for arduino makers
What can you make with a dual-core microcontroller, that has integrated Bluetooth and Wifi, lots of pins, storage and communications, using your familiar Arduino tools?
Want to learn a new technology? You will need three things:
Quality educational Content
Learning from the best available sources can make a huge difference in how quickly and how well you can master whatever it is that you want to learn. Excellent educational sources will not only teach you well and fast; they will also delight you.
Be an Active Learner
Technology education is hands-on.
The only way to truly learn something new is by executing your own simple experiments.
Each experiment is an opportunity to learn a new skill, capability, tool, or feature.
Work on Realistic Projects
Once you have acquire a few new skills, how can you consolidate your knowledge so that you can create a fully working machine, like a robot or a plant incubator? Project work is your opportunity to bring together everything you learned into a single activity.
Why learn ESP32?
The ESP32 is a powerful, low-cost microcontroller that fits well in the Arduino ecosystem.
If you are already using the Arduino in your projects, then you'll love what the ESP32 can do.
You can create projects with larger sketches and more peripherals because the ESP32 packs a lot of resources:
Getting Started with the ESP32
Once you learn how to use the Arduino, you will notice that your projects start to get bigger. You will start to hit the limits of what you can achieve with the Arduino Uno. With the ESP32, you can get a lot more capacity to build more ambitious projects, while using your existing Arduino know-how.
The ESP32 is not a plug-in replacement for the Arduino. While it shares much of the Arduino’s programming and GPIO interface, you still need to learn the basics before you can deploy it.
This is the purpose of the tutorials in this page: to provide with you a learning resource that can help you become productive with the ESP32 quickly.
The ESP32 module
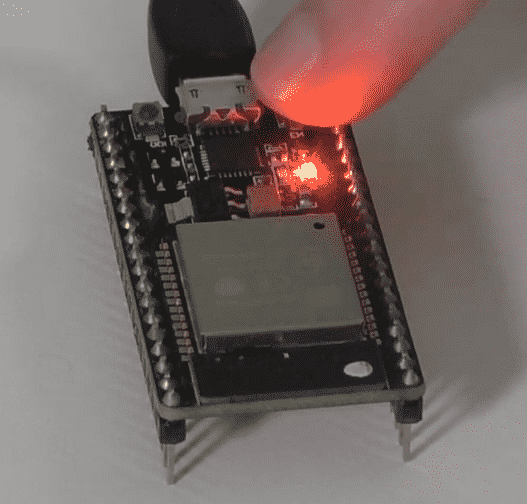
In this article you will learn about the ESP32 module that powers the ESP32 development kits that most makers use in their project.
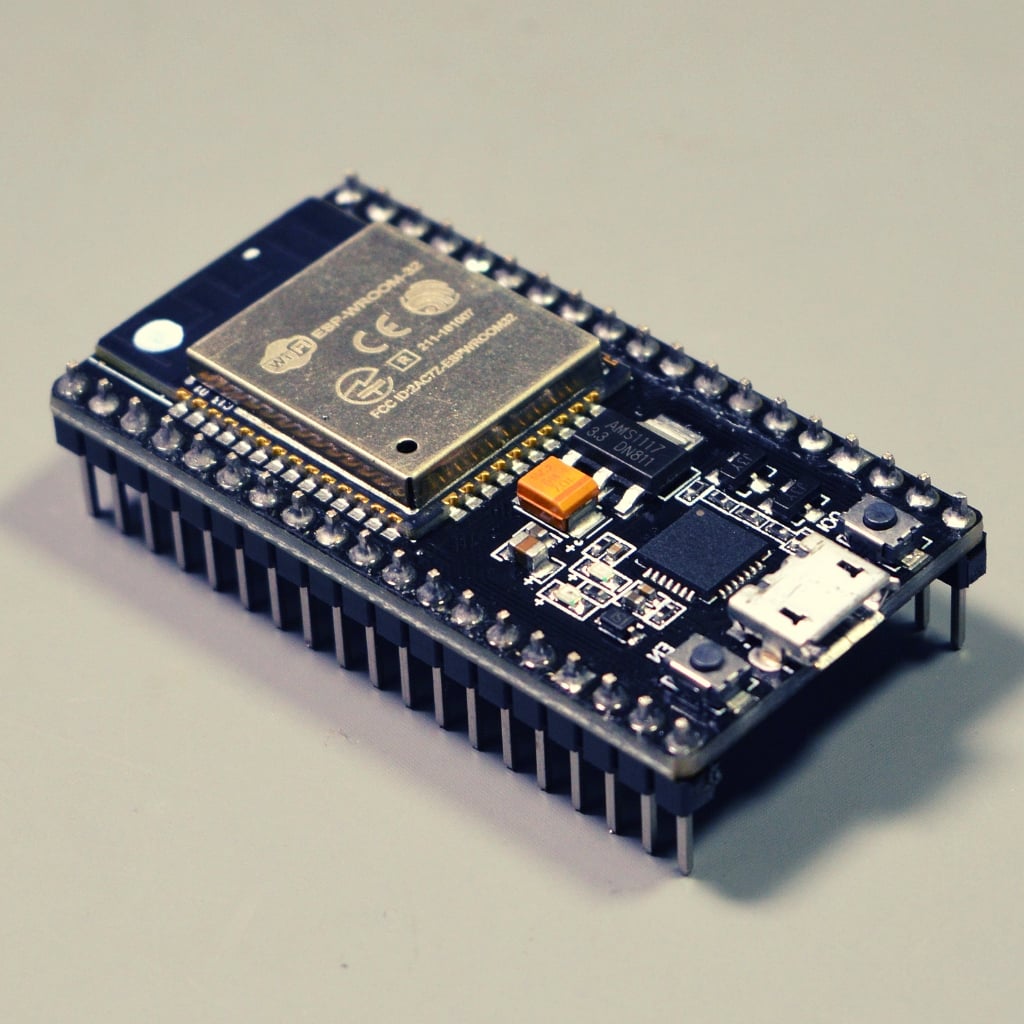
There is a great variety of development kits in the market, made by many vendors. These kits make it easy to use the ESP32 on a breadboard, and add features like a power supply and a LiPo battery charger. But all of them are build around the ESP32 core module.
The ESP32 dev kit
In this article, you will learn about the ESP32 "Dev Kit" or "developing kit".
The ESP32 module contains the processor, memory and power control IC. Most people don't use it directly; instead, they opt for a development board which contains additional circuitry. This makes prototyping much faster since we don't have to implement these circuits ourselves.
ESP32 vs Arduino
In this article, you will learn about the differences and similarities between the ESP32 and the arduino and in particular the Arduino.
Most people that learn about the ESP32 already know the basics of the Arduino. So, we can use the Arduino as a stepping stone towards a higher-spec device. Suffice to say that these two devices are totally different.
The ESP32 GPIOs
In this article, you will learn the basics of the ESP32 GPIOs (General-Purpose Input Outputs). You will learn how to recognise the various names we use to refer to them, the some of the functions that they expose.
Most of the 38 pins of the ESP32 module are broken out in two rows of pins in the ESP32 defecate, but not all of them.
Communications
In this article, you will learn about the various communications capabilities of the ESP32, and specifically about communications between sensors and integrated circuits, or other devices.
There are three SPI channels, two I2C channels ("Inter-integrated circuit"), two I2S, an Ethernet MAC interface, a CAN bus, Wi-Fi and Bluetooth.
Setup the ESP32 on the Arduino IDE (Mac OS)
In this article, you will learn how to setup your Arduino IDE so that you can use it to program your ESP32.
This article contains instructions for Mac users. If you use Windows, please look at the Windows version of this article.
Setup the ESP32 on the Arduino IDE (Windows)
In this article, you will learn how to setup your Arduino IDE so that you can use it to program your ESP32.
This lesson contains instructions for Windows users. If you use a Mac, please look at the Mac OS version of this article.
Digital output experiment using an LED
In this article you will start the practical exploration of the features of the ESP32 dev kit.
Observing "tradition", the first sketch and circuit I invite you to experiment with will make a red LED blink. By doing so, you will learn how to control the state of a GPIO on the ESP32.
PWM output experiment using an LED
In this article, I'll show you how to make it fade using the PWM capability of the ESP32.
The Arduino, of course, can also output PWM. But as you'll see, the ESP32 has got several additional capabilities in its hardware that the Arduino Uno with the Atmega328 cannot even imagine.
A realistic IoT mastery project for the ESP32
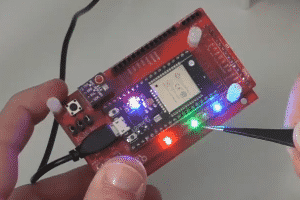
Now that you have learned the basics of the ESP32, it is time to experience the true power of this technology.
It is time to create an application that will stretch your existing knowledge and skills. An application that will introduce you to new possibilities.
With ESP32 Unleashed, you have this opportunity.
ESP32 Unleashed give you a challenging project and the guidance you need to complete it.
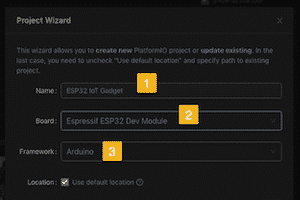
The tutorials in this page will show you how to use the ESP32 in a realistic challenging project that puts together many of the capabilities of this platform, as well as using PlatformIO in place of the Arduino IDE.
A mastery project where you speak to your gadget
If you have completed a few small projects with the ESP32 For Busy People, you have a good feel for the power packed in the ESP32 and the ESP32 devkit.
To get a much better understanding of what is possible to do with the ESP32, you need a full, comprehensive project.
I invite you to create an ESP32 gadget that will stretch your knowledge 🙂
ESP32 development with PlatformIO & MS Code
The ESP32 packs a lot of resources, which allow your projects to control a lot of local hardware and internet services.
As your projects increase in size and complexity, you will need to inverst some time to learn how to use the appropriate tools for the job.
I’m afraid that the Arduino IDE may not be sufficient.
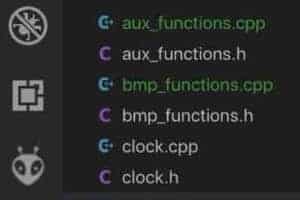
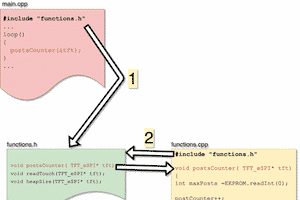
Multi-file projects
In the world of the Arduino, we call applications “sketches” to emphasize the experimental aspect of what we do. Each sketch is a relatively small single-file program.
When we decide it is time to “grow up”, we’ll have to understand some of the inner-workings of C++ pre-compilers and compilers, and treat our Arduino and ESP32 programs as… normal C++ programs. Not small Arduino sketches.
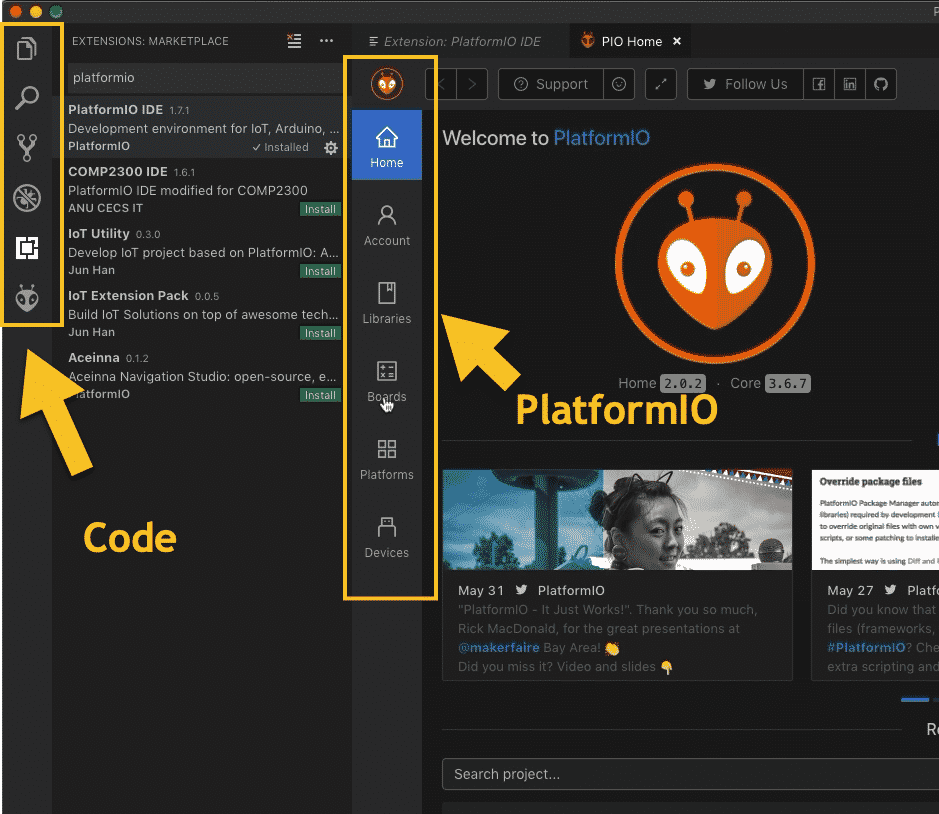
How to install MS Code and PlatformIO on Mac OS
In this article, I'll show you how to install PlatformIO and MS Code on your Mac OS. Looking for Windows 10 instructions?
How to install MS Code and PlatformIO on Windows 10
In this article, I'll show you how to install PlatformIO and MS Code on your Mac OS. Looking for Mac OS instructions?
How to create a Git repository
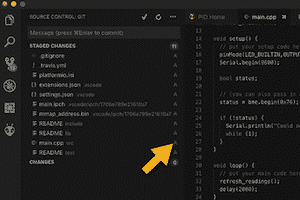
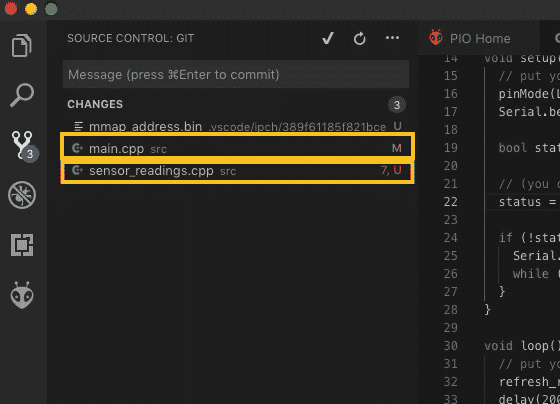
The full project spans across several files with a lot of inter-dependencies. Before doing any more work, I want to show you how to use source control to keep track of it.
My favorite source control system is Git. In this article I'll show you how to set it up.
Other recommended articles about the ESP32
We publish new articles about the ESP32 and related learning and creativity technologies regularly. Here are some of our most popular articles that aren't listed in the groups above:
Consider our Comprehensive ESP32 tutorial courses
Thousands of students have already taken our video courses to learn how to use the ESP32 and understand how electronics work.
Video on demand
With our video courses, it's like having a tutor showing you how to create circuits and write programs, one step at a time.
Help is here
If you need help, you can use our Community spaces tool to ask your questions, available in each lecture.
Keep calm and learn
Learn in a calm, distraction-free environment. No advertisements, no cat and dog videos to break your concentration. Just learning.
Do you have very little or no prior experience in programming and electronics?
We can help you with these two courses?
ESP32 For Busy People
ESP32 For Busy People will help you get up and running with the ESP32 quickly by building on your existing knowledge of the Arduino. It includes numerous mini-projects to demonstrate how to use capabilities such as GPIO read and write, classic Bluetooth, Bluetooth Low Energy, Wifi, digital to analog conversion, touch sensors, and more.
ESP32 Unleashed
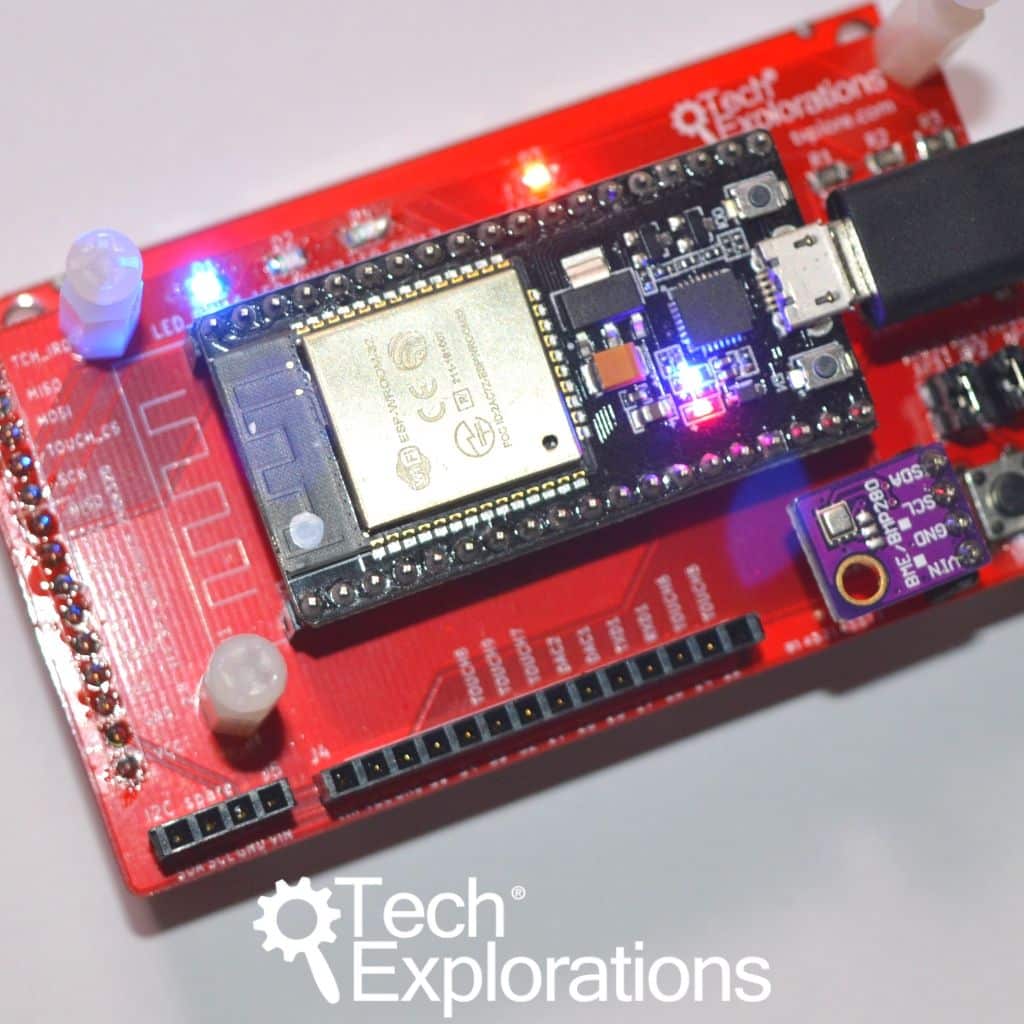
ESP32 Unleashed, is an opportunity to work on a challenging project so that you can consolidated and extend your knowledge of the ESP32 and the Internet of Things.

Let's make something together
Hi, I’m Peter.
I am an online educator and Maker, author of Maker Education Revolution, KiCad Like a Pro, and founder at Tech Explorations.
I create all the content on the Tech Explorations website.
Why? Because, as I already mentioned, I'm an educator and a Maker, and I have a Mission.
My mission is to help people learn electronics, programming, printed circuit board design, and lots more. Most importantly, I want to help as many people as possible to enjoy their technology education adventures.
After a 15 year career as a University Lecturer, I decided to become a Maker, again. Like most of us, as a child, I was curious, and I learned how things worked by experimenting with them (usually, this meant taking them apart and hoping to not loose any screws as I was putting things back together).
Growing up, I became an Engineer, only to loose my childish curiosity in the name of pursuing a career.
I became a child again once I got my first Arduino. With it, I started creating thing, tinkering with components, testing ideas. Even though I was a "career educator", it was only now that I realised how wrong my last 15 years of education had been. I was partly responsible for destroying the creativity of thousands of students, just like mine had been destroyed in the name of being a "proper adult".
At Tech Explorations, my job is to learn and to create. I learn what I am curious about, and I create educational content. This content is the record of my learning.
I don't create this content to teach "students". I create it to help learners learn things that they want to learn.
At the end of the day, we are all learners, and we learn from each other.
I sincerely hope that through the content I create at Tech Explorations, as many people as possible will be inspired to re-kindle their childhood curiosity, learn, and create amazing things.
Learning is social
The Internet has brought a revolution in publishing and learning. It is the biggest repository of knowledge that has ever existed, and it is getting exponentially bigger. For anything you want to learn, there's a good chance that someone has written a blog post or created a video about it.
Perfect! Well, not exactly. While there is a lot of great content out there, much of what is available on the Internet lacks quality, and most important, lacks the human connection.
The best learning is social. When you communicate with others that have been where you are now, you learn faster and better. You have someone to fall back when you need help, or discuss an idea when you are stuck.
At Tech Explorations, we support our students through our community tools because we know that this is the best way to learn and teach.
Helping is part of learning
Learning new skills and technologies is a journey into uncharted territory. It is much better if you have a map, and even better if you can "radio in" for help.
At Tech Explorations, we have made a big investment in our communication tools to make sure that no student is left behind. We have three levels of Support: Community Discussion Forums for each course, lecture-level Questions and Answers tool, and a Help Desk.
Our content is live and monitored by our team so that we can respond to student questions quickly. Speed is important because learning obstacles can have a devastating effect in our learning process, so we try our best to help our students smash through them.
Stay Calm And Keep Learning
The world and the Internet are extremely noisy places. Many "free" earning resources operate more like noisy open-air bazaars, with annoying distractions that aim to stop you from doing what you want to do (to learn something new) so that you can click on the next video (often about a cat doing a funny trick).
The loss of concentration alone accumulates to many hundreds of hours of lost learning productivity per learner per year.
Would you be able to learn how to program the Arduino in the food court of a shopping center? In a way, that's what many of us are doing.
At Tech Exploration, we have created a calm environment that is appropriate for immersive learning. Concentrate, turn off your mobile phone, start the lecture video, and follow on with the experiment.
That's all. Nothing else should compete for your attention.
The Path Forward
In this page we have given you lots of free and quality learning content, opportunities for hands on experimentation, and even larger projects that you can use to consolidate your learning. All that in a calm, learner-friendly environment.
A question I get a lot is "What should I do next?"
People that have just learned a new skill, like how to make an LED blink or spin a motor, are often overwhelmed. They have just grasp something new, but are having a hard time figuring out what is next.
It is totally understandable, and I have been there myself. In fact, I feel like that every time I learn a new thing, isolated from its possibilities.
Think about this: you just learned how to spin a motor. How can you build a robot out of that? What is the process of going from a single working component, to a system that brings together many components, into a working gadget?
The best answer I can give to this question is this simple process, plus a lot of perseverance (you need it when you decide to pursue something important):
- You need a project that excites you. This project gives you a goal, and even a path (although the path is not clear in the beginning). Think about what the project is about, and especially what it is supposed to do. This ("what is it supposed to do") is what gives you your project goal. You will need this for step 5 of this process.
- You need to analyse your project and break it down to its components. A robot is made of motors, motor controllers and microcontrollers, sensors, software, and a frame to hold everything together. Figure out what are main components in your project.
- Based on you analysis, figure out your level of knowledge in relation to the project components. You may have a good grasp of motors but lacking in sensor.
- Plan your prototyping process. This part of the process is critical, because you have to make several decision, that involve the hardware, software, and assembly of the gadget, but also the learning that you have to engage in in order to make this possible. You don't need to know everything before you begin, but you need to choose a place to begin. If you were to build a wheeled robot, for example, you could start with the wheel and motor assembly so that your robot can move, and leave the sensors for later. Why? Because you know how to use motors now. You can learn how to use sensors later. Like so many things in life, beginning is half of everything you do. The first iteration will give you the momentum and confidence you need to go for the second, third, until the last iteration.
- Repeat until the project is complete. The iterative process of prototyping is your guide. Each iteration solves problems and creates new ones. The new problems usually demand that you learn something new. Go on, learn it, and come back to continue with the current iteration. The project is complete when you have achieved the goal that you set in step 1. But here's the catch: In prototyping, like in life, everything is fluid. Your original goal was based on early assumptions of what you wanted to achieve, before you had actually done any work towards that goal. In the process of working towards your goal, the goal changes! Be mindful of that, and know that it is Ok. Enjoy the process, and the achievement of the result.
This is the process that I follow with my projects, including my books and my courses. Over time, you will become better at picking projects and especially analysing them so that what you eventually create is very close to your original goal.
The only way to build up your project management and gadget building skills is to do it.
And we are here to help you 🙂
Join the Tech Explorations Insiders
Want to make sure that you get notified when I release my next article or video? Then sign up below to join my list of Tech Explorations Insiders.
You'll receive email notifications whenever I release new content plus you'll get access to insiders-only updates that aren't published on the site!
We never spam, and you can unsubscribe at any time.
By submitting this form, you agree to receive educational and promotional announcements from Tech Explorations. Your personal details will not be shared with anyone outside of Tech Explorations, and you may unsubscribe at any time.
Last Updated 3 years ago.


