Blynk guide series
What is Blynk? A quick review.
With Blynk, you can create smartphone applications that allow you to easily interact with microcontrollers or even full computers such as the Raspberry Pi.
Read this article to learn about the components that make up the Blynk platform.
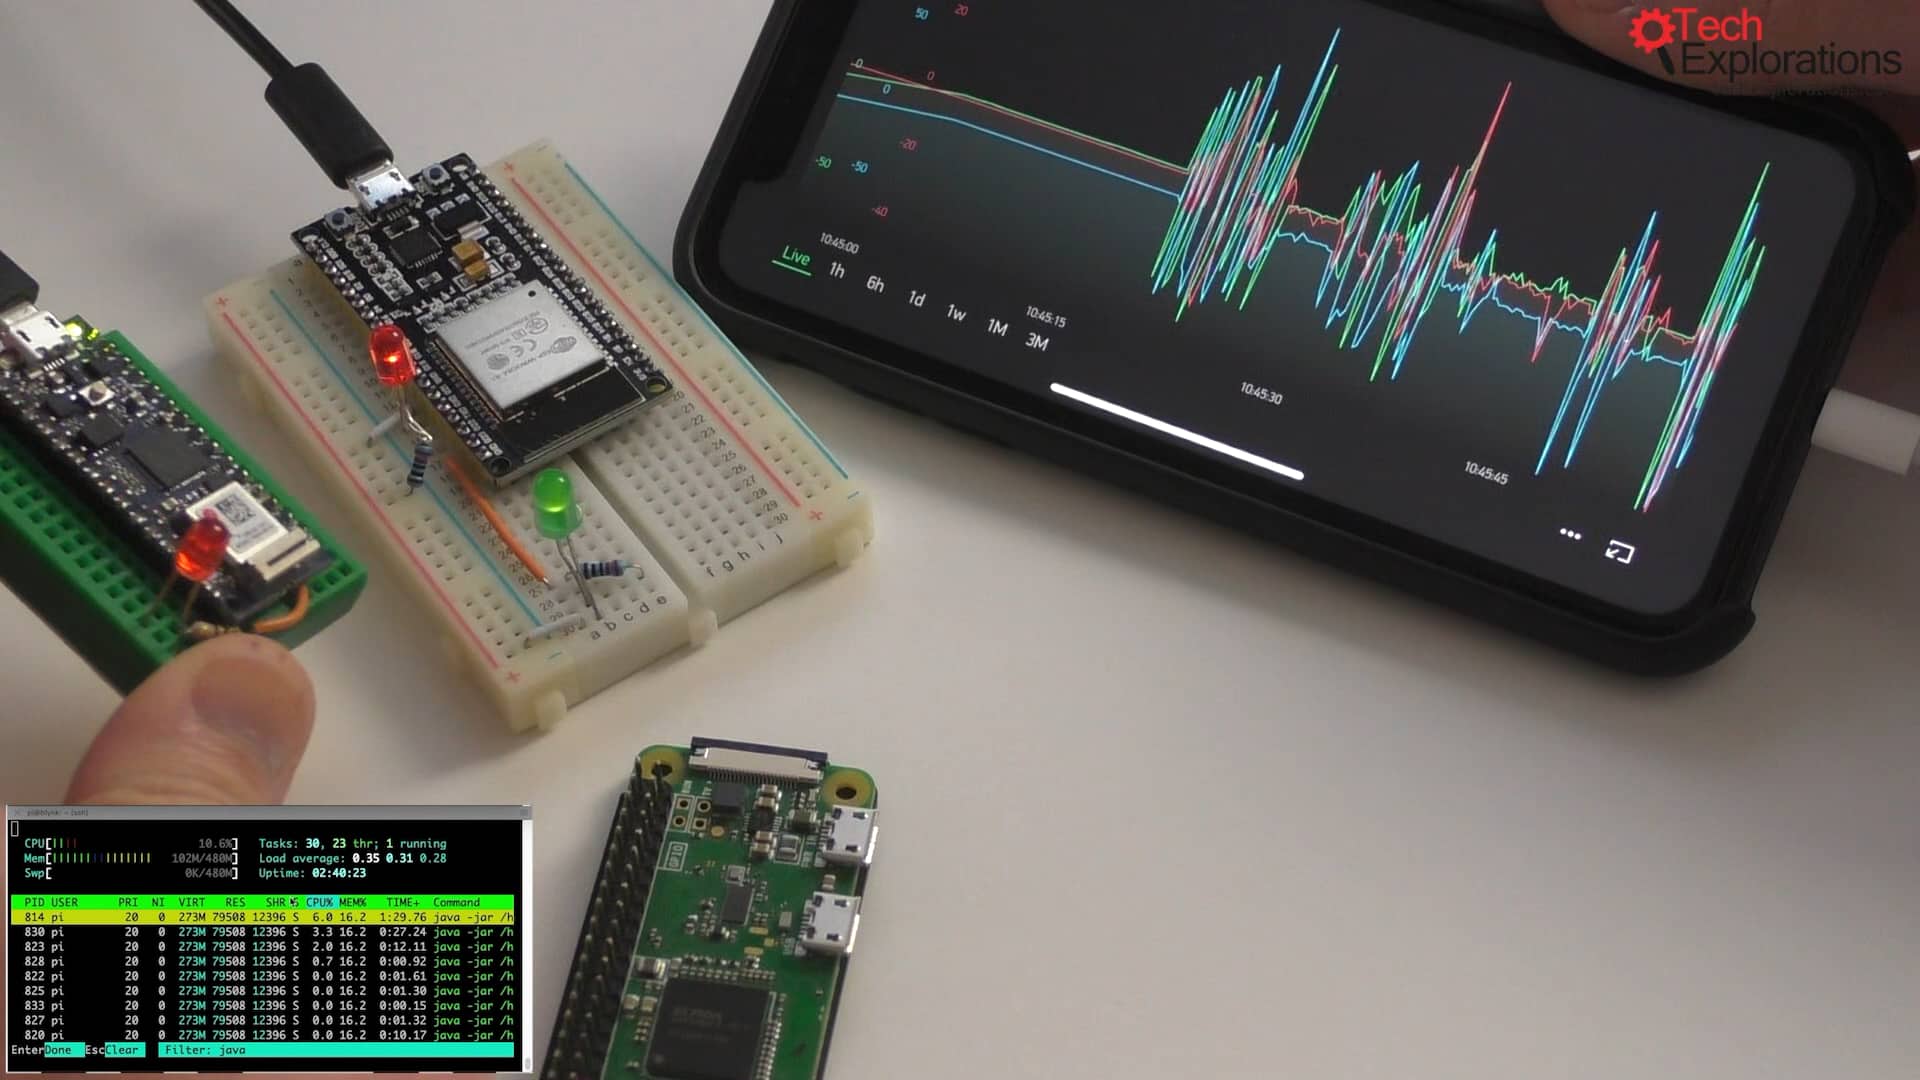
Would you rather watch than read? Here's the video version of this article.
The Blynk platform
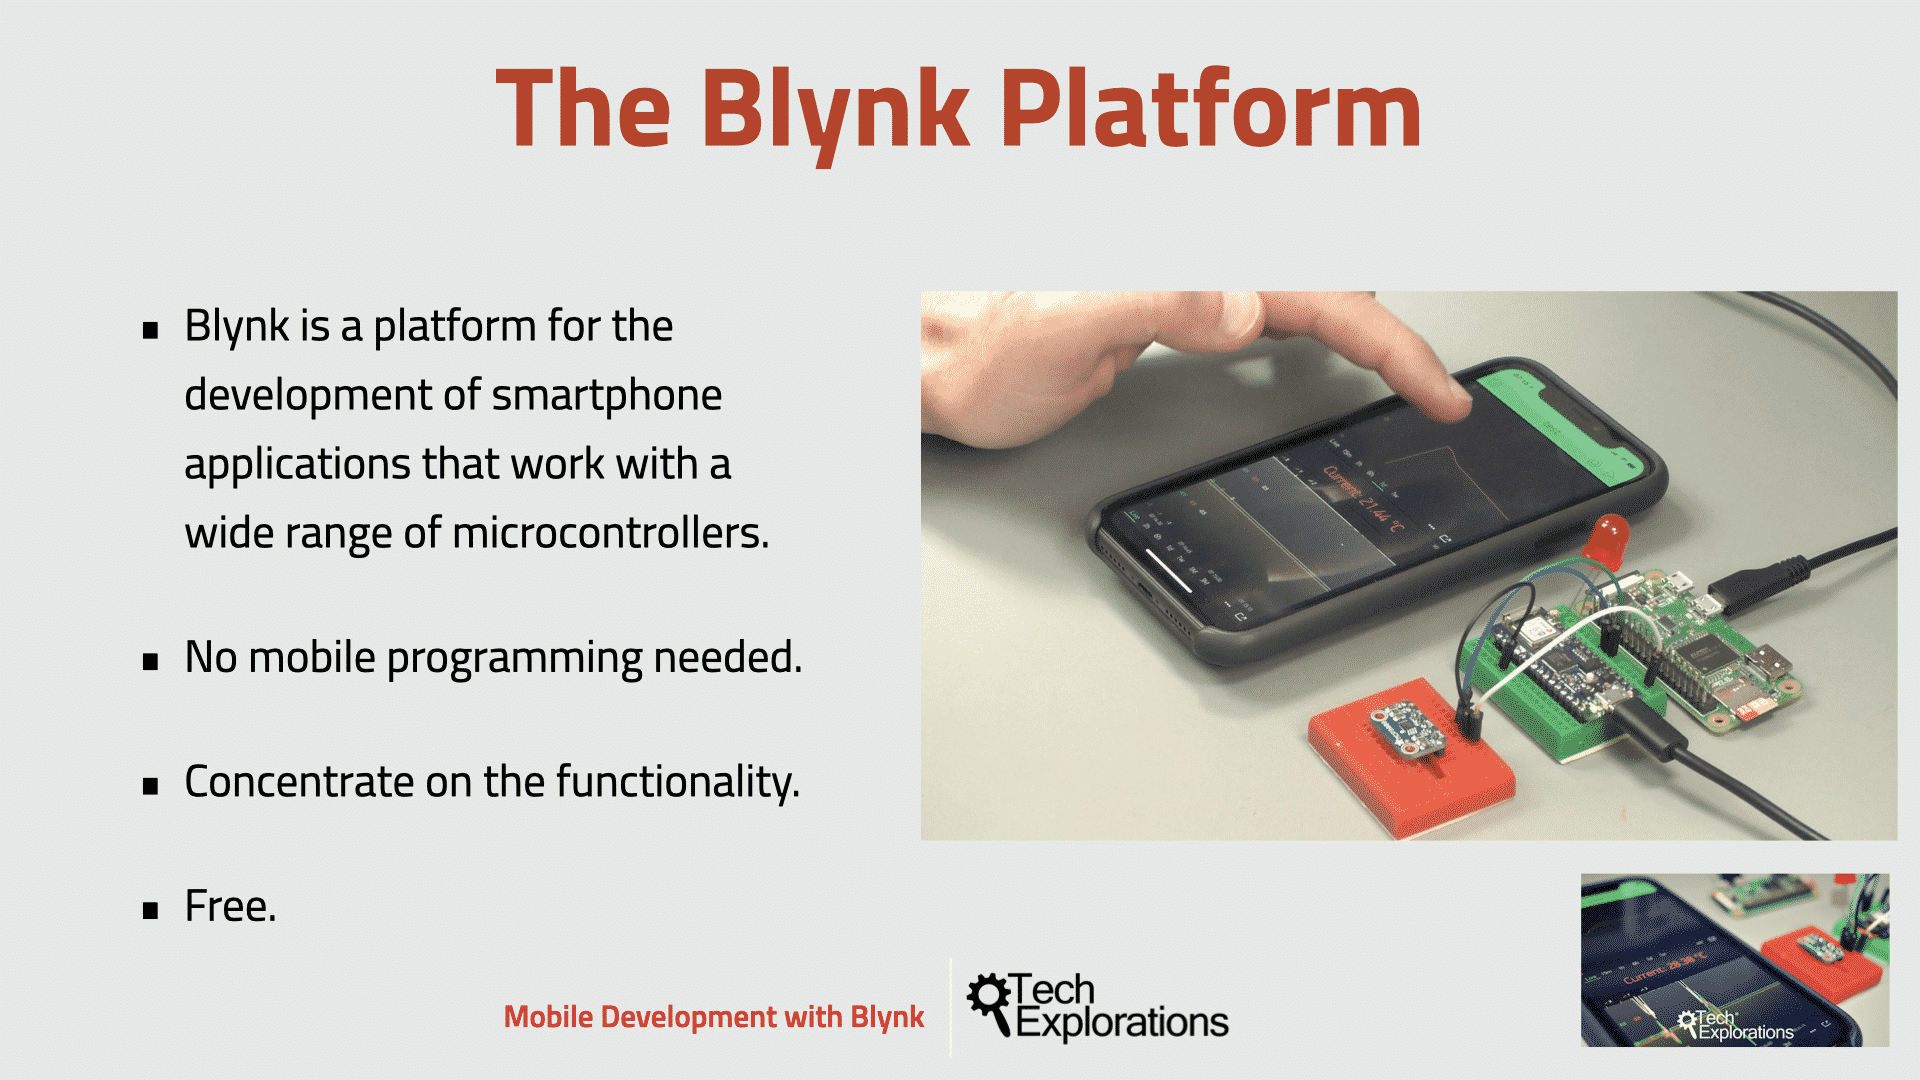
With Blynk, you can create smartphone applications that allow you to easily interact with microcontrollers or even full computers such as the Raspberry Pi.
The main focus of the Blynk platform is to make it super-easy to develop the mobile phone application. As you will see in this course, developing a mobile app that can talk to your Arduino is as easy as dragging a widget and configuring a pin.
With Blynk, you can control an LED or a motor from your mobile phone with literally zero programming. This is actually the first experiment that I will demonstrate in this course.
But don’t let this simplicity make you think that Blynk is only useful for trivial applications. Blynk is a robust and scalable tool that is used by hobbyists and the industry alike.
You can use it to monitor the soil humidity of your vegetable garden and turn on the water, or open up your garage door, with your phone.
You can also use it to control smart furniture that can learn from your routines, or embed IoT and AI to traditional industrial products such as a boiler, or for improving the integrity and safety of oilfields.
Blynk is free to use for personal use and prototyping. Their business model generates profits by selling subscriptions to businesses that want to publish Blynk-powered apps for their hardware products or services.
Let’s take a closer look at each component of the Blynk Platform.
The Blynk smartphone app
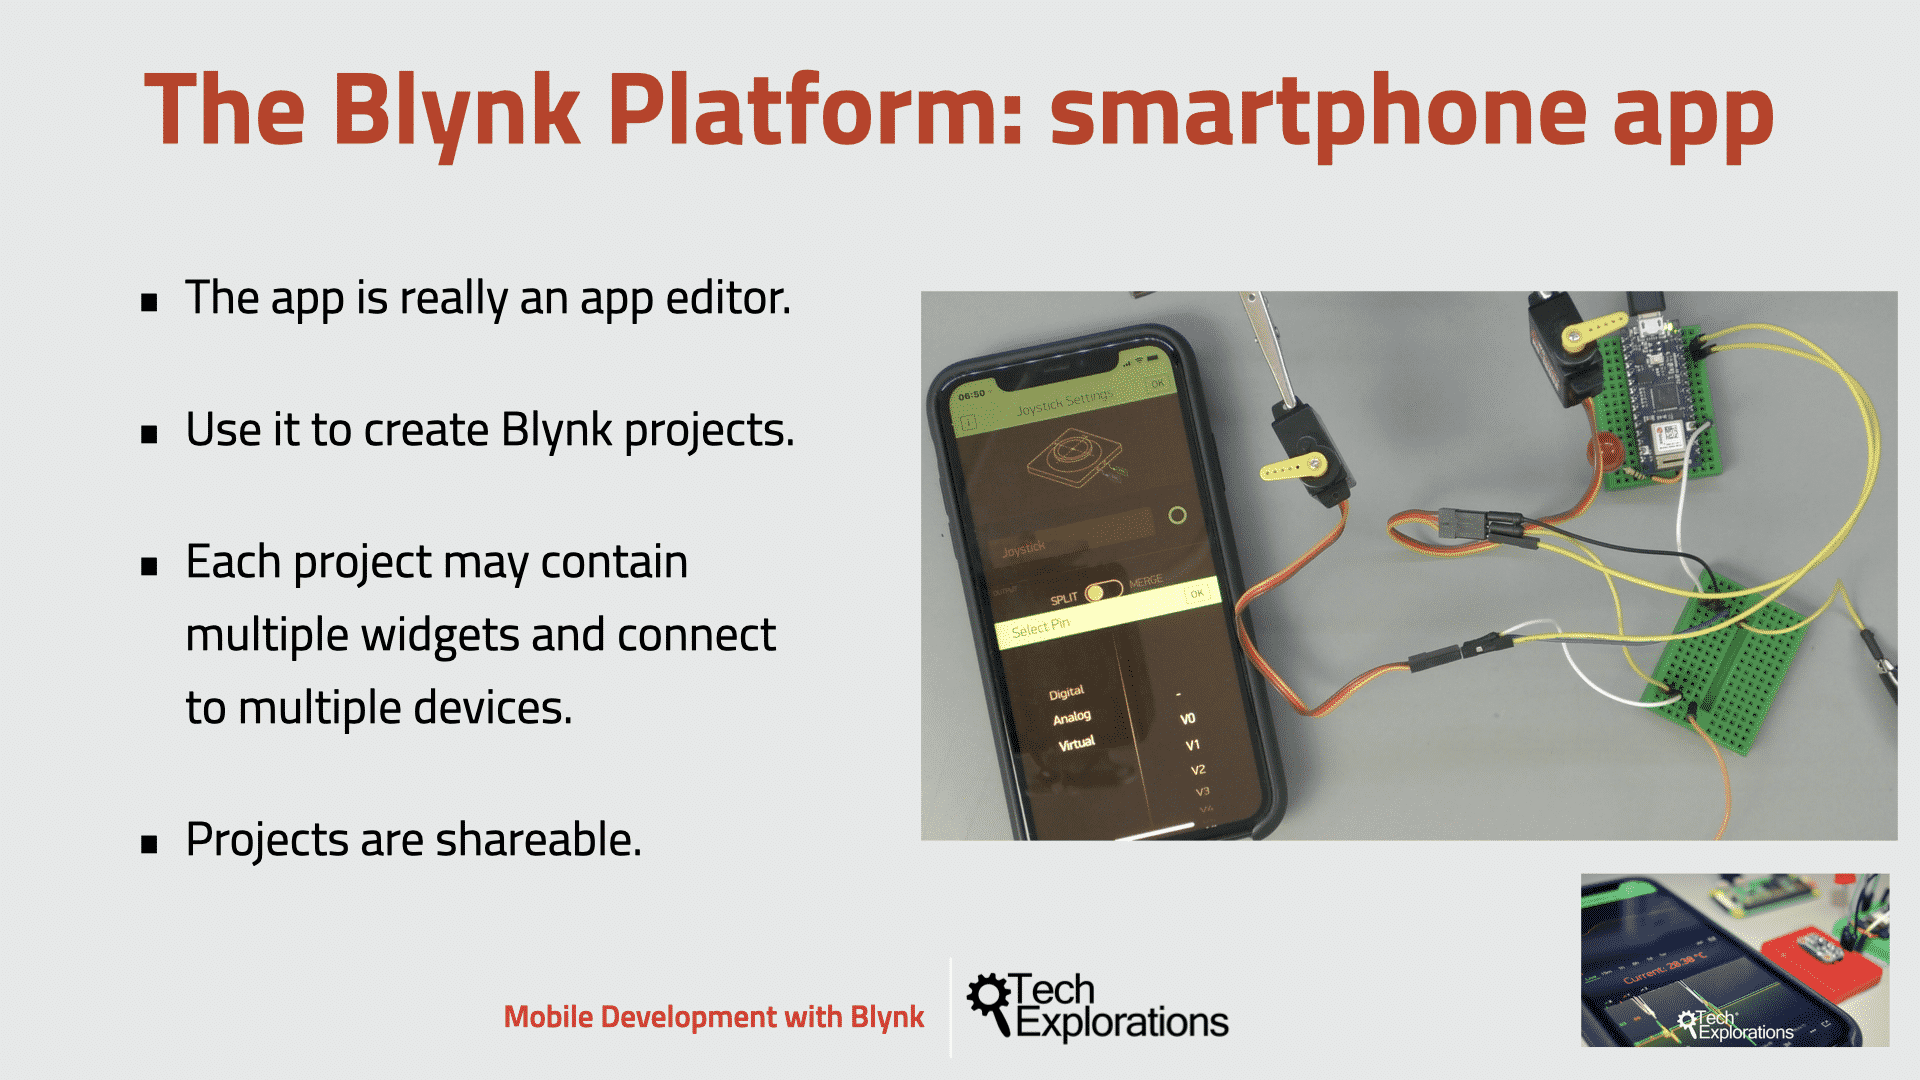
The #1 Blynk innovation is the smartphone app.
The Blynk app is is really an app editor.
It allows you to create one or more projects.
Each project can contain graphical widgets, like virtual LEDs, buttons, value displays and even a text terminal, and can interact with one or more devices. With the help of the Blynk library, it is possible to control Arduino or ESP32 pins directly from your phone, without having to write any code at all.
It is also possible to share a project with friends and even customers so that they can access the connected devices but not be able to modify the project. Imagine a scenario where you build a smartphone application where you can control lights, window blinds and room temperature from your phone. You can share the project with other family members so that they can also access the functionality.
The Blynk microcontroller libraries
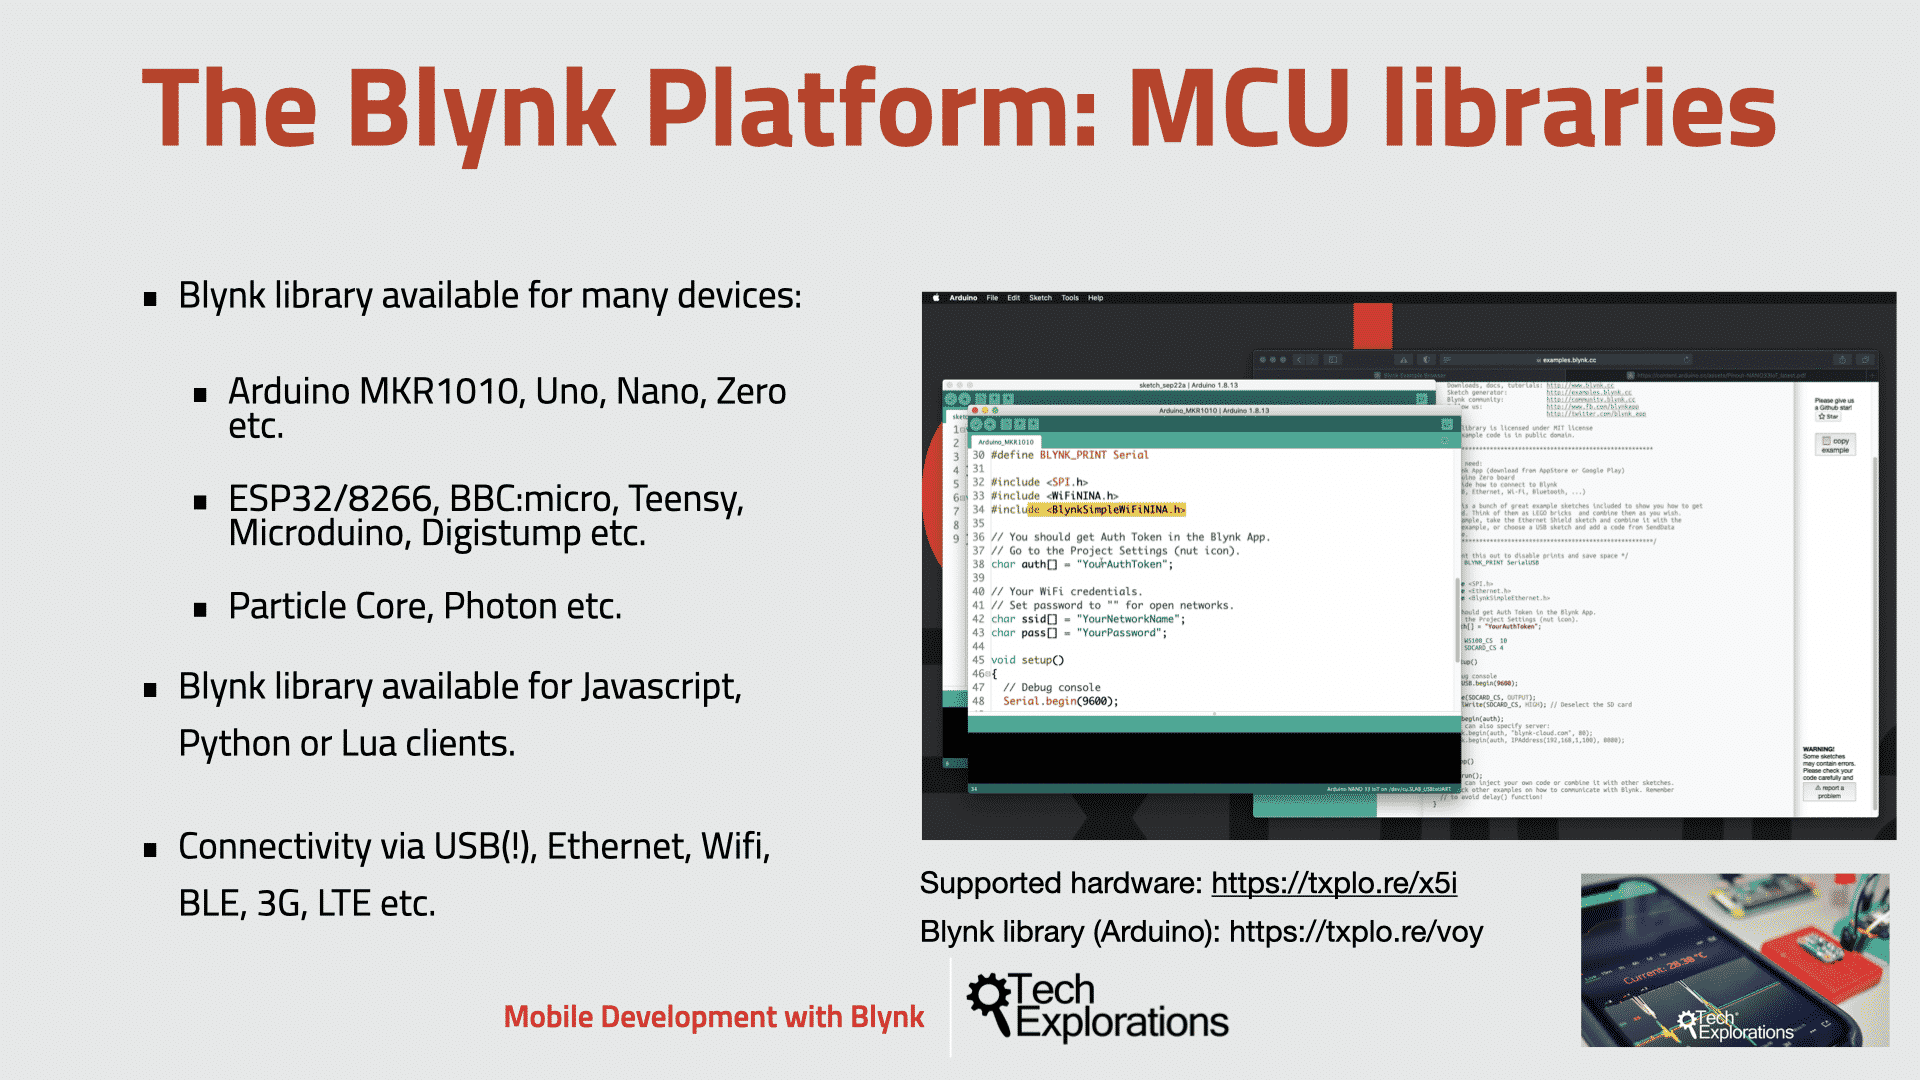
I am amazed by the range of devices and connectivity types that the Blynk platform supports.
The support is implemented by means of a Blynk library that targets a device and connectivity type combination.
For example, if you want to use your Arduino Uno with an Ethernet shield, you would use the library “BlynkSimpleEthernet” which contains the Blynk firmware plus the required connectivity support.
If you want to use your Arduino Uno with the Wifi101 shield, you would use the library “BlynkSimpleWiFiShield101”.
Both sketches would use the same Blynk infrastructure, such as the physical pins that are part of the Arduino’s hardware, as well as the virtual pins which are implemented in software by the Blynk Platform.
This means that with a bit of planning, you can write sketches that can be easily shared among different target devices. You can potentially write a sketch for an Arduino Uno and and with minimal modification run it on an Arduino MKR1010.
Blynk also supports clients that are not a microcontroller. You can write client code is Javascript, Python or Lua thanks to the available Blynk libraries for these languages.
This means that you can have a Blynk project that interacts with an Arduino and with Python code running on a Linux virtual machine somewhere on the Cloud. The possibilities are really very exciting.
The Blynk server
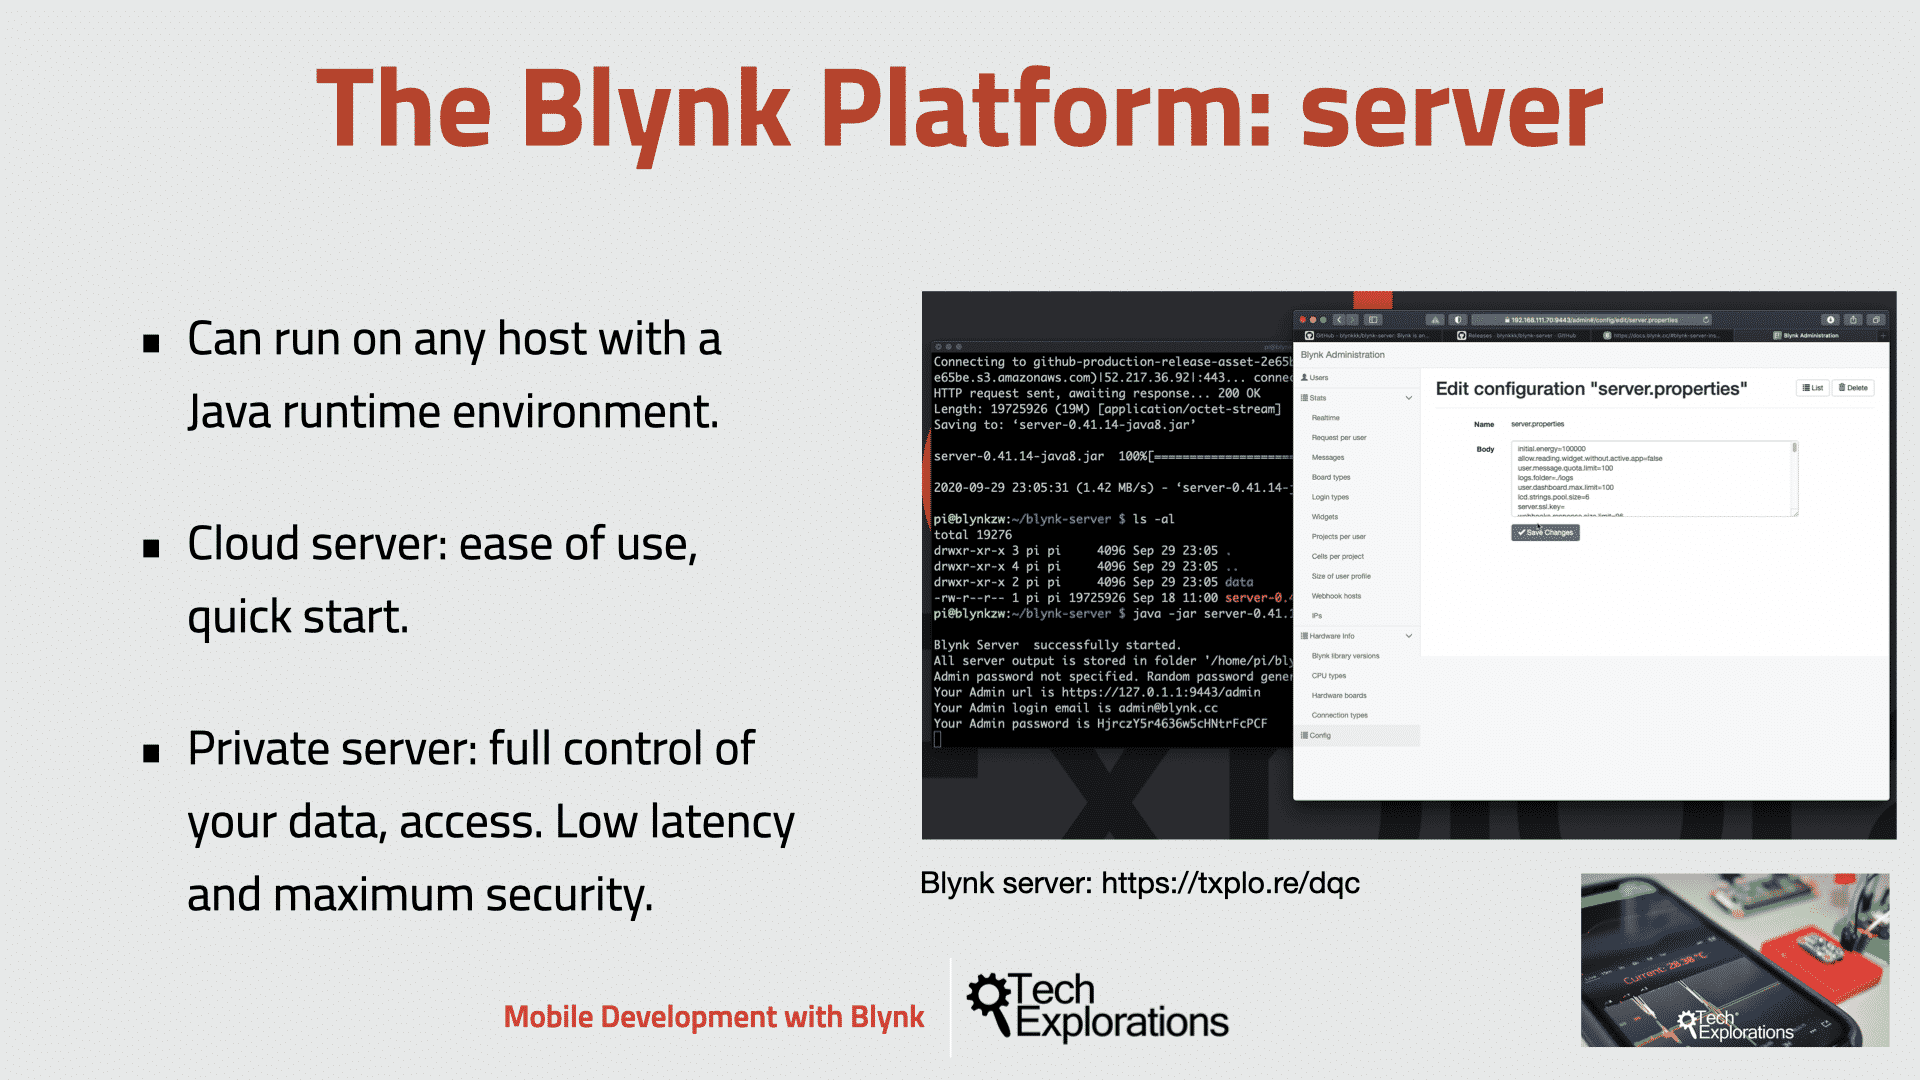
Unlike IoT platform such as IFTTT, Twillio, and even Adafruit IO, you can host a private instance of the full Blynk server and connect your smartphone Blynk app to it.
The Blynk Cloud server is an excellent choice for most projects, as it is always there, ready to use. We will use the Cloud server in the first few experiments in this course to help you get started with minimal effort.
However, as you will see, the Cloud Blynk server has imposed limitations. Some limitations are due to the topology of the server: depending on your geographical location, the server may be in a different continent, which makes communications between the app, the devices and the server slow due to the amount of time it takes packets to travel across the Internet.
Another imposed limitation is that in the Cloud server, you can only use a small number of widgets. Blynk is using the concept of “energy” to implement a pricing system for its widgets. In the Cloud server you may start a new project with 1000 energy units. An LED widget may cost you 200 units, leaving 800 units for other widgets.
On a private server, you can set your own energy limits. You can configure your server to allocate 100,000 energy units to new users. It’s totally up to you.
Of course, you can purchase additional energy units to spent on the Cloud Blynk server, and this is a legitimate consideration especially if the users of your Blynk project are distributed around the world (therefore latency is not a big issue).
However, a private Blynk server gives you additional benefits:
- Essentially unlimited energy units, so that you can build any Blynk application you can think of.
- Minimal latency, which is useful when your application is used in a limited geographic area and responsiveness is important.
- Total control of your data. You can keep your own backups of your Private server, migrate your server to a new host, implement whichever security mechanisms you wish, and finely control your users.
In this course, I will show you how to install and configure a private Blynk server so you can see the related benefits and costs.
You can run an instance of the Blynk server on any host that has a Java runtime environment. In this course, I use a $15 Raspberry Pi Zero W, running the Raspberry Pi operating system. This is a computer with just half a gigabyte of RAM, and still runs the Blynk server without any issues at all.
You can use any Raspberry Pi with WiFi, it does not need to be a Zero W. In fact, you can use any Linux or Windows host you want, including virtual machines.
Learn Blynk with our video course
Start right now with Arduino Mobile Development with Blynk
This is our comprehensive video course, packed with high-quality video, hands-on mini-projects, and our friendly and supporting community.
Jump to another article
1. What is Blynk?
2. Demo of a simple Blynk project
3. The Arduino Nano 33 IoT
4. Install the Blynk app, create an account
5. Create a new Blynk project
6. How to use a virtual pin
7. Replace the Arduino Nano 33 IoT with an ESP32
8. Button and styled button
9. Hardware button LED
10. Hardware potentiometer LED
11. Vertical and horizontal slider
Last Updated 3 years ago.
We publish fresh content each week. Read how-to's on Arduino, ESP32, KiCad, Node-RED, drones and more. Listen to interviews. Learn about new tech with our comprehensive reviews. Get discount offers for our courses and books. Interact with our community. One email per week, no spam; unsubscribe at any time
