RASPBERRY PI GETTING STARTED SERIES
A Simple Python Program
Let’s convert the little program your wrote in the CLI in the last chapter into a proper Python program. At the same time, you will learn the basics of the Vim editor, which you will use extensively in this project.
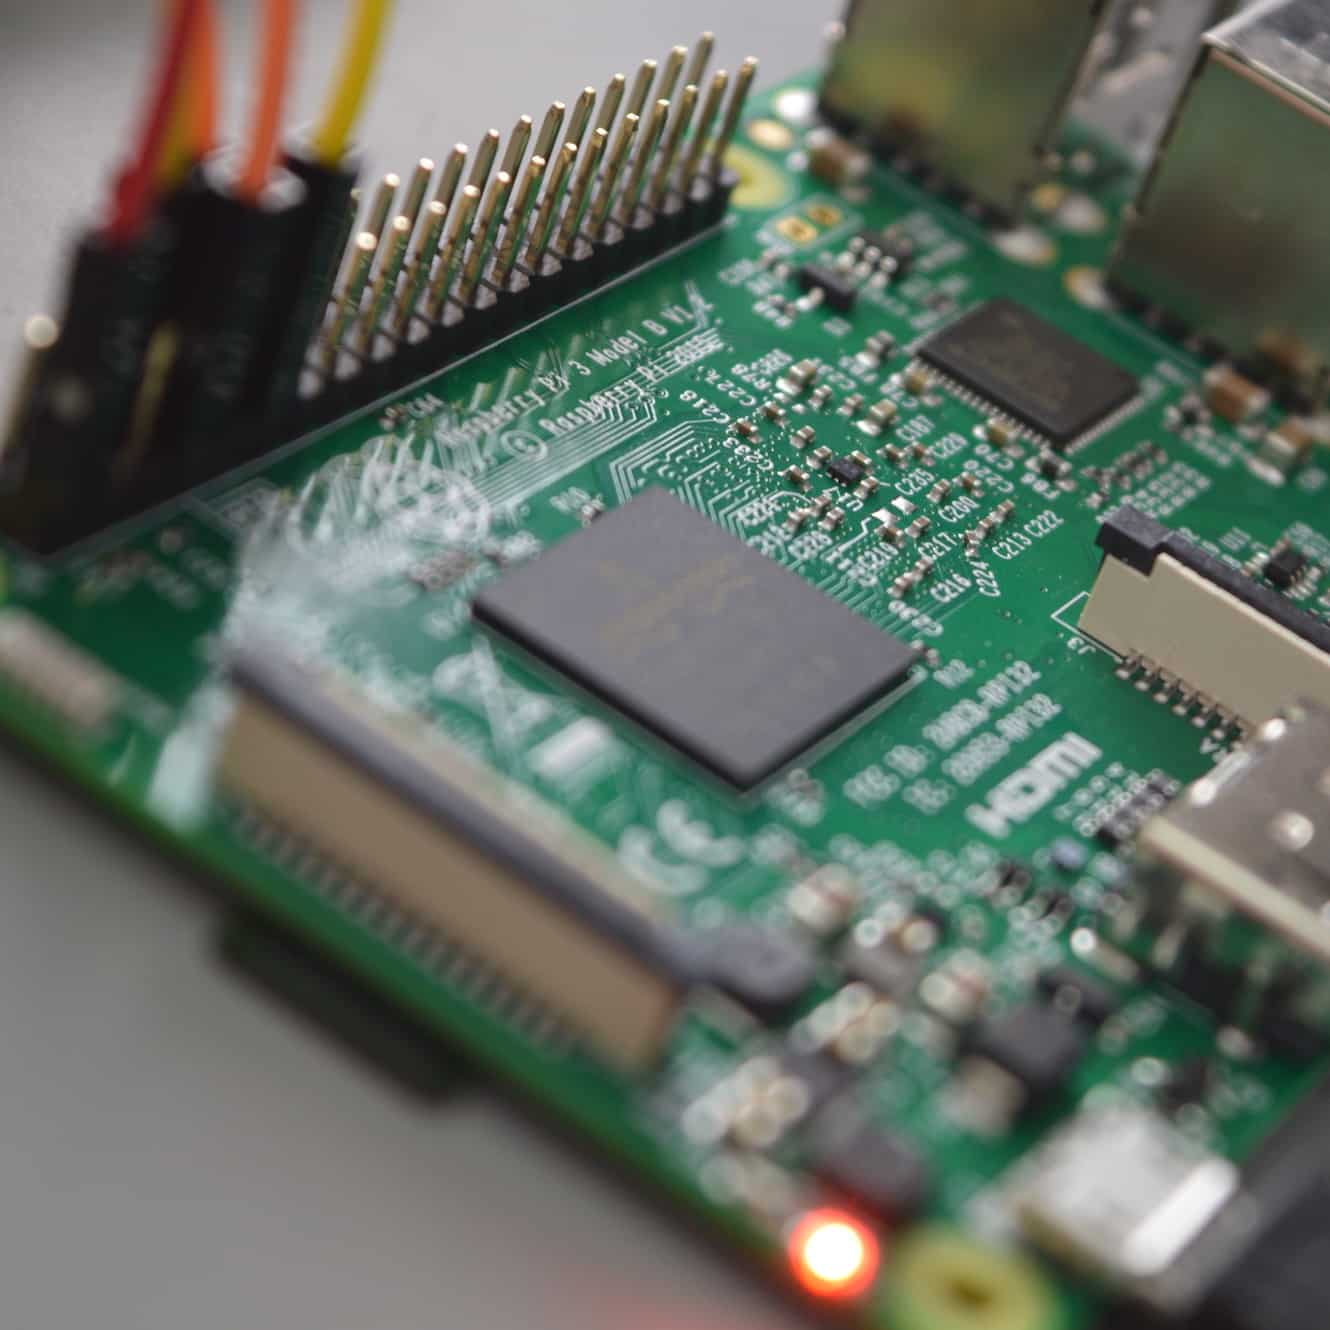
You will write this program over multiple iterations. Let’s start with the first version. To write it, you will use a powerful editor called “Vim”. This editor has existed since the beginning of time (at least the beginning of computer time), and you will find it on every Linux computer.
Login to your Raspberry Pi as “pi”. Before you write your first program, you must install the Vim text editor. You can install Vim using the Debian “apt-get” utility, like this:
pi@raspberrypi-zero:~ $ sudo apt-get install vim
The “sudo” command will temporarily raise your user level to “root” so that you can install Vim on the system.
Once Vim is installed, use it to create a Python program:
pi@raspberrypi-zero:~ $ vim example.py
You are creating a new file called “example.py” with the vim editor. You will see a blank editor window, like the one below:
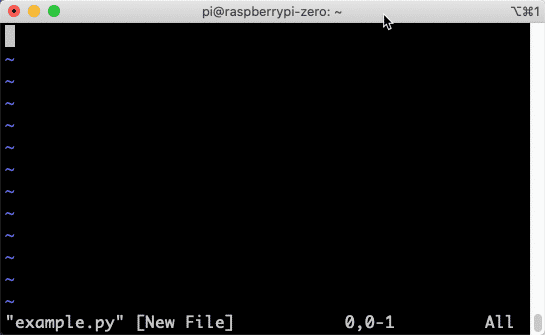
A blank Vim editor waiting for your program.
Vim is extremely powerful once you memorise a few hundreds of shortcuts. There is no mouse support, and no obvious way of doing anything with it. But you can do everything you need with just two or three keyboard shortcuts. Even my dog can remember two or three commands.
The first thing you will want to do is, of course, to enter some text.
To do this type “i”. The “i”command will instruct Vim to enter “insert mode” so that you can type text in its buffer. You know that its Ok to type text because as soon as you type “i”, Vim will update its status to “- - INSERT - -“, as you can see below.
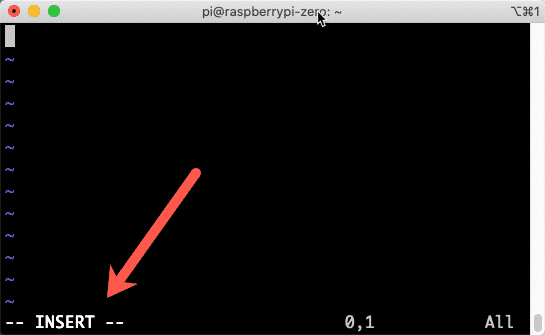
Use “i” to change Vim mode to “insert”.
Now that you are in Insert mode, go ahead and copy this text into Vim:
def str_operation(strn, num):
a = num * strn
print(a)
str_operation(‘Hello ‘, 3)
Be careful with the white space, and remember to leave a blank line after the third line of the function. In Vim, while you are in Insert mode, you can use the space bar to leave a white space, Enter key to create a new line, and the Backspace/Delete key to reduce indentation.
This program first defines the function, and then calls it. This is exactly what you did earlier in the CLI.
When you finish typing, you will have your Python program in the Vim buffer, like in the example below.
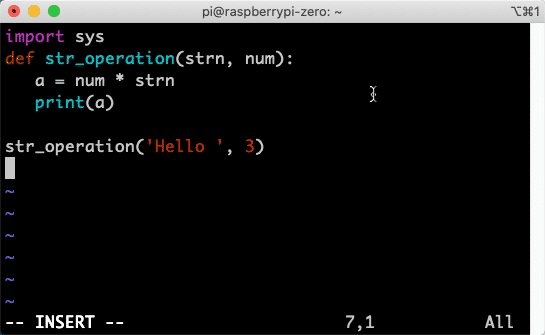
Your first Python program in Vim.
The program looks ready to execute. But first you must save it to disk and exist Vim. As you are still in Insert mode, you need to hit the Esc key once, to go into command mode. Your editor should look like the example below.
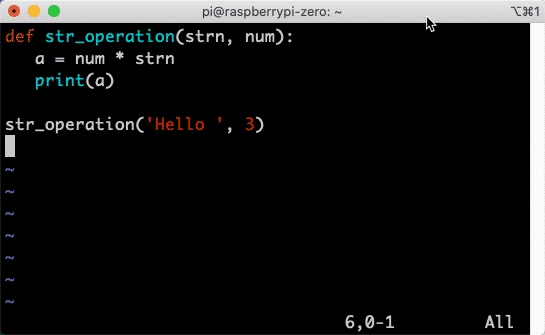
Hit the ESC key to go into Command Mode.
Notice that the status line in Vim is empty. Next, type “:wq”, as in the example below:
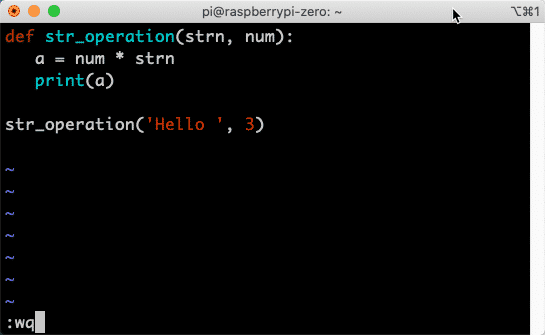
Type “:wq” to write the buffer to disk, and quit.
The “:” prepares Vim to receive an instruction. With “w”, you are telling Vim to write the contents of the buffer to the disk, and with “q” you are telling it to quite.
You now know enough vim to actually complete this project, but remember that there’s much more you can learn to become a Vim Ninja.
You should now be back in the command line. Let’s run the program. To run a Python program, you must pass it as an argument to the Python interpreter. For us, the interpreter is Python3, so execute your program like this:
pi@raspberrypi-zero:~ $ python3 example.py
Hello Hello Hello
Easy!
What I’d like to do next is to parametrise this program. Instead of the program outputting the exact same thing every time you run it (=boring), how about you make a few small changes so that you can control what it outputs when you invoke it? For example, you could write something like this:
pi@raspberrypi-zero:~ $ python3 example.py 'This is AWESOME! ' 5
And your program would output “This is AWESOME!”, five times.
The way you did this is by provide input to your program from the command line. You program needs a way to take your input from the command line and process it.
Luckily, Python has a simple way to do that. There is a build-in library called “sys” which contains an attribute called “argv”. Argv is really an array, and you can retrieve command line arguments from it like this:
- To grab the first command line argument, use sys.argv[1].
- To grab the second command line argument, use sys.argv[2].
- Etc.
Ok, let’s modify your program. Again, use Vim to open it and edit it:
pi@raspberrypi-zero:~ $ vim example.py
This time you will not see a blank buffer, but your program. Remember how to go into Insert mode? That’s right, type “i”. Use the keyboard cursors to navigate up/down, the Enter key to add a new line, and the Delete key to delete text.
Add a new line above the function definition and type “import sys”. Replace the arguments in the function call of the last line with the calls to sys.argv.
There is one more detail to note: sys.argv will return a string for each command line argument. For our multiplication purposes, we want the “num” variable to contain a number. So, you must explicitly instruct Python to convert the string from the second argument into a number. Python has a keyword for this “int”. Enclose the second sys.argv as a parameter for “int”.
Here is the completed program:
import sys
def str_operation(strn, num):
a = num * strn
print(a)
str_operation(sys.argv[1], int(sys.argv[2]))
Your program should now look like this in the editor:
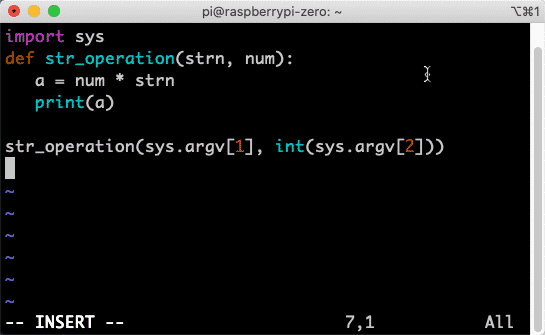
To modify an existing program, go into Insert mode with “i”.
Ready to try it out? Save the buffer and quit Vim (“:wq”). The invoke your program:
pi@raspberrypi-zero:~ $ python3 example.py 'This is AWESOME! ' 5
This is AWESOME! This is AWESOME! This is AWESOME! This is AWESOME! This is AWESOME!
pi@raspberrypi-zero:~ $
Try different combinations of strings and multipliers, and each time your program will produce something different. Python is an extremely flexible multiple purpose language, while at the same time being friendly to beginners.
Are you ready for the next step? How about you learn how to use Python to control an LED? Time to construct a simple circuit, in the next chapter.
Ready for some serious learning?
Start right now with Raspberry Pi Full Stack - Raspbian
This is our most popular Raspberry Pi course & eBook.
This course is a hands-on project designed to teach you how to build an Internet-of-Things application based on the world’s most popular embedded computer.
You will learn how to build this application from the ground up, and gain experience and knowledge with technologies such as...
Jump to another article
1: What is the Raspberry Pi?
2: Raspberry Pi vs Arduino
3: Raspberry Pi operating systems
4: Headless and graphical (GUI) operating systems
5: How to install Raspbian Lite
6: SSH and headless configuration
7: How to set a host name
8: Booting for the first time
9: How to set a fixed IP address for your Raspberry Pi
10: Basic configuration
11: Working as the 'root' user
12: Raspberry Pi pins, roles, and numbers
13: A taste of Python on the Raspberry Pi
14: Python functions
15: A simple Python program
16: A simple circuit
17: Control an LED with GPIOZERO
18: Read a button with GPIOZERO
19: Setup the DHT22 sensor with Git
20: Use the DHT22 sensor
21: Raspberry Pi OS 64-bit vs 32-bit
Last Updated 1 year ago.
We publish fresh content each week. Read how-to's on Arduino, ESP32, KiCad, Node-RED, drones and more. Listen to interviews. Learn about new tech with our comprehensive reviews. Get discount offers for our courses and books. Interact with our community. One email per week, no spam; unsubscribe at any time
