RASPBERRY PI GETTING STARTED SERIES
Read A Button With GPIOZERO
A momentary button is an input device. It is essentially a sensor with only two possible states: “pressed” and “not pressed”. In your circuit, you have connected the output of the button to GPIO14. Your Python program will check the voltage at GPIO14 to determine if the button is pressed or not.

You now know how to “do” output. It’s time to learn “input”.
A momentary button is an input device. It is essentially a sensor with only two possible states: “pressed” and “not pressed”. In your circuit, you have connected the output of the button to GPIO14. Your Python program will check the voltage at GPIO14 to determine if the button is pressed or not.
Unlike with the LED example, this time we’ll go straight to write a regular Python program. This is because we want to get Python to read the state of GPIO14 many times per second, so that as soon as we press the button, Python can print a message on the screen to let us know if has detected the press.
We can also do this on the CLI, but it will be a clunky implementation which I prefer to avoid.
Use Vim to create a new Python program:
$ vim button_gpiozero.py
Copy this code into the Vim buffer:
from gpiozero import Button
import time
button = Button(14,None,True)
while True:
if button.is_pressed:
print("Button is pressed")
else:
print("Button is not pressed")
time.sleep(0.1)
Save the buffer to disk, and quit Vim (“:wq”).
There’s a few new elements in this code, so lets take a moment to learn.
In the first line, you are importing the Button module, another member of the gpiozero library.
In the second line you import the “time” module, so that you can insert a tiny delay later in your program.
This is important because without this delay, you program will sample the button GPIO as fast as your Raspberry Pi can, leaving little time for anything else. We only want to read the state of a button, not to totally dominate the CPU.
Line three is a little challenging because it contains three parameters. You can find detailed information about these parameters in the gpiozero documentation for the Button object. The first one is the GPIO number. Since the button is connected to GPIO14, you’ll enter “14” in the first parameter.
The second parameter controls the type of pull-up/down resistor we are using. The Raspberry Pi can use internal pull-up resistors resistor, but in our circuit we have provided an external pull-down resistor. This resistor ensures that voltage at GPIO14 is equal to GND when the button is not pressed.
For an article on pull-up/down resistors, please have a look at this article.
Because of the presence of the external pull-down, we use “None” as the value of the second parameter.
In the third parameter, we include the active state value. Because when the button is pressed the voltage at GPIO14 is “HIGH”, and when the button is not pressed the voltage is “LOW”, we use the “True” value for this parameter. If the voltages were reversed (i.e. pressed buttons created a “LOW” voltage, and not pressed button created “HIGH”), then for the third parameter we would write “False”.
You have saved the configured Button object in the “button” variable, and then get into an infinite loop.
In the look, your program simply reads the state of the button and if it is pressed, it prints “Button is pressed” to the console. If it isn’t pressed, it prints “Button is not pressed”.
Run the program like this:
$ python3 button_gpiozero.py
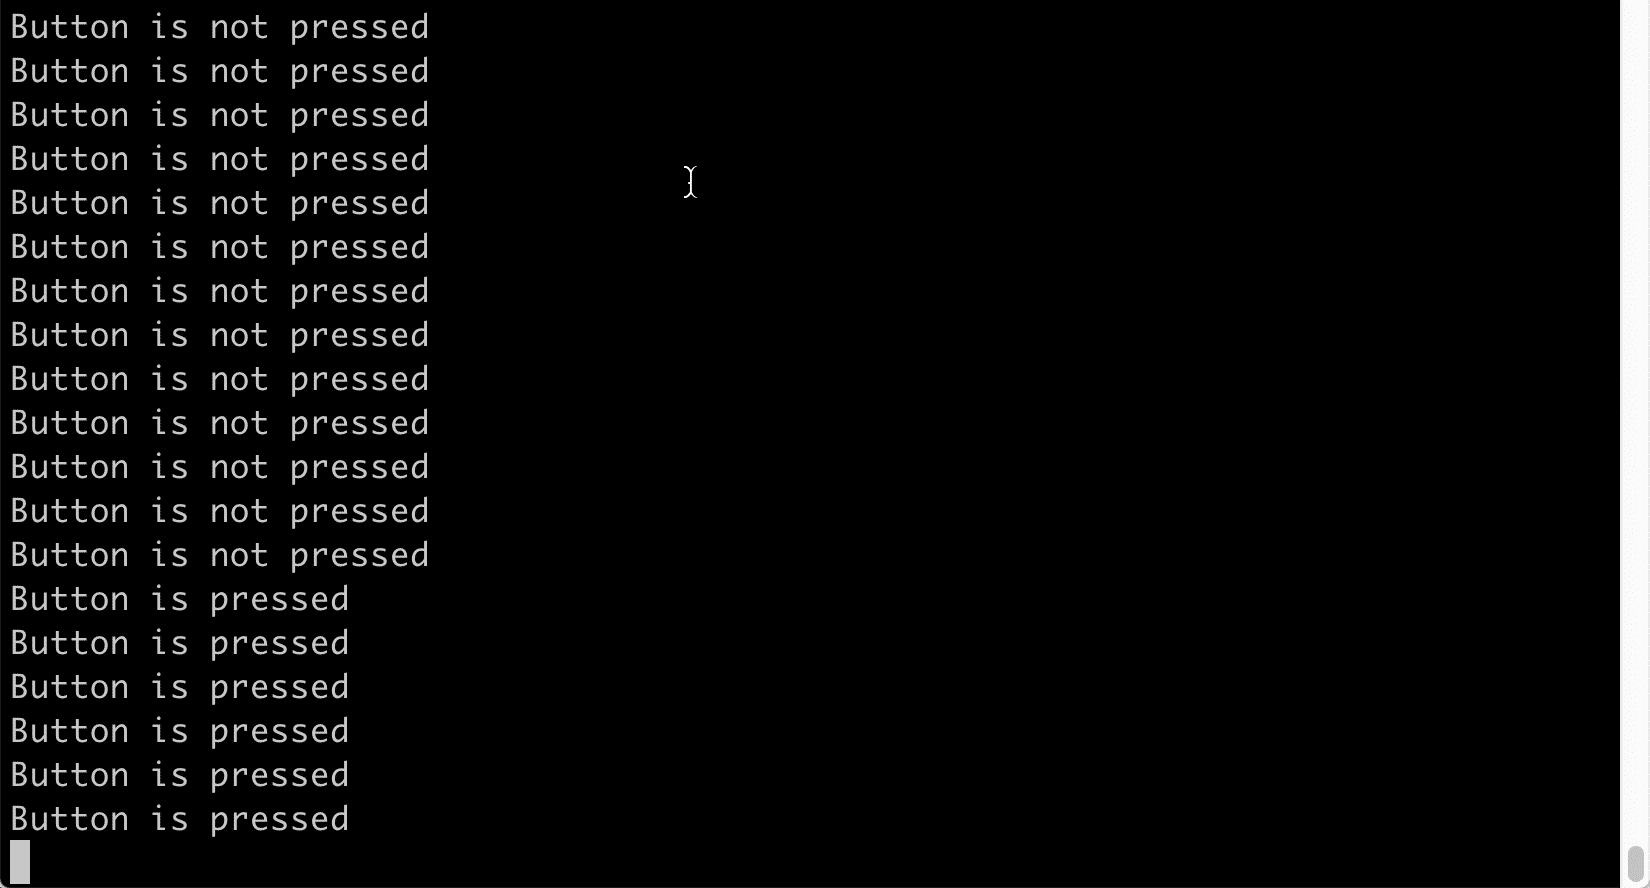
Now press the button as see how the message on the console changes accordingly. It should look like this:

A button was just pressed.
It works!
Ready for some serious learning?
Start right now with Raspberry Pi Full Stack - Raspbian
This is our most popular Raspberry Pi course & eBook.
This course is a hands-on project designed to teach you how to build an Internet-of-Things application based on the world’s most popular embedded computer.
You will learn how to build this application from the ground up, and gain experience and knowledge with technologies such as...
Jump to another article
1: What is the Raspberry Pi?
2: Raspberry Pi vs Arduino
3: Raspberry Pi operating systems
4: Headless and graphical (GUI) operating systems
5: How to install Raspbian Lite
6: SSH and headless configuration
7: How to set a host name
8: Booting for the first time
9: How to set a fixed IP address for your Raspberry Pi
10: Basic configuration
11: Working as the 'root' user
12: Raspberry Pi pins, roles, and numbers
13: A taste of Python on the Raspberry Pi
14: Python functions
15: A simple Python program
16: A simple circuit
17: Control an LED with GPIOZERO
18: Read a button with GPIOZERO
19: Setup the DHT22 sensor with Git
20: Use the DHT22 sensor
21: Raspberry Pi OS 64-bit vs 32-bit
Last Updated 11 months ago.
We publish fresh content each week. Read how-to's on Arduino, ESP32, KiCad, Node-RED, drones and more. Listen to interviews. Learn about new tech with our comprehensive reviews. Get discount offers for our courses and books. Interact with our community. One email per week, no spam; unsubscribe at any time