RASPBERRY PI GETTING STARTED SERIES
How To Setup SSH And Wifi In Headless Mode
In this lesson you will learn how to setup SSH using Wifi, SSH, and a remote computer connected to your Raspberry Pi in headless mode.

Now that you have Raspbian Lite on your SD Card, its time to do some simple configuration. The purpose of this configuration is:
• Enable the SSH deamon so that you can access your Raspberry Pi via the SSH protocol and your terminal emulator.
• Setup Wifi so that your Raspberry Pi can connect automatically to your local network once you start it for the first time.
The second item is very important because the Raspberry Pi Zero W does not have an Ethernet network interface. This means that you will not be able to access it without Wifi.
Also, because you are working in headless mode, you will not b/e able to plug in a monitor and a keyboard to setup Wifi directly.
Start by inserting your Raspberry Pi SD card into your computer.
Use your computer’s file browser (Finder in Mac OS, Windows Explorer in Windows) to navigate to the disk with name “boot”. The Raspberry Pi looks inside this partition when it boots for special files that contain instructions like the ones we are about to create.
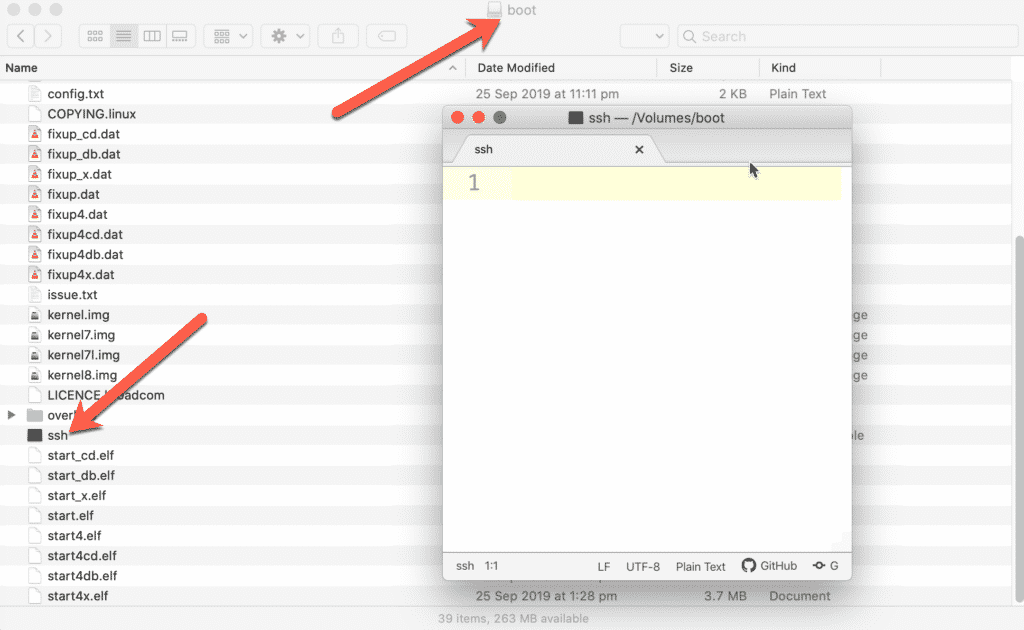
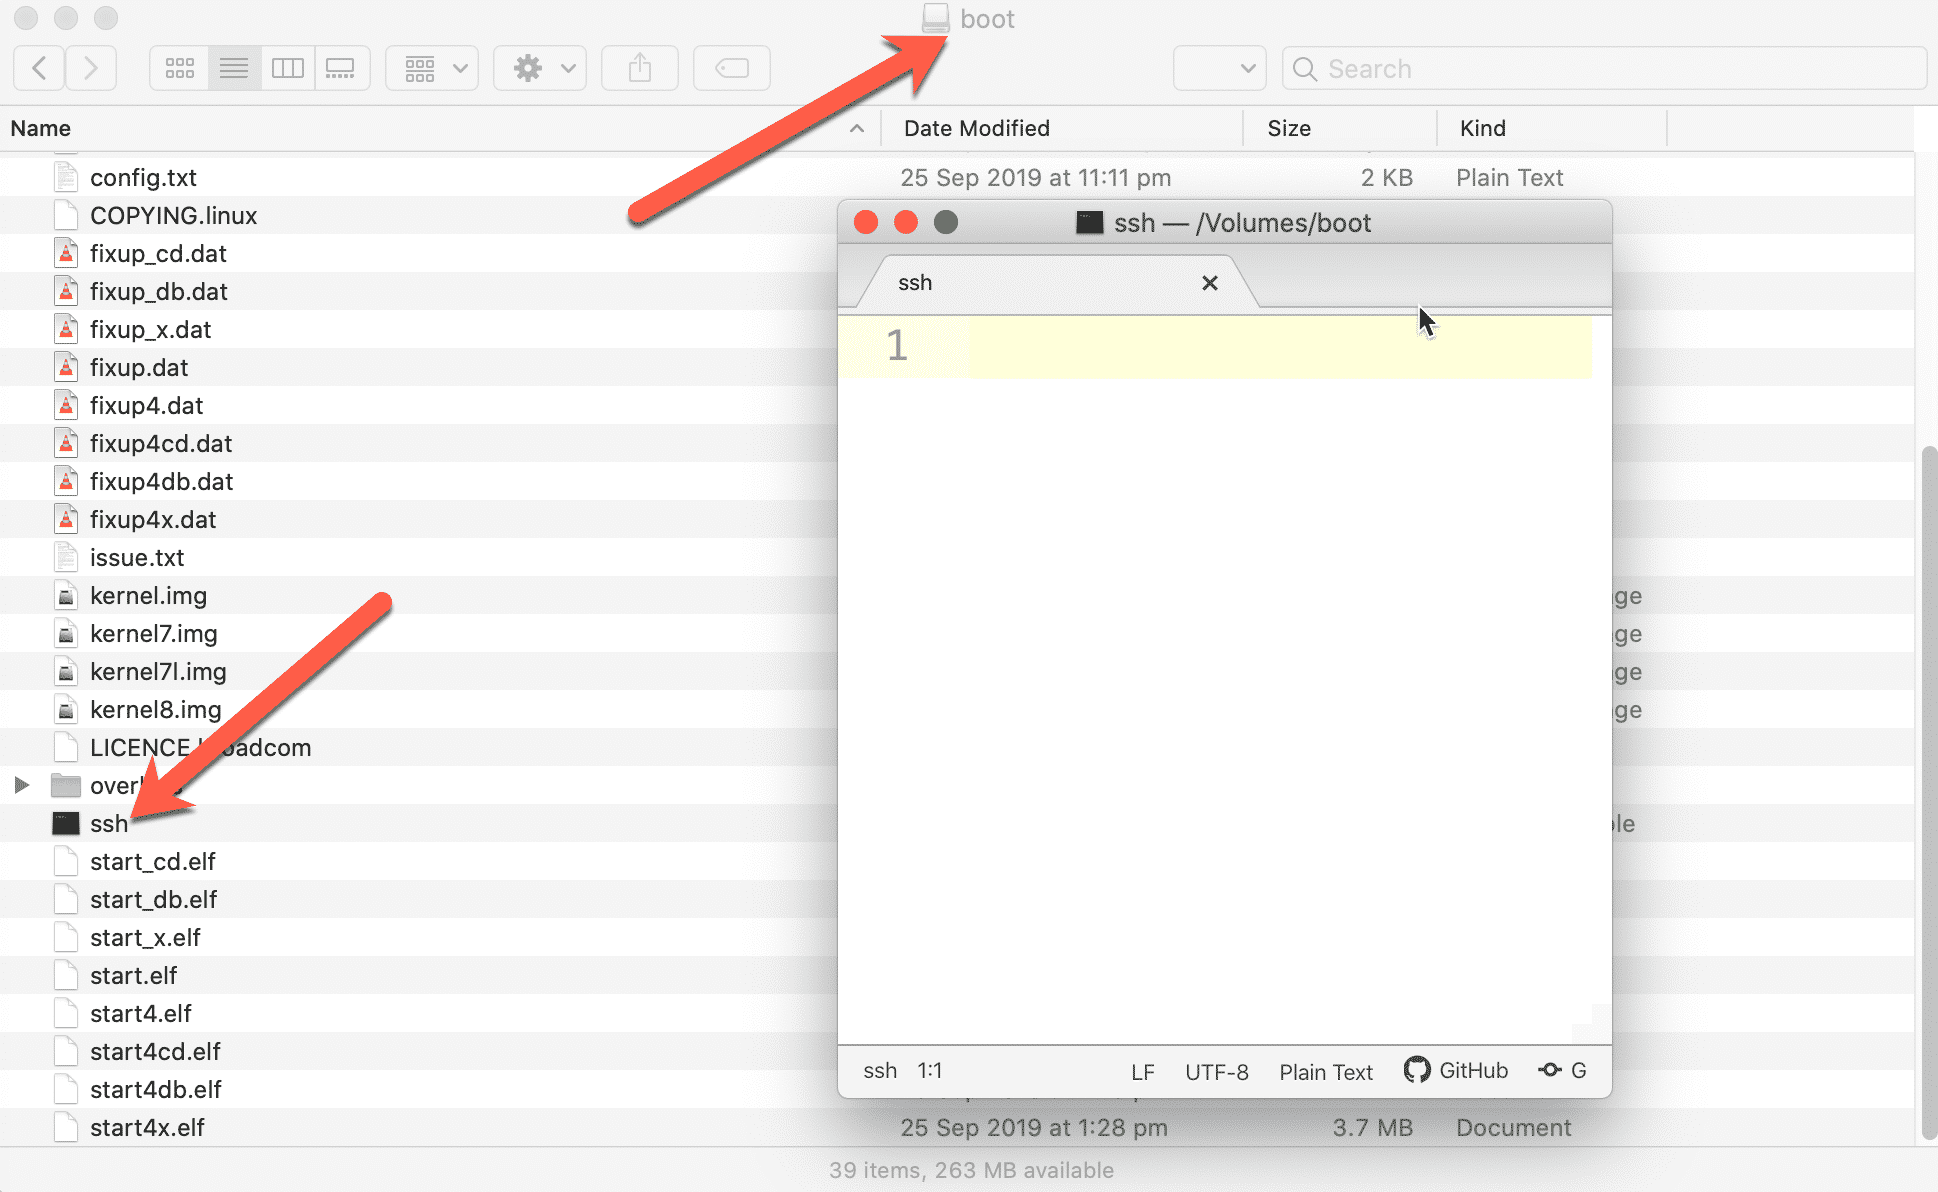
First, lets enable SSH. Use a text editor and create a new empty file. Save it to the boot disk with the file name “ssh”. No extension, and no content. Just an empty file named “ssh”, as in the screenshot below.

Create an empty text file titled “ssh” in the boot disk to enable SSH.
That’s it.
Let’s continue with the Wifi configuration.
Go to the project repository on Github, and grab a copy of the wpa_supplicant.conf.buster file. It looks like this:
country=US
ctrl_interface=DIR=/var/run/wpa_supplicant GROUP=netdev
update_config=1
network={
ssid="---your-SSID--"
psk="---your-wifi-passkey---"
}
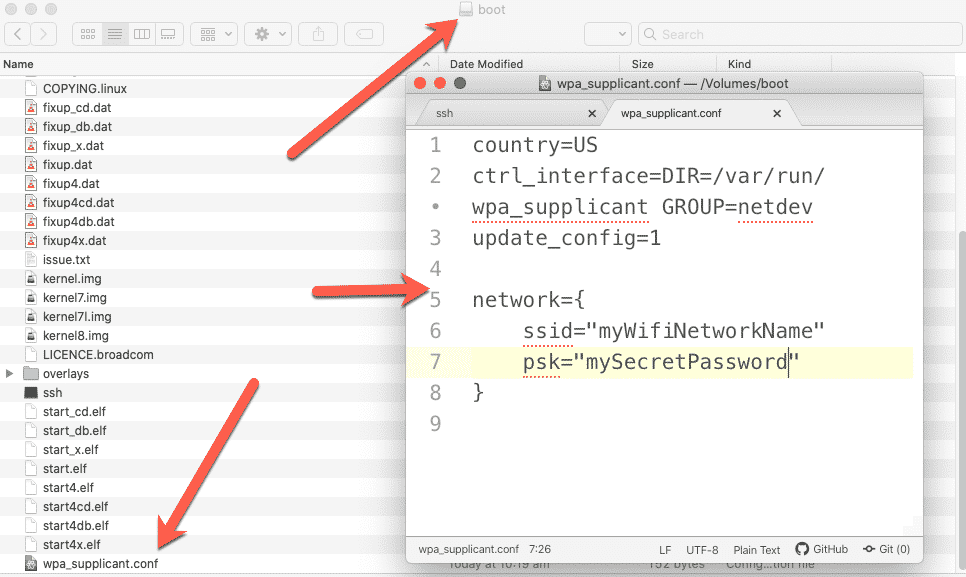
Use your favourite text editor to create a new text file, and copy the content from the sample supplicant file in it. Take care to type in the correct network name and password in the “ssid” and “psk” fields.
Then, save the file to the “boot” disk with the name ”wpa_supplicant.conf”:

The wpa-supplicant.conf file in the boot disk configures the Wifi interface before the first boot.
When you have both the “ssh” and “wpa_supplicant.conf” files saved in the boot disk, you can eject it from your computer.
In the next lesson, you will use it to boot your Raspberry Pi for the first time.
Ready for some serious learning?
Start right now with Raspberry Pi Full Stack - Raspbian
This is our most popular Raspberry Pi course & eBook.
This course is a hands-on project designed to teach you how to build an Internet-of-Things application based on the world’s most popular embedded computer.
You will learn how to build this application from the ground up, and gain experience and knowledge with technologies such as...
Jump to another article
1: What is the Raspberry Pi?
2: Raspberry Pi vs Arduino
3: Raspberry Pi operating systems
4: Headless and graphical (GUI) operating systems
5: How to install Raspbian Lite
6: SSH and headless configuration
7: How to set a host name
8: Booting for the first time
9: How to set a fixed IP address for your Raspberry Pi
10: Basic configuration
11: Working as the 'root' user
12: Raspberry Pi pins, roles, and numbers
13: A taste of Python on the Raspberry Pi
14: Python functions
15: A simple Python program
16: A simple circuit
17: Control an LED with GPIOZERO
18: Read a button with GPIOZERO
19: Setup the DHT22 sensor with Git
20: Use the DHT22 sensor
21: Raspberry Pi OS 64-bit vs 32-bit
Last Updated 1 year ago.
We publish fresh content each week. Read how-to's on Arduino, ESP32, KiCad, Node-RED, drones and more. Listen to interviews. Learn about new tech with our comprehensive reviews. Get discount offers for our courses and books. Interact with our community. One email per week, no spam; unsubscribe at any time

